My SE Finecast build
viewtopic.php?f=3&t=1015&hilit=+w1
I agree that the Hornby body is much finer as you would expect from a decent plastic mould. The curve on the Footplate of the Finecast version is not that far out from the above picture. The Hornby tender is much much better too.
Mine was built before Graemes excellent conversion.
Thanks for the picture of the rear bogie fixing.
It maybe the picture but does it go back far enough? the first set of Bogie wheels are far too close to the drivers. The rear Bogie wheels are not in the correct position below the Cab Windows either. Have you tried this set up around any curves?.
You maybe be better to buy the Finecast rear frames as they are much thinner than the resin ones.
My W1 build
Moderators: 52D, Tom F, Rlangham, Atlantic 3279, Blink Bonny, Saint Johnstoun, richard
-
Mercator II
- GCR O4 2-8-0 'ROD'
- Posts: 536
- Joined: Mon Nov 03, 2008 12:14 pm
- Location: Lincolnshire
Re: My W1 build
short update
snow got a little in the way, n more on the way!!
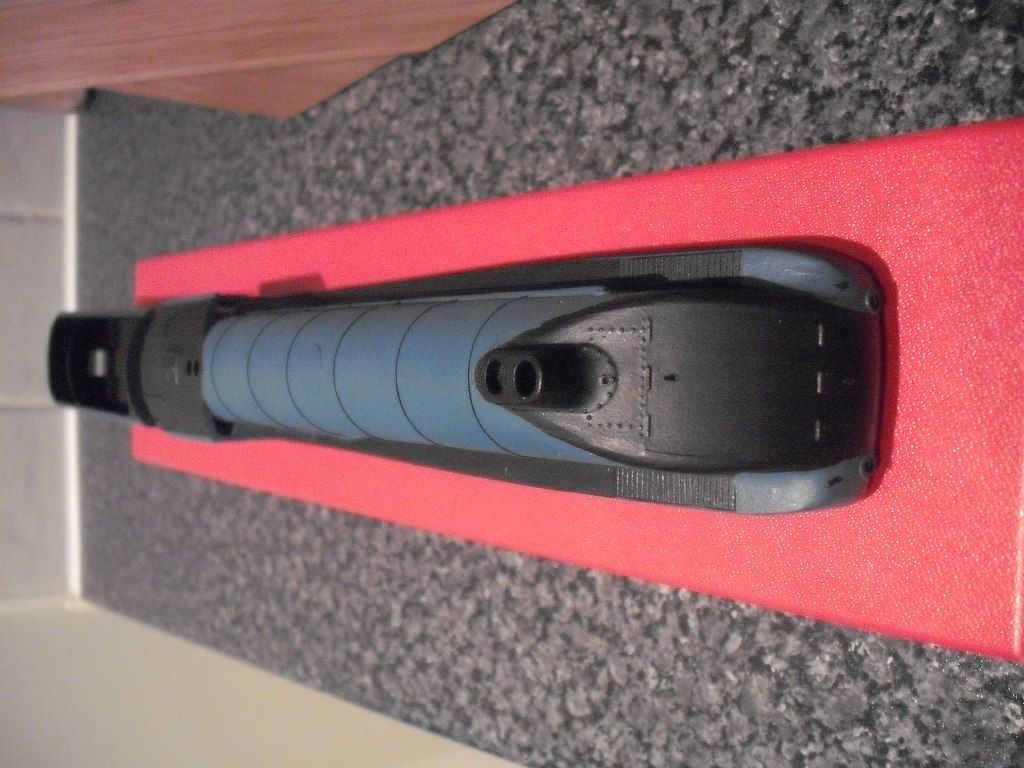
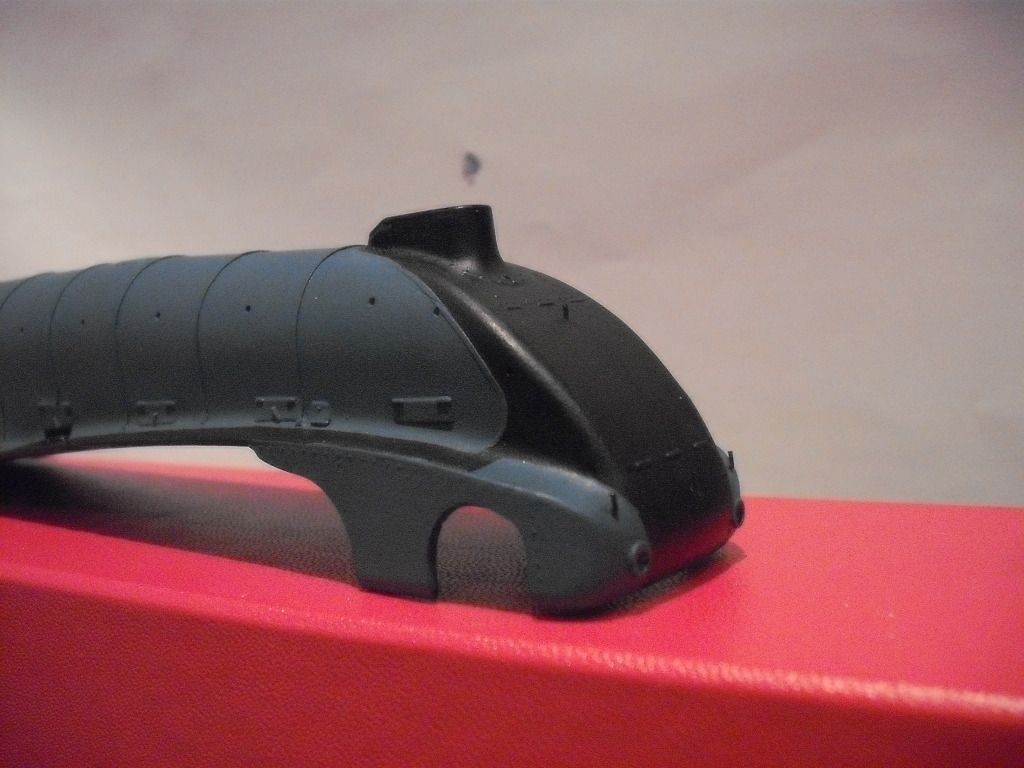
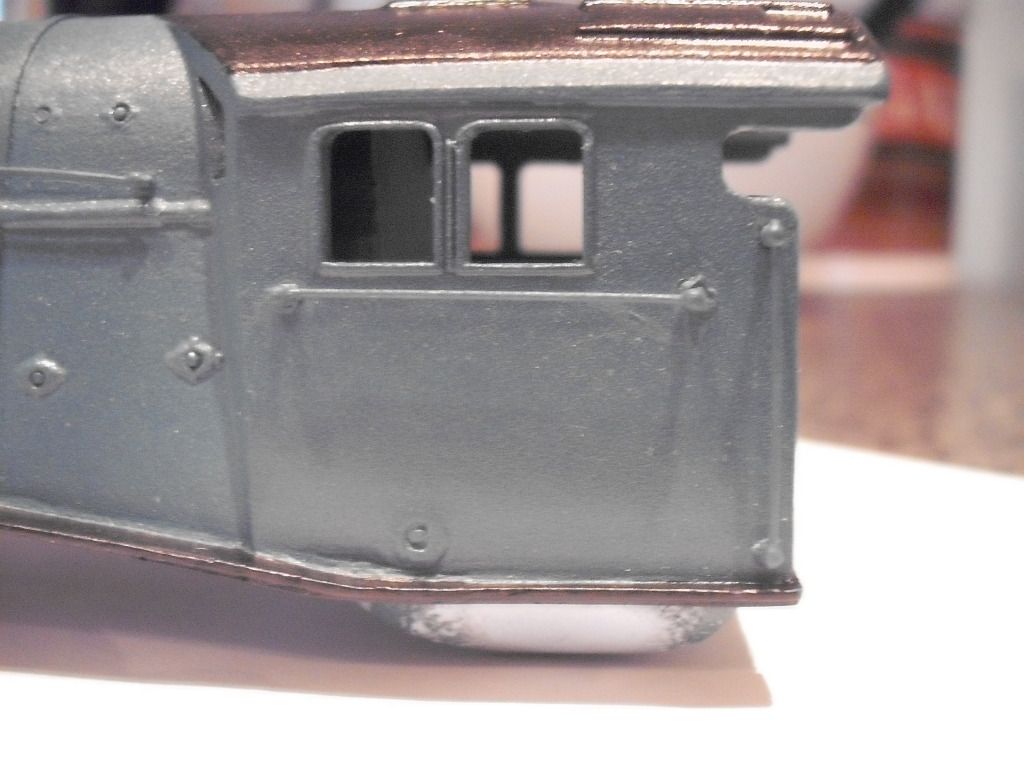
back to the work bench aka kitchen table, spent 3 hours filing & sanding the horrible moulded boiler banding off. Chris put me onto a local supplier of evergreen so I grabbed some, bargain at £2.10 a pack
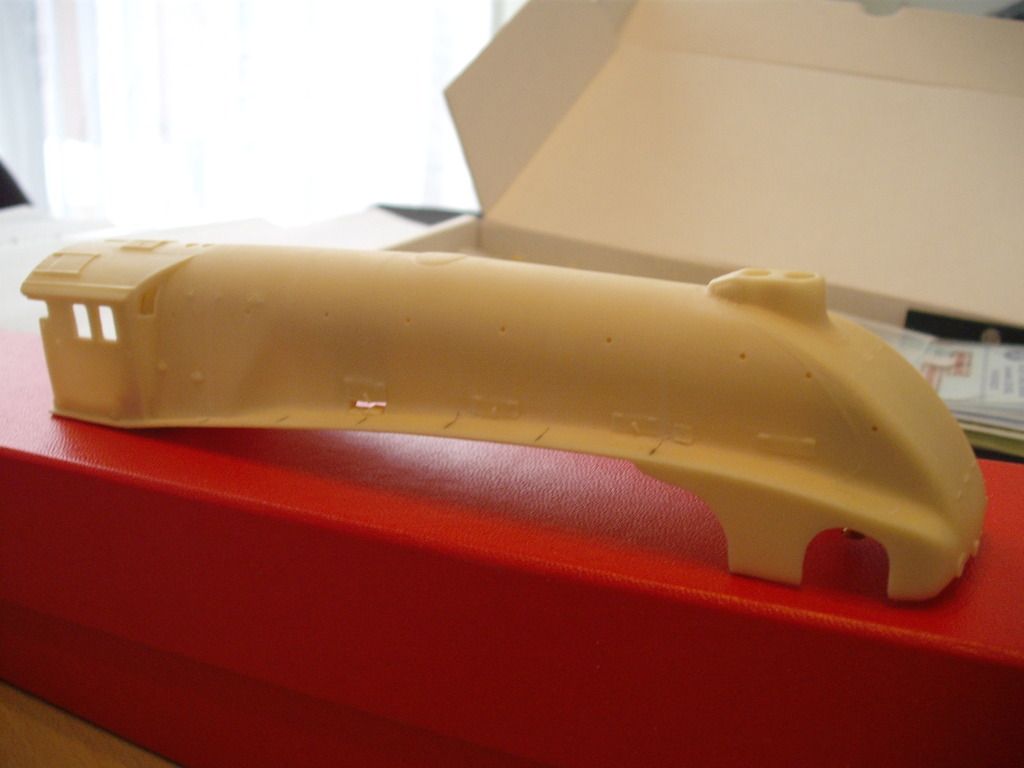
all ready for new banding
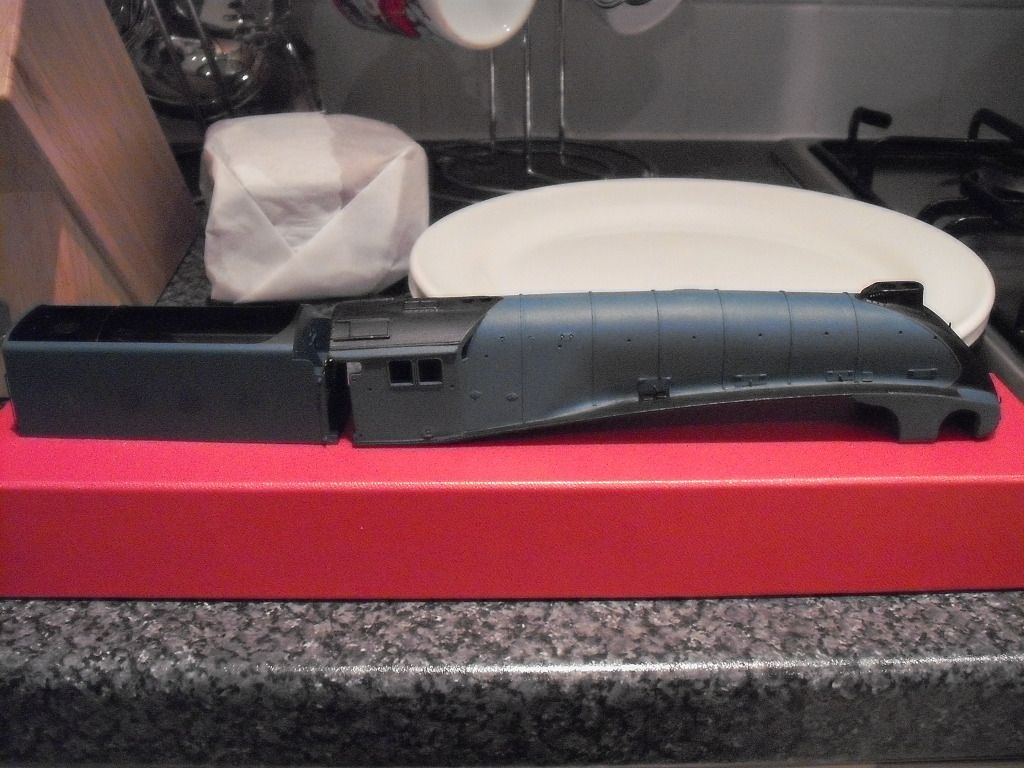
so with the strip ready pk101 0.25 x 0.75mm off I set
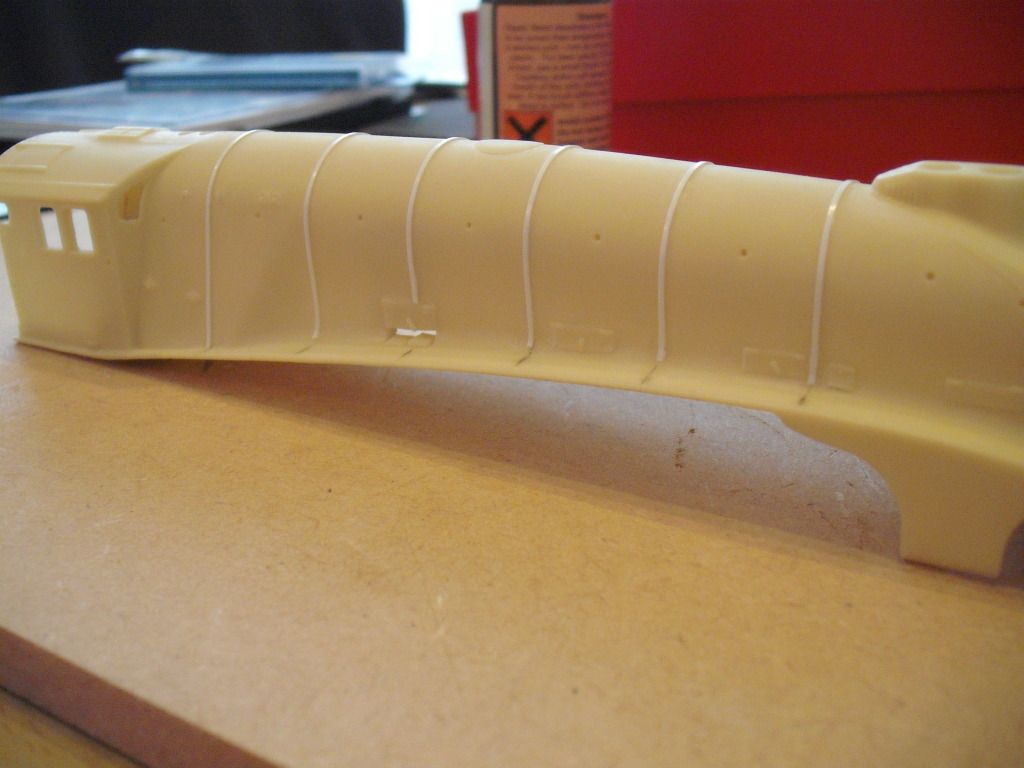
once its hardened up, a wash in warm water then dried in airing cupboard over night
Hopeful I can get a couple of coats of primer tomorrow, then see if it needs some more sanding
that's all for today
--------------------
Brian
snow got a little in the way, n more on the way!!
back to the work bench aka kitchen table, spent 3 hours filing & sanding the horrible moulded boiler banding off. Chris put me onto a local supplier of evergreen so I grabbed some, bargain at £2.10 a pack
all ready for new banding
so with the strip ready pk101 0.25 x 0.75mm off I set
once its hardened up, a wash in warm water then dried in airing cupboard over night
Hopeful I can get a couple of coats of primer tomorrow, then see if it needs some more sanding
that's all for today
--------------------
Brian
oOo
Brian
Garage Hobbit!!
Modelling in 00 on my heritage line, very GCR inspired
Brian
Garage Hobbit!!
Modelling in 00 on my heritage line, very GCR inspired
-
2002EarlMarischal

- LNER A3 4-6-2
- Posts: 1402
- Joined: Thu Jul 09, 2009 11:18 pm
- Location: Burbage
Re: My W1 build
Coming on well!  Please keep the pics coming.
Out of interest, did you consider merely sanding down the boiler bands to "almost nothing", as an option, rather than replacing the banding?
On a general point re lining: Ian Rathbone was doing demos at Warley in November last year and I may be mistaken, but I'm sure I heard him say that he didn't use bands at all, he felt that the thickness of the lining paint or transfers was sufficient in it's own right!
When you see loco's in the flesh the banding looks quite thin and I can see his point!
-
Mercator II
- GCR O4 2-8-0 'ROD'
- Posts: 536
- Joined: Mon Nov 03, 2008 12:14 pm
- Location: Lincolnshire
Re: My W1 build
2002EarlMarischal wrote:Coming on well!
Out of interest, did you consider merely sanding down the boiler bands to "almost nothing", as an option, rather than replacing the banding?
On a general point re lining: Ian Rathbone was doing demos at Warley in November last year and I may be mistaken, but I'm sure I heard him say that he didn't use bands at all, he felt that the thickness of the lining paint or transfers was sufficient in it's own right!
When you see loco's in the flesh the banding looks quite thin and I can see his point!
No as they were just to fat and thick, 3mm wide x 2.5mm high, that was one compromise I couldn't live with
I did see Ian's work last year and very impressive it was too, but this won't have lining so needed something, thought about paper but cutting it this thin and straight, all matching is a tall order, if I had a chop guillotine then maybe...
Anyway, thank you for the kind words & encouragement
Brian
oOo
Brian
Garage Hobbit!!
Modelling in 00 on my heritage line, very GCR inspired
Brian
Garage Hobbit!!
Modelling in 00 on my heritage line, very GCR inspired
Re: My W1 build
As I said earlier much easier if you had used tape for the bands.
-
Mercator II
- GCR O4 2-8-0 'ROD'
- Posts: 536
- Joined: Mon Nov 03, 2008 12:14 pm
- Location: Lincolnshire
Re: My W1 build
what tape do you use? width?mick b wrote:As I said earlier much easier if you had used tape for the bands.
is it self addisive & where would I get some?
can then look at it for next project
Brian
oOo
Brian
Garage Hobbit!!
Modelling in 00 on my heritage line, very GCR inspired
Brian
Garage Hobbit!!
Modelling in 00 on my heritage line, very GCR inspired
Re: My W1 build
The W1 is looking good there. I've not used tape but IIRC Tony Wright uses electrical insulation tape cut to the correct width and length.
Looking forward to the next installment!
Looking forward to the next installment!
Steve
-
Atlantic 3279

- LNER A4 4-6-2 'Streak'
- Posts: 6694
- Joined: Fri Jun 26, 2009 9:51 am
- Location: 2850, 245
Re: My W1 build
I've used PVC or similar tape a few times, but I'd be inclined firstly to take great care not to stretch it before application. You'll have to firstly stick it lightly onto glass or polished metal so that you can cut the narrow strips with a knife. It is easy to stretch these thin strips as you peel them off, and I'd worry that after laying them on the actual model they might then want to slowly recoil back toward original length, leaving gaps! I reckon it also wants to be thoroughly sealed by over-painting, but not with some much wet paint in one go that the paint solvent attcaks the gum on the tape....
I once used some black PVC tape with added red edge lining at a late stage on one model to depict lined boiler bands. I suspect I did not adequately seal it with varnish as after several years of varying climate it went a bit baggy / wrinkly in places.
I once used some black PVC tape with added red edge lining at a late stage on one model to depict lined boiler bands. I suspect I did not adequately seal it with varnish as after several years of varying climate it went a bit baggy / wrinkly in places.
Most subjects, models and techniques covered in this thread are now listed in various categories on page1
Dec. 2018: Almost all images that disappeared from my own thread following loss of free remote hosting are now restored.
Dec. 2018: Almost all images that disappeared from my own thread following loss of free remote hosting are now restored.
Re: My W1 build
Use masking tape or Comet sell tape too its aimed at coach roofs but is till useable for other things
-
Mercator II
- GCR O4 2-8-0 'ROD'
- Posts: 536
- Joined: Mon Nov 03, 2008 12:14 pm
- Location: Lincolnshire
Re: My W1 build
well snow has gone so modelling can resume
have made and fitted some front lamp brackets, fiddley ruddy things
dug out my can of halfords plastic primer and brought into house to warm up, washed the body in warm water, then leftover night in airing cupboard to dry
next day (sunday) I mounted it on a block and headed outside to prime it as swmbo would have a fit if I did it in kitchen
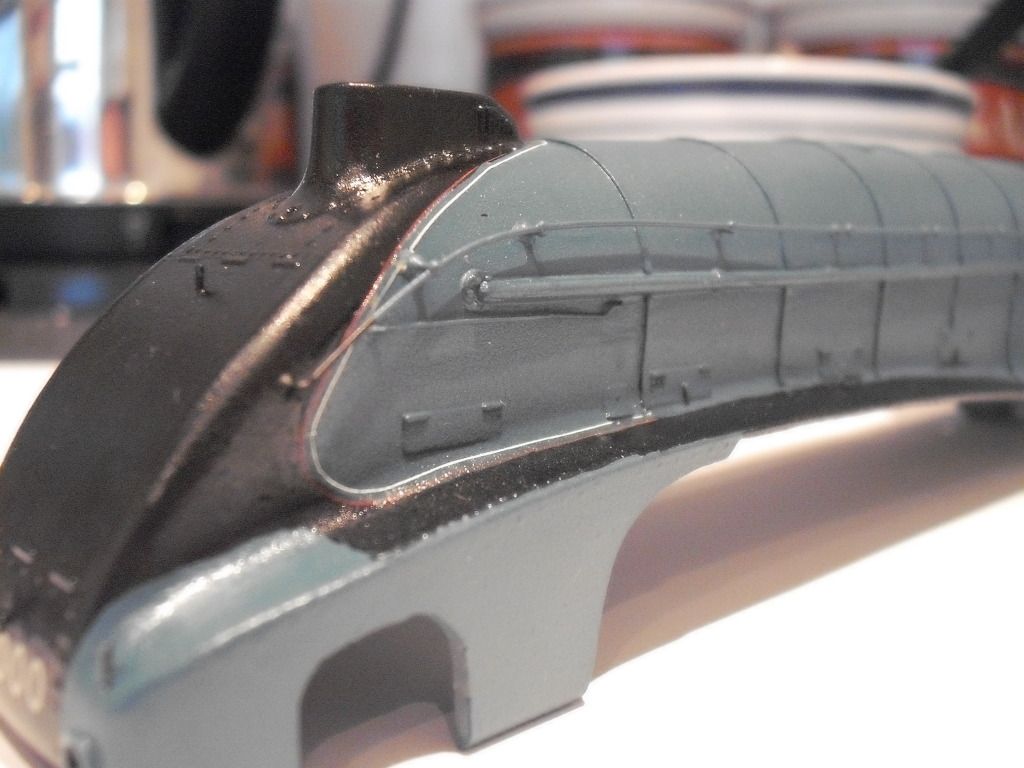
3 thin coats applied and to my delight looked ok, for a split second I was tempted to do a never wore livery like her original as built!!
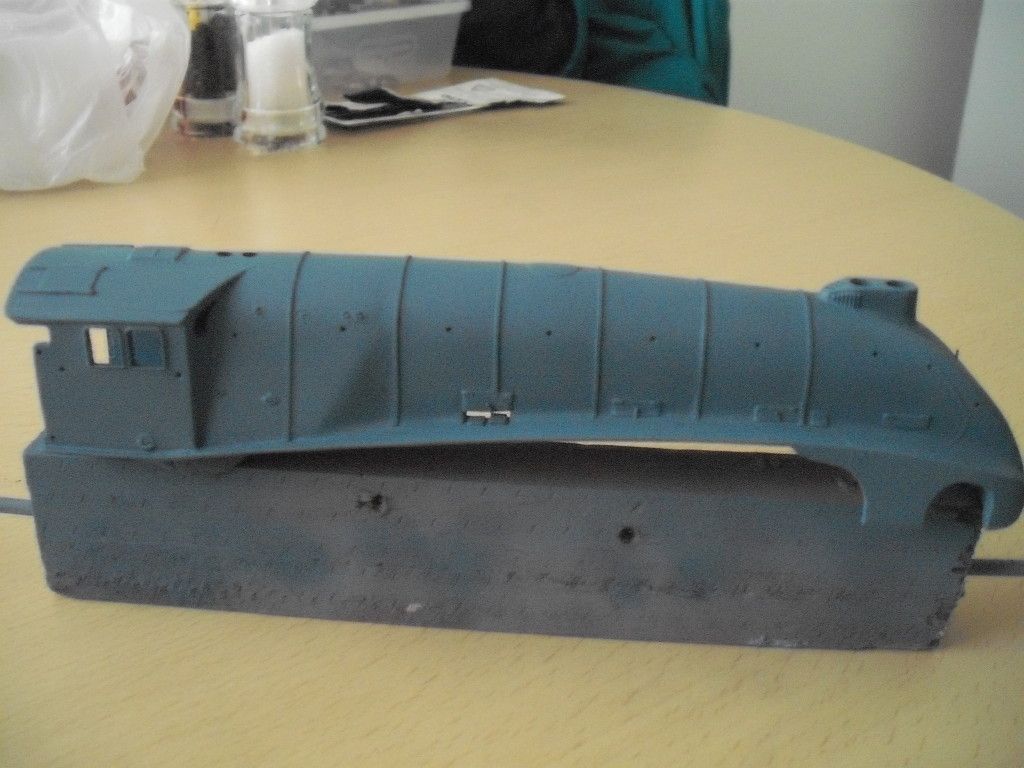
yesterday (Monday) I headed into the garage early to put heating on, mixed up the paint and set up the compressor and air brush. Once I had it warmer, with brew in hand I set about practicing on a random object to get the feel of how acrylic paint sprayed, then when happy I set to on the loco. Now having never sprayed acrylic before I am amazed how quick it dries, and not bad coverage either
the only down side to acrylic is because it dried so quick, the air brush took some cleaning. The body was put aside again to allow to harden
so this morning I popped out to get some paint/varnish as advised not to use enamels over acrylic. After lunch I couldn't resist any longer and painted all the black areas
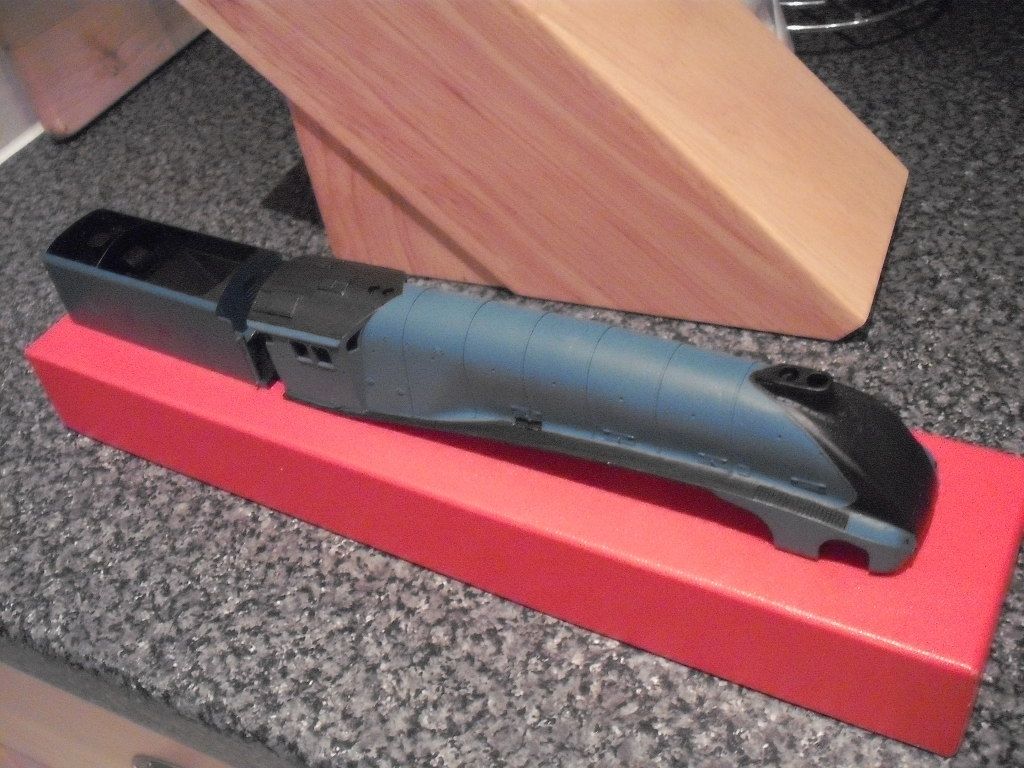
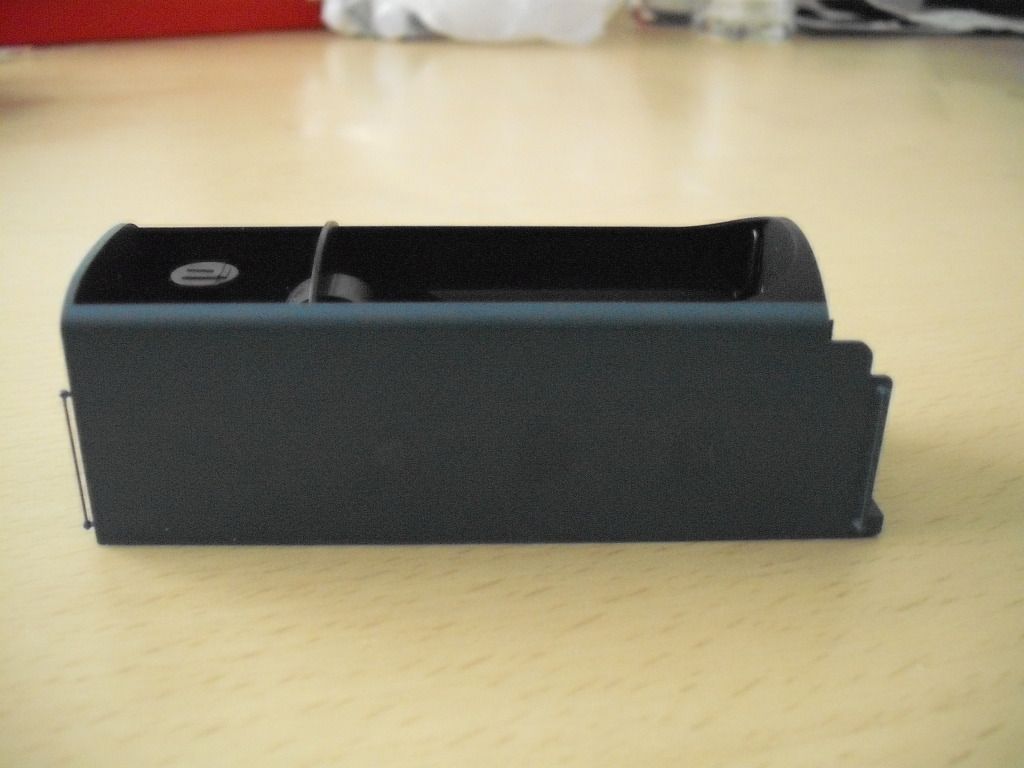
have also removed the transfers on the tender
so that's me uptodate, next is gloss varnish both loco n tender in prep for transfers
thanks for looking
--------------------
Brian
have made and fitted some front lamp brackets, fiddley ruddy things
dug out my can of halfords plastic primer and brought into house to warm up, washed the body in warm water, then leftover night in airing cupboard to dry
next day (sunday) I mounted it on a block and headed outside to prime it as swmbo would have a fit if I did it in kitchen
3 thin coats applied and to my delight looked ok, for a split second I was tempted to do a never wore livery like her original as built!!
yesterday (Monday) I headed into the garage early to put heating on, mixed up the paint and set up the compressor and air brush. Once I had it warmer, with brew in hand I set about practicing on a random object to get the feel of how acrylic paint sprayed, then when happy I set to on the loco. Now having never sprayed acrylic before I am amazed how quick it dries, and not bad coverage either
the only down side to acrylic is because it dried so quick, the air brush took some cleaning. The body was put aside again to allow to harden
so this morning I popped out to get some paint/varnish as advised not to use enamels over acrylic. After lunch I couldn't resist any longer and painted all the black areas
have also removed the transfers on the tender
so that's me uptodate, next is gloss varnish both loco n tender in prep for transfers
thanks for looking
--------------------
Brian
oOo
Brian
Garage Hobbit!!
Modelling in 00 on my heritage line, very GCR inspired
Brian
Garage Hobbit!!
Modelling in 00 on my heritage line, very GCR inspired
-
2002EarlMarischal
- LNER A3 4-6-2
- Posts: 1402
- Joined: Thu Jul 09, 2009 11:18 pm
- Location: Burbage
Re: My W1 build
Very nice paint job so far - well done!
What paint did you use after the primer?
What paint did you use after the primer?
Re: My W1 build
Cant tell what colour the body is ? I hope its Garter Blue ?
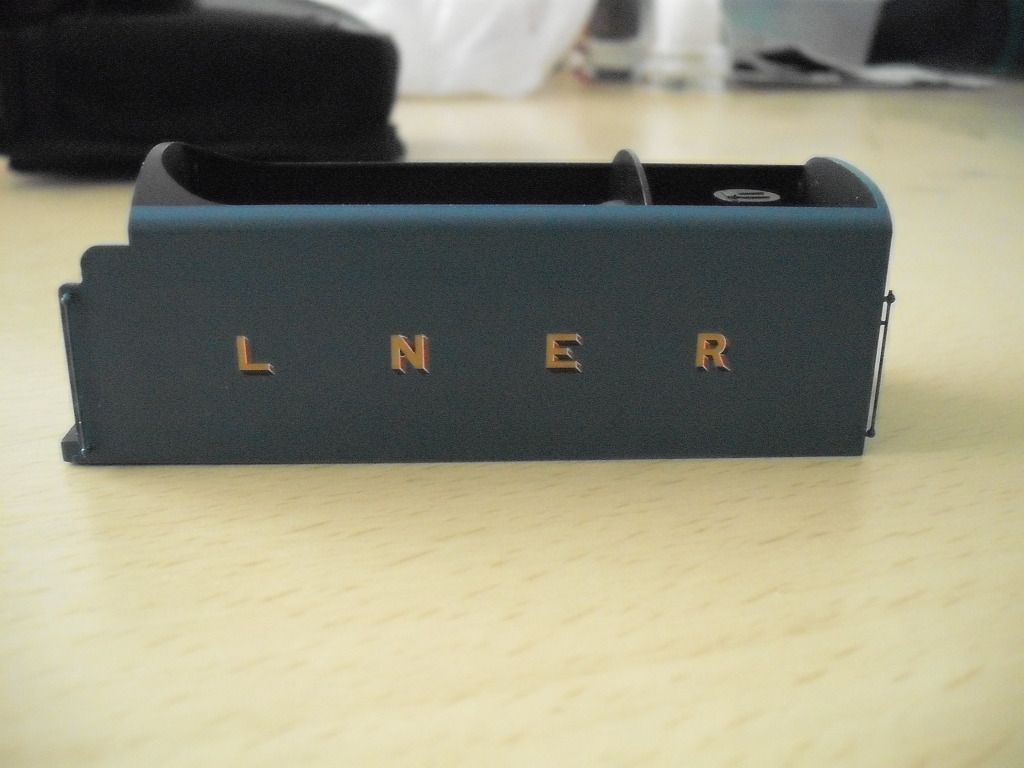
The lettering if this is a post war version ? should be Steel cut out letters and numbers as my version posted earlier.
The lettering if this is a post war version ? should be Steel cut out letters and numbers as my version posted earlier.
-
Mercator II
- GCR O4 2-8-0 'ROD'
- Posts: 536
- Joined: Mon Nov 03, 2008 12:14 pm
- Location: Lincolnshire
Re: My W1 build
Thanks2002EarlMarischal wrote:Very nice paint job so far - well done!
What paint did you use after the primer?
I use Halfords plastic bumper primer
Brian
oOo
Brian
Garage Hobbit!!
Modelling in 00 on my heritage line, very GCR inspired
Brian
Garage Hobbit!!
Modelling in 00 on my heritage line, very GCR inspired
-
Mercator II
- GCR O4 2-8-0 'ROD'
- Posts: 536
- Joined: Mon Nov 03, 2008 12:14 pm
- Location: Lincolnshire
Re: My W1 build
as I said in my original post, it will be post war/early BR with a bit of modellers licensemick b wrote:Cant tell what colour the body is ? I hope its Garter Blue ?
The lettering if this is a post war version ? should be Steel cut out letters and numbers as my version posted earlier.
and of course its garter blue, again as said in original post
Brian
oOo
Brian
Garage Hobbit!!
Modelling in 00 on my heritage line, very GCR inspired
Brian
Garage Hobbit!!
Modelling in 00 on my heritage line, very GCR inspired
-
Mercator II
- GCR O4 2-8-0 'ROD'
- Posts: 536
- Joined: Mon Nov 03, 2008 12:14 pm
- Location: Lincolnshire
Re: My W1 build
time for a quick update
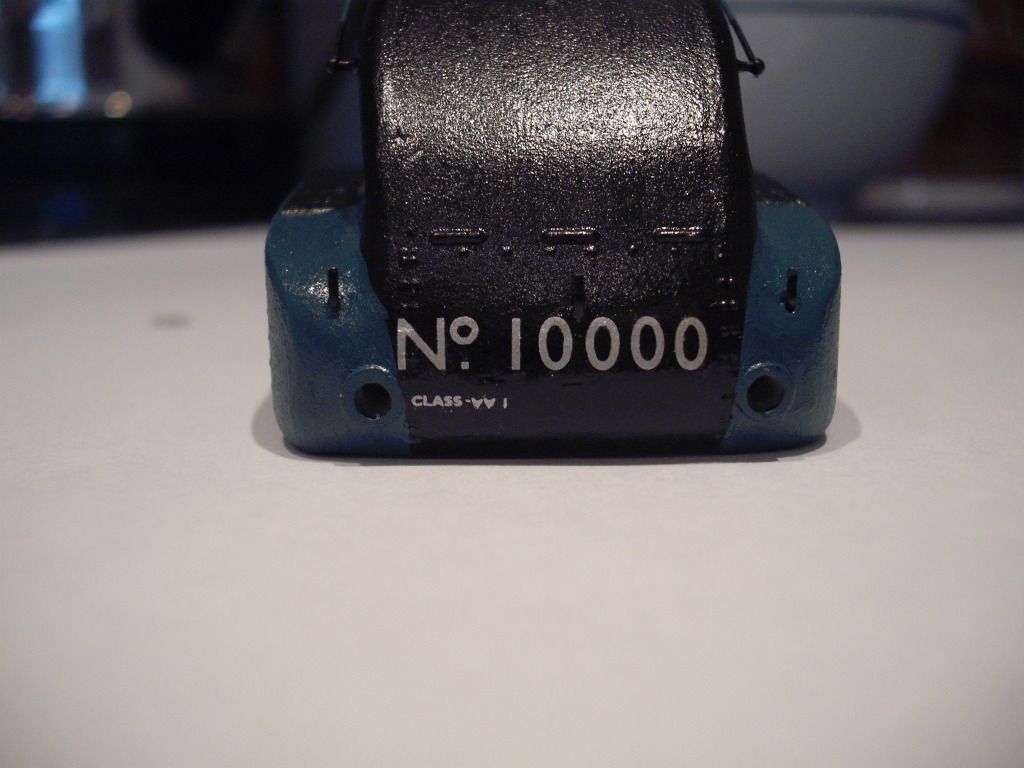
made a few more details added, fitted all the handrails, and applied the first of the decals, the nose numbers and the parabolic curve
did these last week, then was a pause whilst I waited for the custom transfers to arrive, and today I applied them too (will post pics of them later) and was going to top coat with varnish today but my airbrush packed up today
I have also made and fitted the cab fall plate, test fitted the buffers, painted the safety values and fitted the rear truck frames to the body with a represantation of the lower part of the firebox
so as soon as I get the airbrush working, I will do the final coat of varnish and then its onto the final fit, so I hope to have it completed by middle of next week and fit the suprise to it
thx for looking
Brian
oOo
Brian
Garage Hobbit!!
Modelling in 00 on my heritage line, very GCR inspired
Brian
Garage Hobbit!!
Modelling in 00 on my heritage line, very GCR inspired