Rob's 7mm Rolling Stock Workbench
Moderators: 52D, Tom F, Rlangham, Atlantic 3279, Blink Bonny, Saint Johnstoun, richard
- Robpulham
- LNER A4 4-6-2 'Streak'
- Posts: 1721
- Joined: Thu Mar 27, 2008 9:54 pm
- Location: Lower Wensleydale
- Contact:
Re: 7mm Rolling Stock Builds
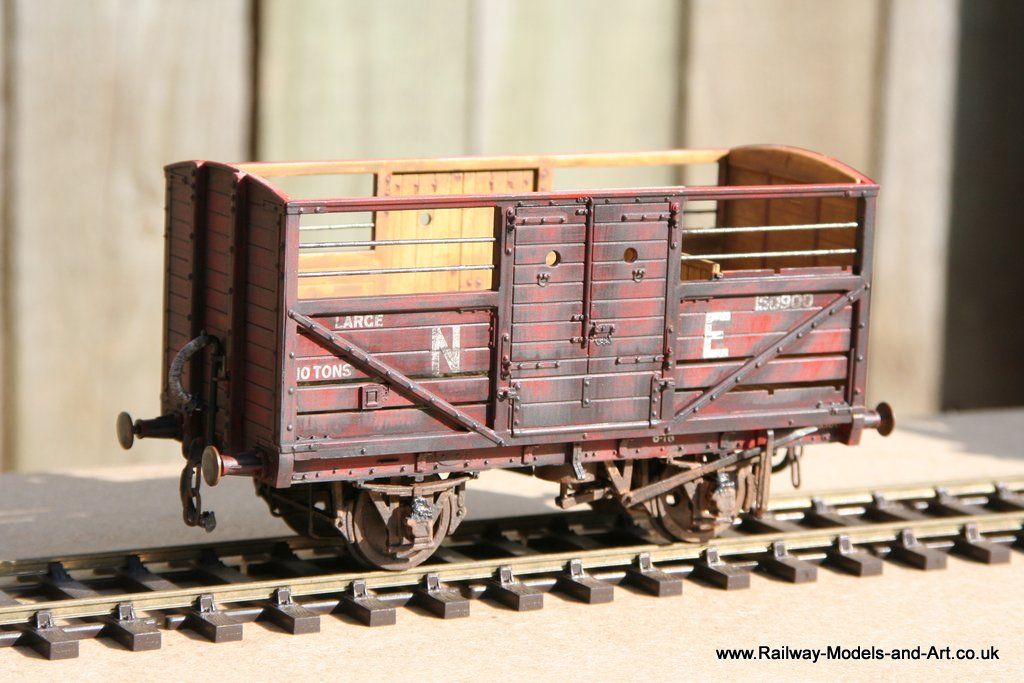
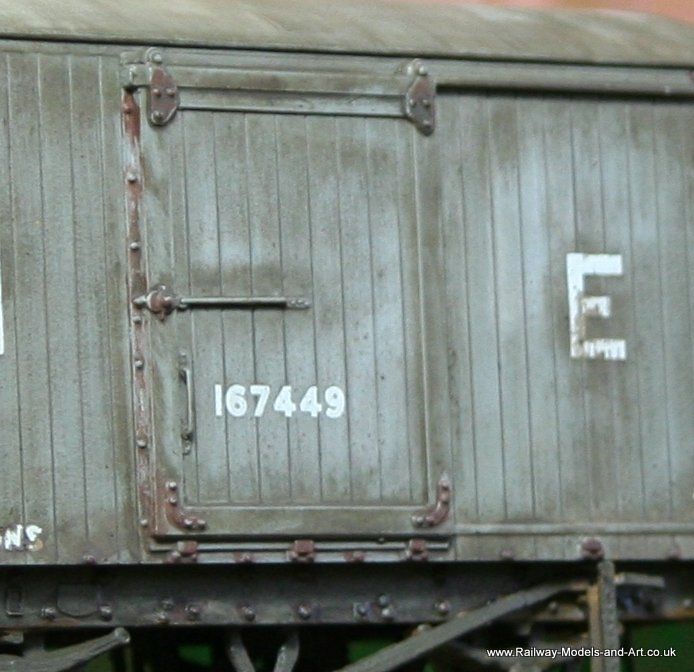
This is the last of the wagons that I have attempted any weathering on so far.
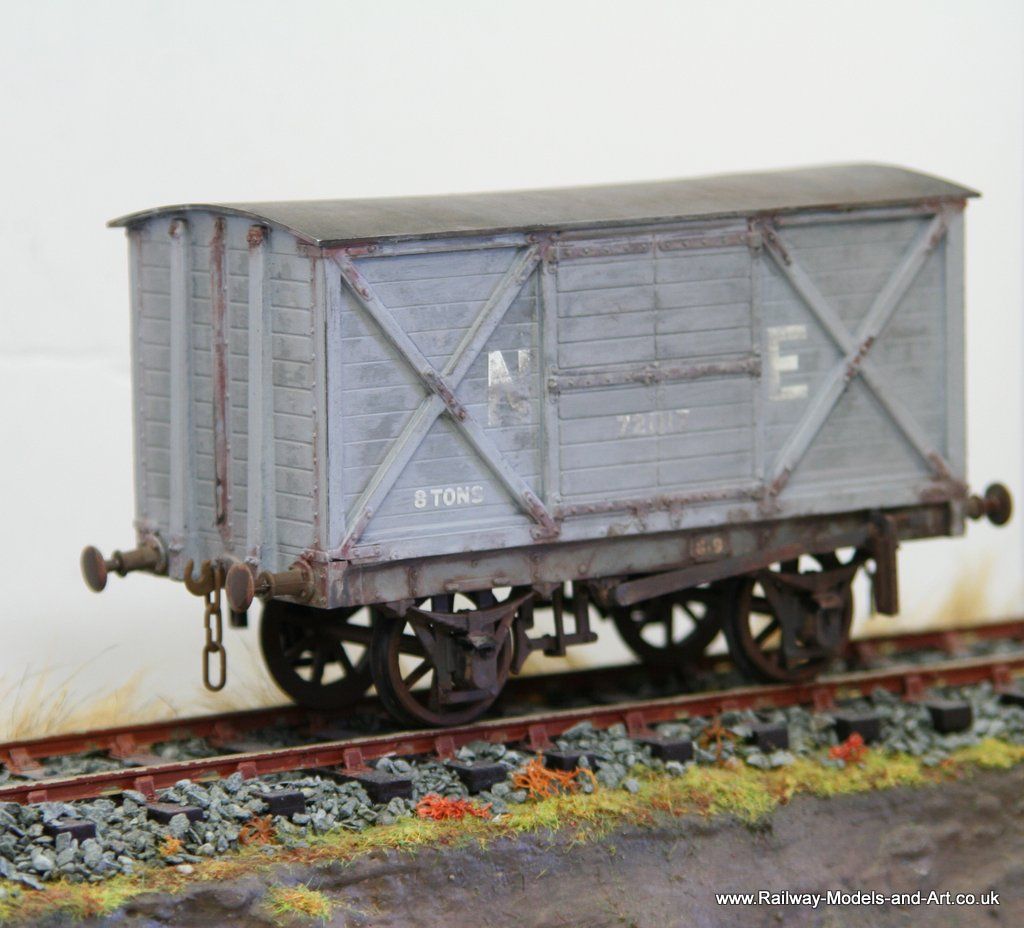
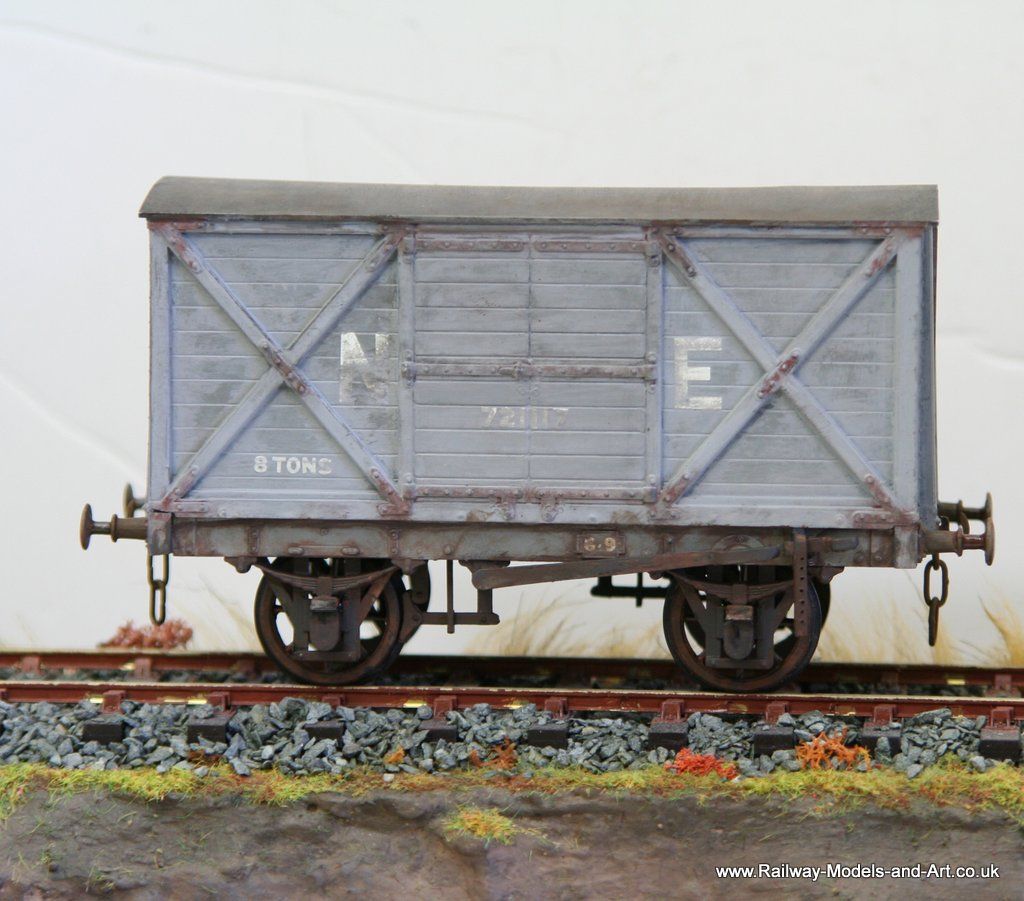
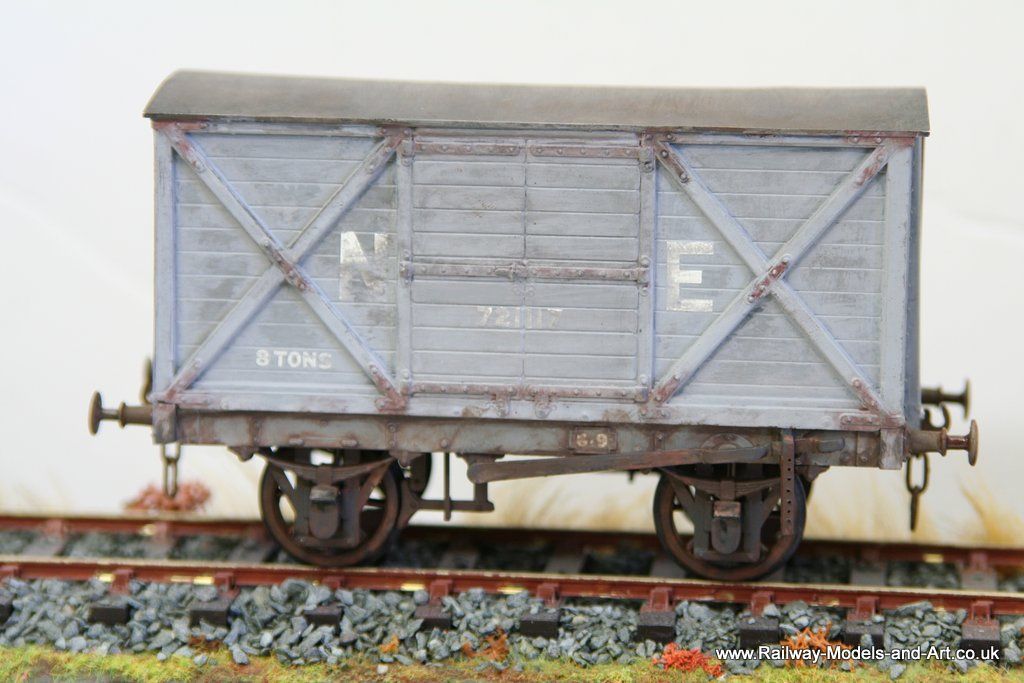
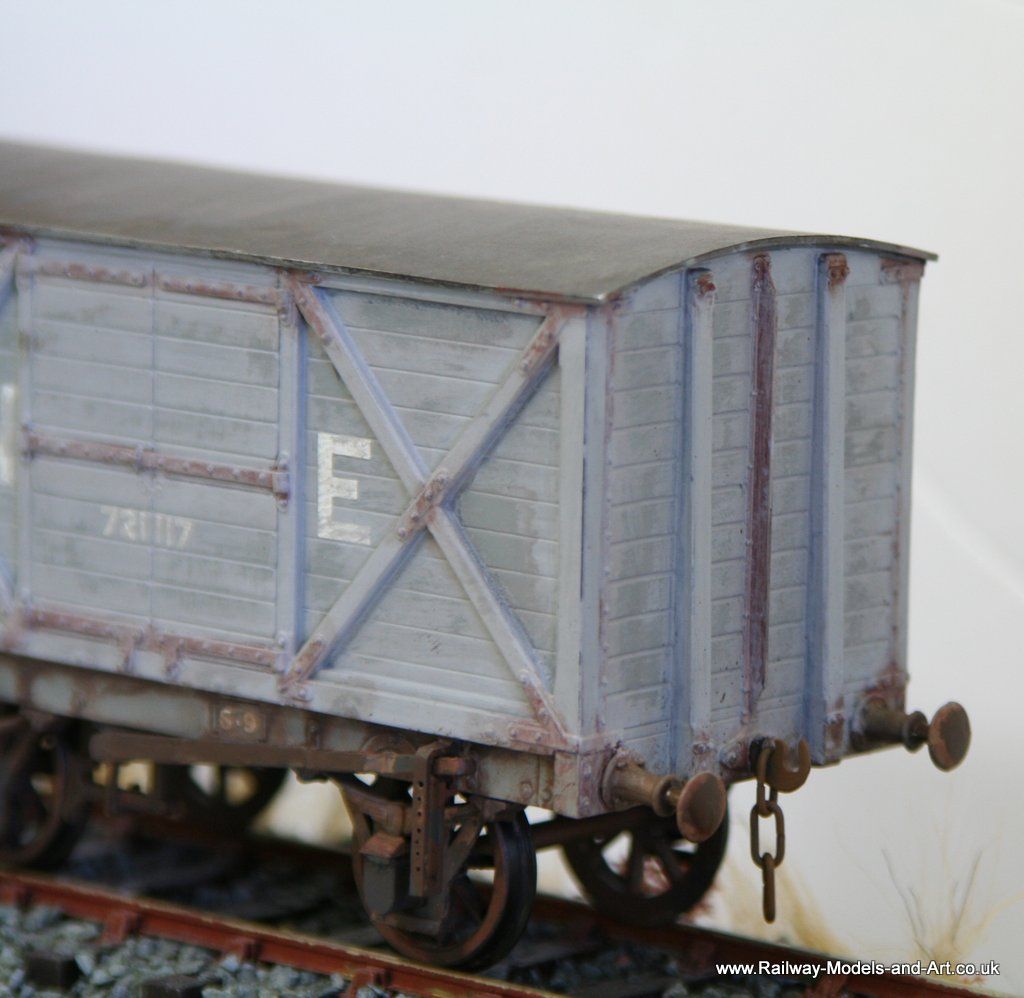
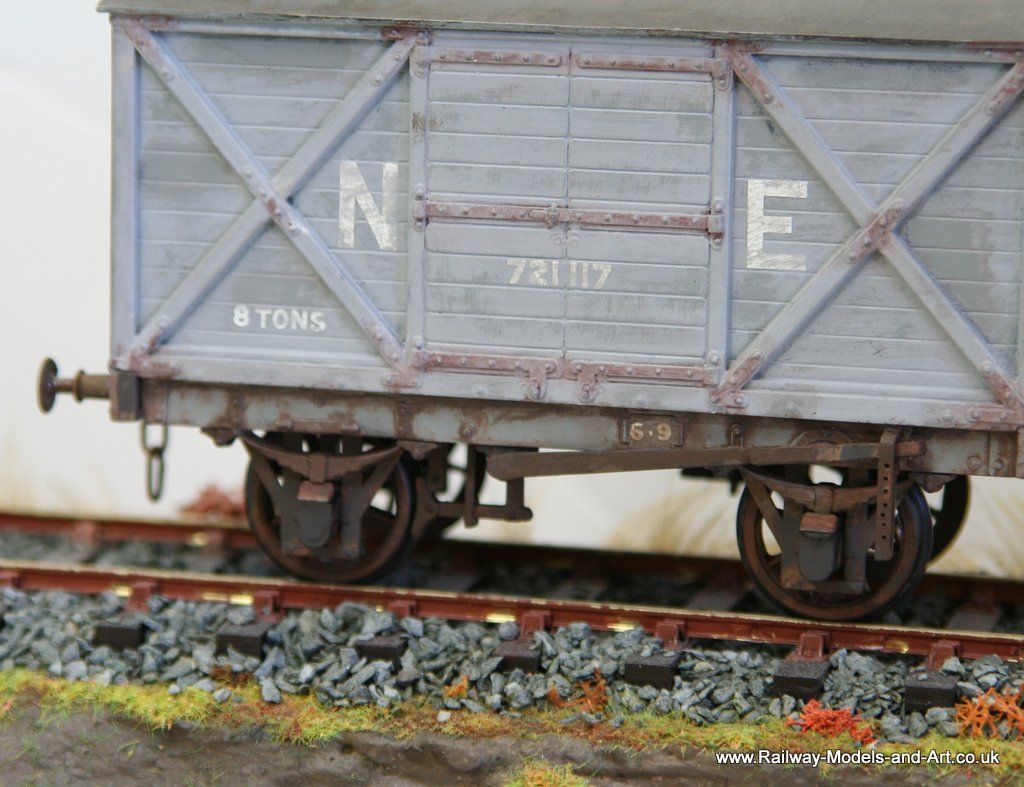
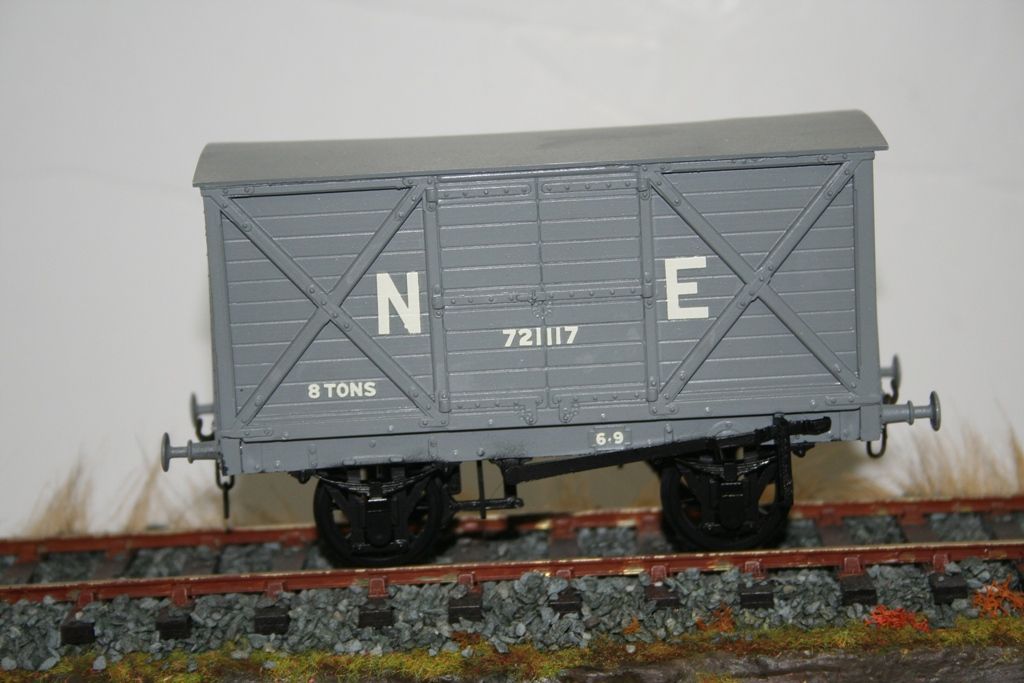
Again from the Parkside stable, one of their very early kits - The NBR 8 ton covered van that featured on the workbench previously.
Before:
And after a few 'years' in service:
Again from the Parkside stable, one of their very early kits - The NBR 8 ton covered van that featured on the workbench previously.
Before:
And after a few 'years' in service:
- Robpulham
- LNER A4 4-6-2 'Streak'
- Posts: 1721
- Joined: Thu Mar 27, 2008 9:54 pm
- Location: Lower Wensleydale
- Contact:
Re: 7mm Rolling Stock Builds
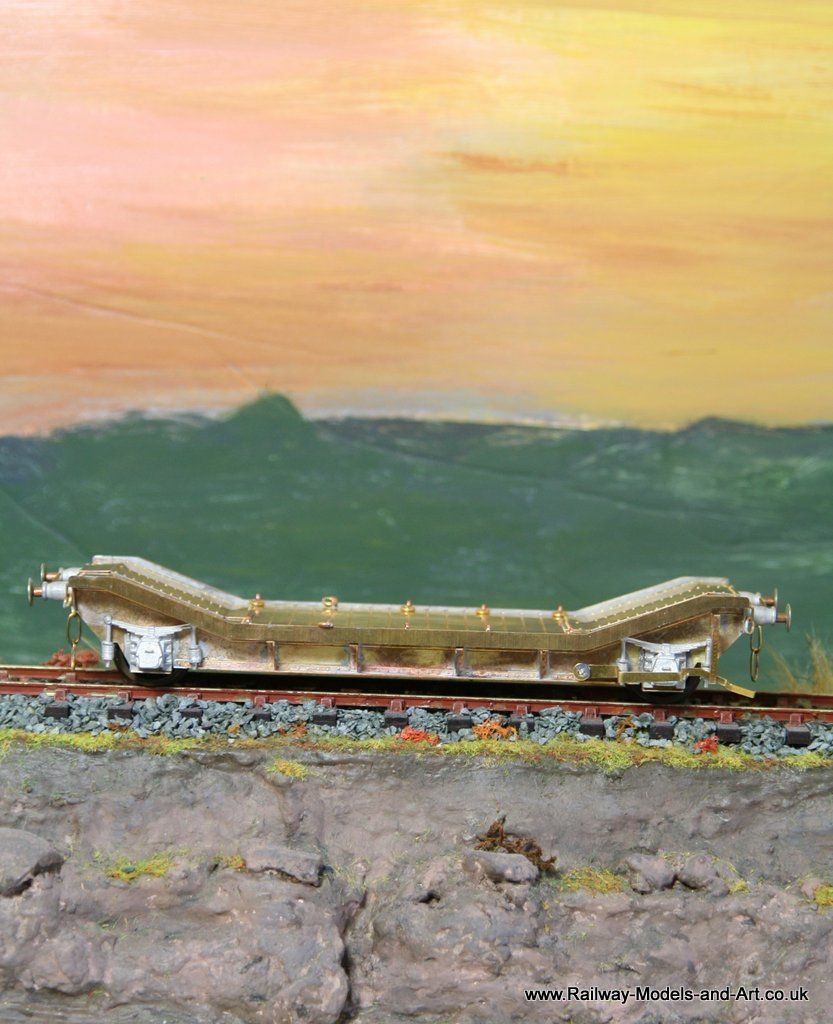
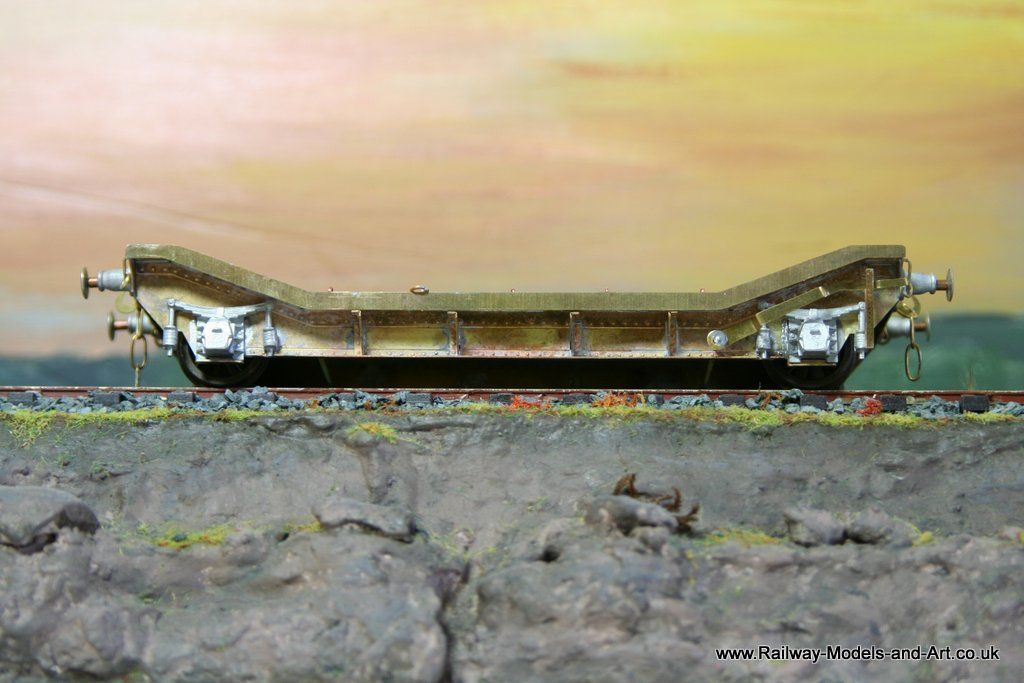
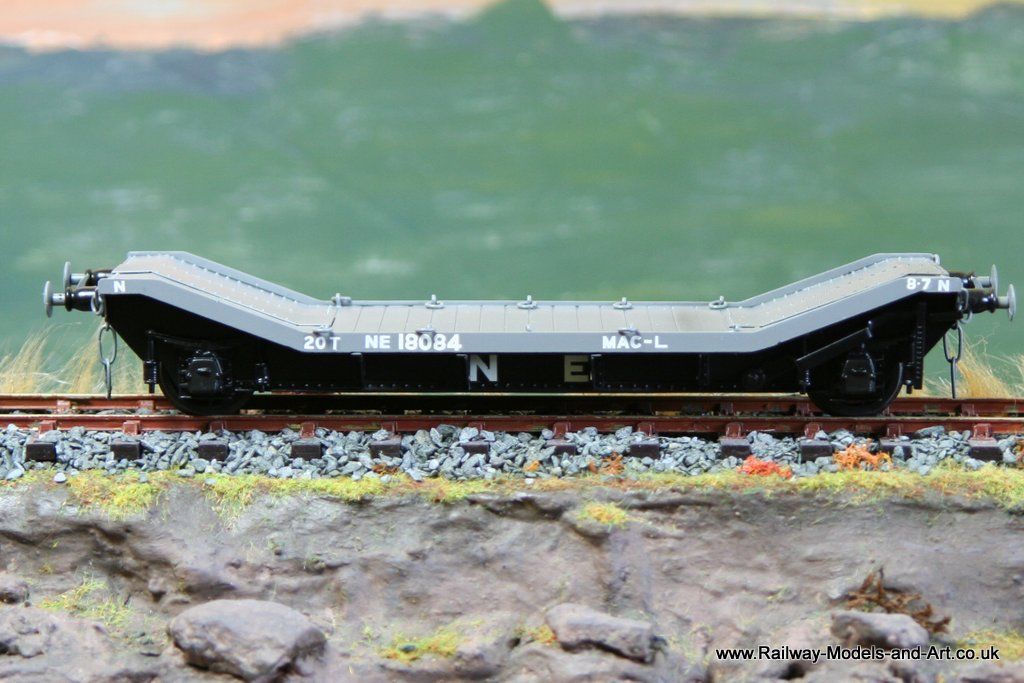
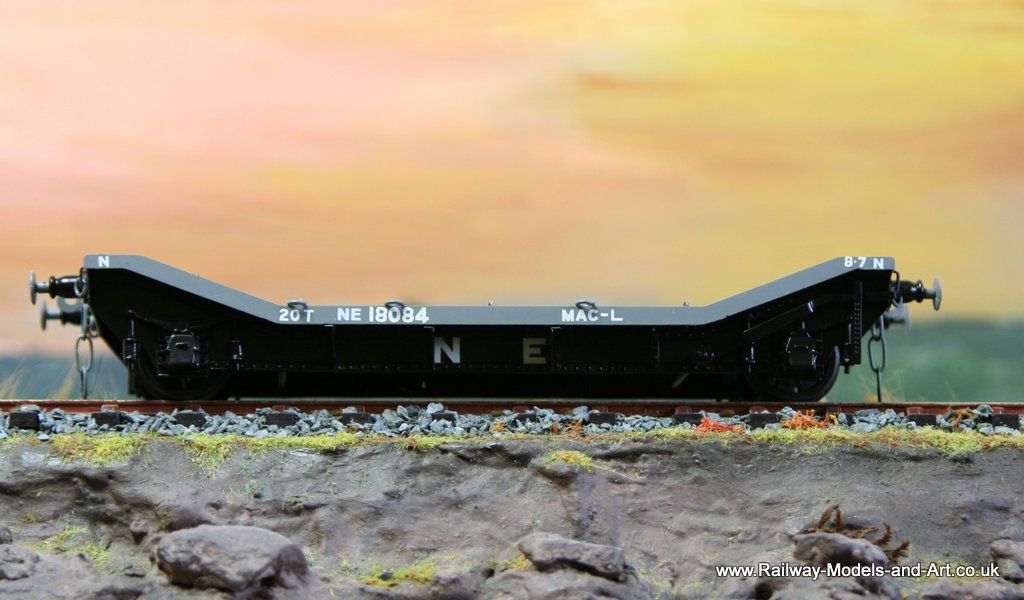
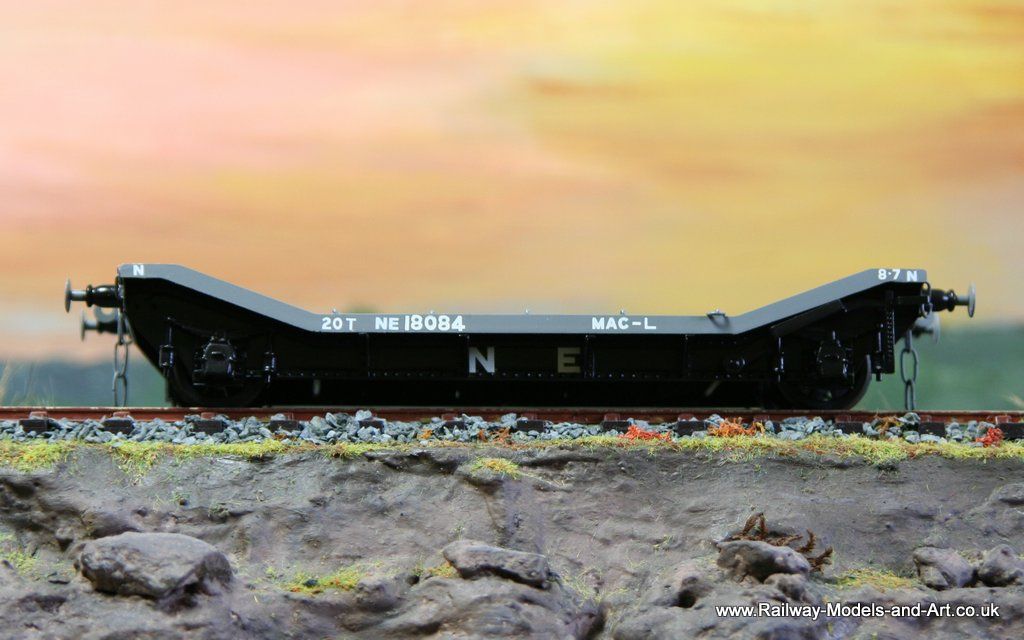
In between weathering and slowly putting the A3 together for what I hope I the last time I needed a bit of build therapy this took the form of a Connoisseur Models LNER Lowmac L. As with all the kits from Jim that I have built it was very straight forward to put together.
The only deviations that I made to the instructions was:
1. I bent up and soldered the reinforcing plates on the deck using my micro flame before any further assembly took place. I did this so that I wouldn't have lot's of solder to clean up around the edges.
2. I replaced the white metal buffer heads with some nickel ones from the spares box and soldered the coupling hook solid.
Re: 7mm Rolling Stock Builds
What a nice looking model.
In relation to my scratch-build of one of these in 4mm ...here... I tried to find out whether the solid flanges supporting the outer edges of the deck on the Connoisseur 7mm kit were specific to some of the build only. There were only ten.
I asked the question ... here...
I went with round struts - and I'm not going to change them now, but I would be interested in whether you unearthed any other information
- Robpulham
- LNER A4 4-6-2 'Streak'
- Posts: 1721
- Joined: Thu Mar 27, 2008 9:54 pm
- Location: Lower Wensleydale
- Contact:
Re: 7mm Rolling Stock Builds
Thank you,drmditch wrote:What a nice looking model.
In relation to my scratch-build of one of these in 4mm ...here... I tried to find out whether the solid flanges supporting the outer edges of the deck on the Connoisseur 7mm kit were specific to some of the build only. There were only ten.
I asked the question ... here...
I went with round struts - and I'm not going to change them now, but I would be interested in whether you unearthed any other information
I have to confess that for once I just built it out of the box (card in this case ) without doing any research on it at all.
But having looked at your two links and the two reference books quoted they certainly look round to me, both on the MAC L and the implement wagon which I built from Jim's range previously. However like you I am not going back to change them now
- Robpulham
- LNER A4 4-6-2 'Streak'
- Posts: 1721
- Joined: Thu Mar 27, 2008 9:54 pm
- Location: Lower Wensleydale
- Contact:
Re: 7mm Rolling Stock Builds
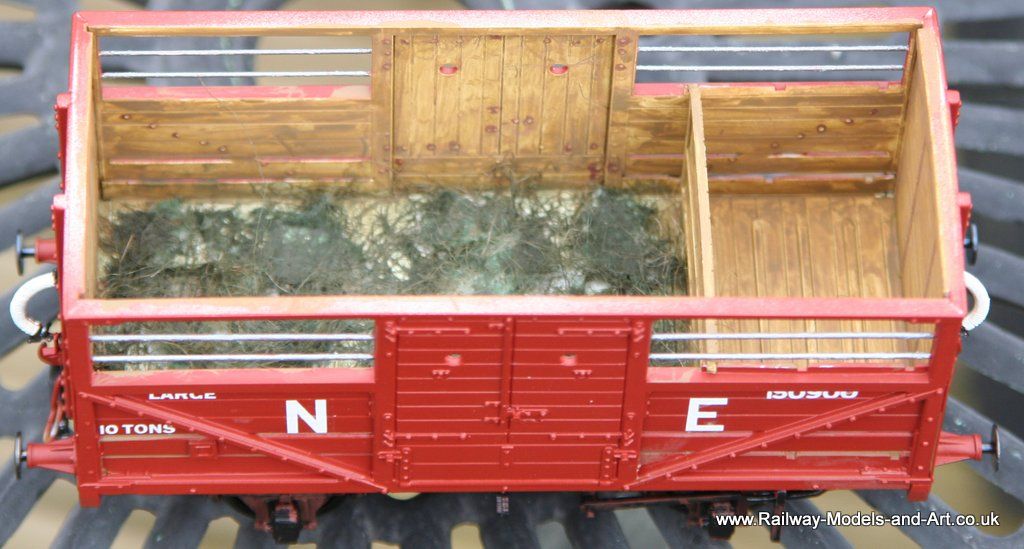
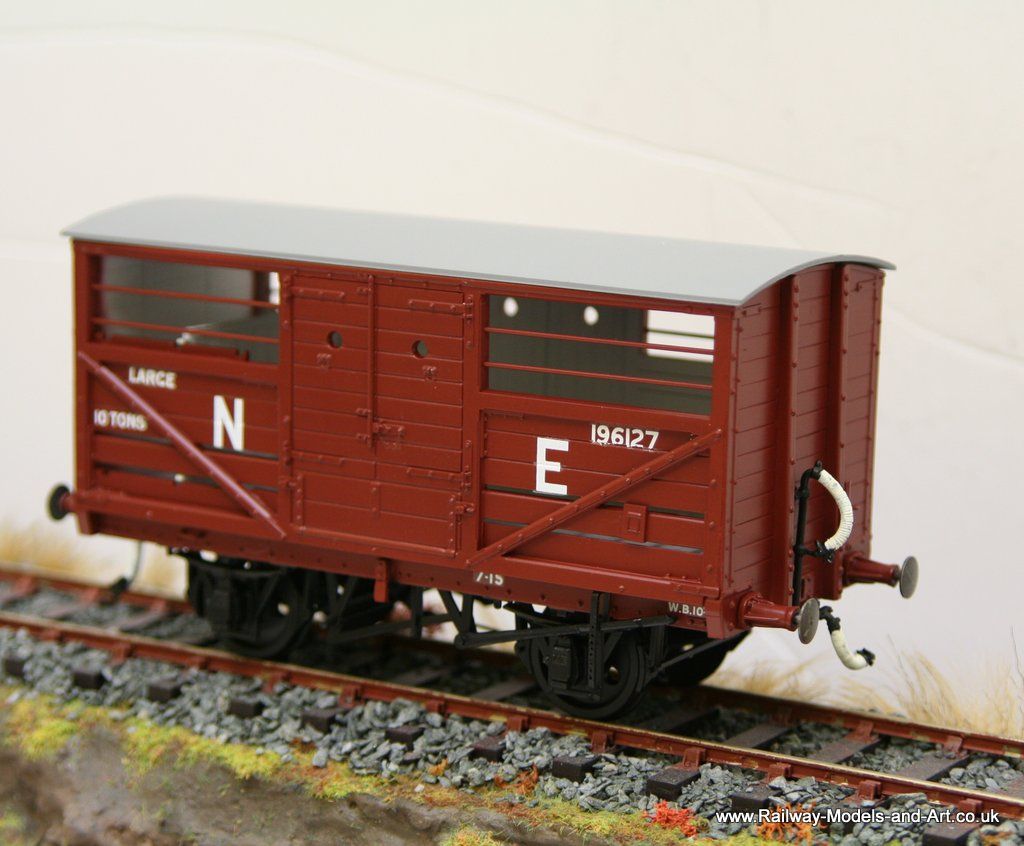
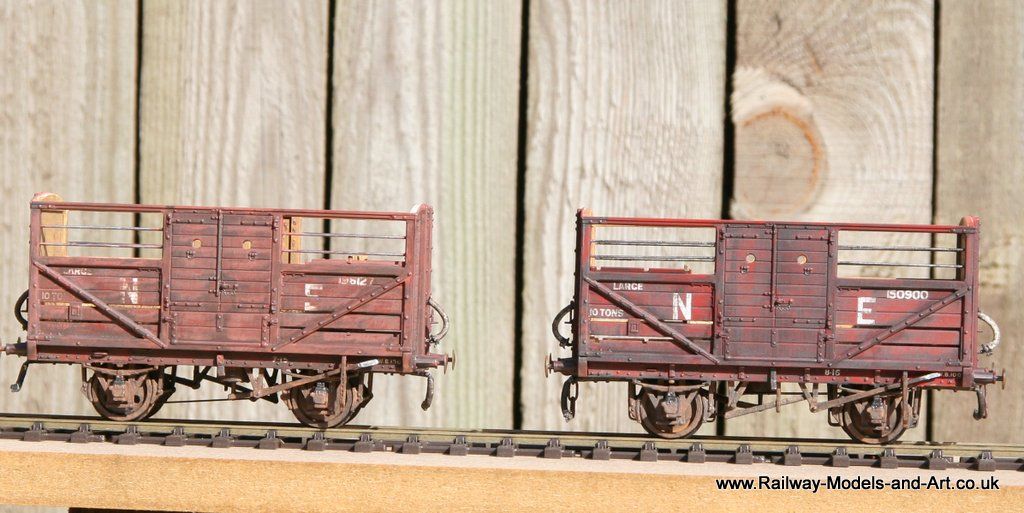
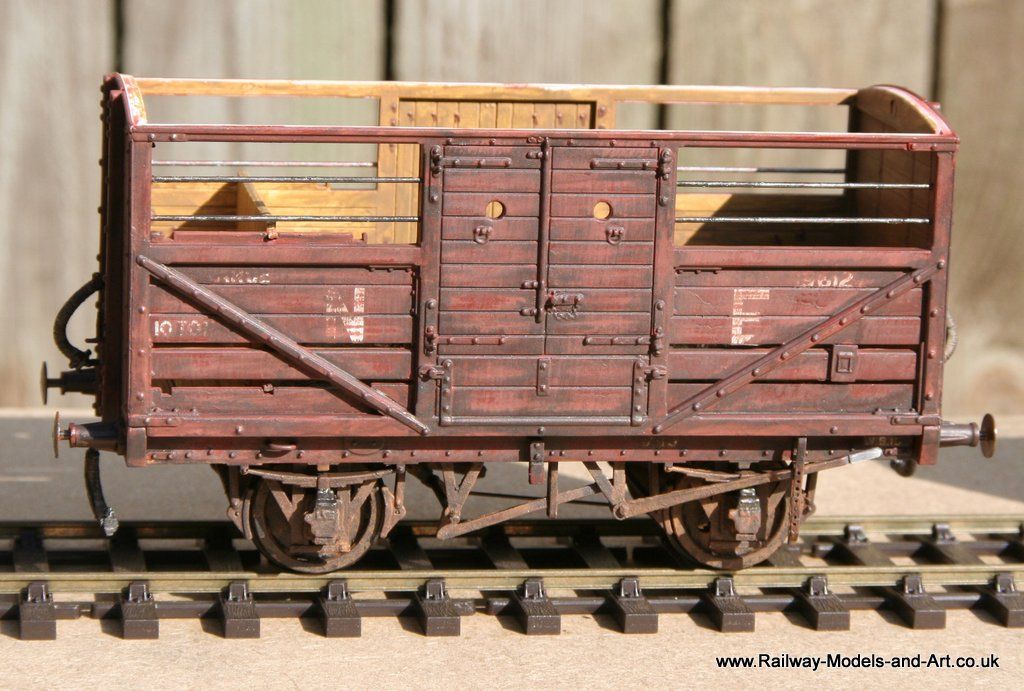
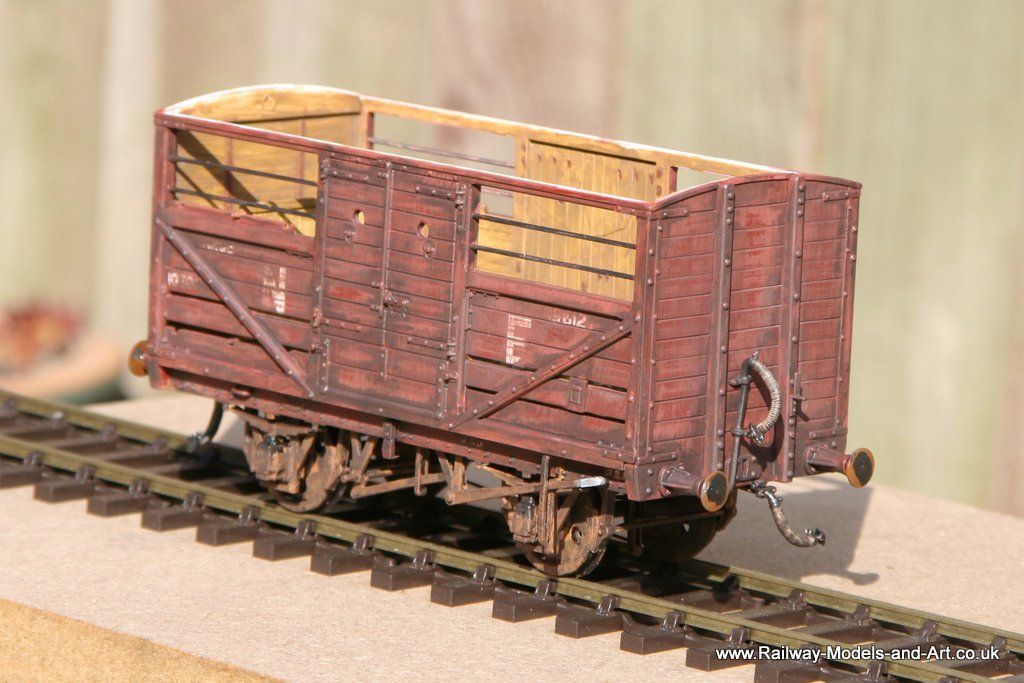
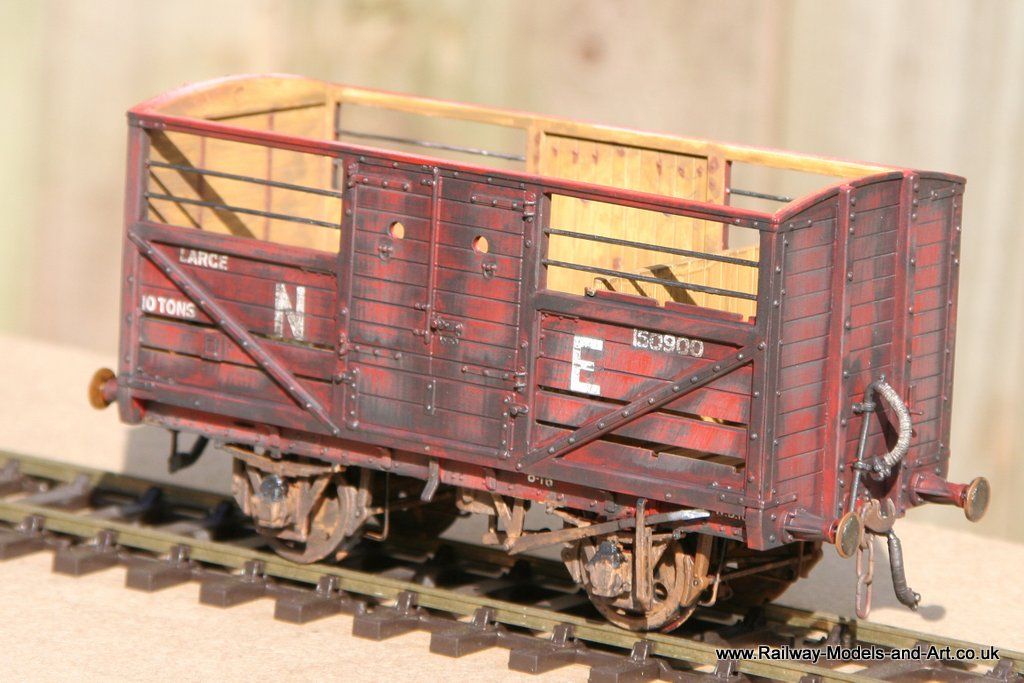
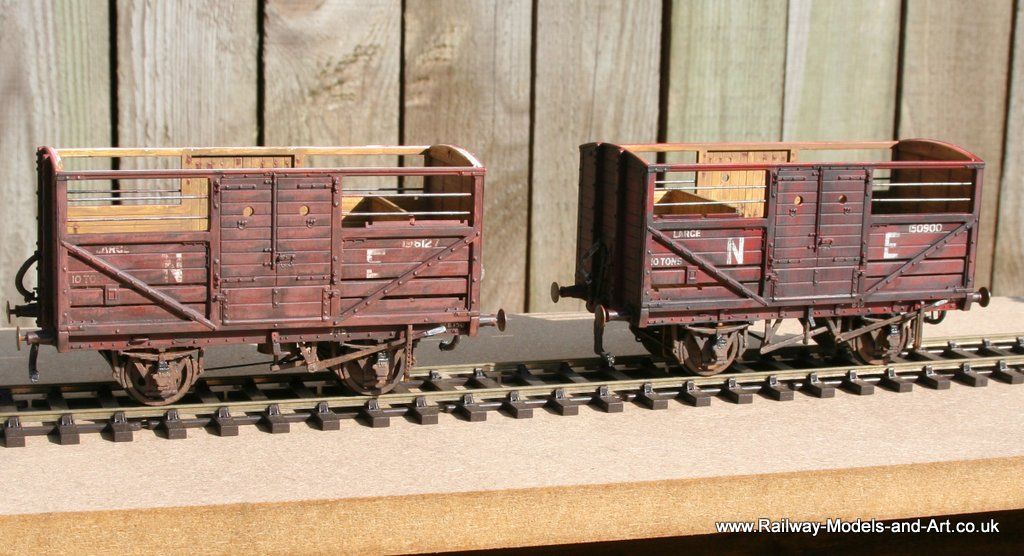
While I haven't had much to post recently I have been beavering away at a couple of projects the first of them being a couple of Parkside LNER Fitted Cattle wagons. One of them I built some time ago but I recently built another and I have then made a start on weathering them.
This is the inside of one of them as it was before I added a few more rust stains around the blot heads - I have tried to go for a look of regular scrubbing of the inside. Scrubbed wood is something that I am very familiar with because in a former life I was a butcher and scrubbing the wooden cutting block was a daily feature of my work. This particular wagon is the one that I did originally and it was painted with Halfords Red Oxide primer and satin varnished before adding the transfers
For completeness this is the second recently built one which was painted with Vallejo Game Color Dark Fleshtone and again satin varinshed before the transfers.
I have used two differing techniques on the exteriors with these - the first one was made grubby and work stained using a mixture of Vallejo black, Flat Earth and Dark Sea Grey which was painted on and then cut back with meths.
The second had a couple of wash coats of dark fleshtone, german orange and cream to lighten and fade the base colour before applying the mix above for the grubby in service look.
I still need to paint the roofs and sort out couplings for one of them - and fill them with cattle of course.
- Robpulham
- LNER A4 4-6-2 'Streak'
- Posts: 1721
- Joined: Thu Mar 27, 2008 9:54 pm
- Location: Lower Wensleydale
- Contact:
Re: 7mm Rolling Stock Builds
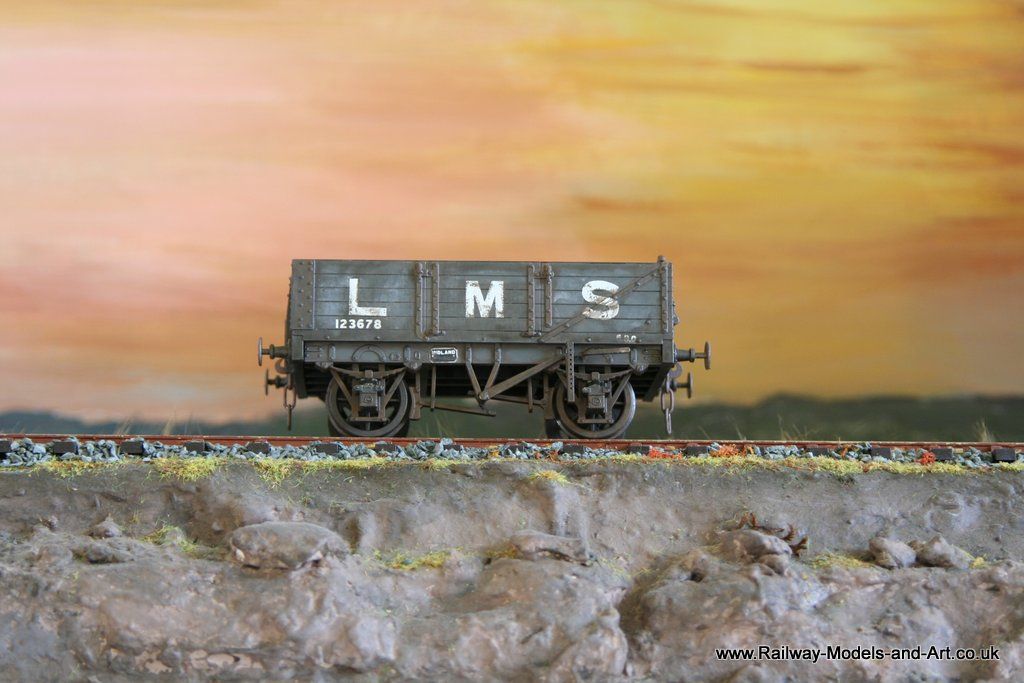
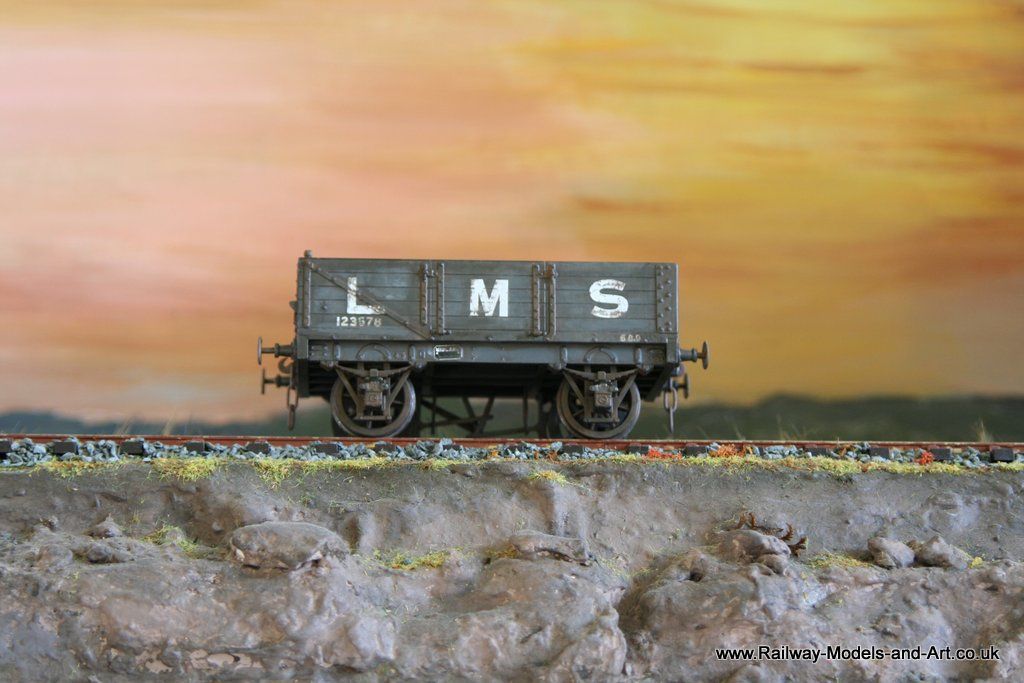
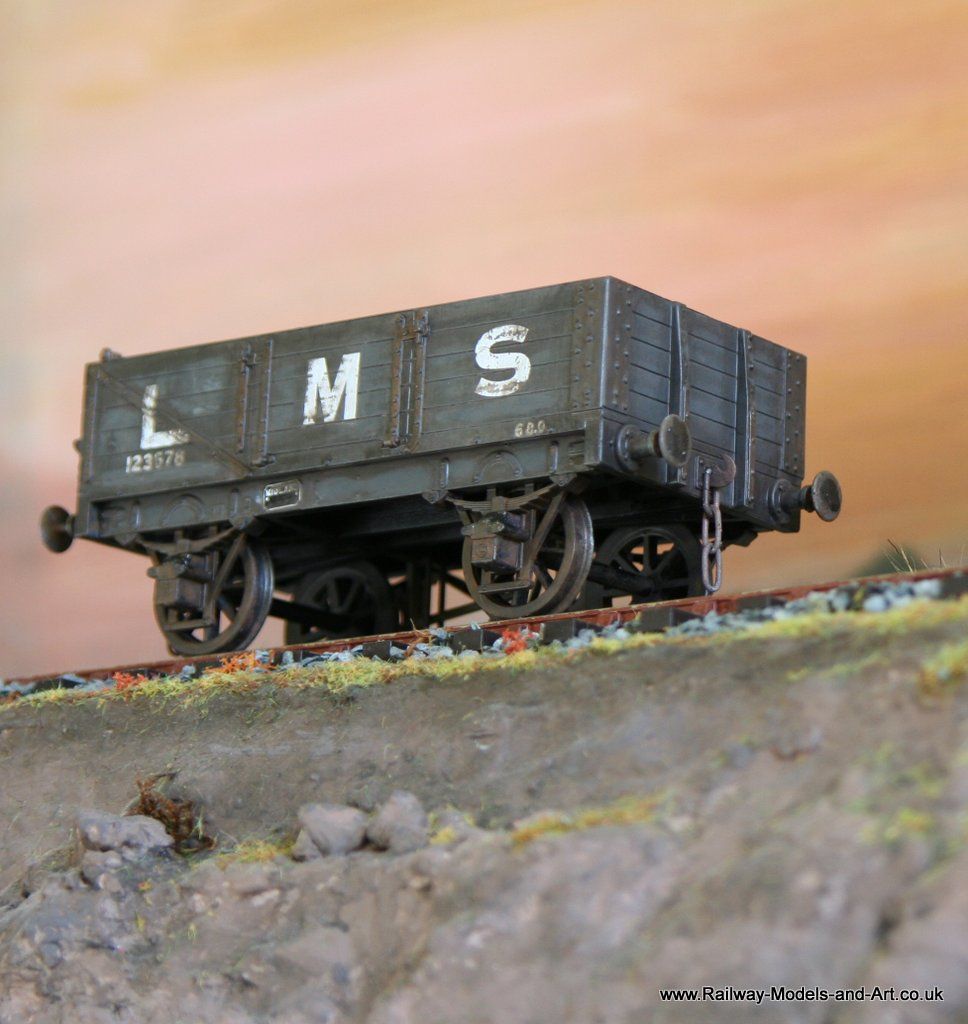
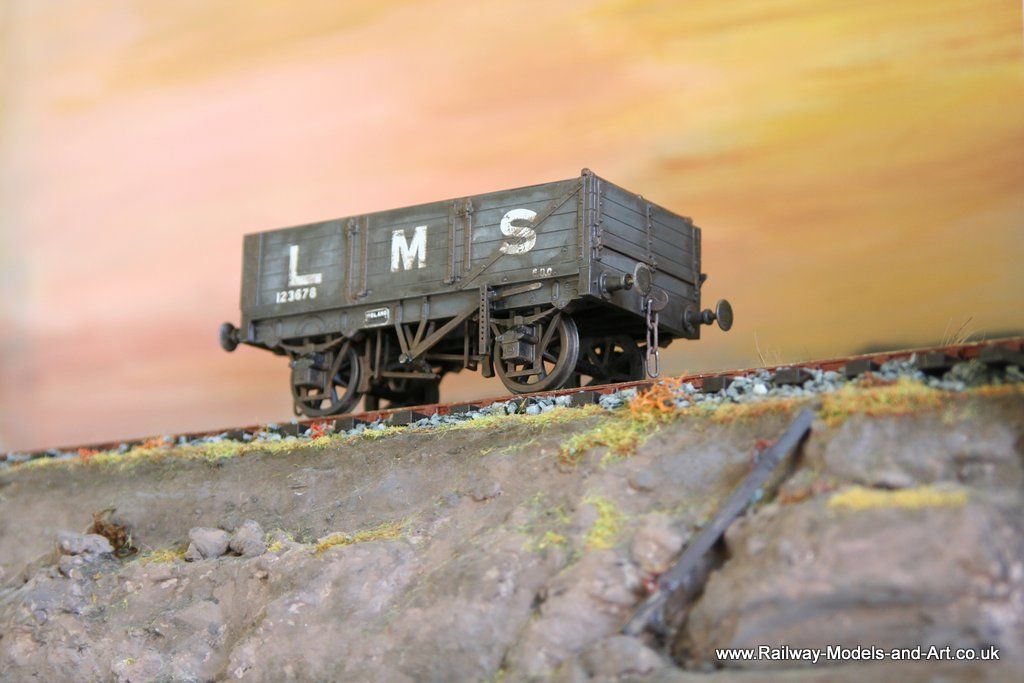
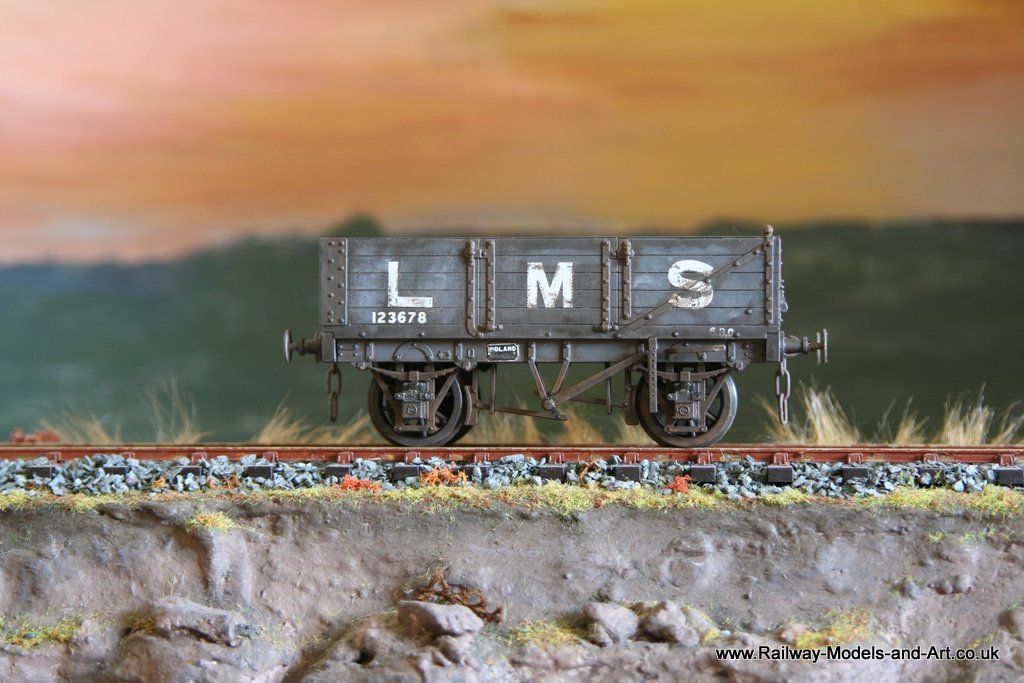
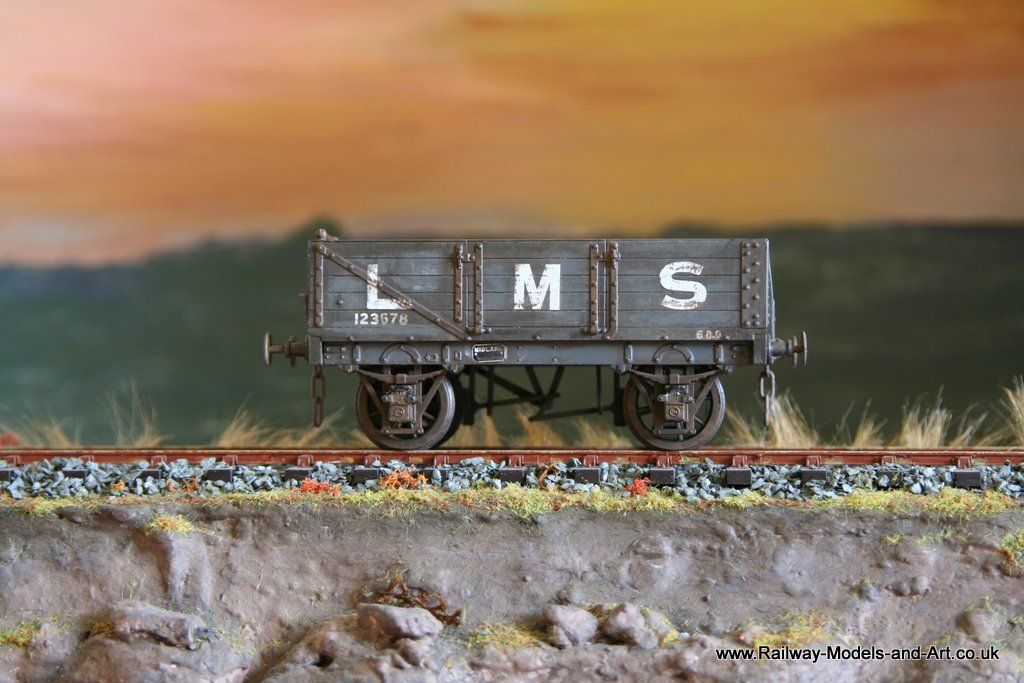
In between painting a herd of cattle for the cattle wagons that I have in the process of being finished/weathered I thought that I would revisit the weathering on the LMS open that was my first real effort at weathering.
I am much happier with the latest iteration and I don't think that I will be touch it again. It has made me hanker for more opens though - to my embarrassment until very recently I only have this one, a Slaters Charles Roberts 7 plank and a MMP LMS 16 ton steel Mineral that I bought by mistake. I have recently picked up 3 Quainton Road Models brass kits for open wagons to add to them but I think that I will be looking to pick up more from various sources going forward.
- Robpulham
- LNER A4 4-6-2 'Streak'
- Posts: 1721
- Joined: Thu Mar 27, 2008 9:54 pm
- Location: Lower Wensleydale
- Contact:
Re: 7mm Rolling Stock Builds
What turned out to be a very satisfying modelling day started with adding the transfers to the lowmac. This will now move on to the weathering queue.
- Robpulham
- LNER A4 4-6-2 'Streak'
- Posts: 1721
- Joined: Thu Mar 27, 2008 9:54 pm
- Location: Lower Wensleydale
- Contact:
Re: 7mm Rolling Stock Builds
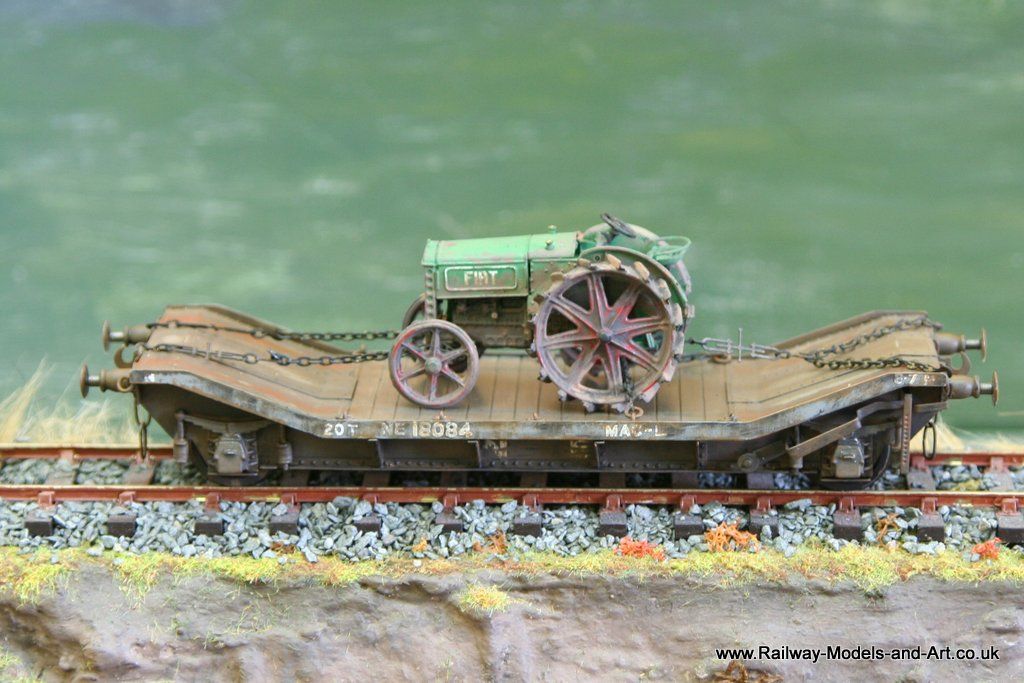
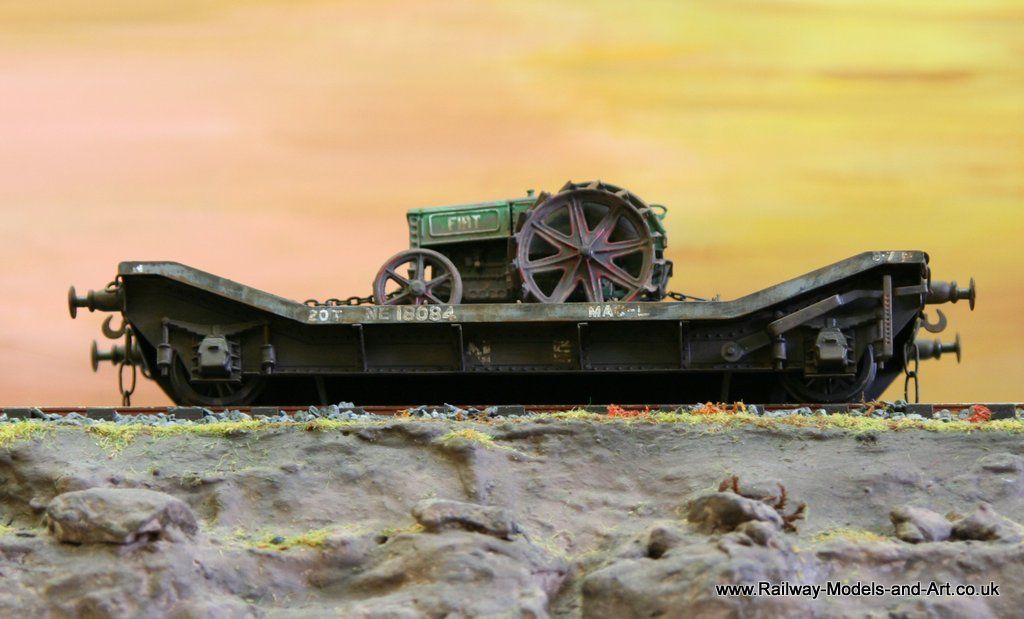
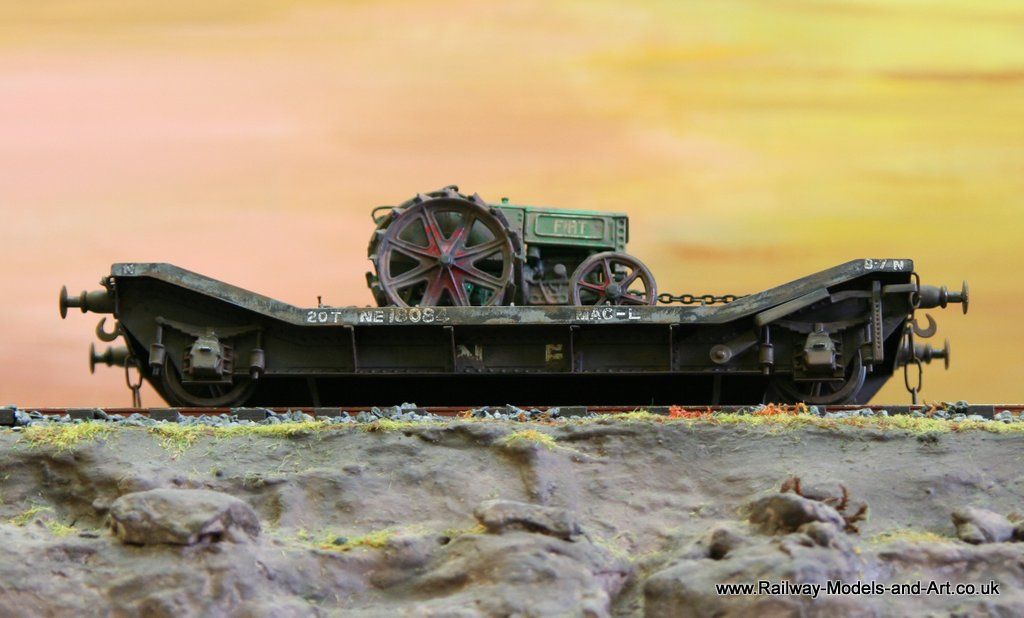
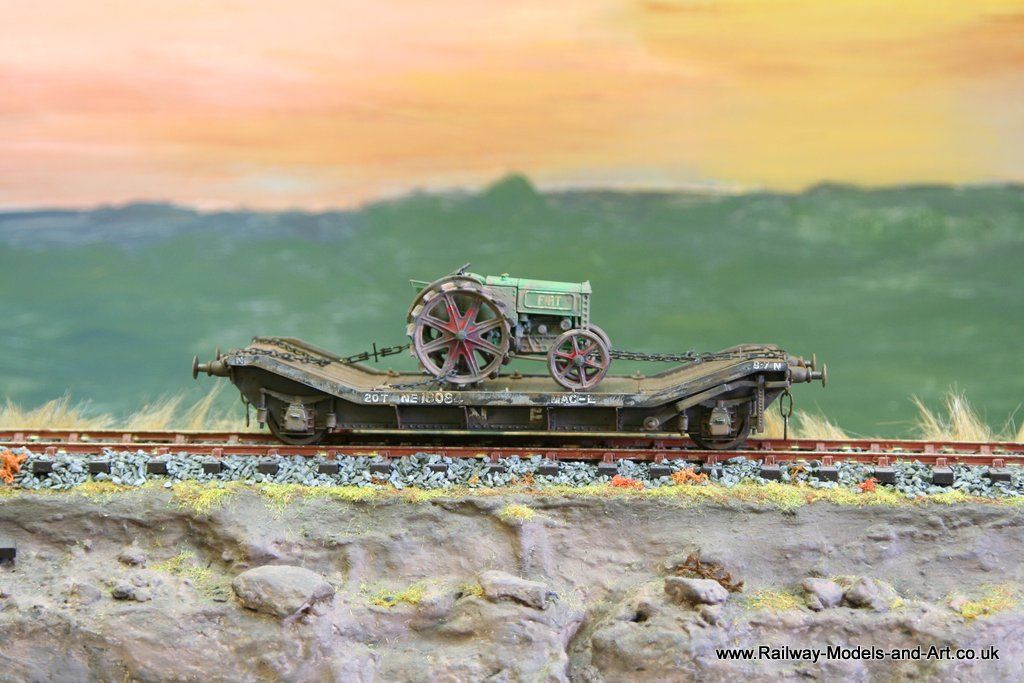
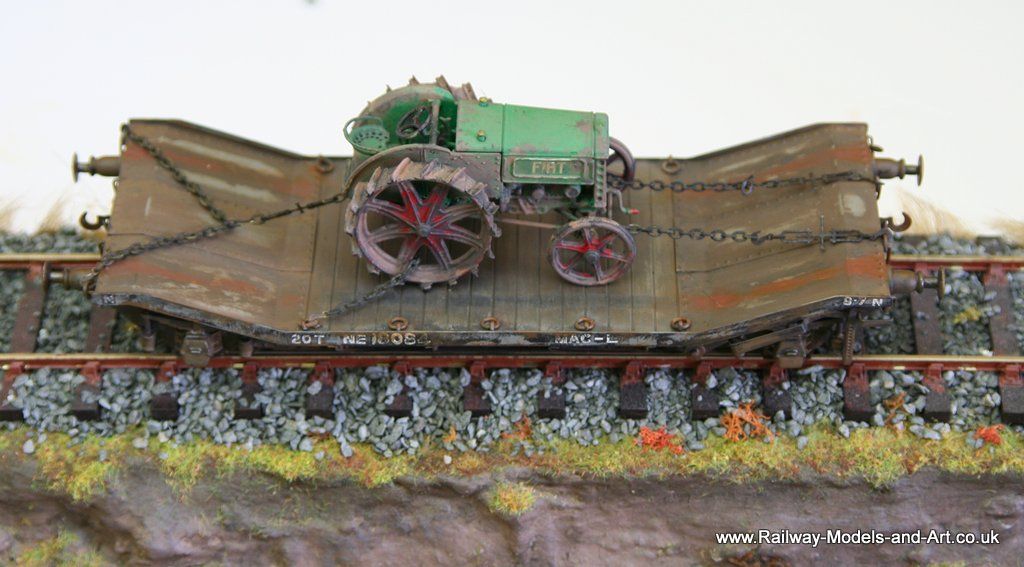
The LNER Lowmac has been through the weathering shop and received a load. I would like a traction engine or steam roller in time, but this will do for now as I have it in stock. Jim provides chain, etched hooks and in this kit etched shackles too (I didn't get any in the implement wagon, but I suspect that its an older kit). I do like the way that Jim continually improves and enhances his kit's!
- Robpulham
- LNER A4 4-6-2 'Streak'
- Posts: 1721
- Joined: Thu Mar 27, 2008 9:54 pm
- Location: Lower Wensleydale
- Contact:
Re: 7mm Rolling Stock Builds
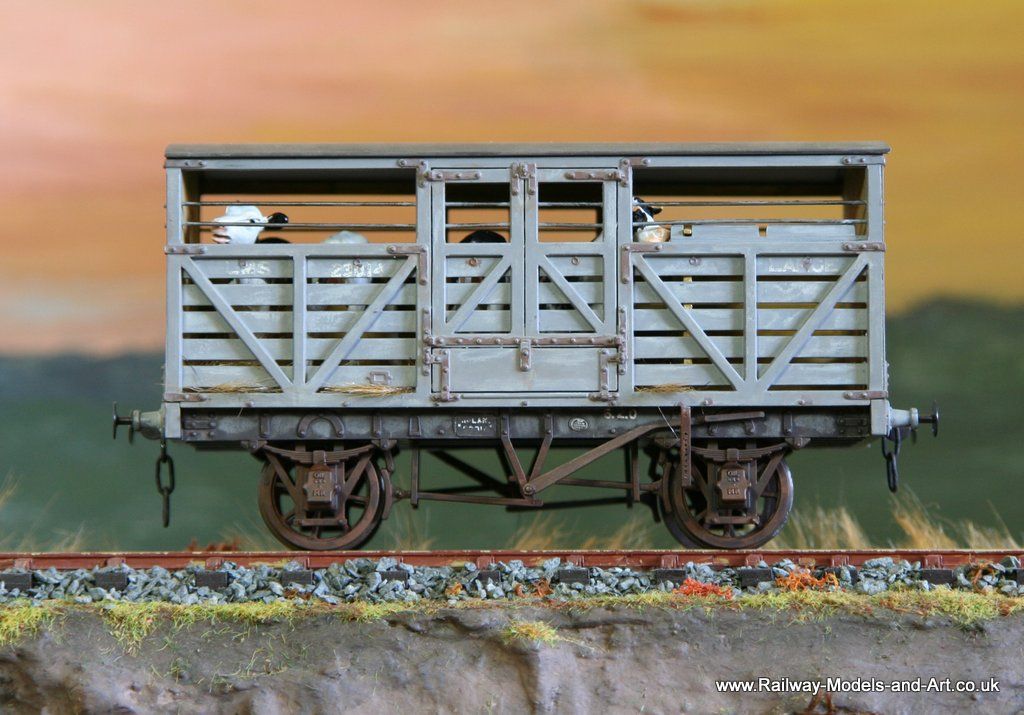
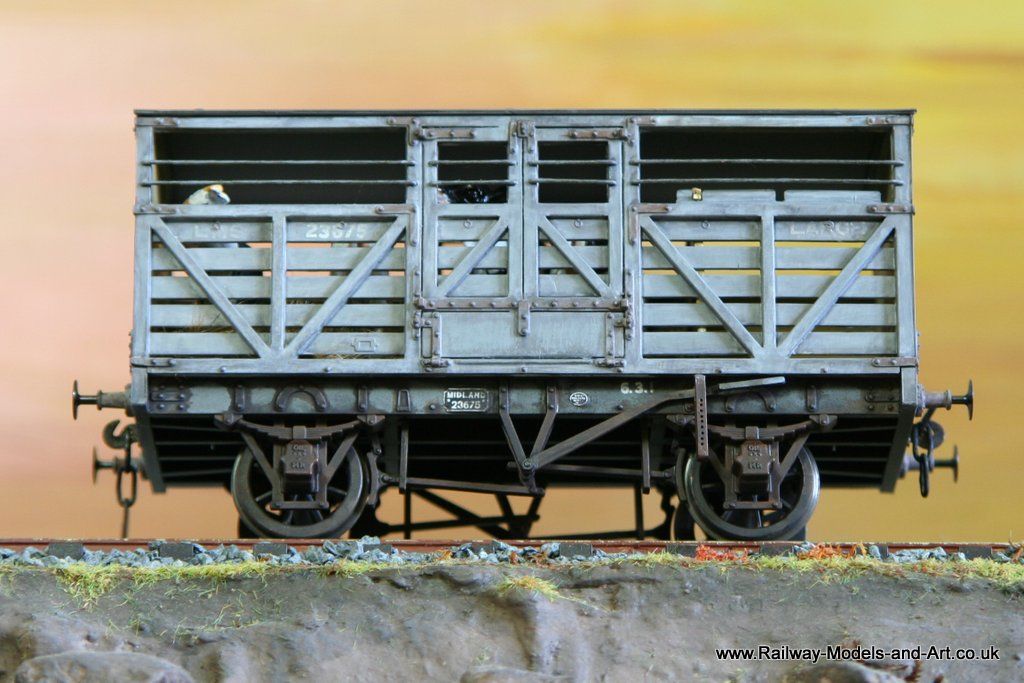
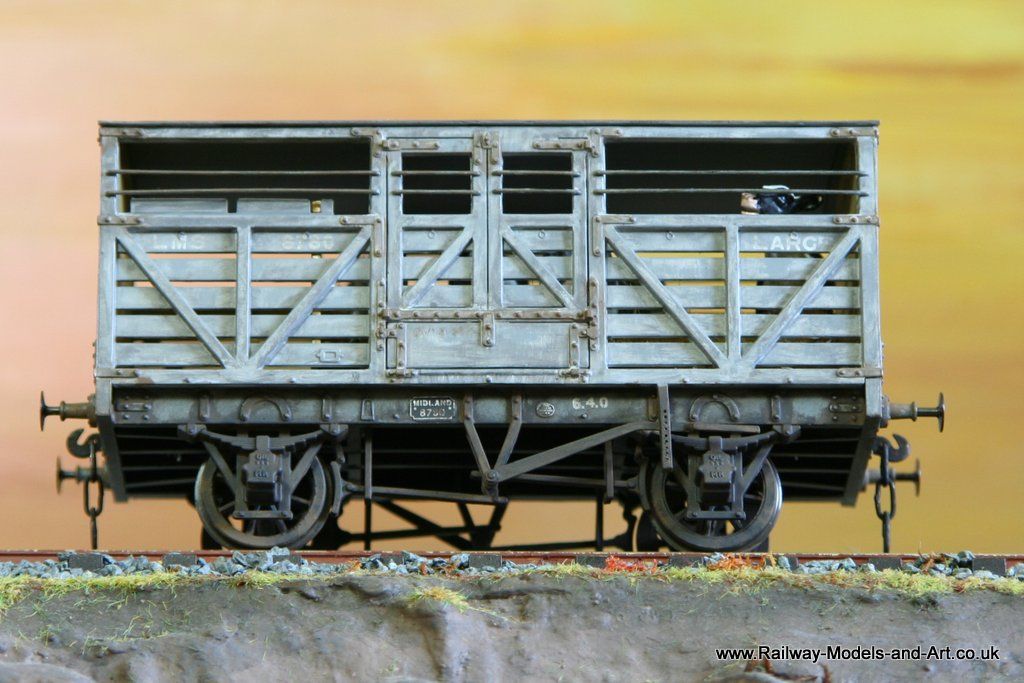
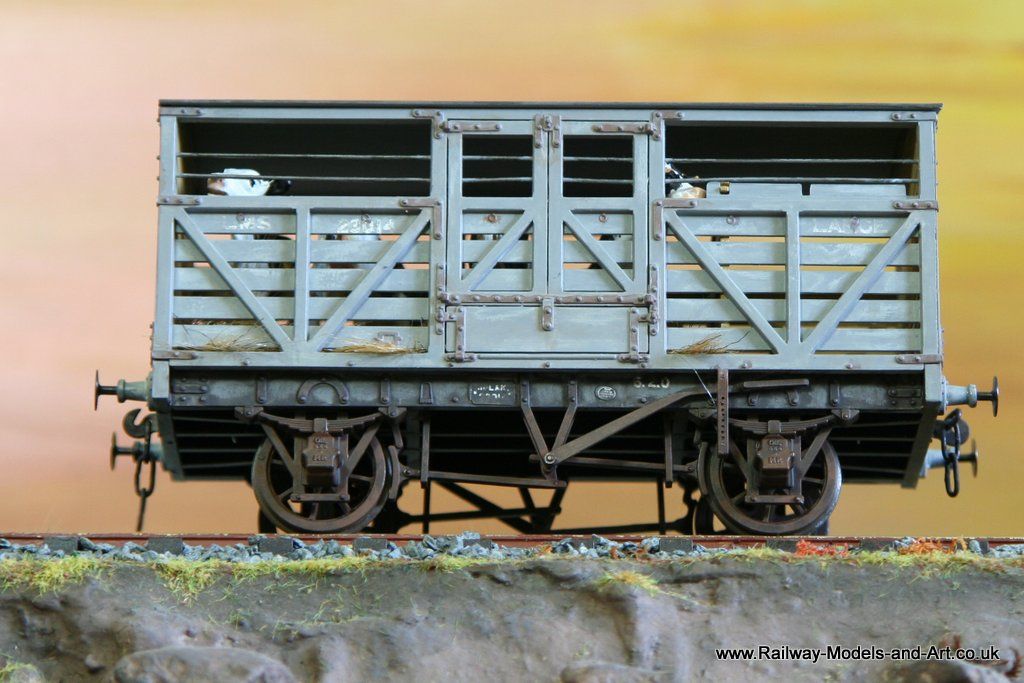
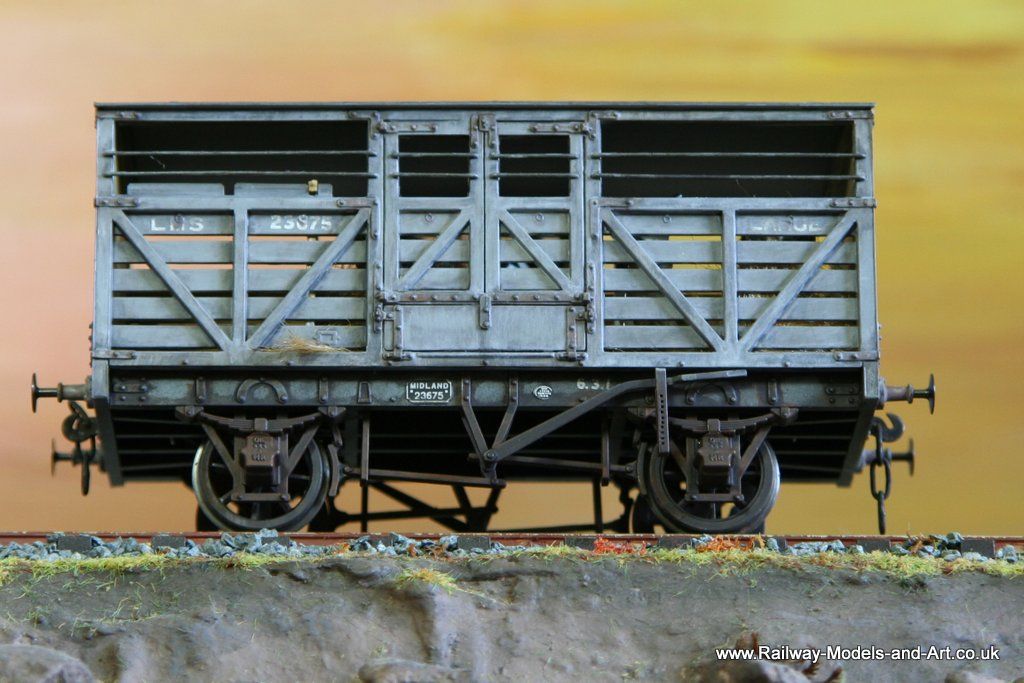
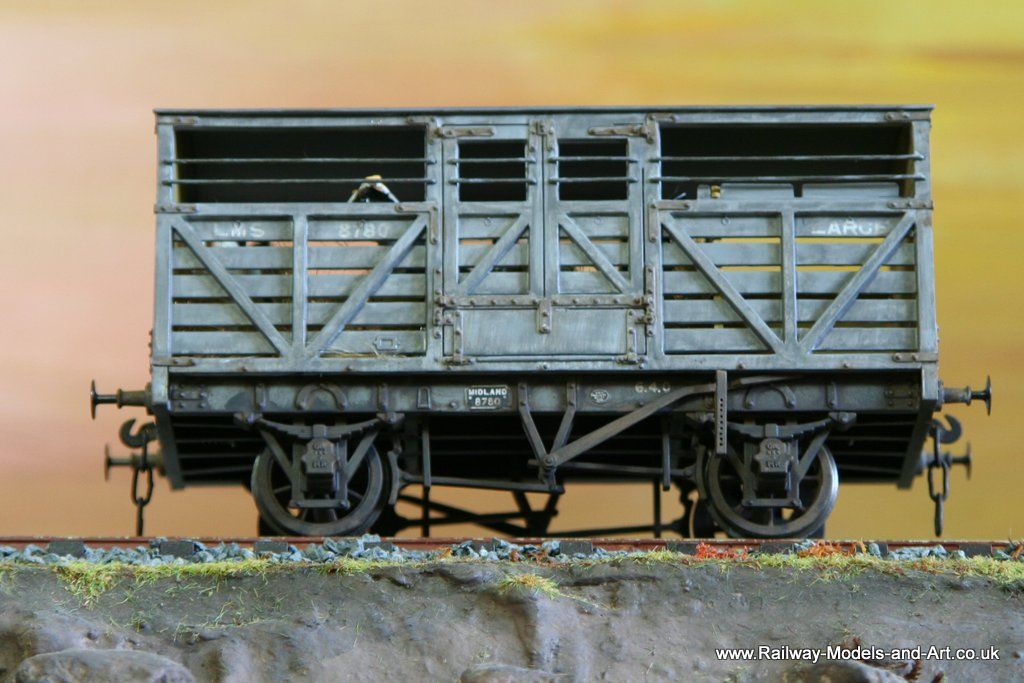
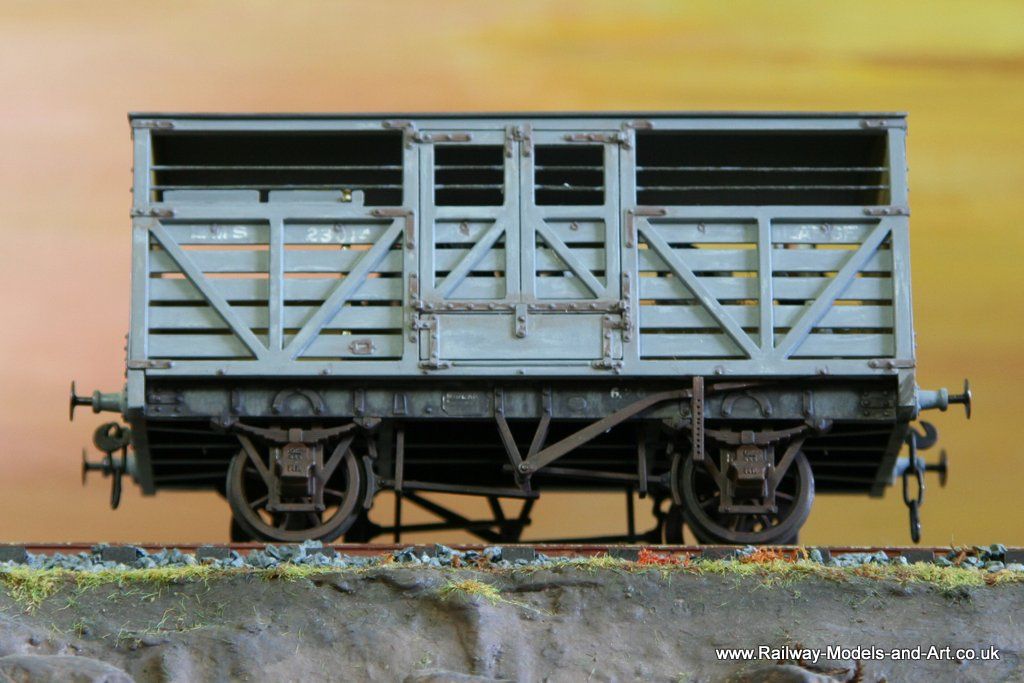
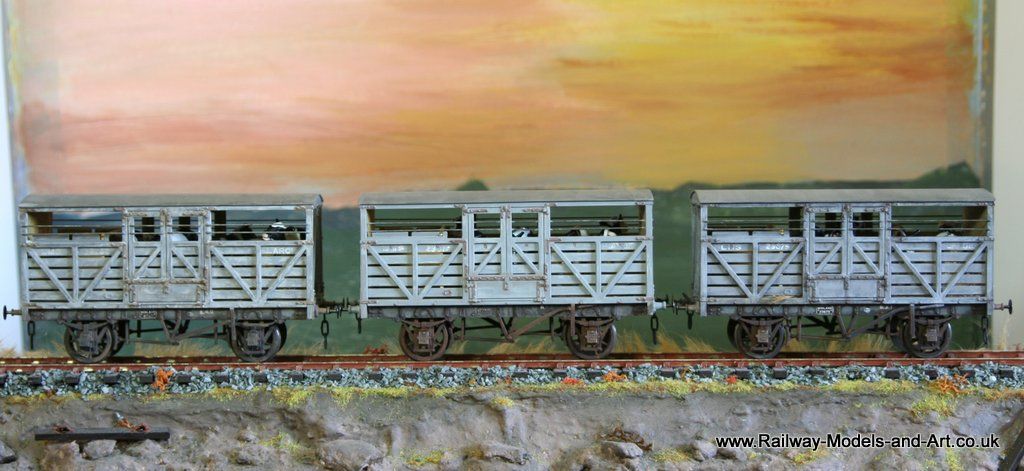
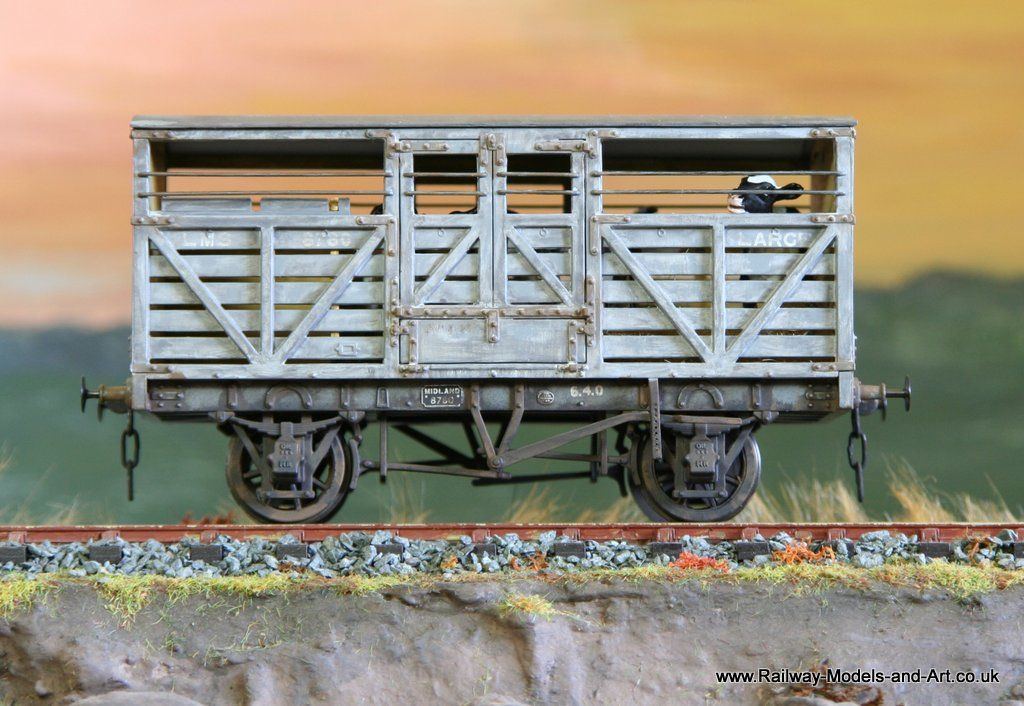
Sometime back on the workbench 3 Slaters Midland cattle wagons made an appearance. Since painting and transfers were added they have languished in the cupboard awaiting weathering, buffers and couplings to be added. in the intervening time I have either lost or used the couplings that came with the kits - one set I think was binned because the kit was so old the coupling hook was pressed steel. I replaced these with some Premier components couplings and got around to weathering them.
One of the biggest jobs was loading them with cattle which in 7mm scale can work out quite expensive. Slaters do some nice cast ones that you have to solder together and I had managed to collect a few of these but the cheapest that I managed was £9 for three -Ouch!
In the meantime I was reading one of the threads on RMWeb and someone commented that they had used Britain 1/32 scale calves to good effect as cattle in 7mm scale. A quick look on eBay found some at £6 for six much better to my tight fisted Yorkshire mind so I ordered a couple of packs to see what could be made of them.
Having painted them and added them to the wagons they make a reasonable representation of heifers so they will do for me. I have added one of Slaters in each wagon to add a bit of weight and I am quite please with the overall effect. If I am totally honest each wagon could have used at least another one or two to fill them but I can live with them as they are.
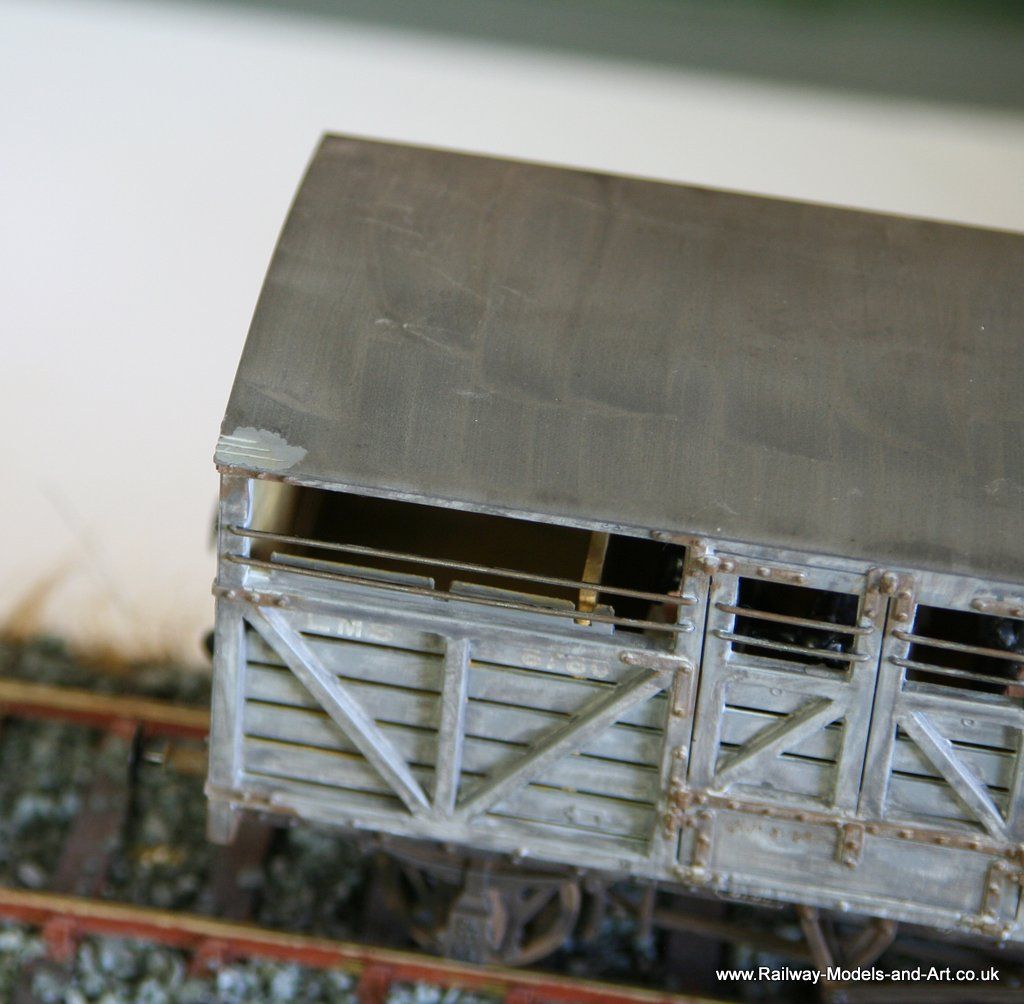
I had a go at making it look as if some of the canvas had come off showing the roof laths underneath but I am not entirely convinced that I have made convincing job of it....
And finally the three together....
- Robpulham
- LNER A4 4-6-2 'Streak'
- Posts: 1721
- Joined: Thu Mar 27, 2008 9:54 pm
- Location: Lower Wensleydale
- Contact:
Re: 7mm Rolling Stock Builds
I have been struggling to have the head space for much modelling for a couple of months due to a house move - I had forgotten just how much you need to do when buying and selling houses....
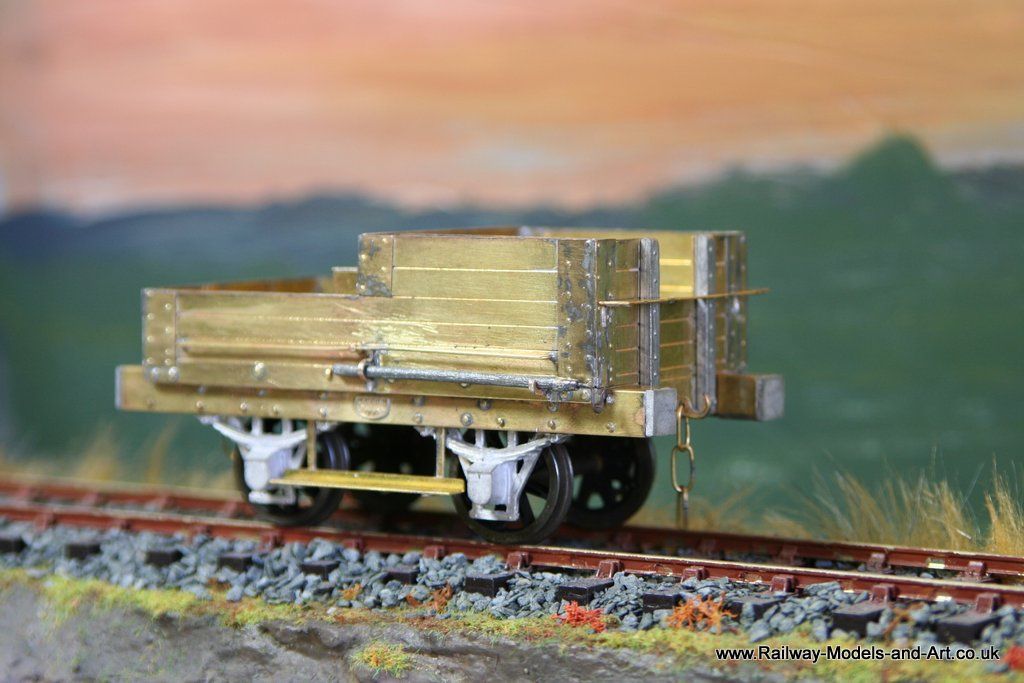
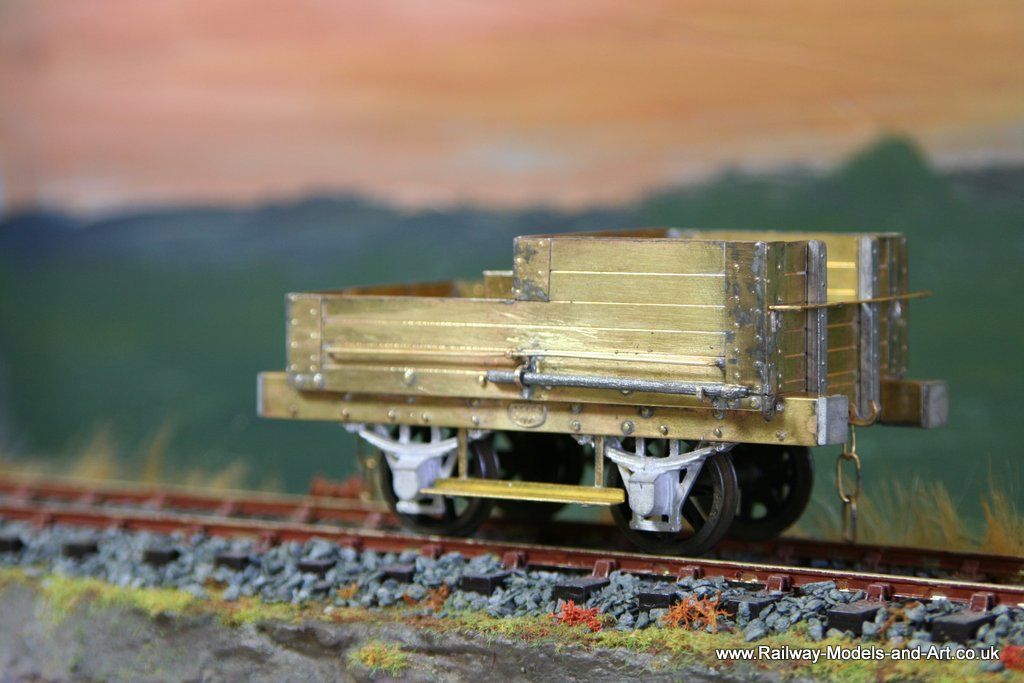
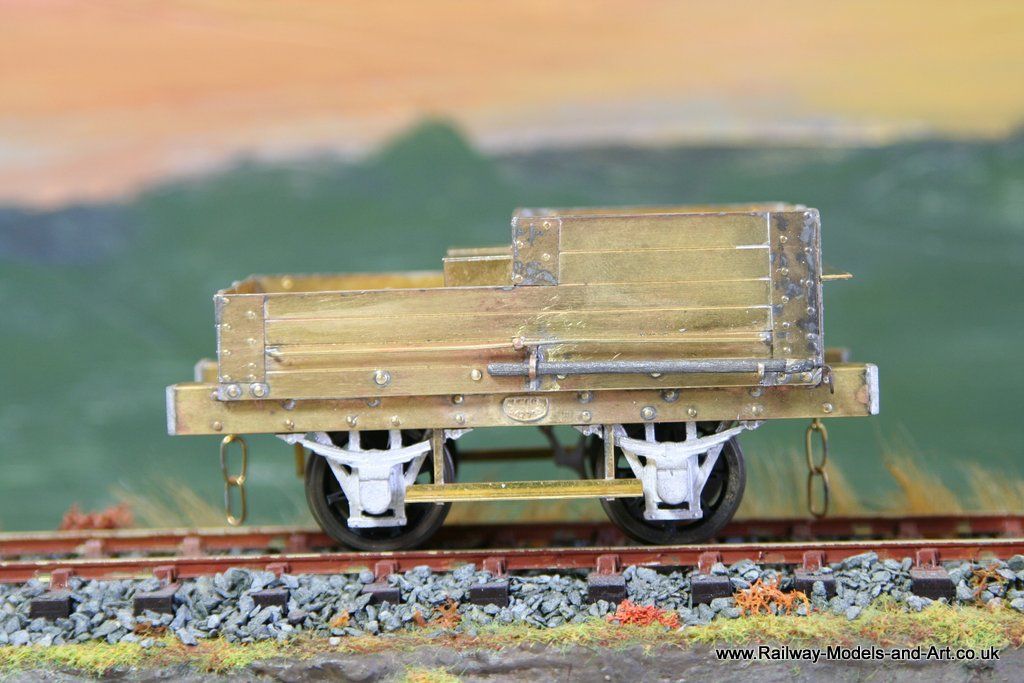
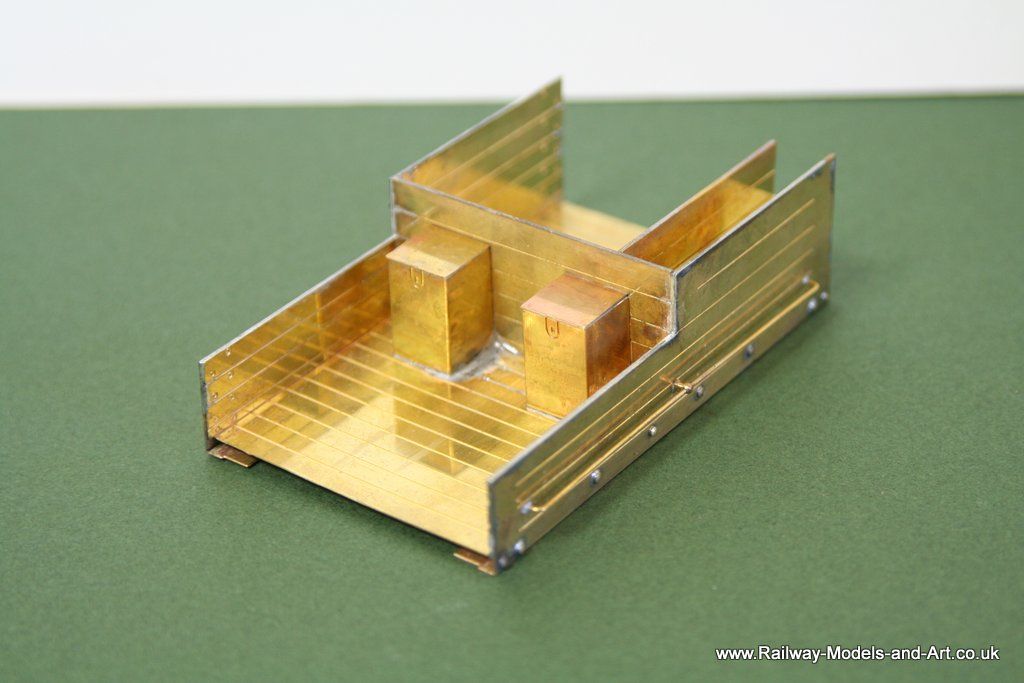
This has meant that I started to make mistakes through in attention on the 06 so I decided that I needed something simple to maintain the mojo and this has taken the form of another of Connoisseur's offerings. I collected this from Jim at Cleckheaton after enquiring about it late last year and then promptly forgetting about it until Jim reminded me a couple of weeks before the show. It is his recently released, former Majestic models NBR tender truck. - The plan is that it will run behind Nellie.
Jim's test build highlight a few areas where you need to do a bit of filing to make later parts fit and so far I have been doing this and making up some sub assemblies.
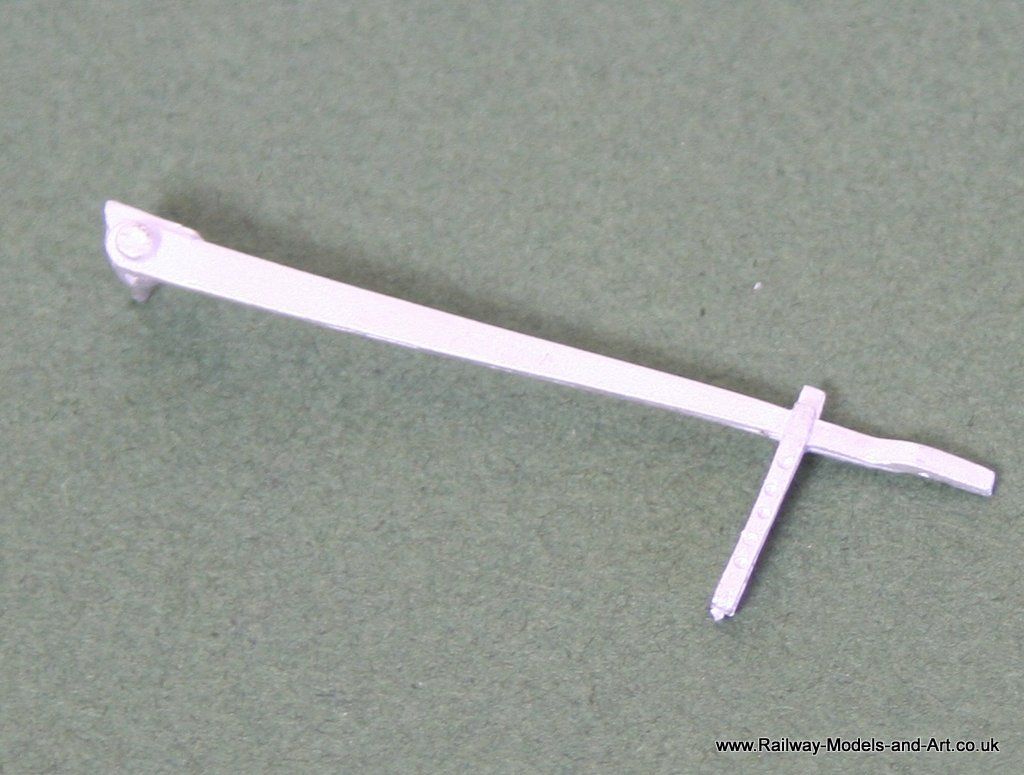
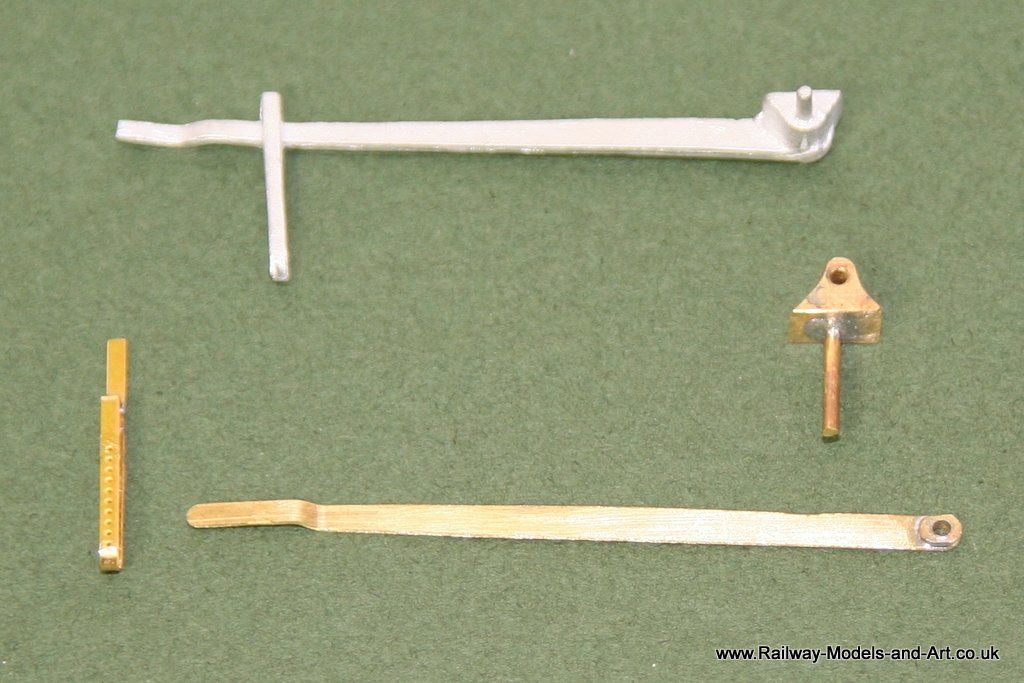
This is the brake lever and guard as provided in the kit. I wasn't too keen on it being cast in one piece, because apart from lacking fidelity I reasoned that it would also be quite vulnerable.
The lever guard is a Bill Bedford etch from the spares box, the lever I made from a strip of etch and the mounting was made from a piece of square bar that I cut to rough shape and finished with the Dremel.
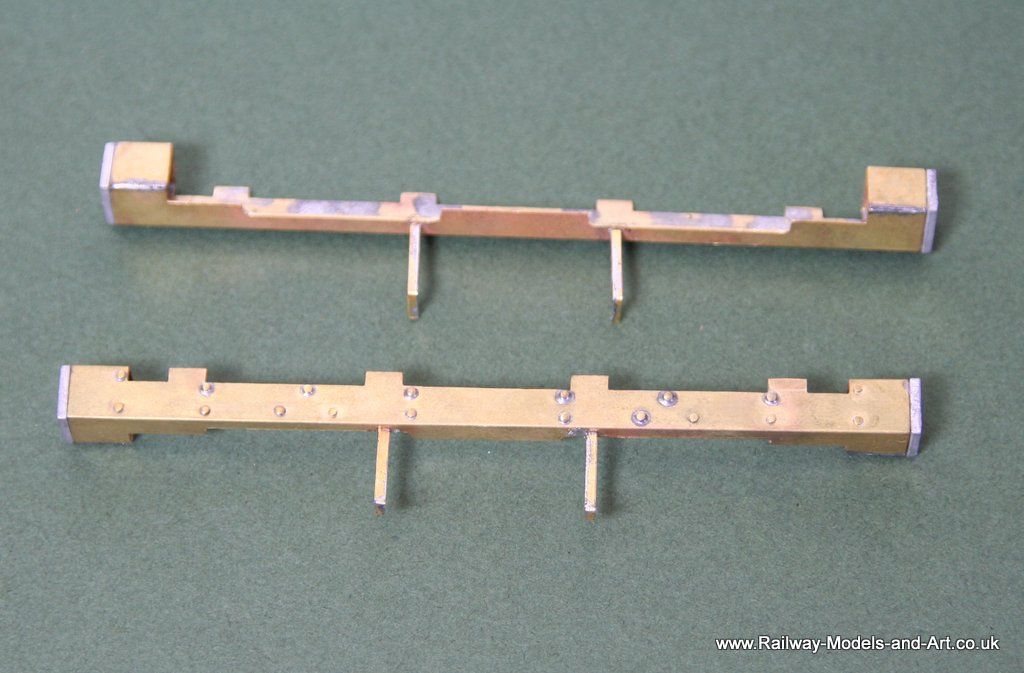
The instructions suggest soldering the step brackets directly to the front of the sole bars and to strengthen them with .7mm wire. I chose to mount them through the base of the sole bars using the slots provided but I did strengthen them (albeit with etched strip not wire)
The outer sides are done as per the instructions.
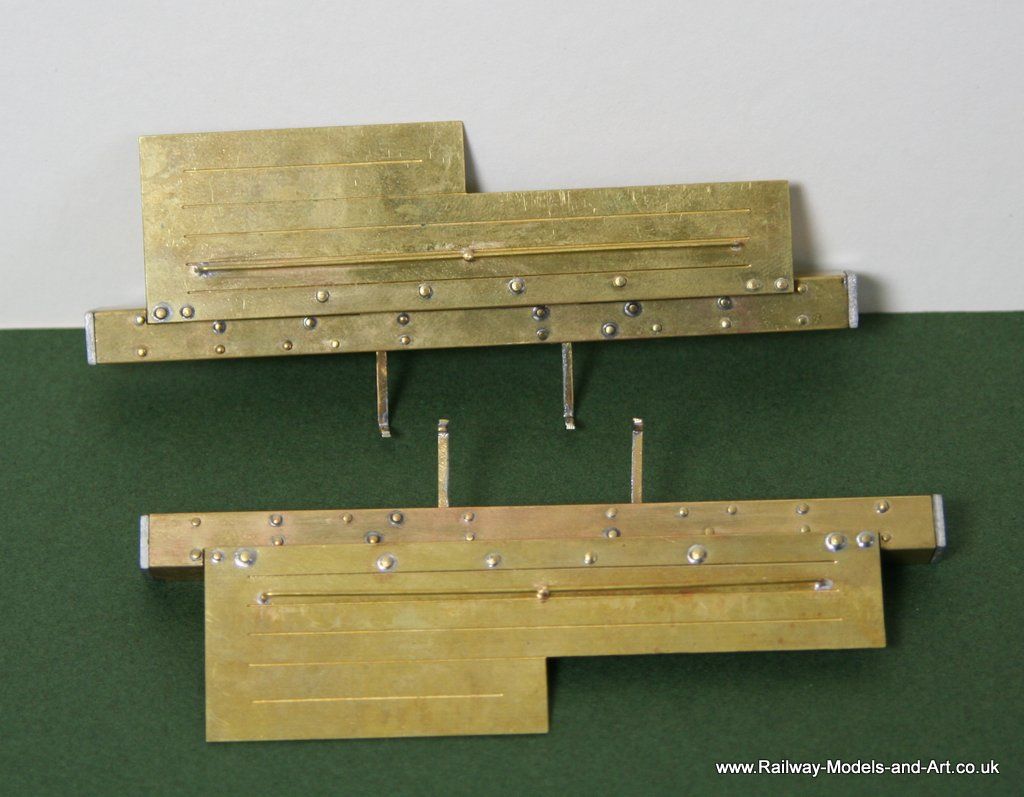
I couldn't resist fitting them together loosely to see how they would look when fitted.
- Robpulham
- LNER A4 4-6-2 'Streak'
- Posts: 1721
- Joined: Thu Mar 27, 2008 9:54 pm
- Location: Lower Wensleydale
- Contact:
Re: 7mm Rolling Stock Builds
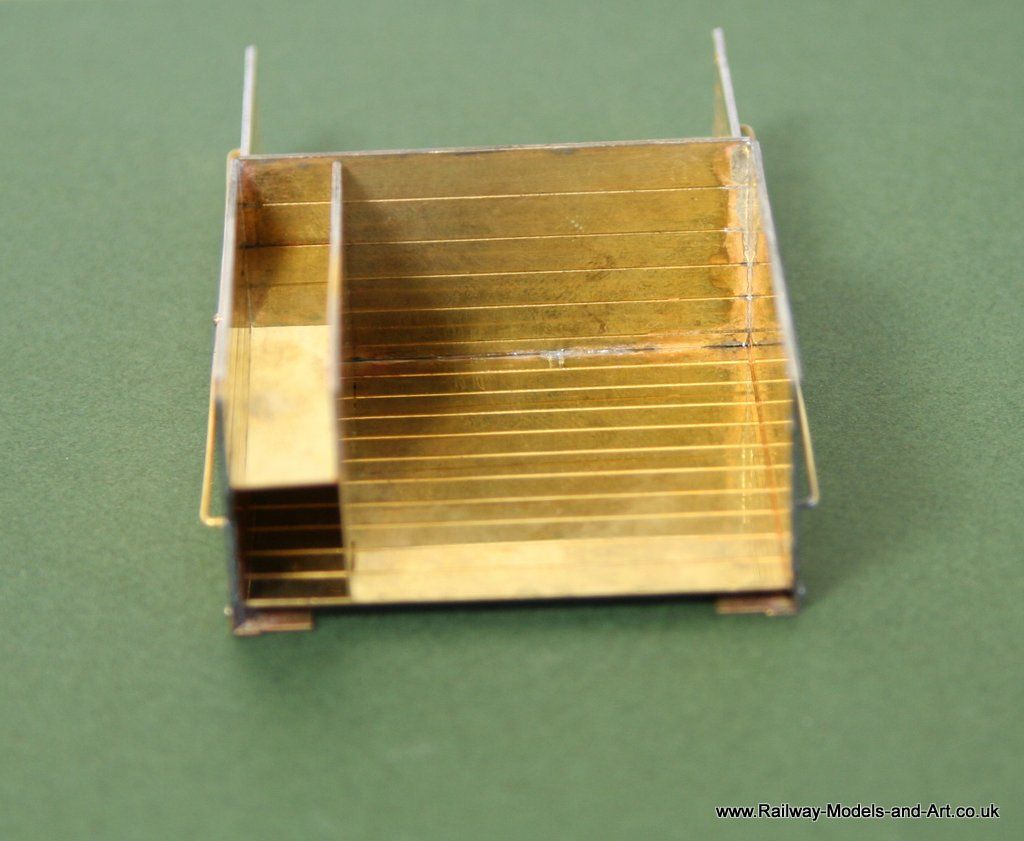
Two evening's modelling on the trot sees moe progress made.
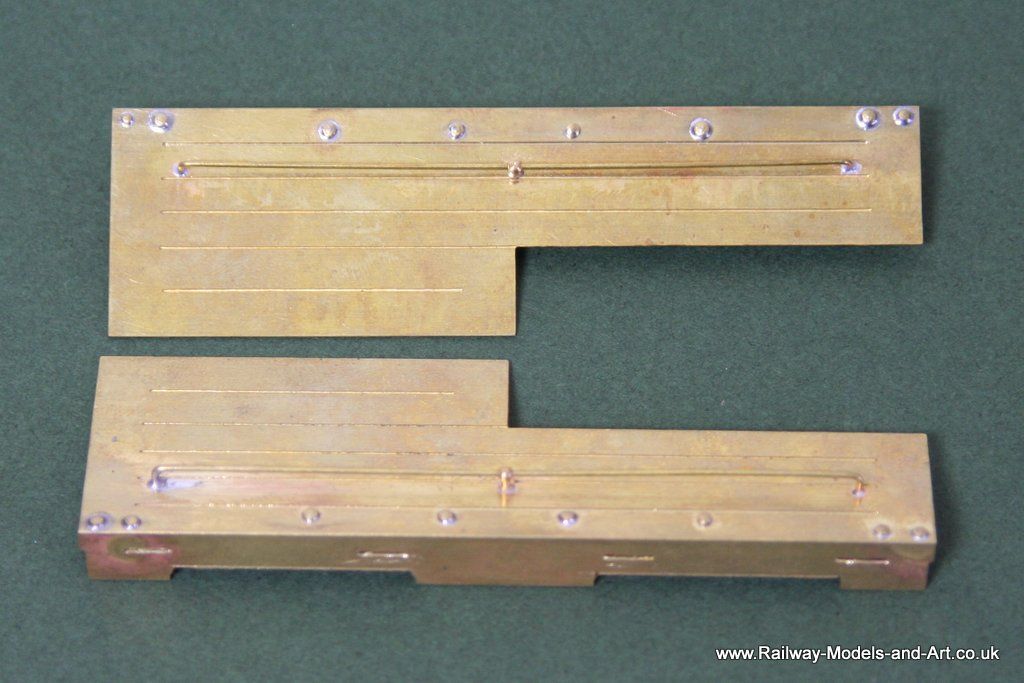
The body is well on it's and is now quite a heavy and sturdy unit.
I added the steps and dug out the etched LNER plates that Brian, a kind RMWebber let me have.
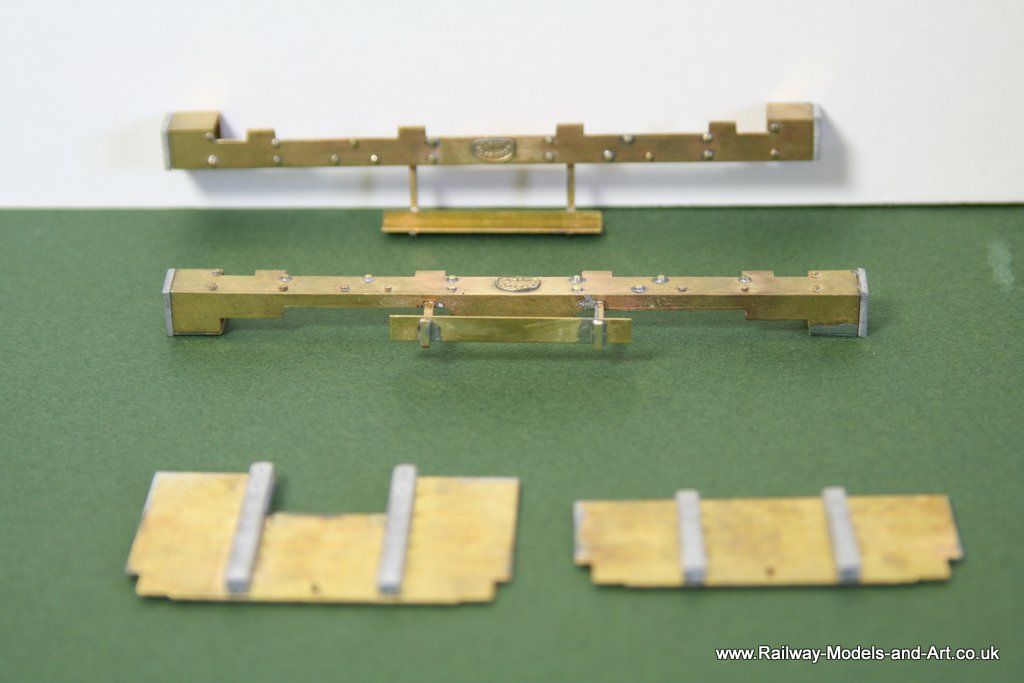
The ends, like the body sides are made up from 2 layers and the outer one has holes for pins that hold the cast end stanchions in place.
Soldering them in before adding the inner layer has made them quite secure - the use of some judicious heat sinks should see the ends attached to the body without them coming adrift.
- Robpulham
- LNER A4 4-6-2 'Streak'
- Posts: 1721
- Joined: Thu Mar 27, 2008 9:54 pm
- Location: Lower Wensleydale
- Contact:
Re: 7mm Rolling Stock Builds
Still moving steadily along with this one.
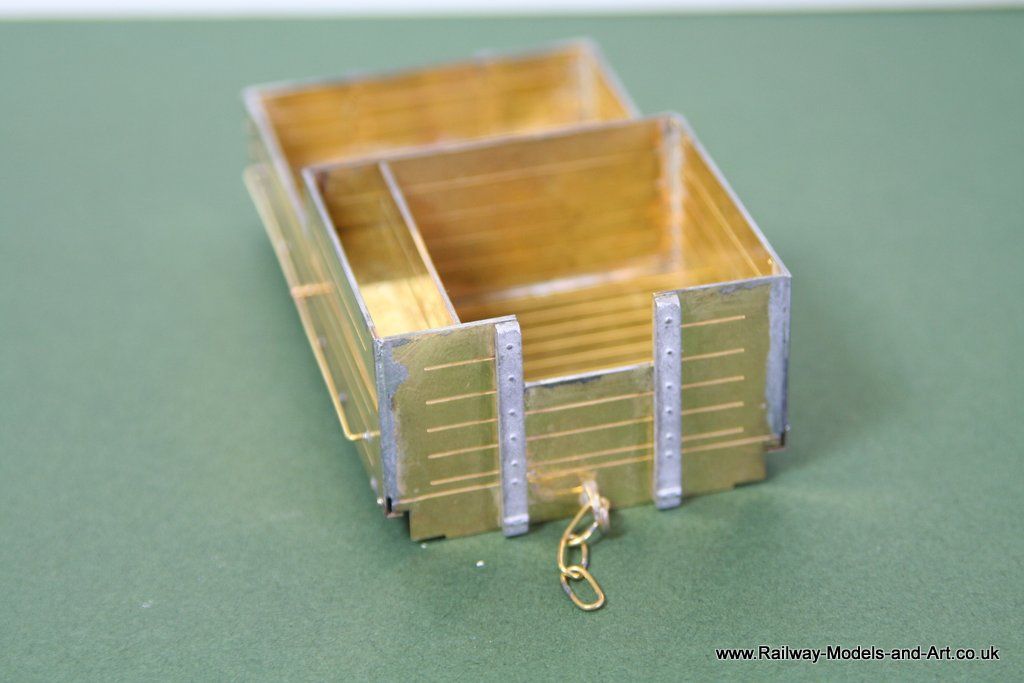
Unlike most of Jim's other kits (or at least those that I have had the good fortune to build) this ones has taken quite a bit of fettling to fit - I had to file the ends quite a bit to get them to fit properly between the side (as the kit seems to have been intended) this is no reflection on Jim as he didn't design it and he does mention most of what you need to file of in the instructions (and he may have mentioned this but I neglected to look at the instructions by this point).
The corner plates are a little fiddly but they do fit very nicely giving a realistic corner - it's a pity my blurred photo doesn't show them that well -I only managed those on the rear corners last night.
- Robpulham
- LNER A4 4-6-2 'Streak'
- Posts: 1721
- Joined: Thu Mar 27, 2008 9:54 pm
- Location: Lower Wensleydale
- Contact:
Re: 7mm Rolling Stock Builds
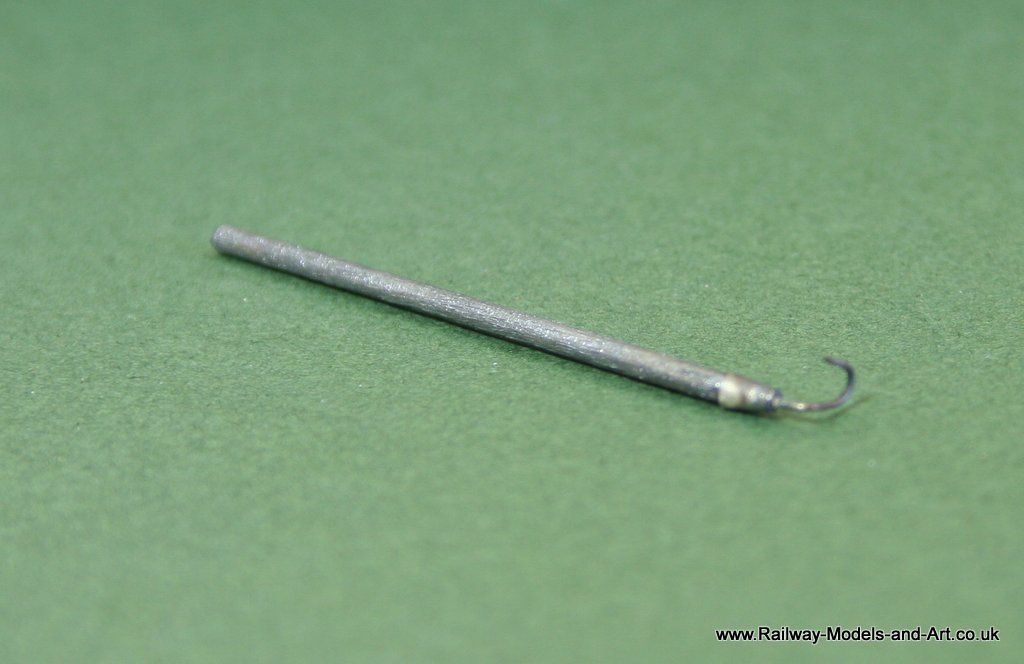
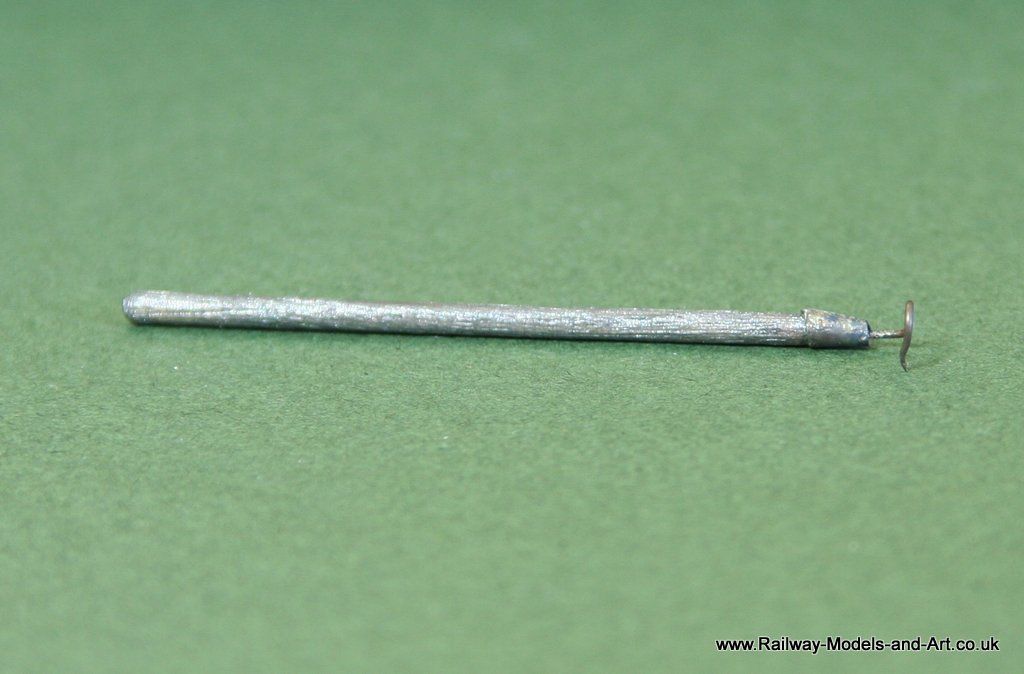
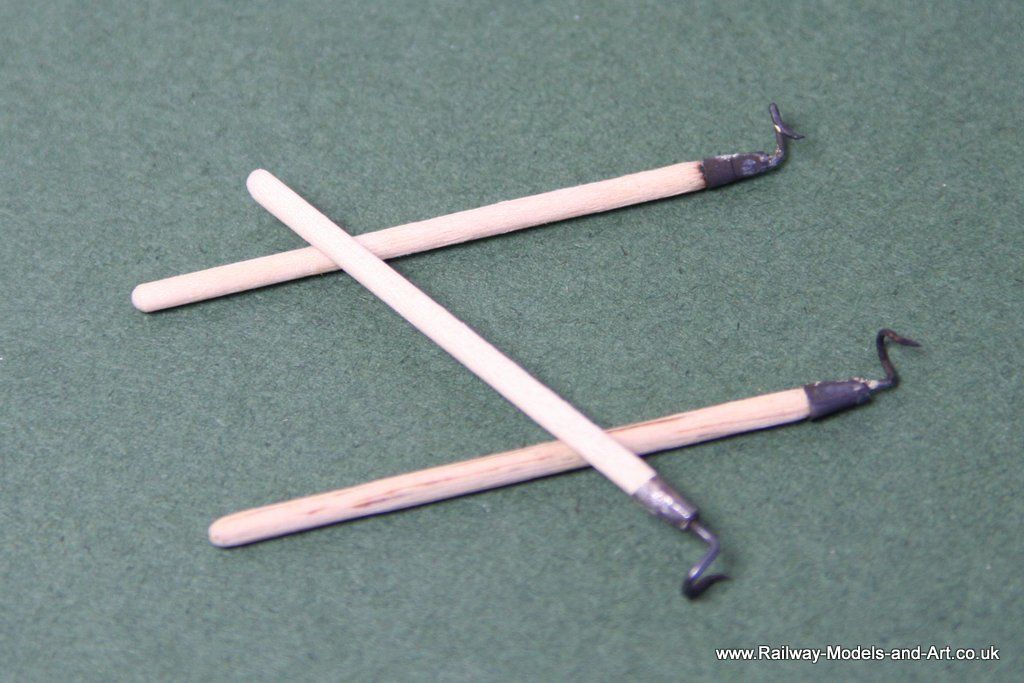
Last night saw the shunting truck compete or so I thought. A chance look through one of the RCTS Green Books revealed that some locos had shunting poles on brackets along the valances. This got my mind working and I reasoned that if the tender truck had foot boards and handrails for the shunter why not a shunting pole too.
A quick Google search this morning got me an idea of what they look like and the approximate sizes, so I set to this afternoon to see if I could make one.
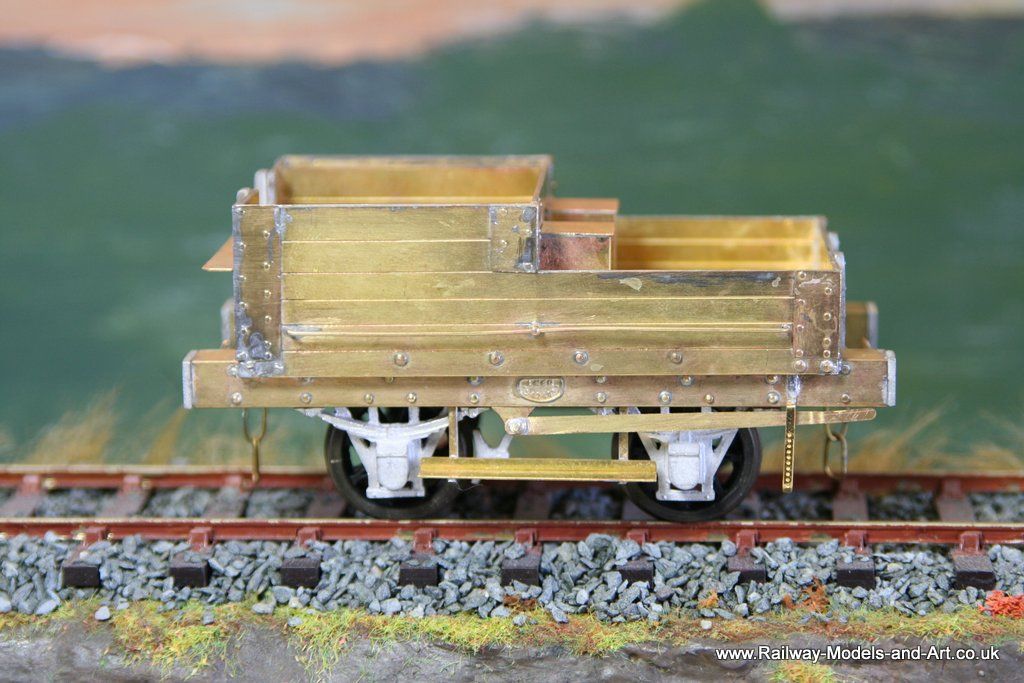
The hand rails look a bit worse for handling (if you will pardon the pun!) but given that the loco that I plan to run this behind is in post war LNER livery I would expect these wagons to be a little tired by then.
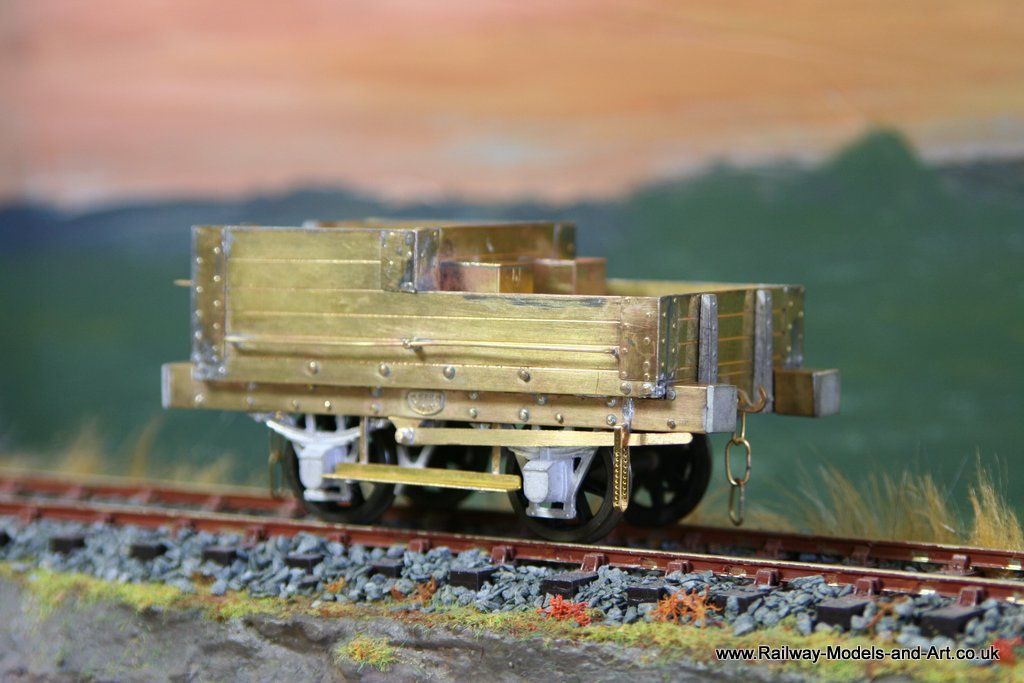
The pole is made from a cut down cocktail stick, which I turned in my dremel wile applying a sanding stock.
I cut the point off and drilled a hole approx 10mm down the centre. I then got the end of a brass pin that I had used the head as a rivet (I have a little pot on my workbench with all sorts of offcuts etc. just for such occasions. I annealed the end of it and twisted it with round nosed pliers to the rough approximation of what I had seen in photos.
I then had a look in the scrap etc. box an found a piece of nickel that had been half etched so was quite thin. I cut a strip off this and shaped it to make the ferrule for the end of the pole and soldered it together.
I then glued the pin in the hole and mixed up a watery mix of black\gunmetal\steel acrylics and washed over the handle to give a used look. A quick dunk in metal black sorted the hook and ferrule.
As a slight aside I have found it very difficult to remove the excess solder on this build - or at least the staining of where it's been.
A quick Google search this morning got me an idea of what they look like and the approximate sizes, so I set to this afternoon to see if I could make one.
The hand rails look a bit worse for handling (if you will pardon the pun!) but given that the loco that I plan to run this behind is in post war LNER livery I would expect these wagons to be a little tired by then.
The pole is made from a cut down cocktail stick, which I turned in my dremel wile applying a sanding stock.
I cut the point off and drilled a hole approx 10mm down the centre. I then got the end of a brass pin that I had used the head as a rivet (I have a little pot on my workbench with all sorts of offcuts etc. just for such occasions. I annealed the end of it and twisted it with round nosed pliers to the rough approximation of what I had seen in photos.
I then had a look in the scrap etc. box an found a piece of nickel that had been half etched so was quite thin. I cut a strip off this and shaped it to make the ferrule for the end of the pole and soldered it together.
I then glued the pin in the hole and mixed up a watery mix of black\gunmetal\steel acrylics and washed over the handle to give a used look. A quick dunk in metal black sorted the hook and ferrule.
As a slight aside I have found it very difficult to remove the excess solder on this build - or at least the staining of where it's been.
- Robpulham
- LNER A4 4-6-2 'Streak'
- Posts: 1721
- Joined: Thu Mar 27, 2008 9:54 pm
- Location: Lower Wensleydale
- Contact:
Re: 7mm Rolling Stock Builds - Connoisseur NBR Tender Truck
Since finishing the build of the tender truck at the weekend I have spent some time playing with additional details. I have also primed and started the top coats of paint but I haven't taken any photos yet (not much to show to be honest).
First I got a bit carried away and made a few more shunting poles.... I found that the pin shanks bent so much better without annealing first.
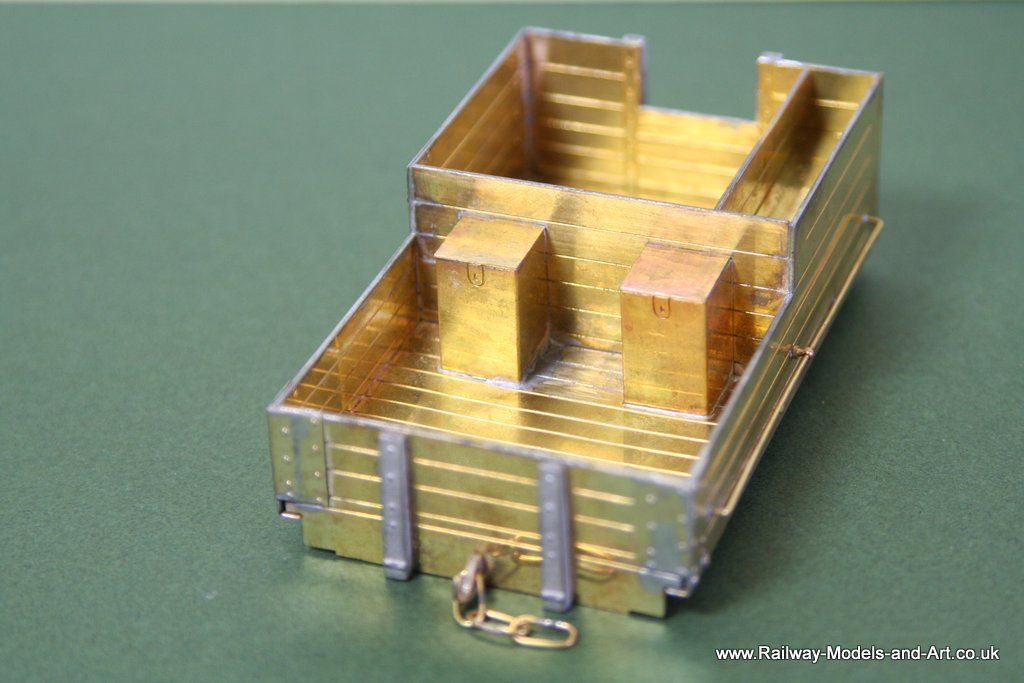
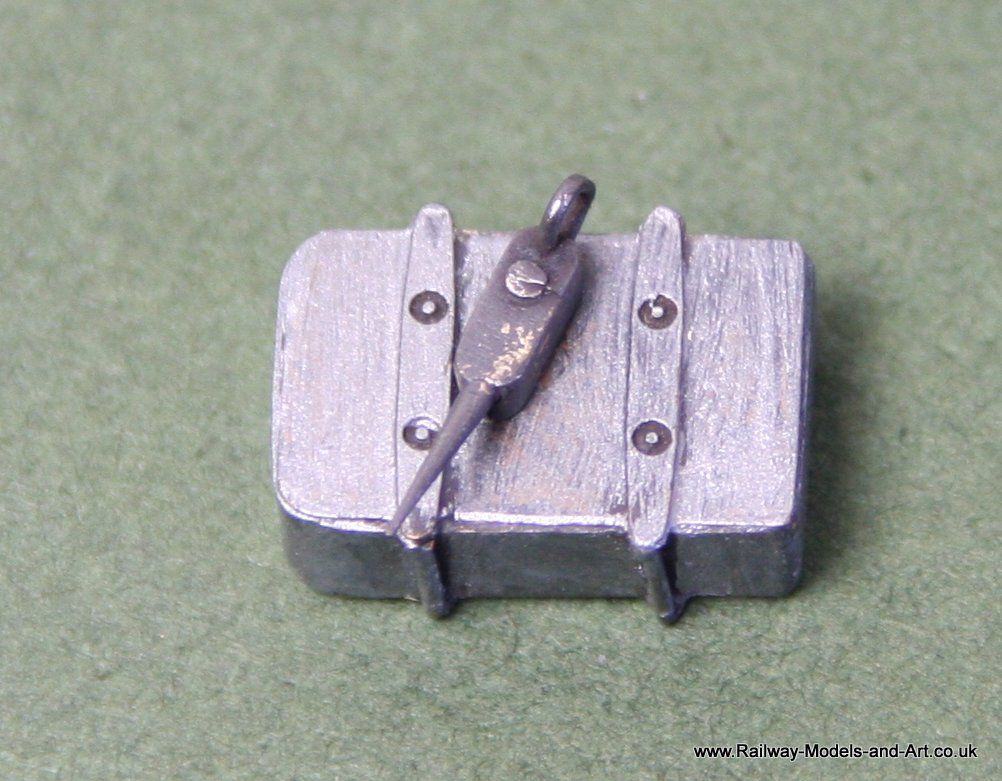
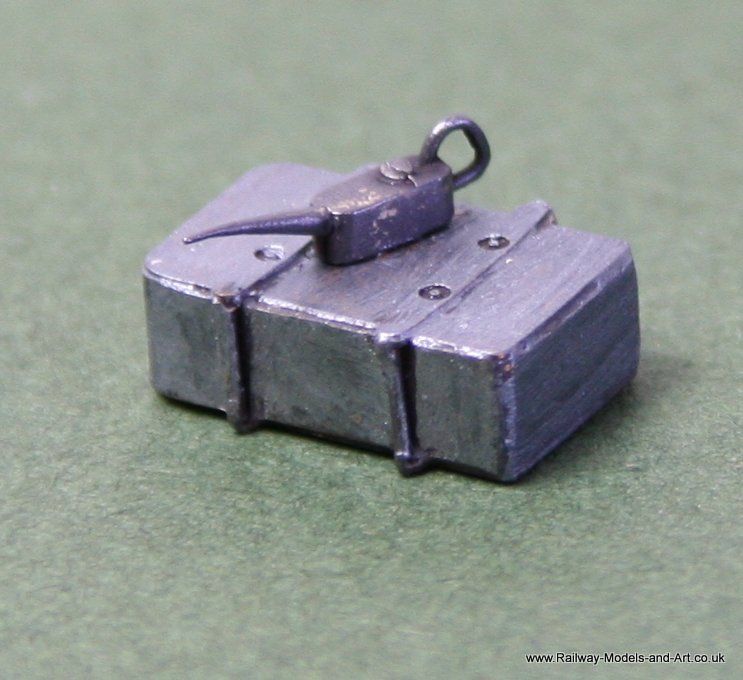
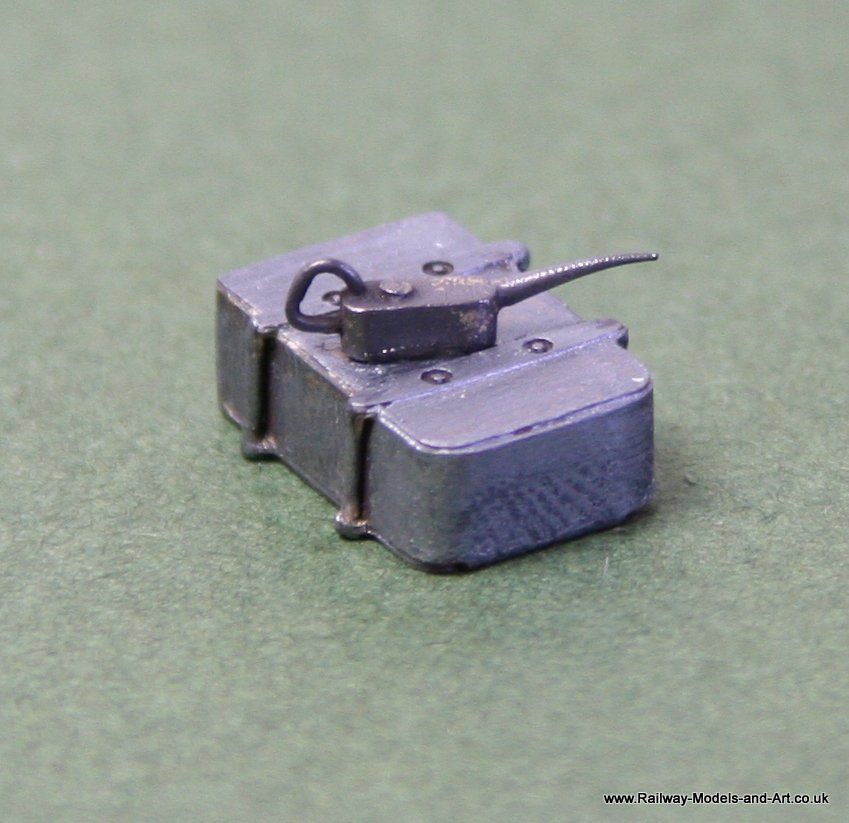
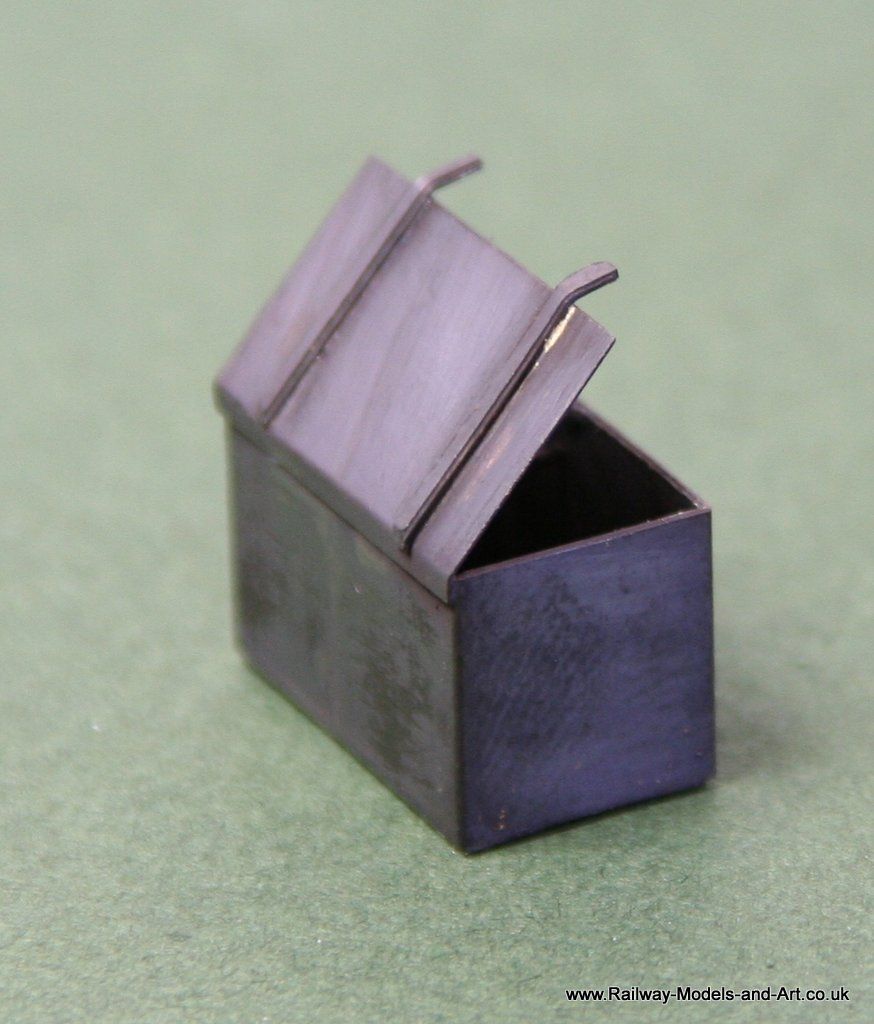
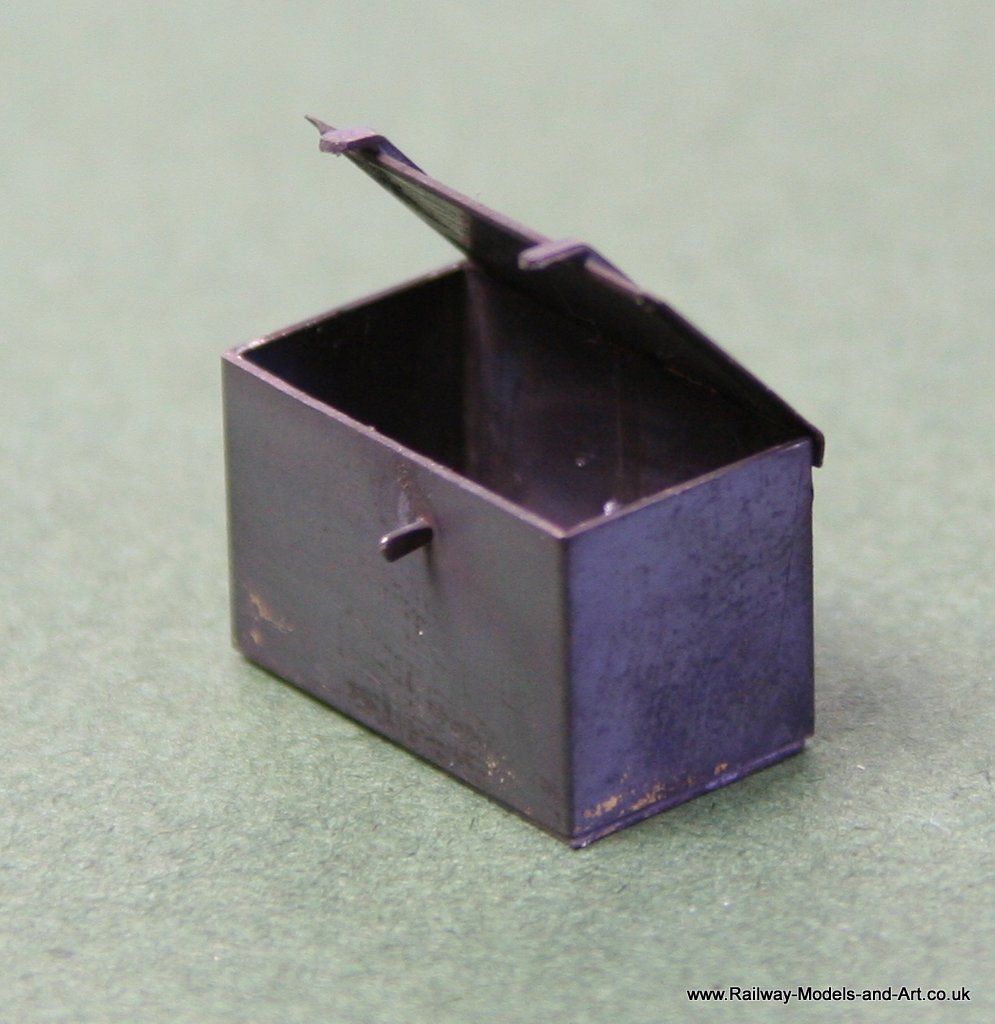
Then I had a rummage in my scrap etc box to see what if anything I had in the way of tool boxes or something that could be made into them.
First off I came up with this it was a bit fiddly to make up and the first wash lost some of the bits of rod on the sides.... The oil can is one of the Peter Roles castings.
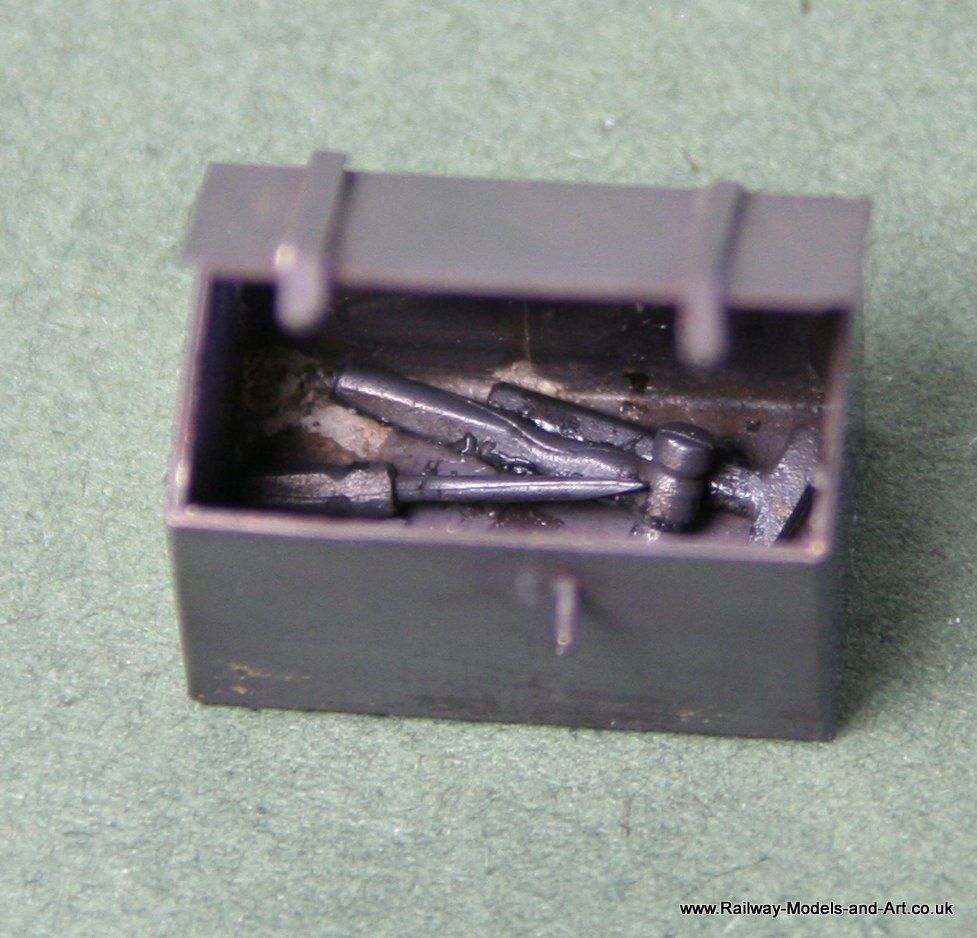
Next up I really wanted an open toolbox. A spare etch and some scratch built straps etc. gave me this which I am quite suited with.
With tools inside.....
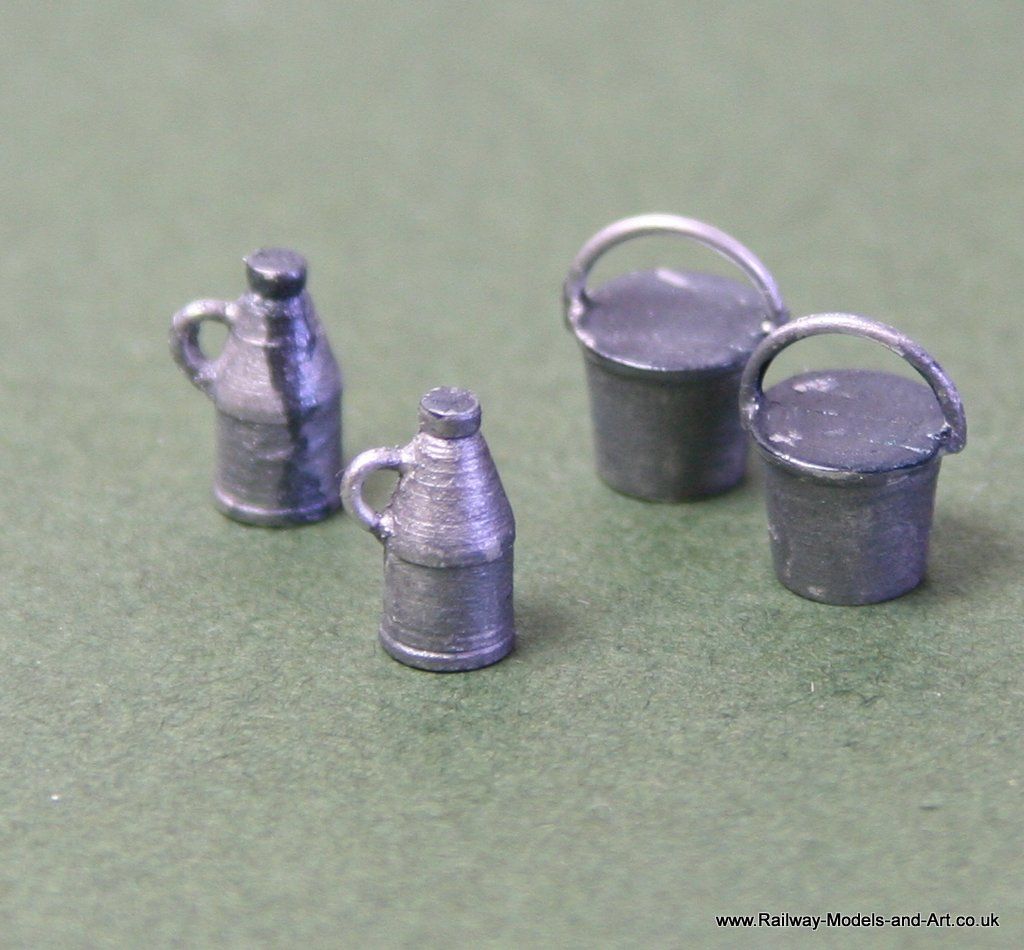
Jim also supplies a few cast details in the form of buckets, upright oil cans and shovels so I made a start on painting some of them.
I am not too sure about the buckets......
- Robpulham
- LNER A4 4-6-2 'Streak'
- Posts: 1721
- Joined: Thu Mar 27, 2008 9:54 pm
- Location: Lower Wensleydale
- Contact:
Re: 7mm Rolling Stock Builds - Connoisseur NBR Tender Truck
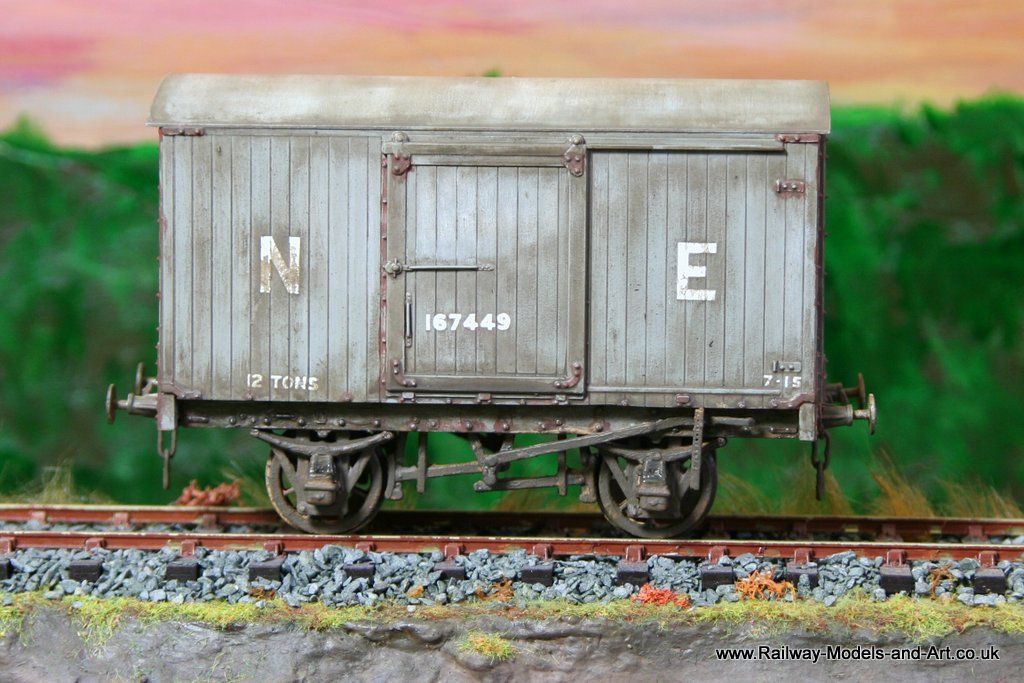
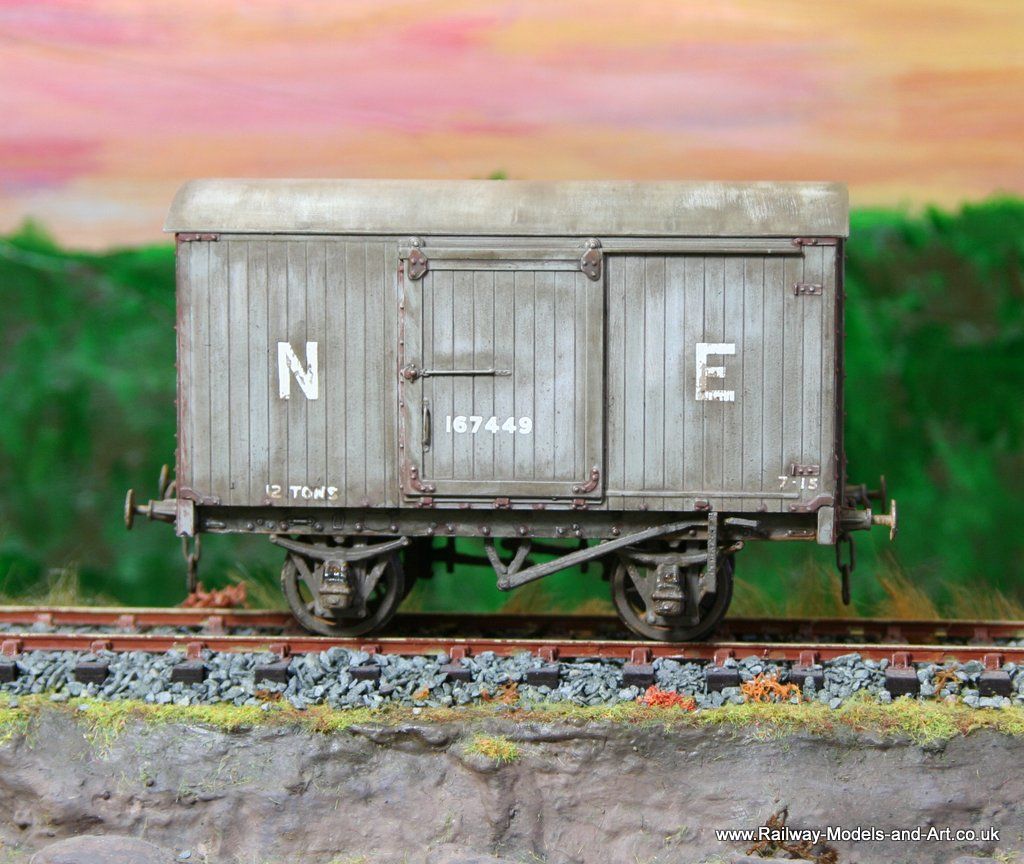
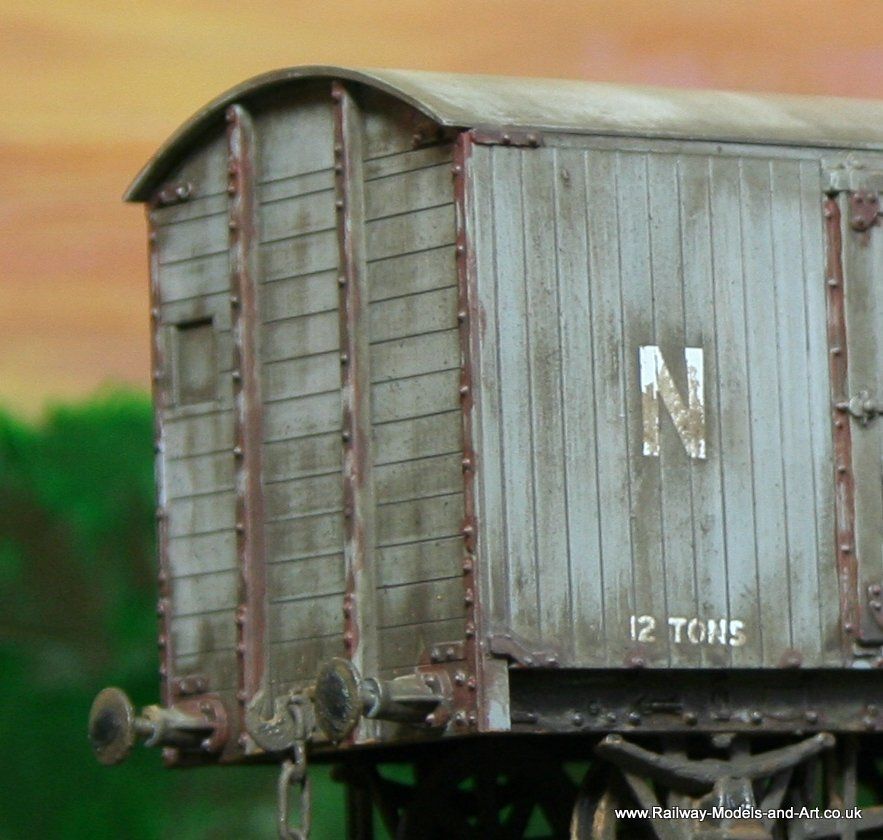
Not much has been happening on the construction front but I have been painting the tender truck I have also done a bit more weathering to the back log of Parkside vans the first of which is an LNER 12 tn unfitted van.