Rob's 7mm Scale Coach Workbench
Moderators: 52D, Tom F, Rlangham, Atlantic 3279, Blink Bonny, Saint Johnstoun, richard
- Atlantic 3279
- LNER A4 4-6-2 'Streak'
- Posts: 6658
- Joined: Fri Jun 26, 2009 9:51 am
- Location: 2850, 245
Re: Kemilway GNR 52' Composite
Exquisite so far Rob. That method of forming the dome-ends for the roof brings back memories of trying to file pressed (and creased) aluminium (and filler) to shape, in three dimensions on my Phoenix diagram 193, 194 & 195 kits. Hard work, but possible.
Most subjects, models and techniques covered in this thread are now listed in various categories on page1
Dec. 2018: Almost all images that disappeared from my own thread following loss of free remote hosting are now restored.
Dec. 2018: Almost all images that disappeared from my own thread following loss of free remote hosting are now restored.
- Robpulham
- LNER A4 4-6-2 'Streak'
- Posts: 1721
- Joined: Thu Mar 27, 2008 9:54 pm
- Location: Lower Wensleydale
- Contact:
Re: Kemilway GNR 52' Composite
Thanks Graeme,Atlantic 3279 wrote:Exquisite so far Rob. That method of forming the dome-ends for the roof brings back memories of trying to file pressed (and creased) aluminium (and filler) to shape, in three dimensions on my Phoenix diagram 193, 194 & 195 kits. Hard work, but possible.
To be honest the domed ends are not the hardest bit actually getting it rolled to shape and fitting the formers seemed harder to me. I hope it will go a bit smoother on the next one now I know what I am doing. I plan to do a step by step on the next one.
- Robpulham
- LNER A4 4-6-2 'Streak'
- Posts: 1721
- Joined: Thu Mar 27, 2008 9:54 pm
- Location: Lower Wensleydale
- Contact:
Re: Kemilway GNR 52' Composite
I don't feel to have made much progress in the last few days but I have done a bit.
Firstly I discovered a gaff! - I had soldered the cornice onto the coach side not the cornice spacer
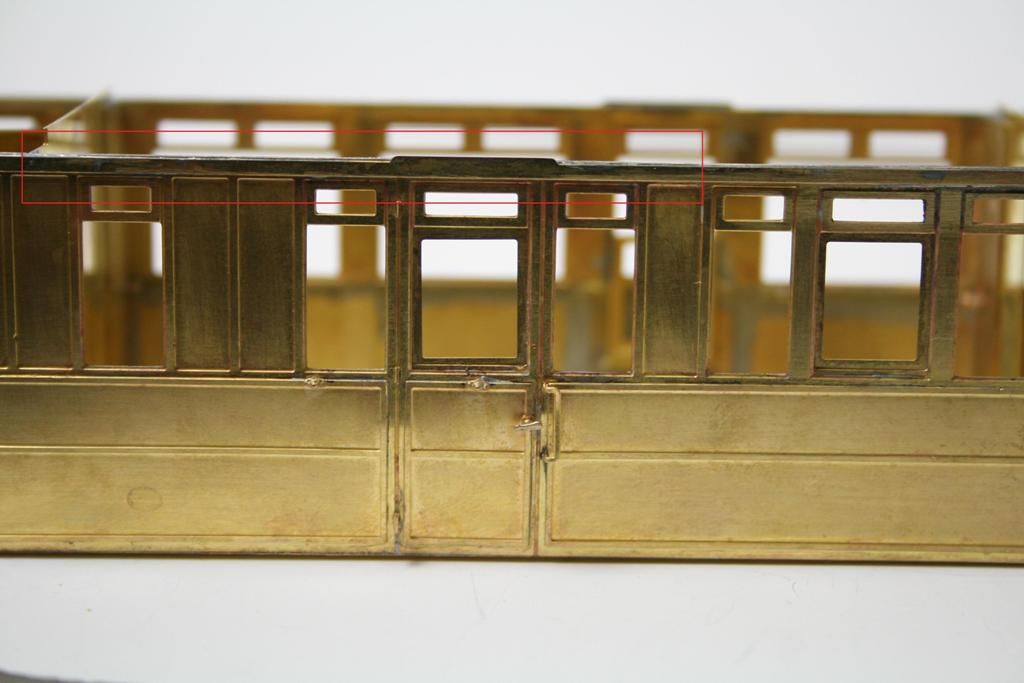
The offending cornice marked in red
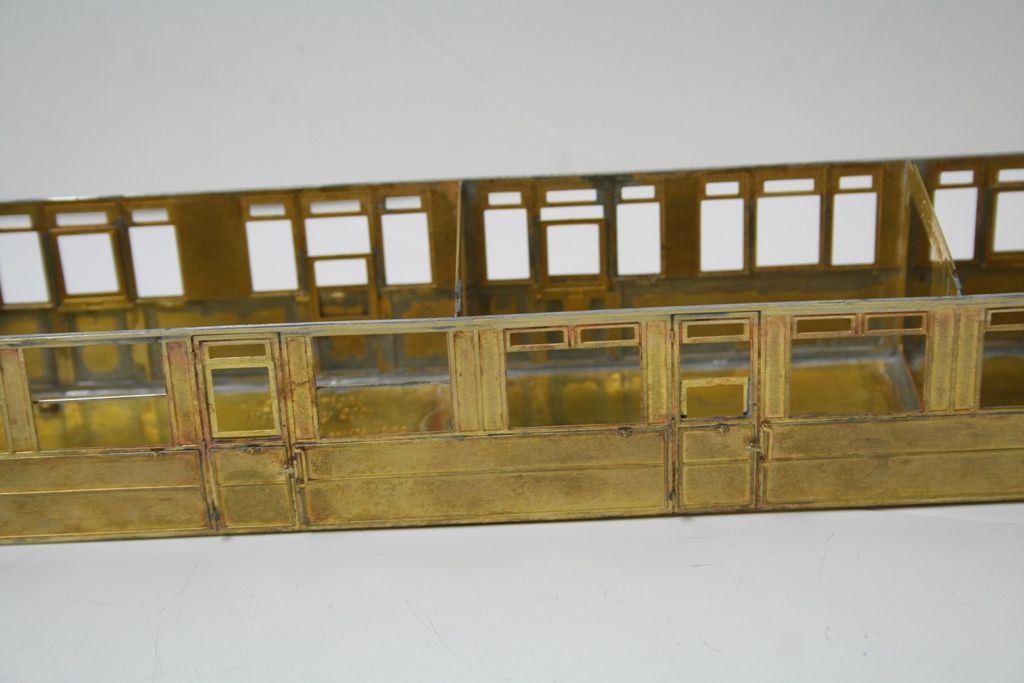
It should have been a plain strip....
Before I plucked up the courage to take the cornice off I spent an hour or so making this.
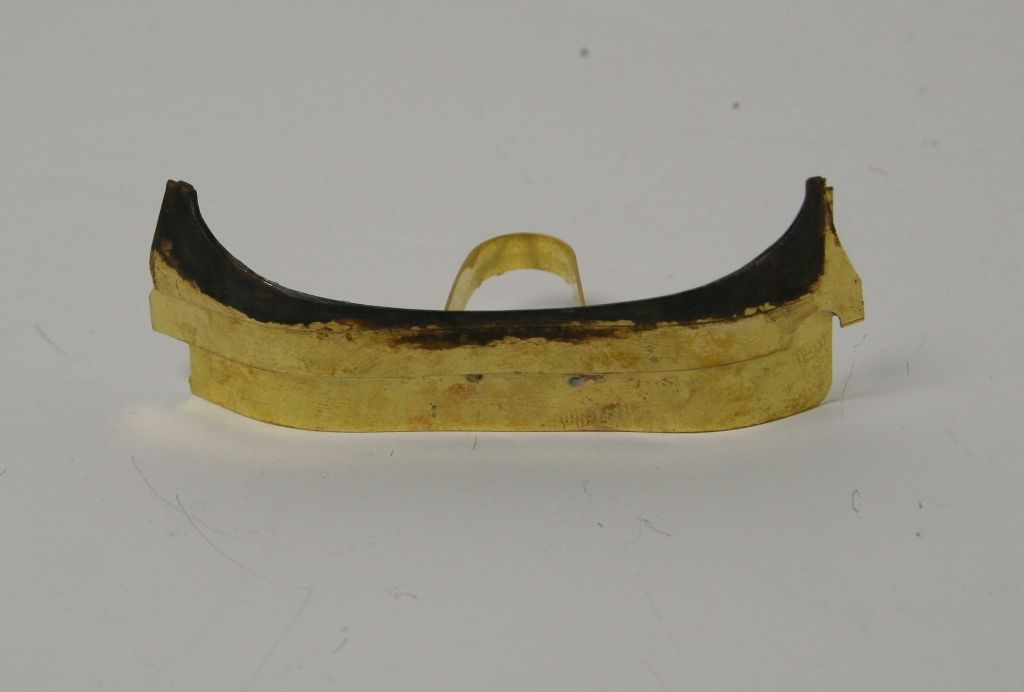
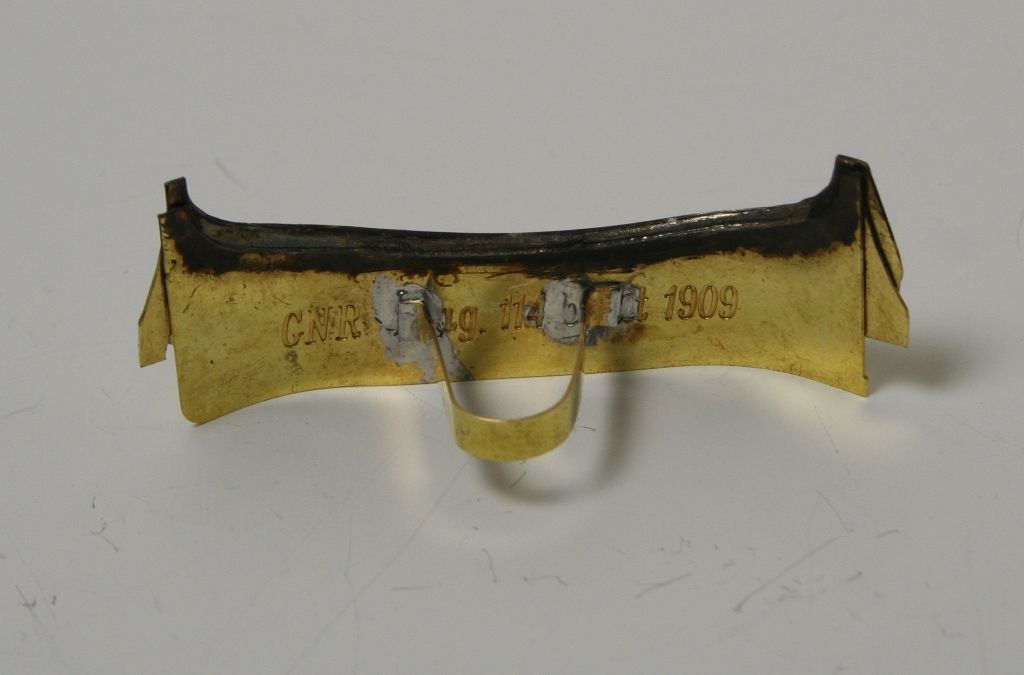
What on earth is that I can hear you muttering.. well it's a jig to do this
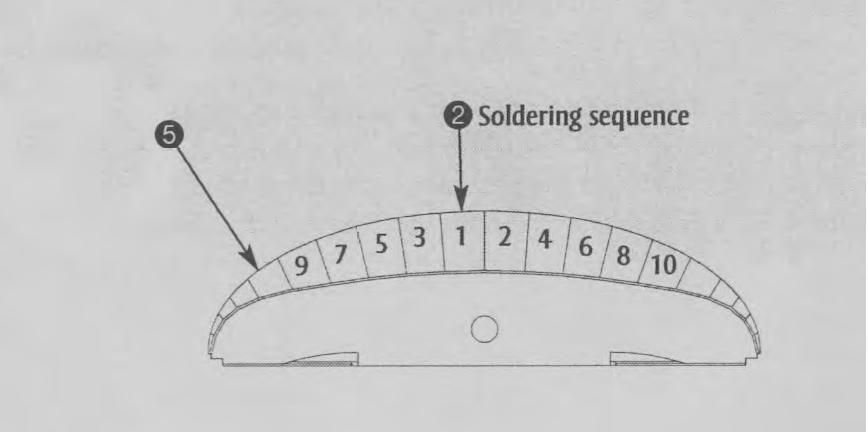
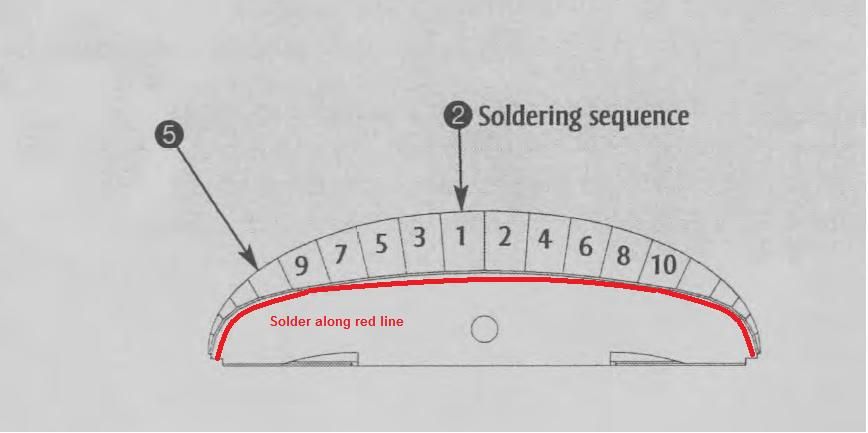
You just place it on the coach end and run solder along the underside edge and all the roof fingers solder down without having to worry about any springing off. The blackening stops the jig from being soldered to the roof. I made it from the scrap etch that the formers came out of. It's only good for the Great Northern roof profile coaches but when I get some of the LNER coaches I will make another. When I get to the next roof I will take photos to demonstrate it in action.
Firstly I discovered a gaff! - I had soldered the cornice onto the coach side not the cornice spacer

The offending cornice marked in red

It should have been a plain strip....
Before I plucked up the courage to take the cornice off I spent an hour or so making this.


What on earth is that I can hear you muttering.. well it's a jig to do this


You just place it on the coach end and run solder along the underside edge and all the roof fingers solder down without having to worry about any springing off. The blackening stops the jig from being soldered to the roof. I made it from the scrap etch that the formers came out of. It's only good for the Great Northern roof profile coaches but when I get some of the LNER coaches I will make another. When I get to the next roof I will take photos to demonstrate it in action.
- Robpulham
- LNER A4 4-6-2 'Streak'
- Posts: 1721
- Joined: Thu Mar 27, 2008 9:54 pm
- Location: Lower Wensleydale
- Contact:
Re: Kemilway GNR 52' Composite
While I haven't posted much with my laptop dying I have made further progress.
I have taken the D114 as far as I wanted to without the other bits from Kemilway. They duly arrived last week (all apart from some wire and some bolts).
Here's where I got to. I also started the second coach and I have the floor pan folded up and the sides ready for the tumble home forming - I haven't taken pictures because it's more of the same.
The roof is just resting on at the moment because it's the long roof bolts that I am still waiting for.
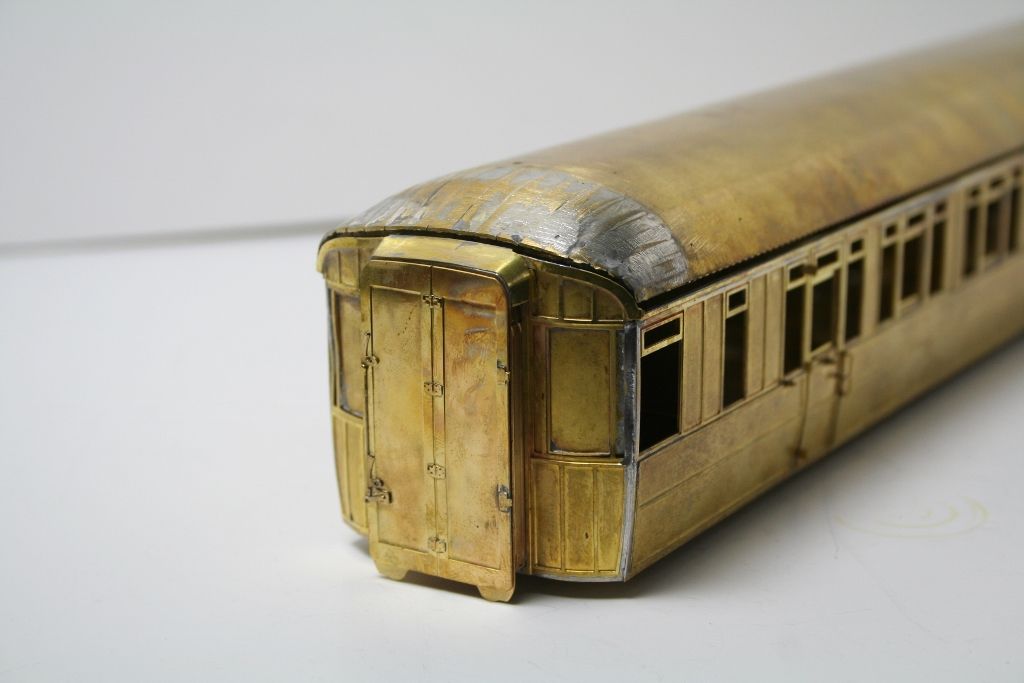
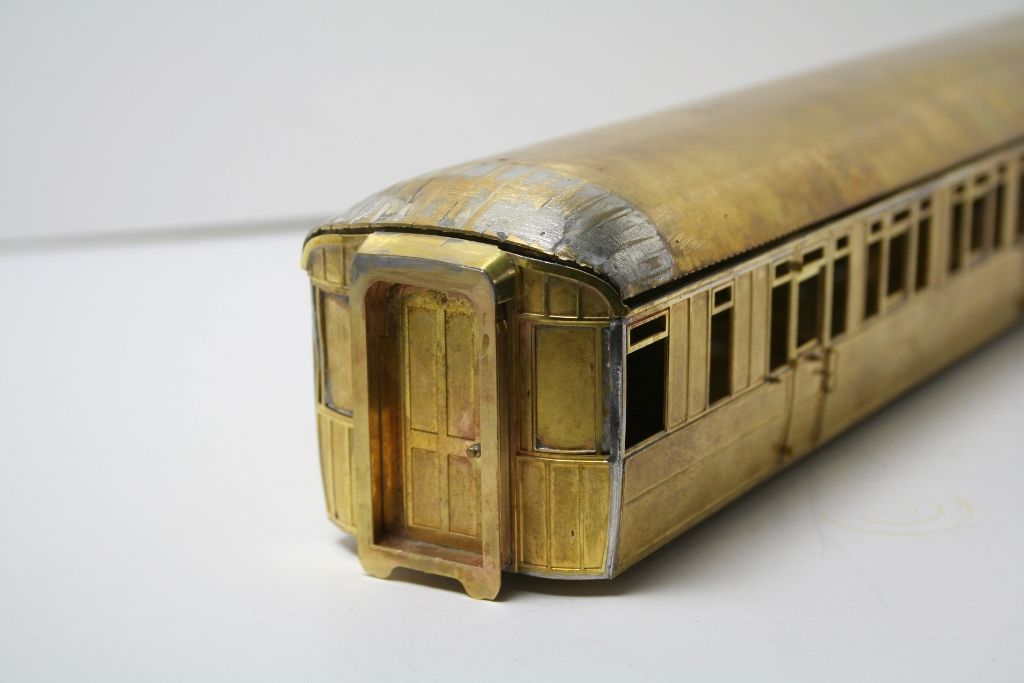

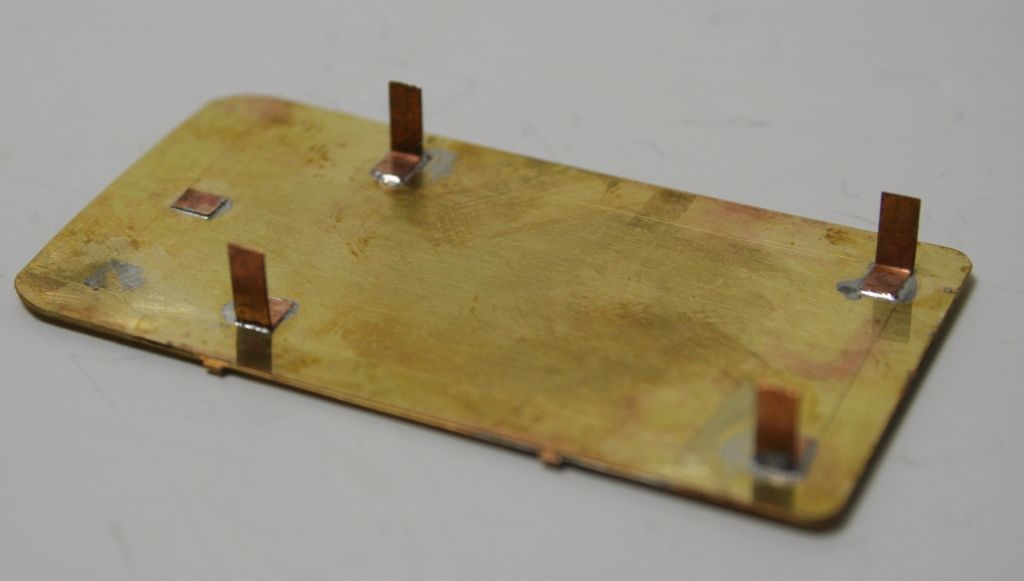
I soldered some tabs on the back of the gangway board so that it's removable if I want to have the coach in the middle of a rake.
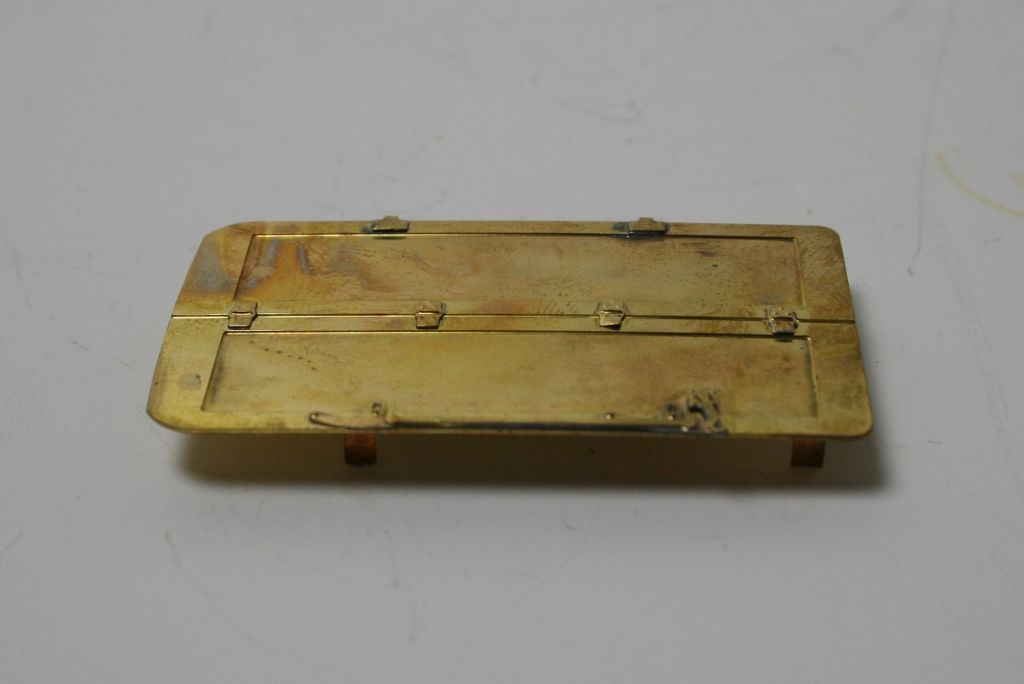
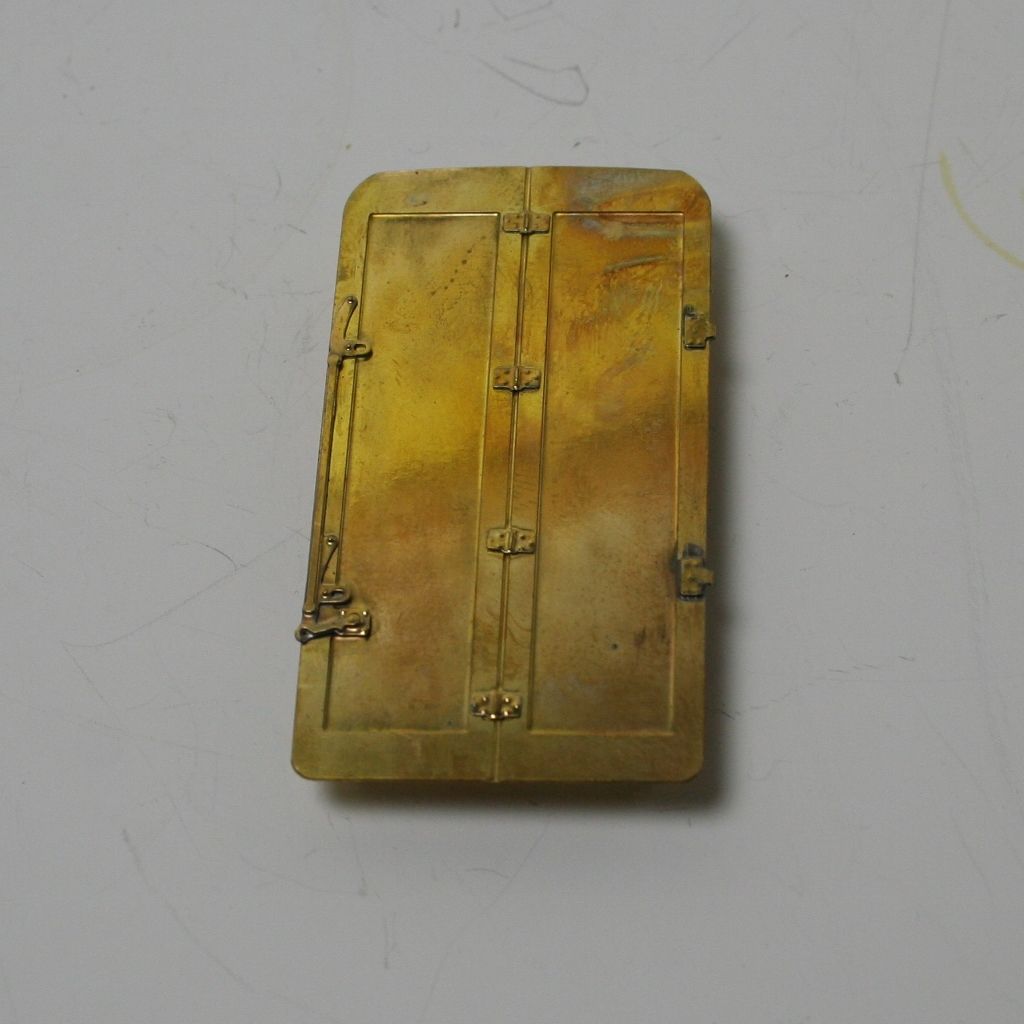
I have taken the D114 as far as I wanted to without the other bits from Kemilway. They duly arrived last week (all apart from some wire and some bolts).
Here's where I got to. I also started the second coach and I have the floor pan folded up and the sides ready for the tumble home forming - I haven't taken pictures because it's more of the same.
The roof is just resting on at the moment because it's the long roof bolts that I am still waiting for.


I soldered some tabs on the back of the gangway board so that it's removable if I want to have the coach in the middle of a rake.


- Robpulham
- LNER A4 4-6-2 'Streak'
- Posts: 1721
- Joined: Thu Mar 27, 2008 9:54 pm
- Location: Lower Wensleydale
- Contact:
Re: Kemilway GNR 52' Composite
A recent Ebay buy was a Bill Bedford kit for a NBR/LNER D71 BG, I say "kit" but it's more sides ends and underframe. One evening I needed a bit of a distraction from rolling the tumblehome for the second Kemilway so I thuoght I would see how well the BB kit went together.
The sides are in two halves that are lap jointed a bit like Comet 4mm LNER coach sides if anyone has ever made them. I have to say that they go together very positively and were a joy to solder up. The sides themselves are nicely etched but the one thing that all the parts suffer from is that where there are holes for slots/tabs or door handles etch they are all etched too big.
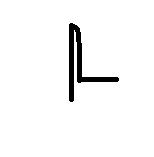
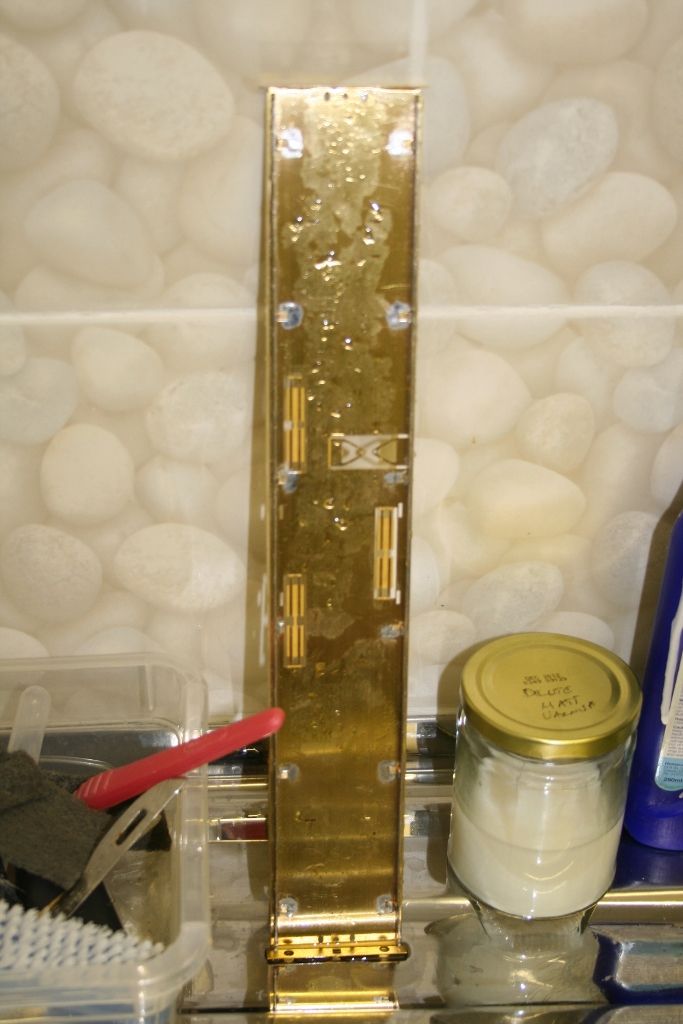
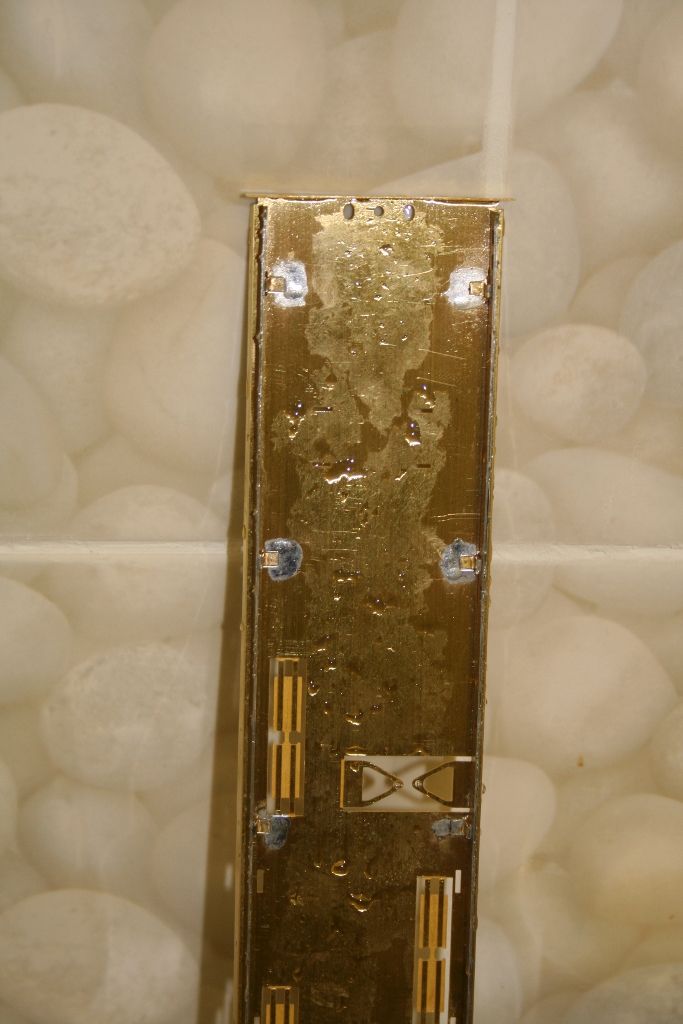
In order to support the solebars I made up some brackets shaped like this
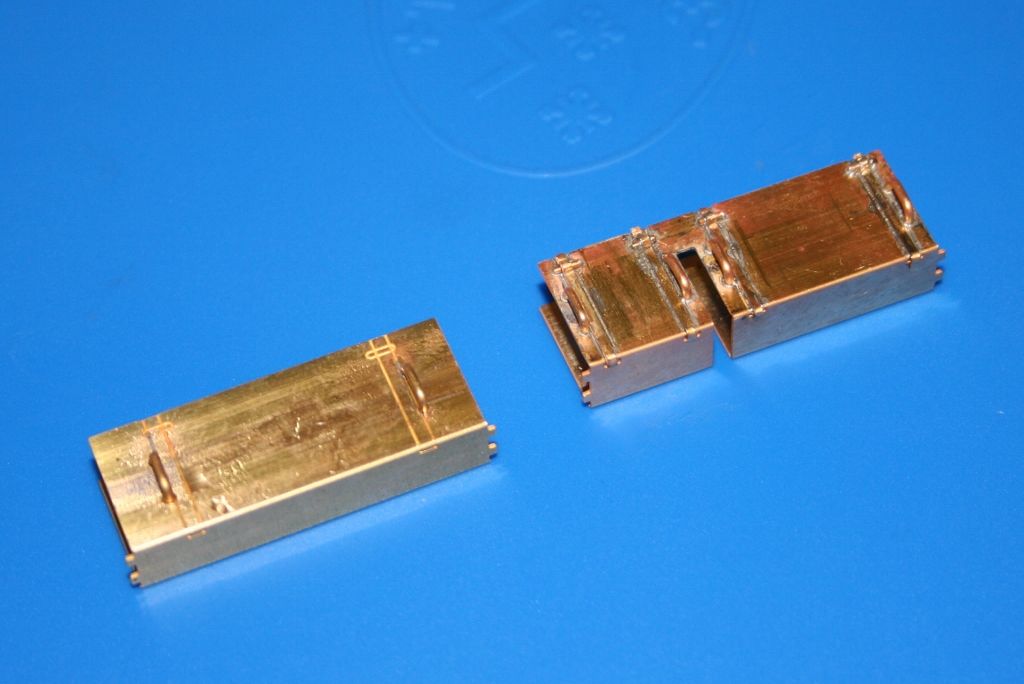
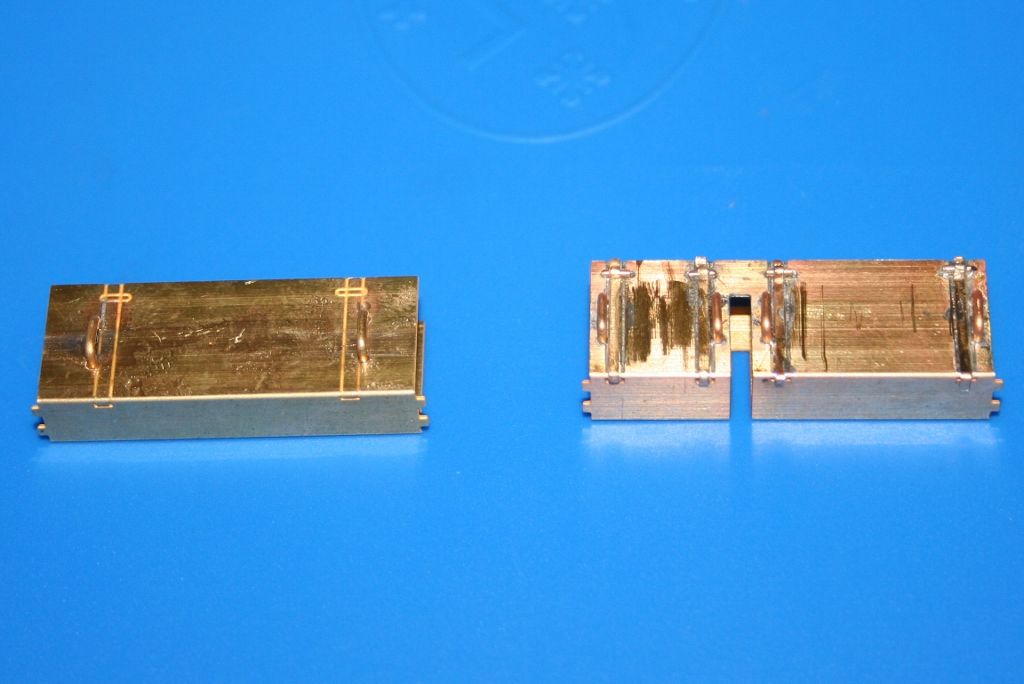
There are some etched battery boxes included but the details was a bit 2D so I made up some hinge detail from scrap etch and 0.5mm wire.
Next up I created the tumblehome. back up the thread I offered to detail how I do this so I took the opportunity to take step by step photos while doing it.
First stick a strip of 2" masking tape to just below the windows.
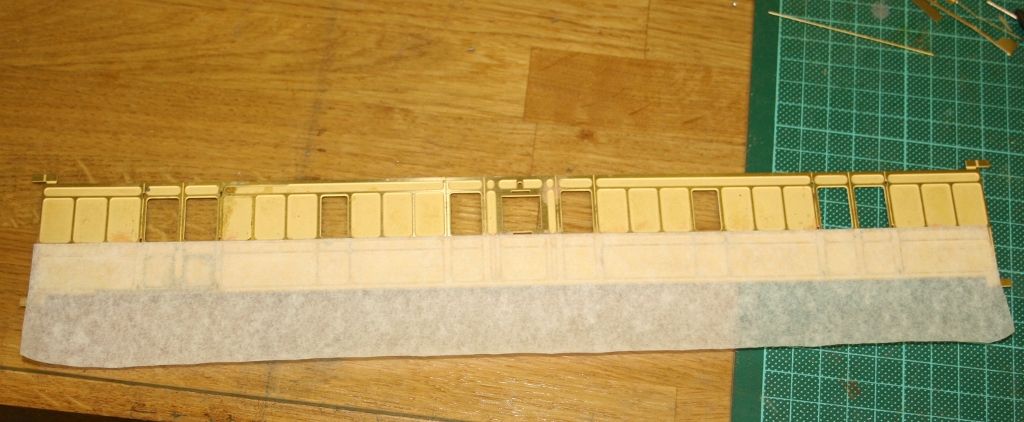
Place your piece of rod on the remaining strip of masking tape and roll it around until it's stuck to the rod and up against the bottom of your side.
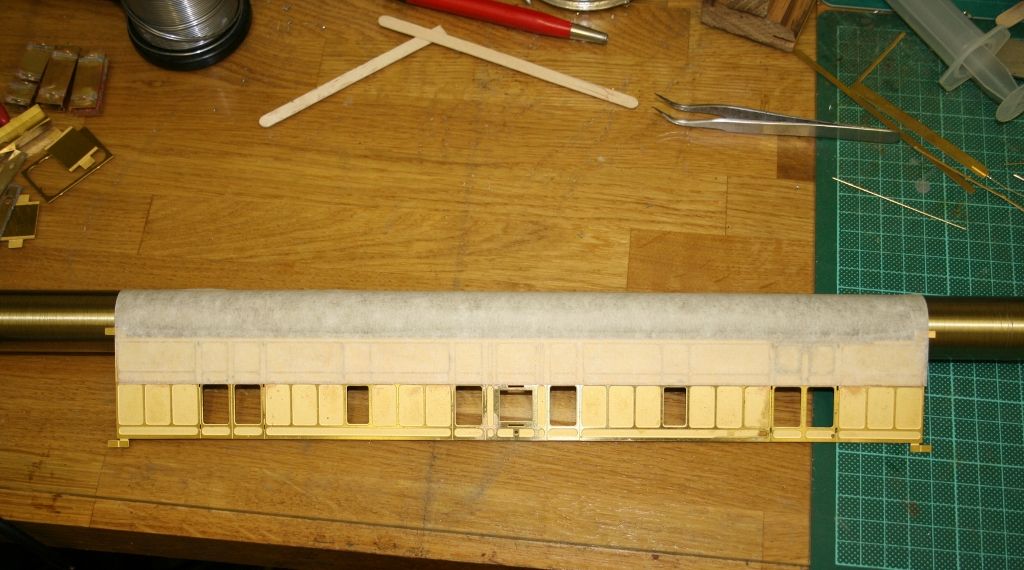
Then continue to roll gently but firmly and the tape pulls the side into a curve.
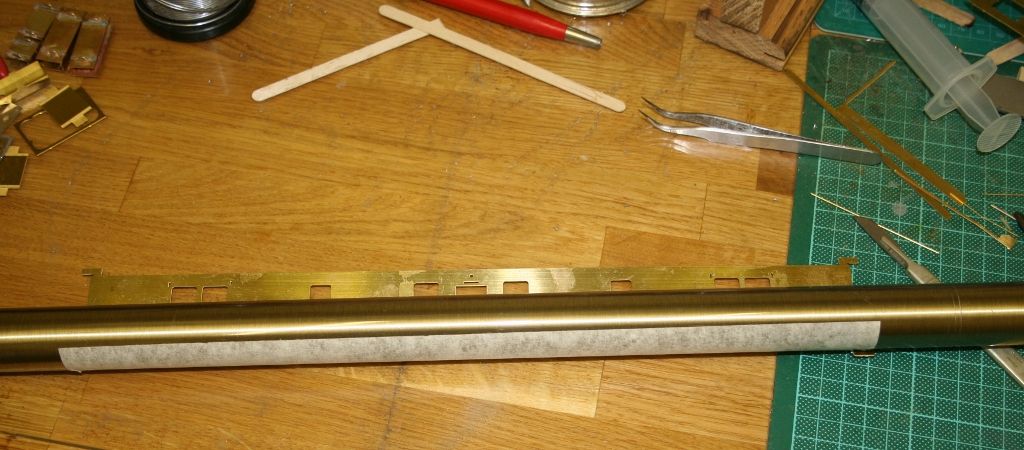
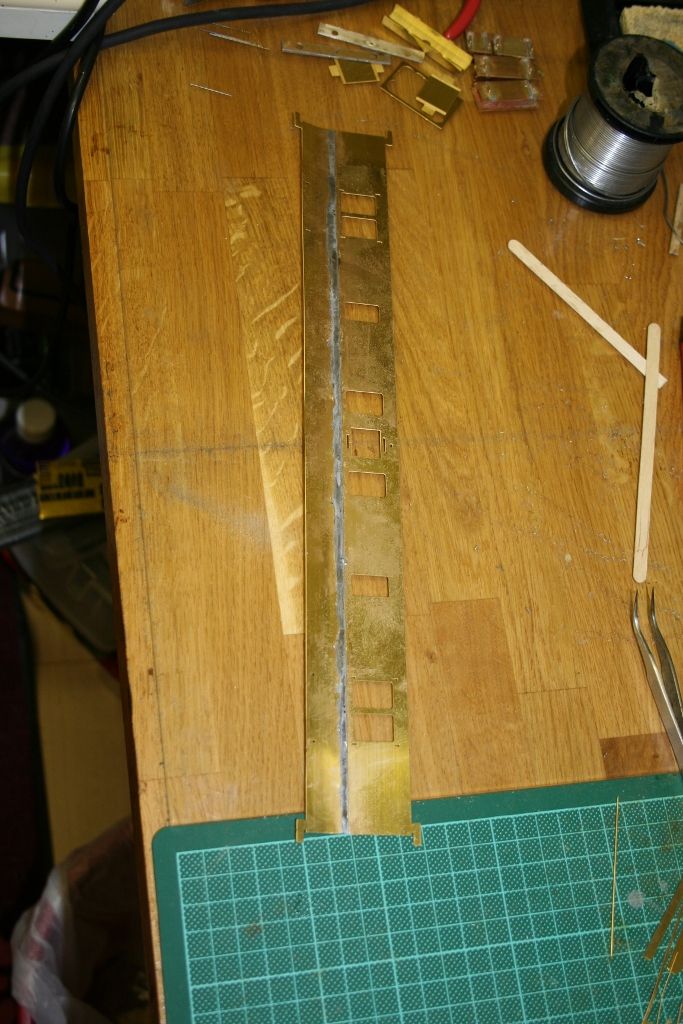
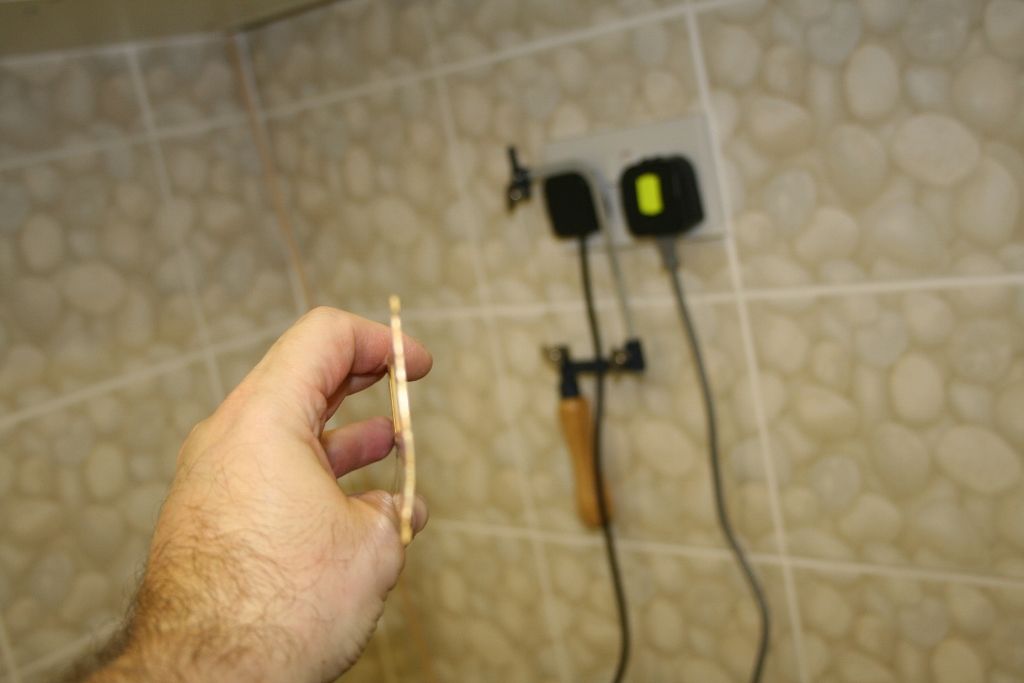
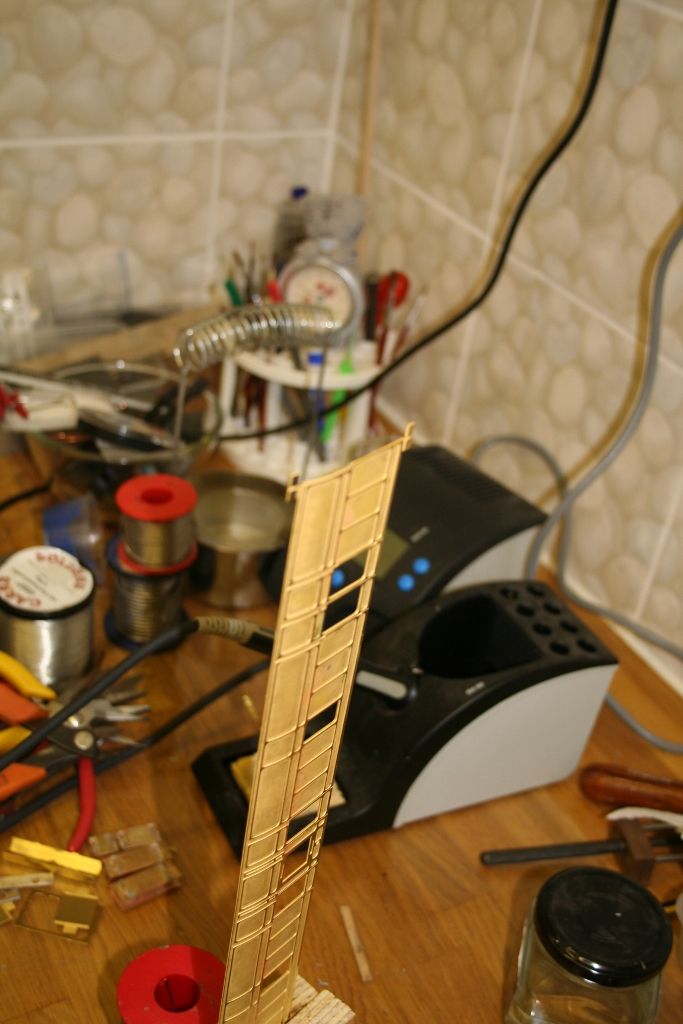
And there you have it.
The sides are in two halves that are lap jointed a bit like Comet 4mm LNER coach sides if anyone has ever made them. I have to say that they go together very positively and were a joy to solder up. The sides themselves are nicely etched but the one thing that all the parts suffer from is that where there are holes for slots/tabs or door handles etch they are all etched too big.
In order to support the solebars I made up some brackets shaped like this


There are some etched battery boxes included but the details was a bit 2D so I made up some hinge detail from scrap etch and 0.5mm wire.


Next up I created the tumblehome. back up the thread I offered to detail how I do this so I took the opportunity to take step by step photos while doing it.
First stick a strip of 2" masking tape to just below the windows.

Place your piece of rod on the remaining strip of masking tape and roll it around until it's stuck to the rod and up against the bottom of your side.

Then continue to roll gently but firmly and the tape pulls the side into a curve.


And there you have it.
- Robpulham
- LNER A4 4-6-2 'Streak'
- Posts: 1721
- Joined: Thu Mar 27, 2008 9:54 pm
- Location: Lower Wensleydale
- Contact:
Re: Kemilway GNR 52' Composite
I am still sidelined by the NBR BG. :0)
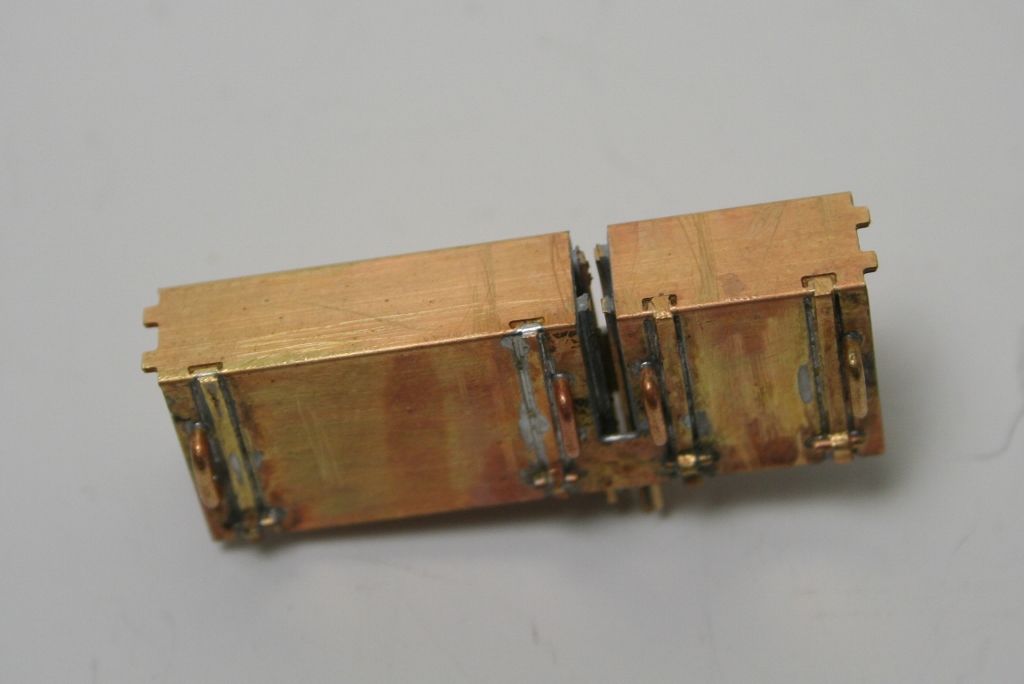
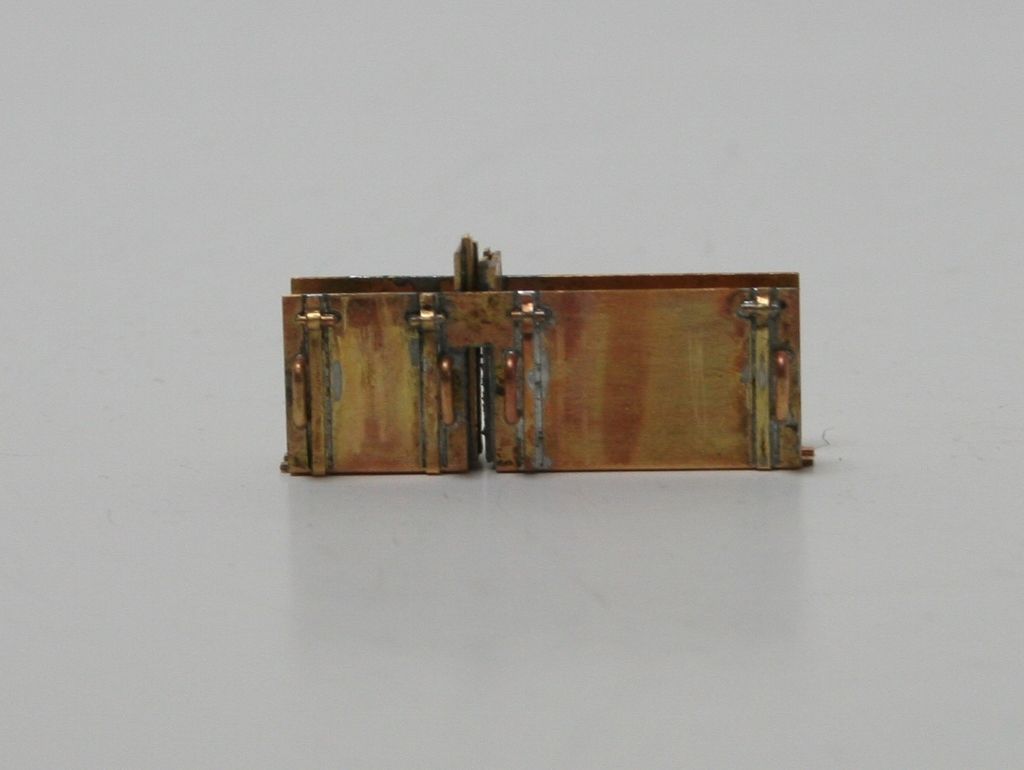
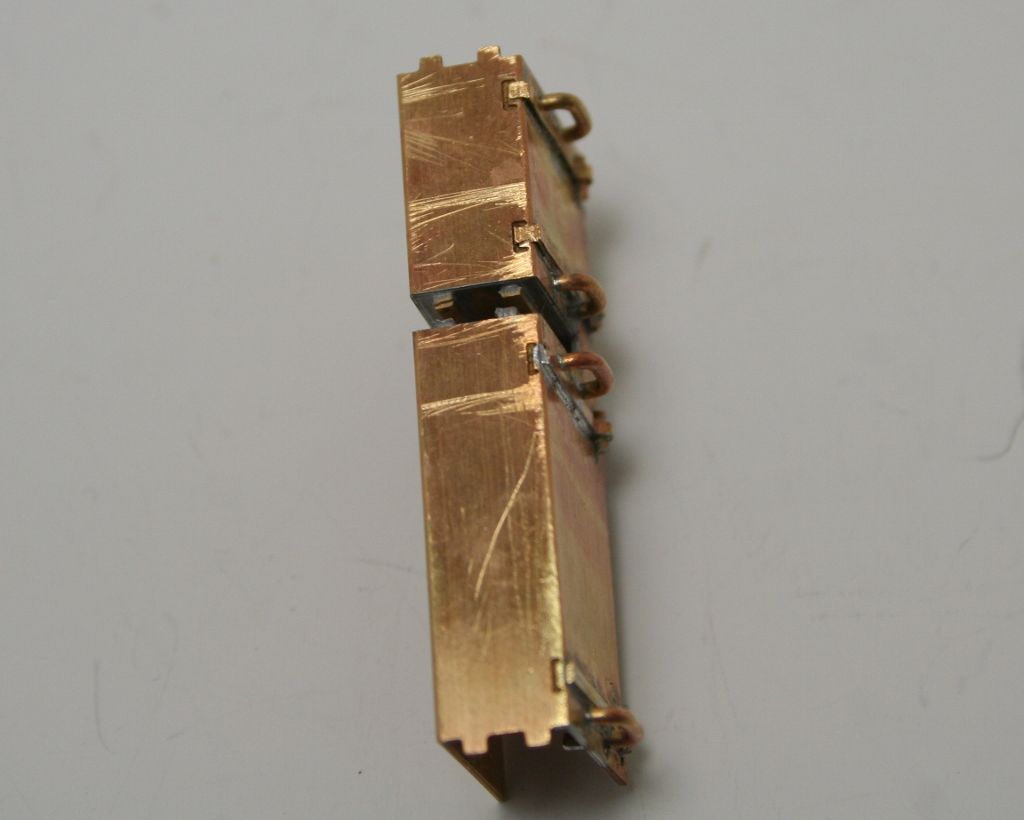
One of the three battery boxes provided is actually split into two smaller boxes and as such does have any ends supplied. I made some from scrap etch to fill the gap basing them on the out ends which are provided.
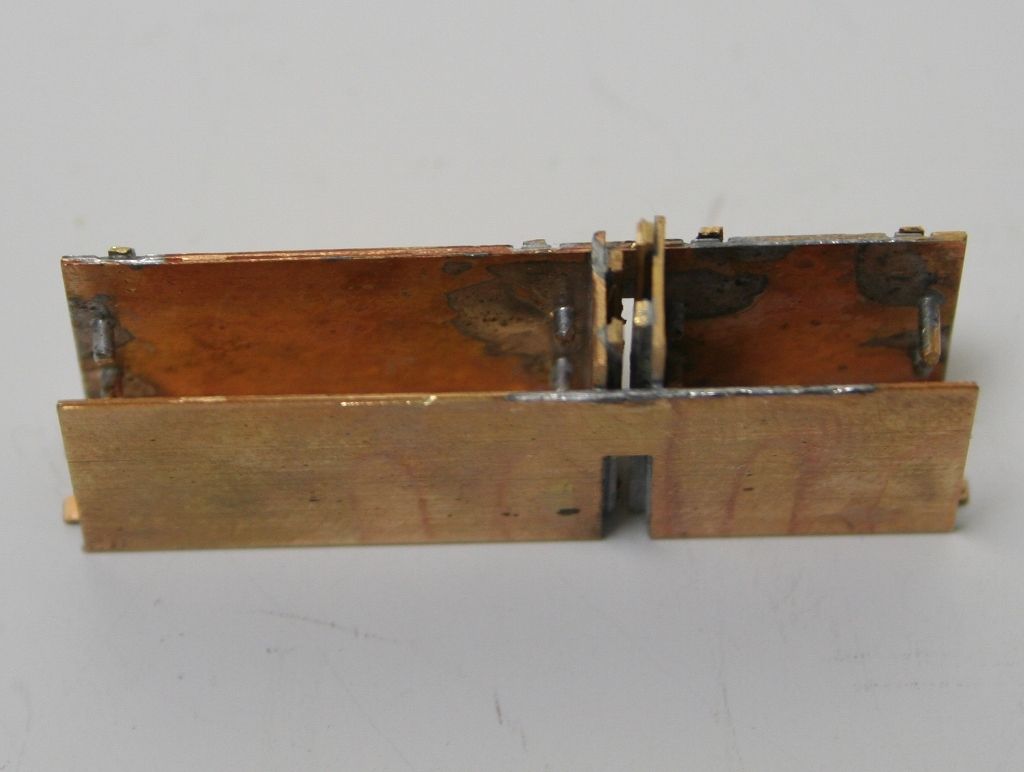
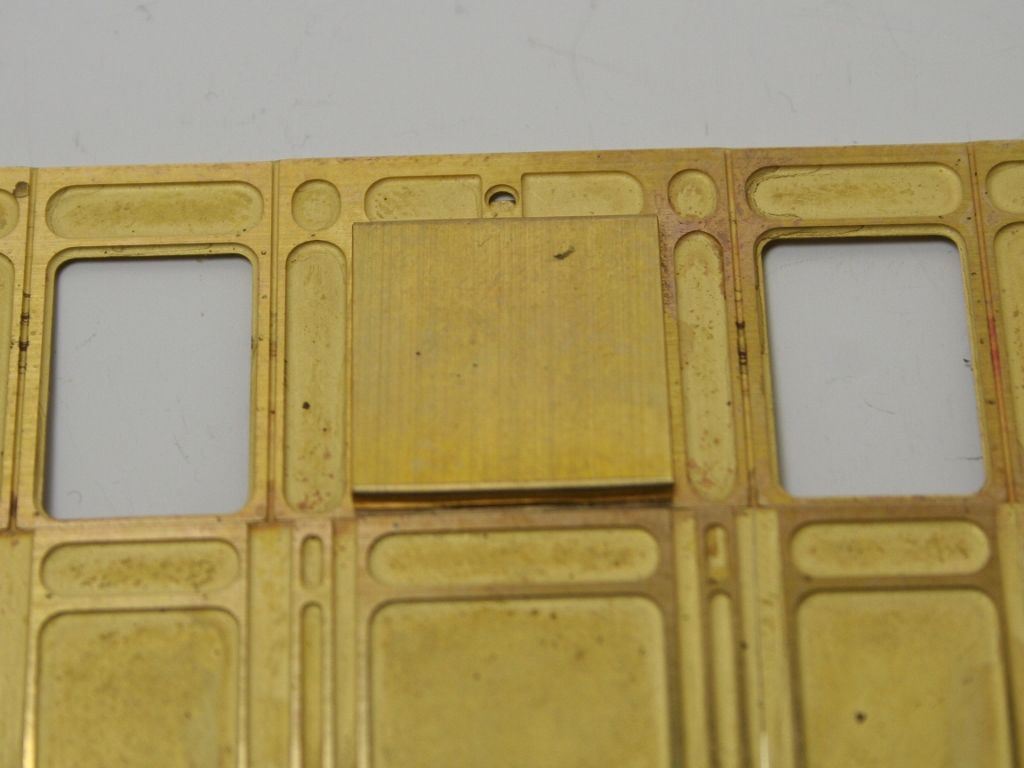
next up is a shot of the guard's ducket which is included but which needs the ends to be rolled very tightly in order to get it to fit nicely - the ends have half etched lines on the back to assist with this.
And the rear view - so far I haven't soldered it, it's held by the tabs.
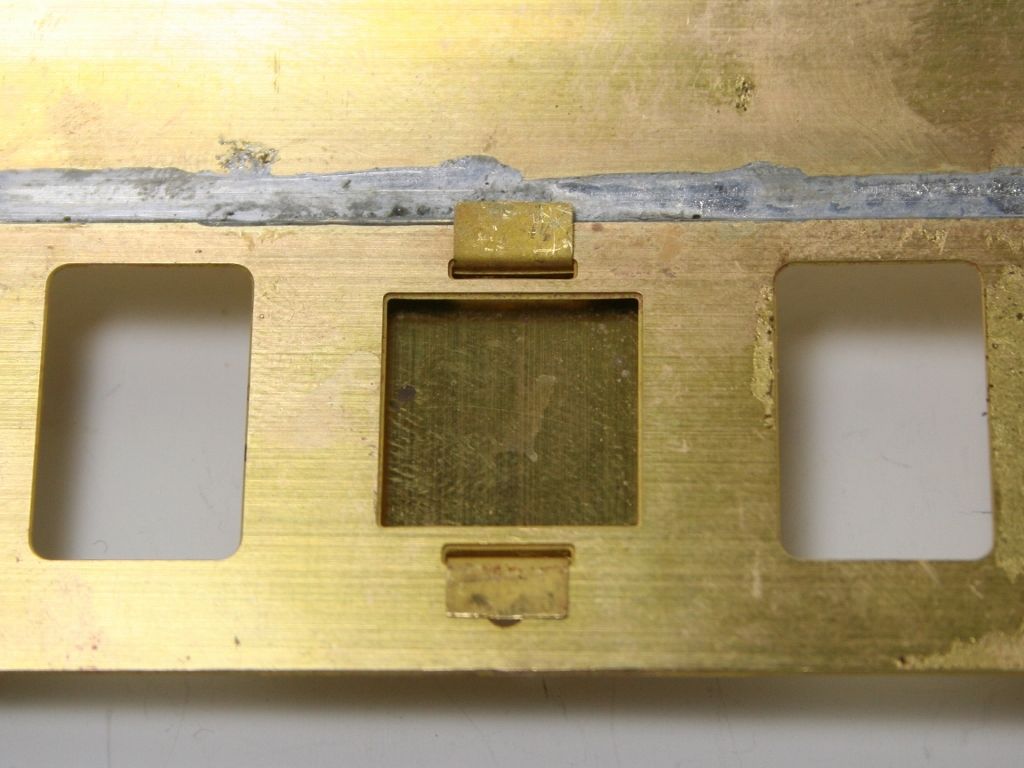
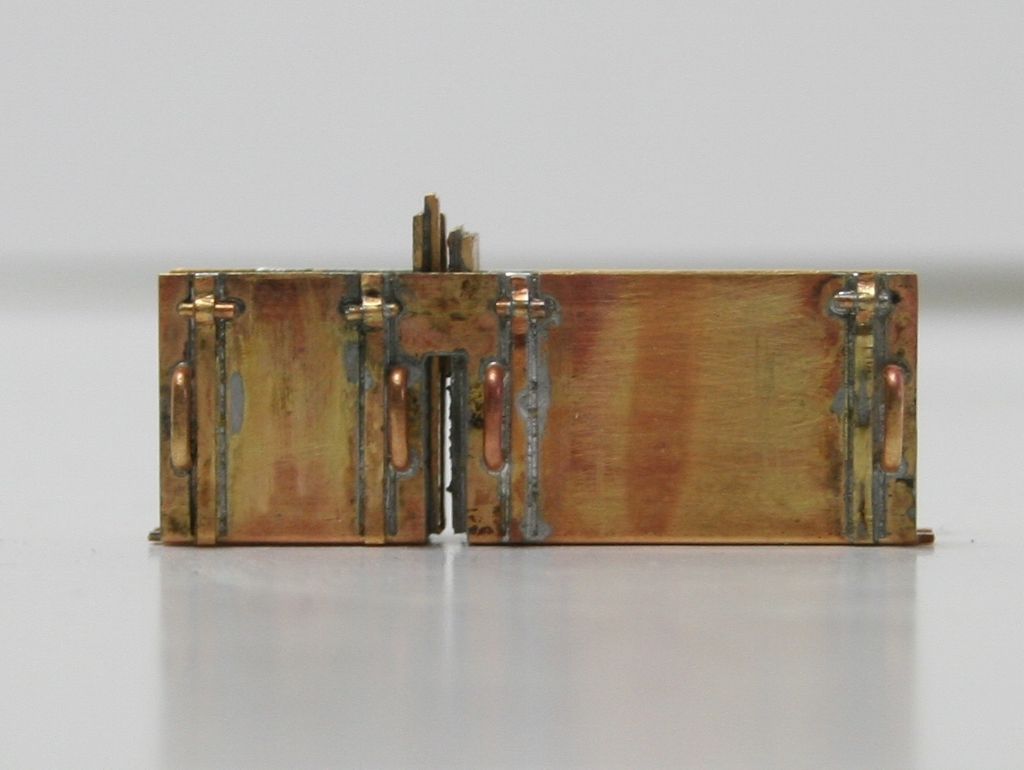
And finally the door handle and hinge detail. I had some nice cast T handles in stock but the longer guards lever handles I made from 0.8mm wire annealed and flattened in a pair of smooth jawed pliers. because as I mentioned earlier all the etched holes are a bit on the big side I had to make and escutcheon plate to cover the hole and for the hinges I used folded scrap etc pinched together in the pliers to fill the hole and give a nice hinge representation.
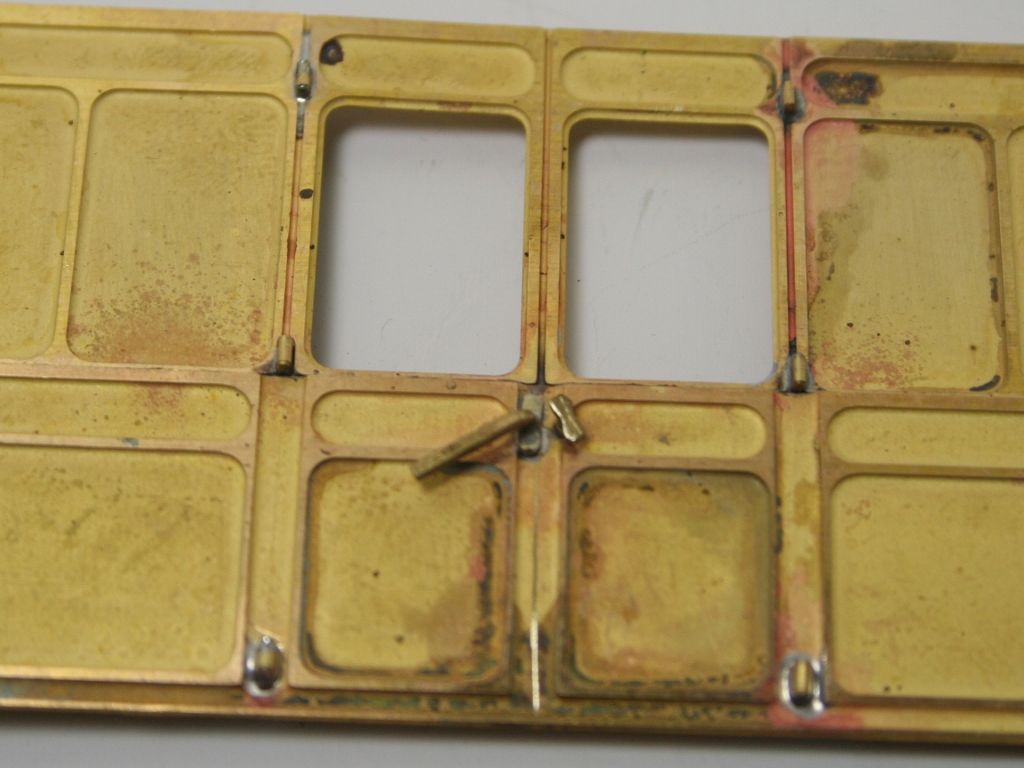
One of the three battery boxes provided is actually split into two smaller boxes and as such does have any ends supplied. I made some from scrap etch to fill the gap basing them on the out ends which are provided.


next up is a shot of the guard's ducket which is included but which needs the ends to be rolled very tightly in order to get it to fit nicely - the ends have half etched lines on the back to assist with this.

And the rear view - so far I haven't soldered it, it's held by the tabs.

And finally the door handle and hinge detail. I had some nice cast T handles in stock but the longer guards lever handles I made from 0.8mm wire annealed and flattened in a pair of smooth jawed pliers. because as I mentioned earlier all the etched holes are a bit on the big side I had to make and escutcheon plate to cover the hole and for the hinges I used folded scrap etc pinched together in the pliers to fill the hole and give a nice hinge representation.

- Robpulham
- LNER A4 4-6-2 'Streak'
- Posts: 1721
- Joined: Thu Mar 27, 2008 9:54 pm
- Location: Lower Wensleydale
- Contact:
Re: Kemilway GNR 52' Composite
The problem solving juices were flowing nicely last night!
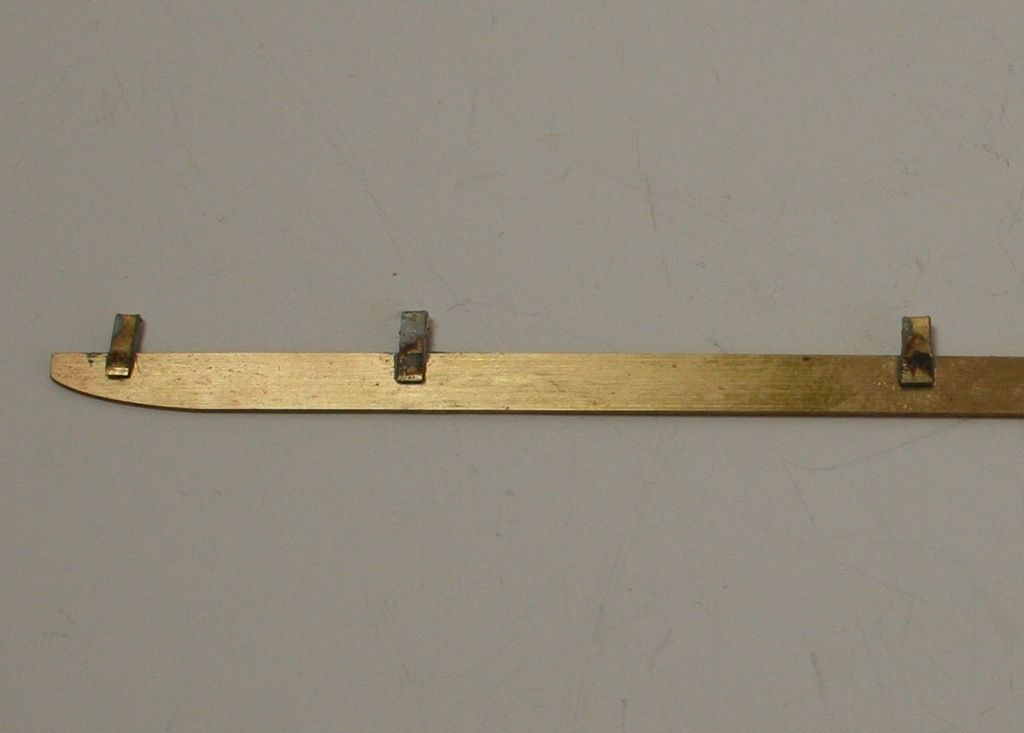
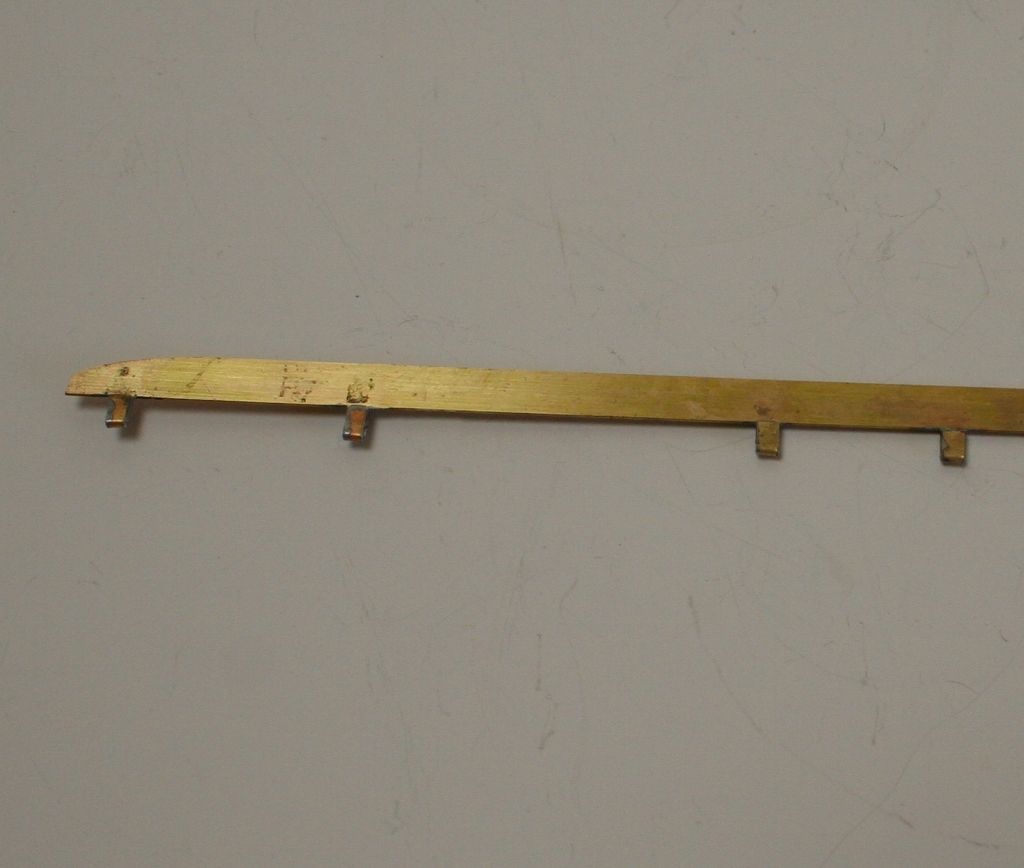
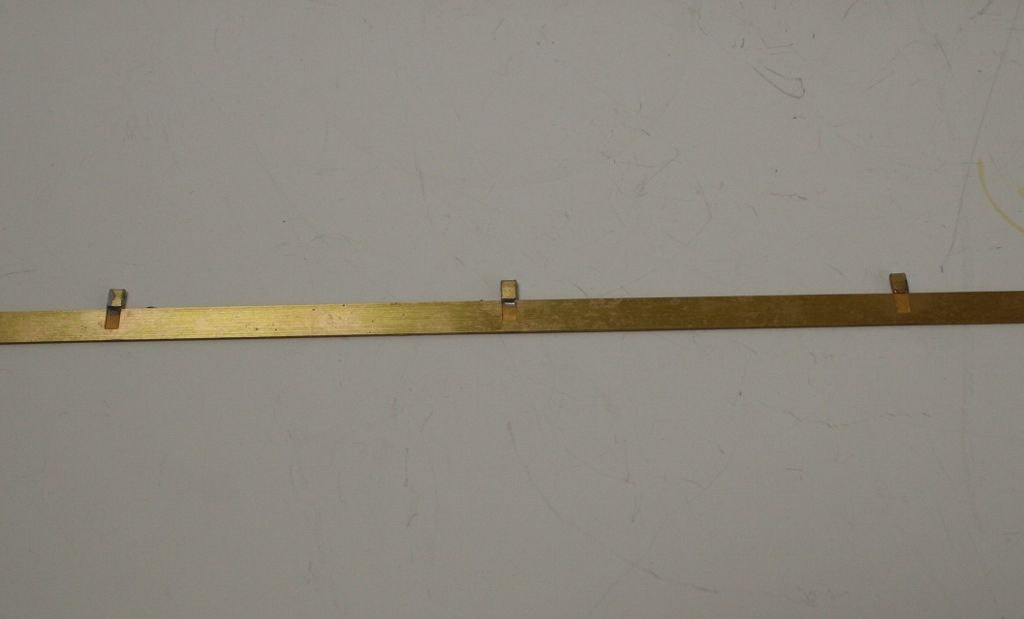
I have sorted a way to fasten on the upper step boards by folding strips of scrap etch around the half etched tabs (bearing in mind the size of the etched holes these would have been much better if they were full thickness not half etched - I cannot fathom the thinking behind having something that essentially provides support, half etched) and leaving a longer bit underneath as extra support (on all except the three centre ones where the supports for the lower step boards will go).
Hopefully the photos below will illustrate this better than I can describe it.
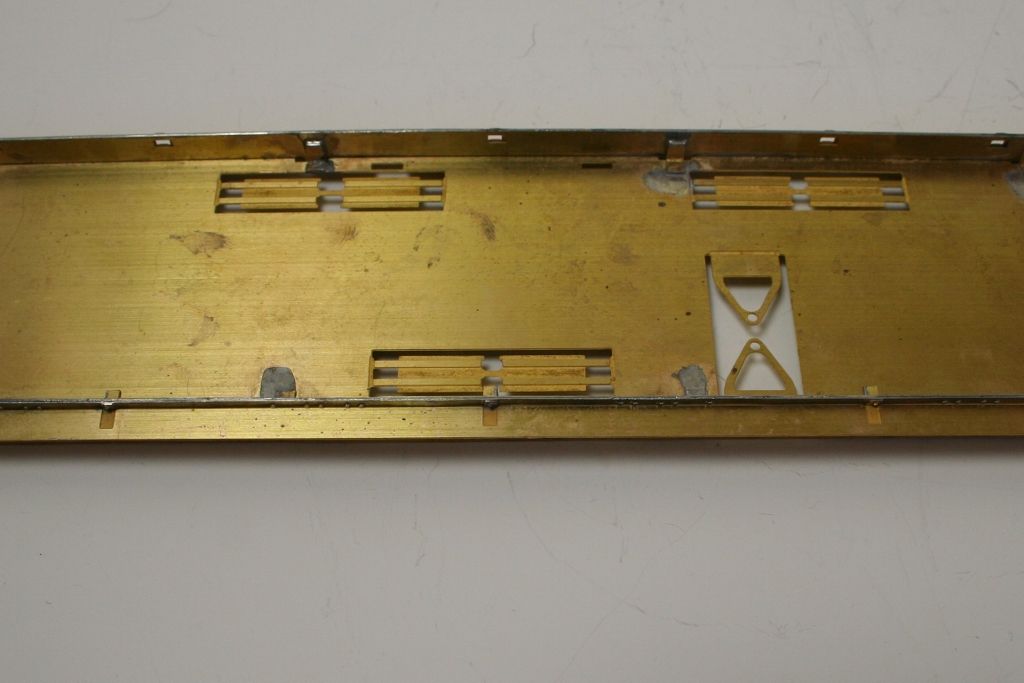
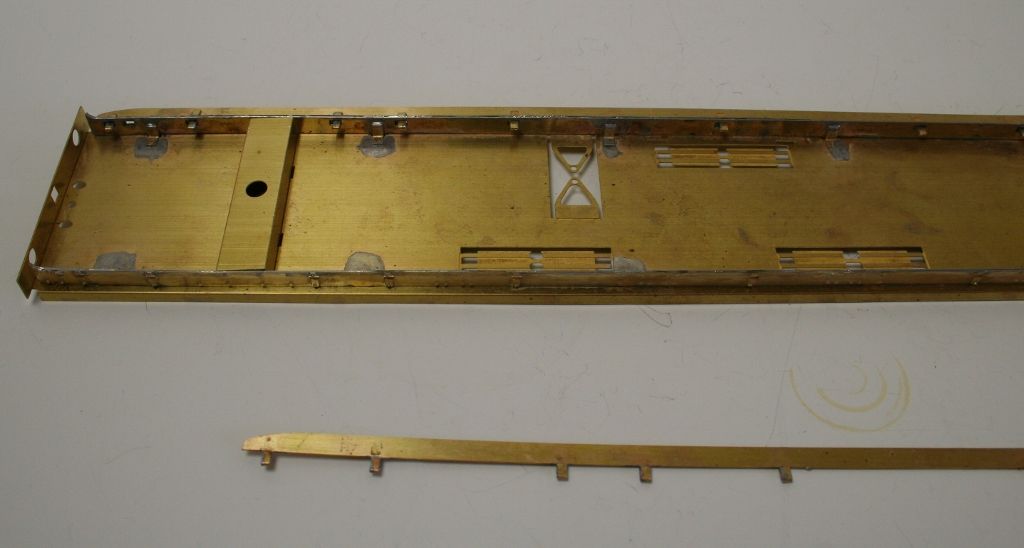
At the moment the one side that I fitted last night is just a press fit and to be honest I could probably get away without soldering it, it's that good a fit.
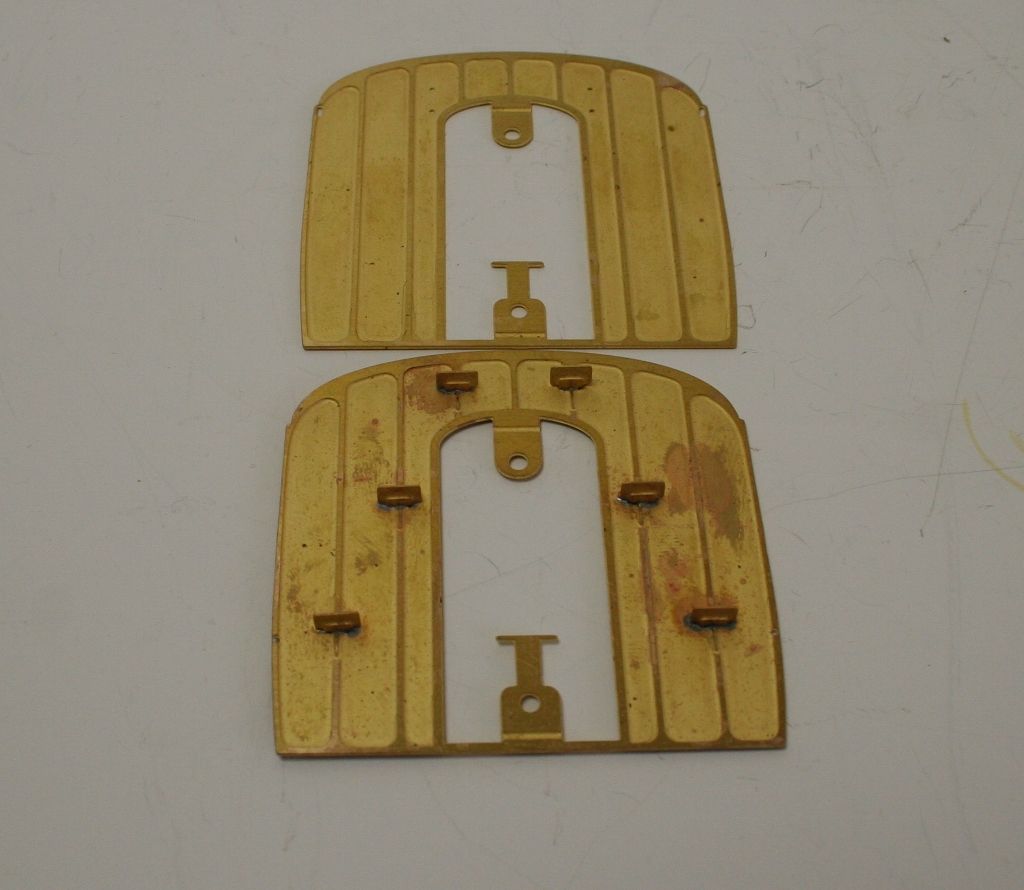
Above are the coach ends as supplied and I was thinking about scratch building some gangway doors when I had a bit of a light bulb moment. In some of the Kemilway kits there are two or three outer ends representing various changes over the life of the vehicle. So I cut a couple of these down to fit.
I plan to get some scissor gangways from CPL (they are GWR but hopefully can adapt them into something that looks NBRish...) so I wont solder these in until I know what I don't need to do to fit them with the support pieces that are currently inside the openings.
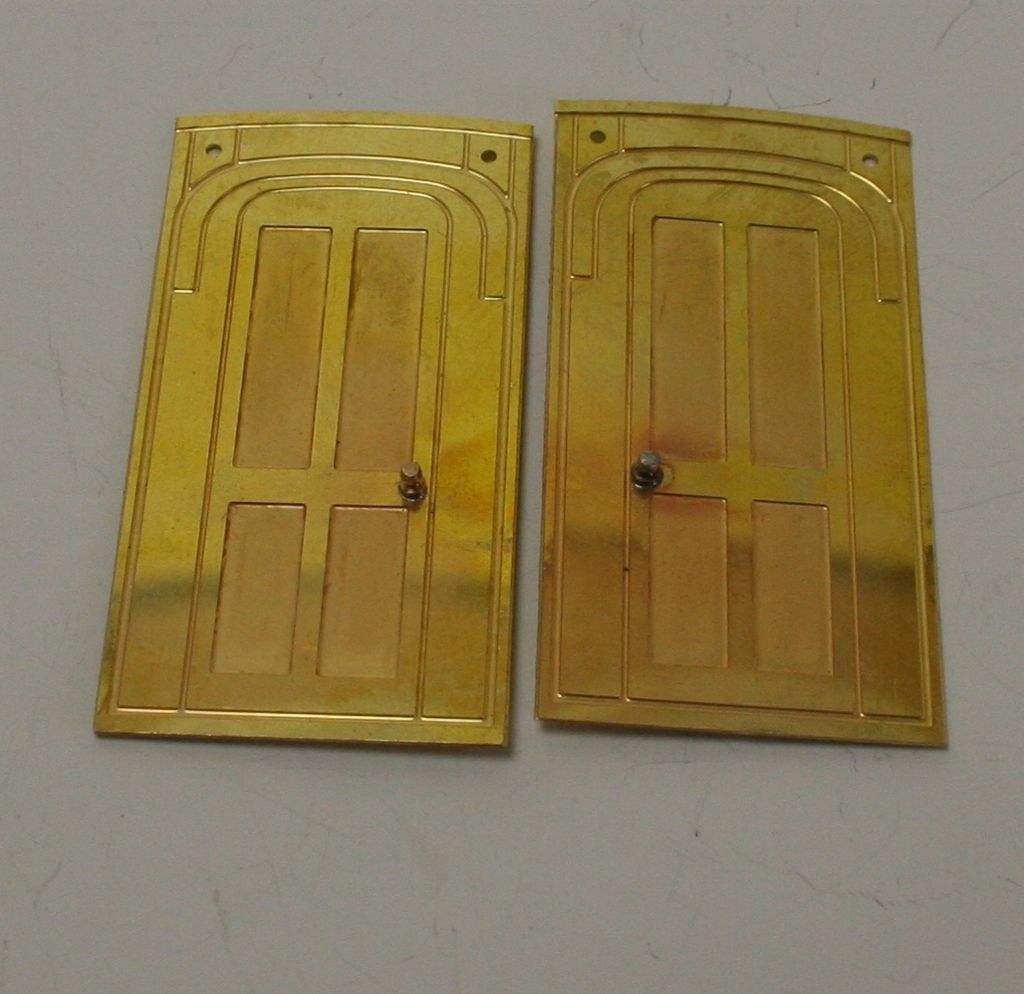
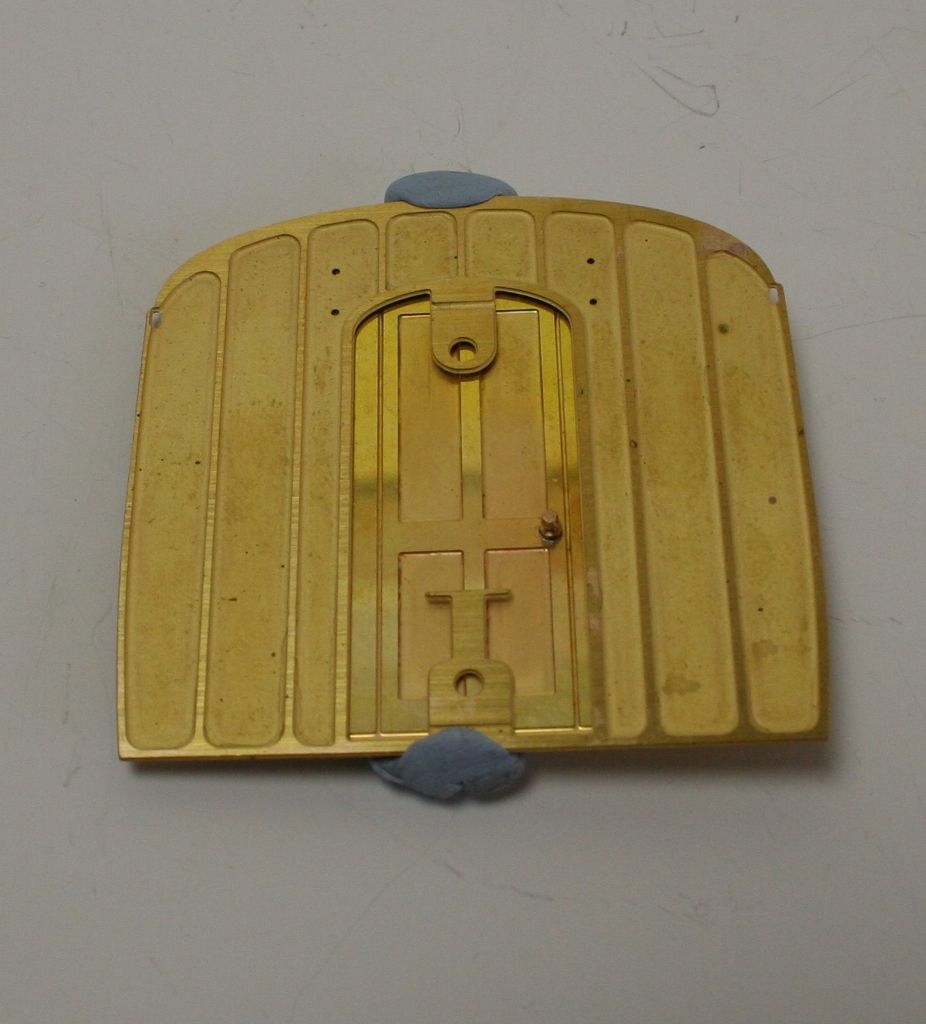
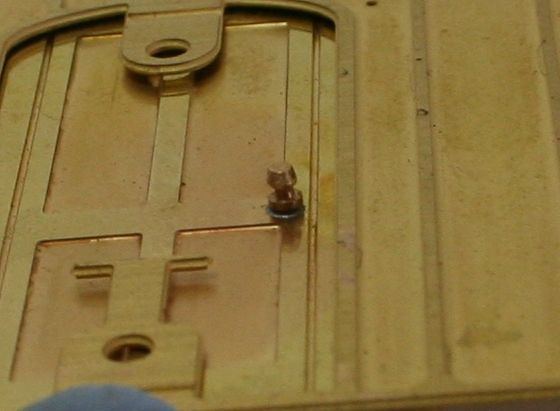
Readers of the whole thread will recall that on the Kemilway's there are some really nice cast door knobs. I didn't have any spare and although I am sure that Peter Dawson would sell me some if I asked, I decided to see if I could make some. I got a couple of short handrail knobs fitted a piece of brass wire through to fill the hole and then soldered it in. I then filed it until it was round again and then filed the top flat and it looks pretty good, bearing in mind how small they actually are!
I have sorted a way to fasten on the upper step boards by folding strips of scrap etch around the half etched tabs (bearing in mind the size of the etched holes these would have been much better if they were full thickness not half etched - I cannot fathom the thinking behind having something that essentially provides support, half etched) and leaving a longer bit underneath as extra support (on all except the three centre ones where the supports for the lower step boards will go).
Hopefully the photos below will illustrate this better than I can describe it.


At the moment the one side that I fitted last night is just a press fit and to be honest I could probably get away without soldering it, it's that good a fit.

Above are the coach ends as supplied and I was thinking about scratch building some gangway doors when I had a bit of a light bulb moment. In some of the Kemilway kits there are two or three outer ends representing various changes over the life of the vehicle. So I cut a couple of these down to fit.
I plan to get some scissor gangways from CPL (they are GWR but hopefully can adapt them into something that looks NBRish...) so I wont solder these in until I know what I don't need to do to fit them with the support pieces that are currently inside the openings.


Readers of the whole thread will recall that on the Kemilway's there are some really nice cast door knobs. I didn't have any spare and although I am sure that Peter Dawson would sell me some if I asked, I decided to see if I could make some. I got a couple of short handrail knobs fitted a piece of brass wire through to fill the hole and then soldered it in. I then filed it until it was round again and then filed the top flat and it looks pretty good, bearing in mind how small they actually are!

- Robpulham
- LNER A4 4-6-2 'Streak'
- Posts: 1721
- Joined: Thu Mar 27, 2008 9:54 pm
- Location: Lower Wensleydale
- Contact:
Re: Kemilway GNR 52' Composite
Moving slowly forward with this one although I am almost at the point where I can't go any further until I get some more detailed photos which I have hopefully on the way.
Both upper step boards are now on and soldered in place and the battery boxes are all in place.
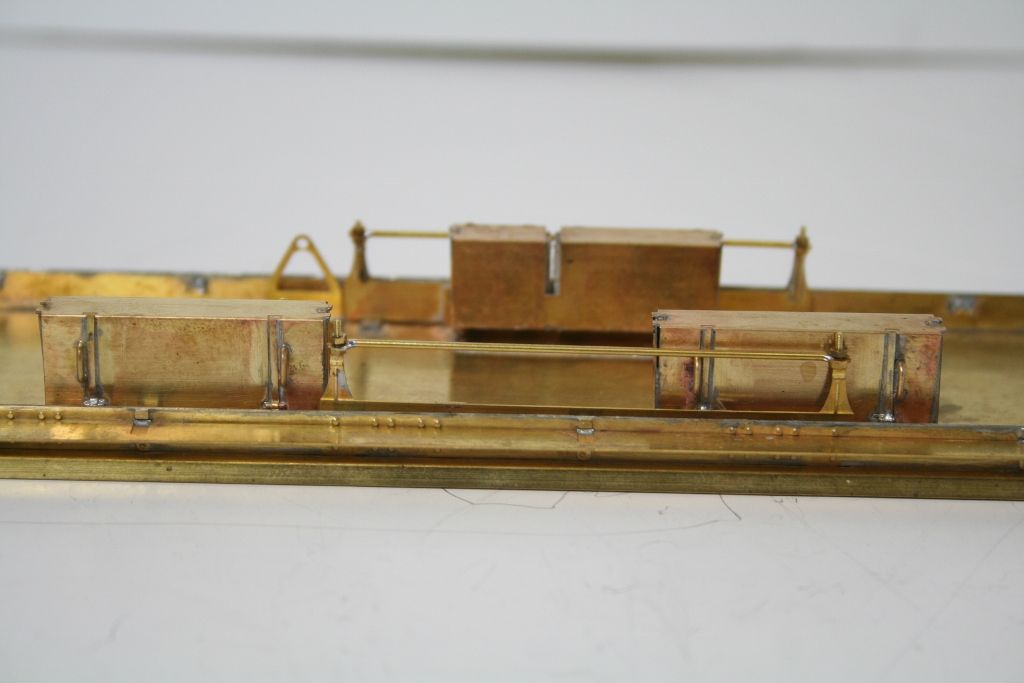
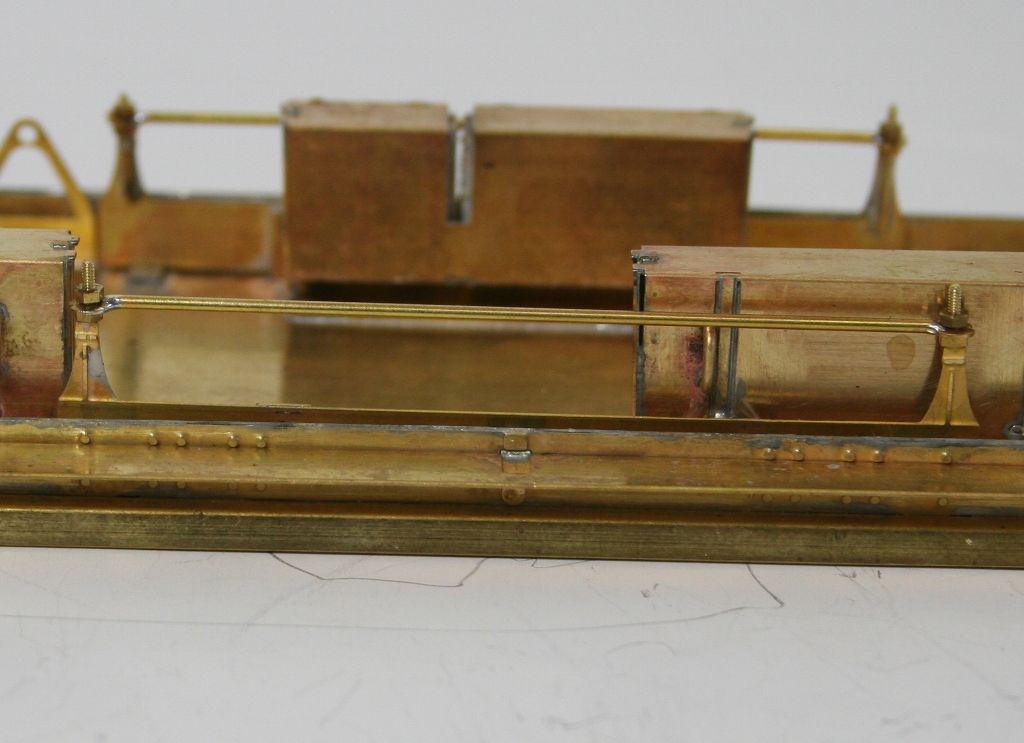
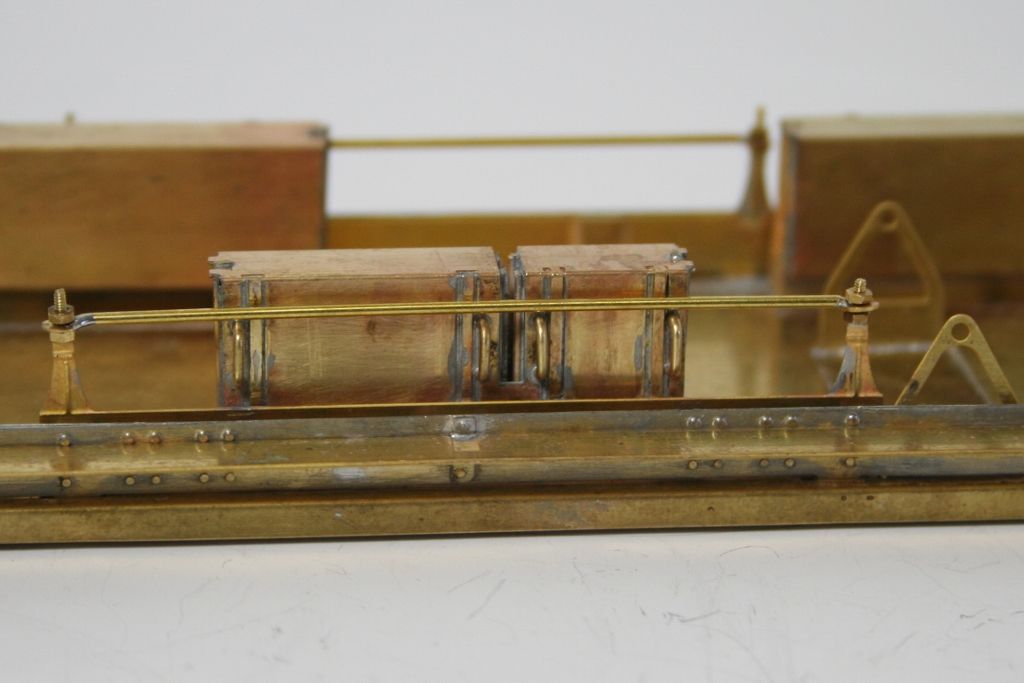
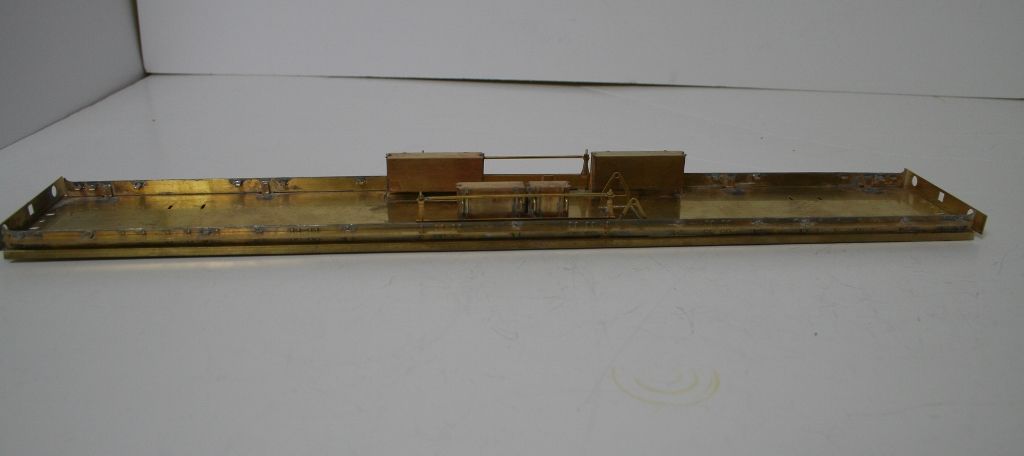
I also soldered some pieces of scrap etch into the holes left by the V hangers/battery box ends etc - a pet hate of mine is holes in the floor especially when the vehicle has windows....
The queen posts as provided are half etched at the ends of the posts and are a little two dimensional - albeit they would be very easy to solder a length of rod to for the truss rods. I decided to do it the hard way. The reason for this is that the Kemilway truss rods are flat etches and I want something a bit more 3D so I thought that I would experiment on options on this one.
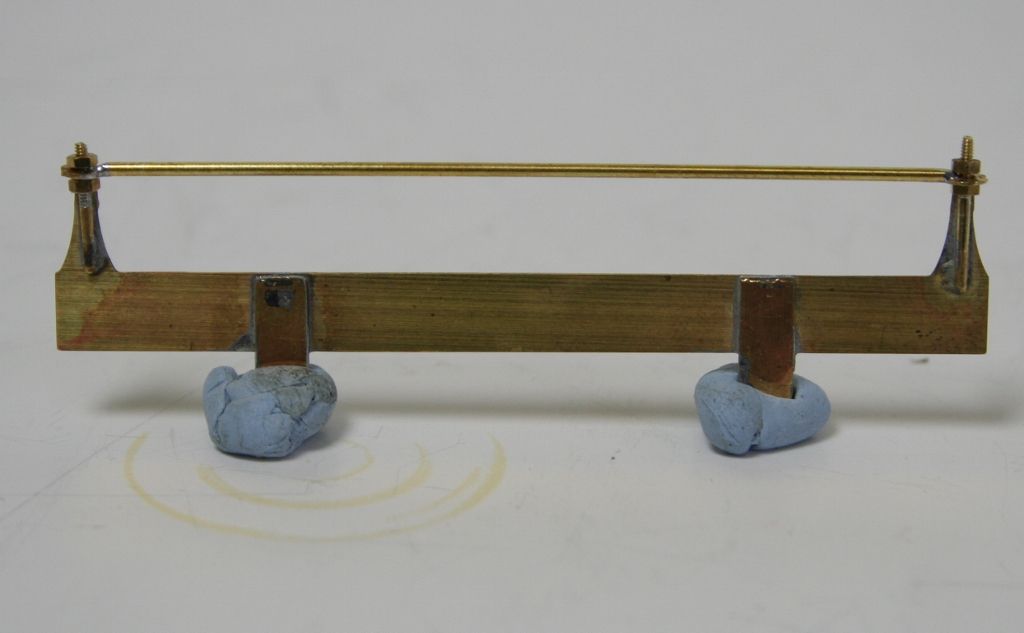
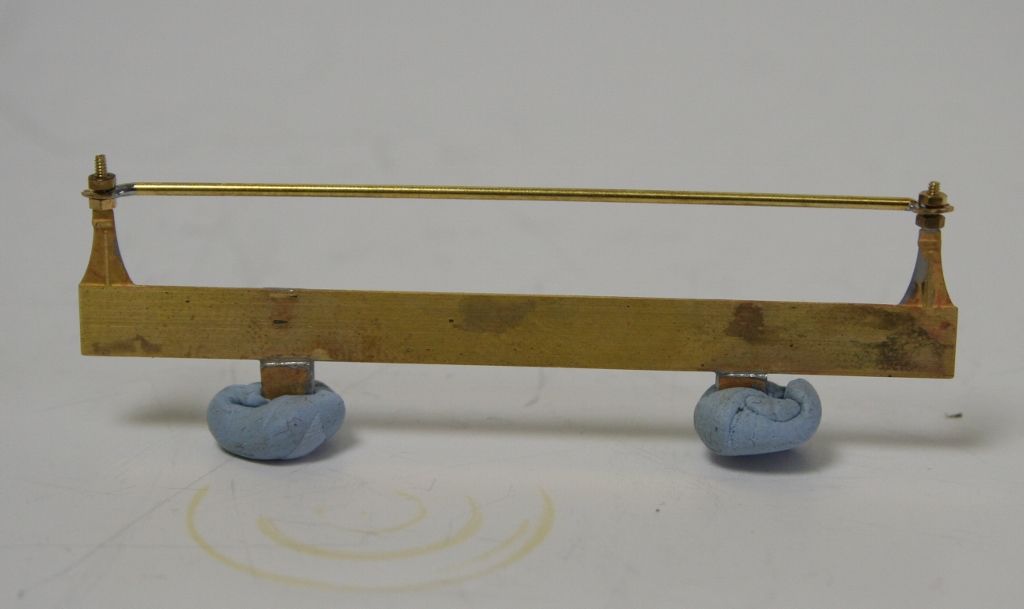
First I threaded some short lengths of 0.9mm rod 14ba and then soldered them to the back of the queen post etches. I then got some Markits 4mm scale crank pin washers and filed a V slot in opposite sides and file a corresponding V on the ends of some 1mm rod. I had to make a template on some scrap paper to get the lengths right. The first one needed a bit of tweaking but the second was right first go.
You will also notice that I had to beef up the tabs on the queen post etch to fill the holes in the floorpan.......
Both upper step boards are now on and soldered in place and the battery boxes are all in place.


I also soldered some pieces of scrap etch into the holes left by the V hangers/battery box ends etc - a pet hate of mine is holes in the floor especially when the vehicle has windows....
The queen posts as provided are half etched at the ends of the posts and are a little two dimensional - albeit they would be very easy to solder a length of rod to for the truss rods. I decided to do it the hard way. The reason for this is that the Kemilway truss rods are flat etches and I want something a bit more 3D so I thought that I would experiment on options on this one.


First I threaded some short lengths of 0.9mm rod 14ba and then soldered them to the back of the queen post etches. I then got some Markits 4mm scale crank pin washers and filed a V slot in opposite sides and file a corresponding V on the ends of some 1mm rod. I had to make a template on some scrap paper to get the lengths right. The first one needed a bit of tweaking but the second was right first go.
You will also notice that I had to beef up the tabs on the queen post etch to fill the holes in the floorpan.......
-
Bill Bedford
- LNER A3 4-6-2
- Posts: 1241
- Joined: Sat Mar 08, 2008 9:43 pm
Re: Kemilway GNR 52' Composite
You have the battery boxes in the wrong places, The double one fits with the gap behind the queen post, since there is a bar that goes across the underframe between the queen posts.
The truss rods are not nutted to the queen posts -- only Doncaster needed nuts to hold the rods. The NBR used a continuous truss rod that was held by a half cylinder at the end of the queen post. The half etched end of the queen post should be formed to wrap around the truss rode to represent this.
The half etch patches on the footboards are locations for the lower footboard supports.
Bill Bedford
Website: http://www.mousa.biz
Webshop: http://www.shapeways.com/shops/mousa_models
Blog: http://www.mousa.biz/info
Website: http://www.mousa.biz
Webshop: http://www.shapeways.com/shops/mousa_models
Blog: http://www.mousa.biz/info
- Robpulham
- LNER A4 4-6-2 'Streak'
- Posts: 1721
- Joined: Thu Mar 27, 2008 9:54 pm
- Location: Lower Wensleydale
- Contact:
Re: Kemilway GNR 52' Composite
Thanks Bill, I am really struggling for information on this so every little helps.Bill Bedford wrote:You have the battery boxes in the wrong places, The double one fits with the gap behind the queen post, since there is a bar that goes across the underframe between the queen posts.
The truss rods are not nutted to the queen posts -- only Doncaster needed nuts to hold the rods. The NBR used a continuous truss rod that was held by a half cylinder at the end of the queen post. The half etched end of the queen post should be formed to wrap around the truss rode to represent this.
The half etch patches on the footboards are locations for the lower footboard supports.
I had worked out that the half etched patches on the foot boards were for the lower ones - A bit of modification is in order.
- Robpulham
- LNER A4 4-6-2 'Streak'
- Posts: 1721
- Joined: Thu Mar 27, 2008 9:54 pm
- Location: Lower Wensleydale
- Contact:
Re: Kemilway GNR 52' Composite
Back at the beginning of this thread there was a bit of banter around scale toilets for the toilet compartments on the guild forum. While talking to Peter Dawson I mentioned them, while they are not included in the kits he said that he had some that he could sent me and good to his word he did.
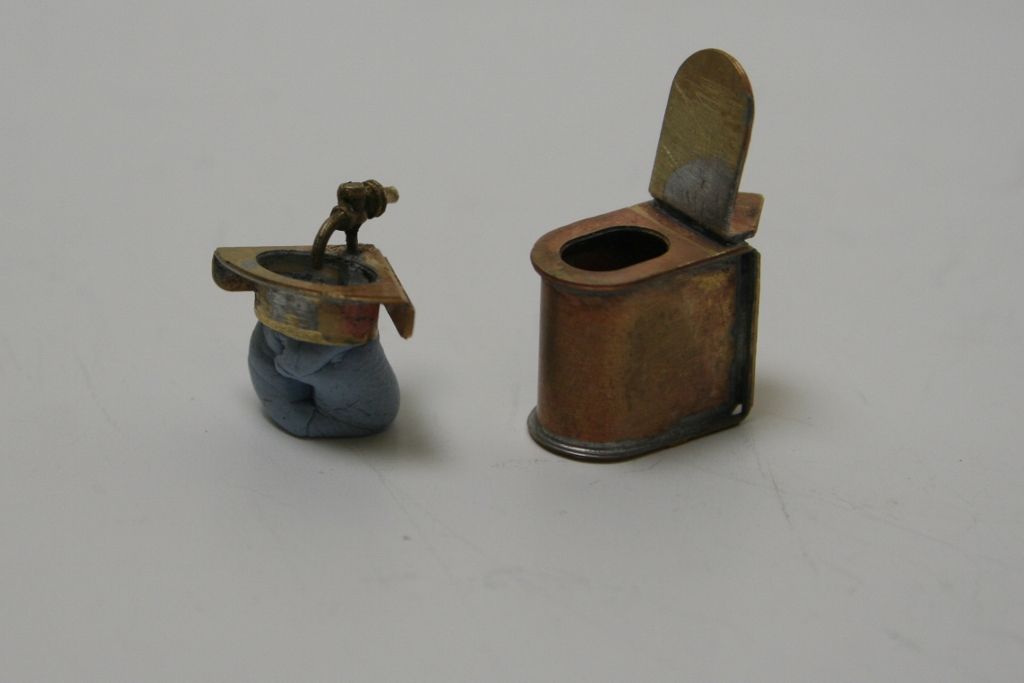
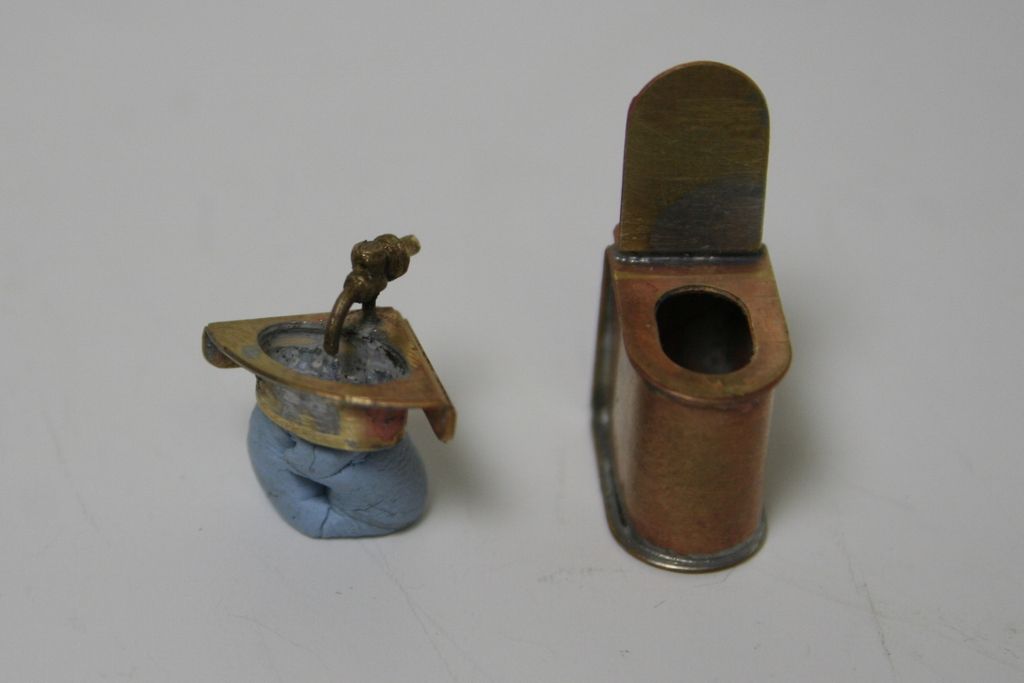
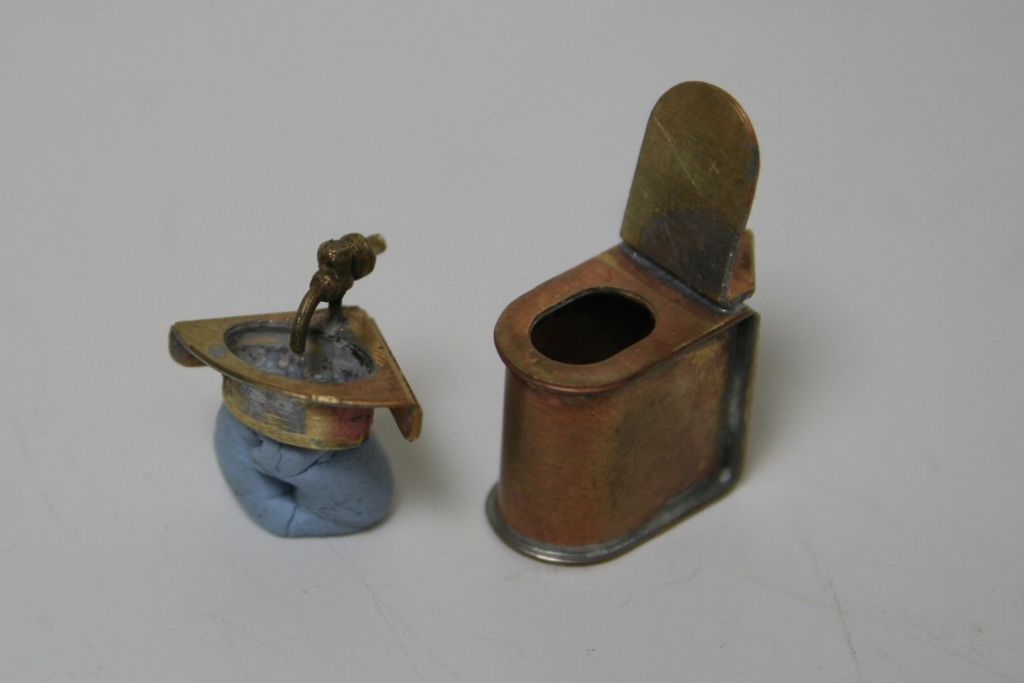
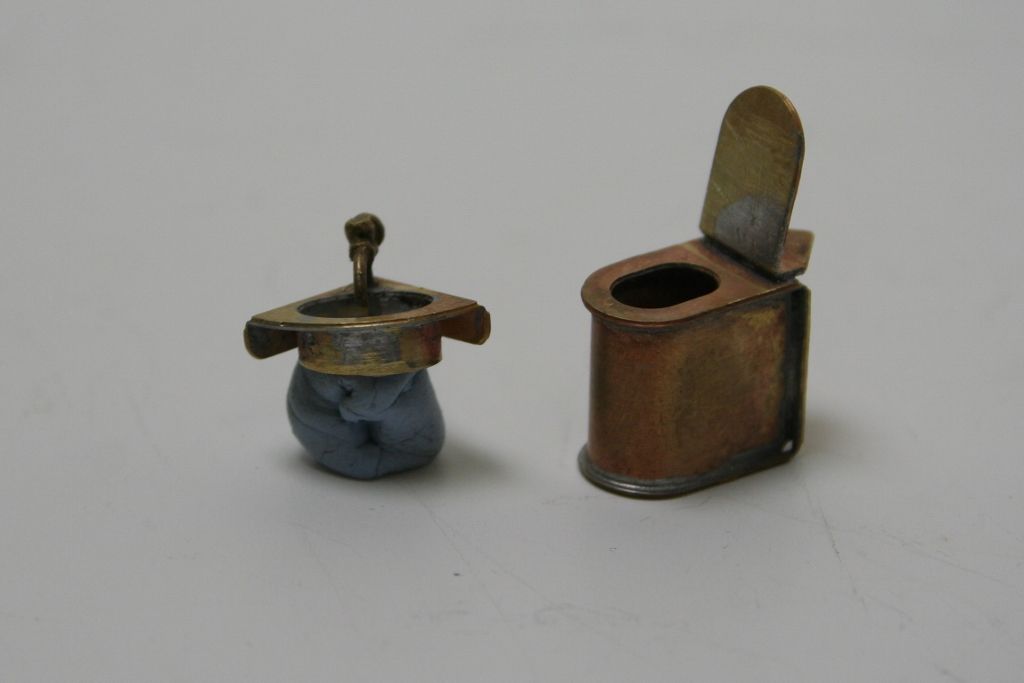
They are not for the faint hearted to assemble (it took me two modelling sessions to get the toilet lid to stay in place) and I had to scratch build the bowl for the sink and find a tap in the spares box but good for a laugh.


They are not for the faint hearted to assemble (it took me two modelling sessions to get the toilet lid to stay in place) and I had to scratch build the bowl for the sink and find a tap in the spares box but good for a laugh.
- Robpulham
- LNER A4 4-6-2 'Streak'
- Posts: 1721
- Joined: Thu Mar 27, 2008 9:54 pm
- Location: Lower Wensleydale
- Contact:
Re: Kemilway GNR 52' Composite
Following on from Bills update I sat it for a couple of days doing other bits and pieces - trying to make my own turnbuckles. Which turned out to be a dismal failure. I made a jig to bend the rod to shape and cutting short lengths of tube was no problem but soldering them together was a complete no no. I made a couple of jigs and even tried using the microflame and tiny bits of solder. Despite blackening the jig all I got for my pain and 4 hours of trying was it all soldered to the jig or stuck to the soldering iron as I tried to go in and out very swiftly.
So back to plan A where I buy them.
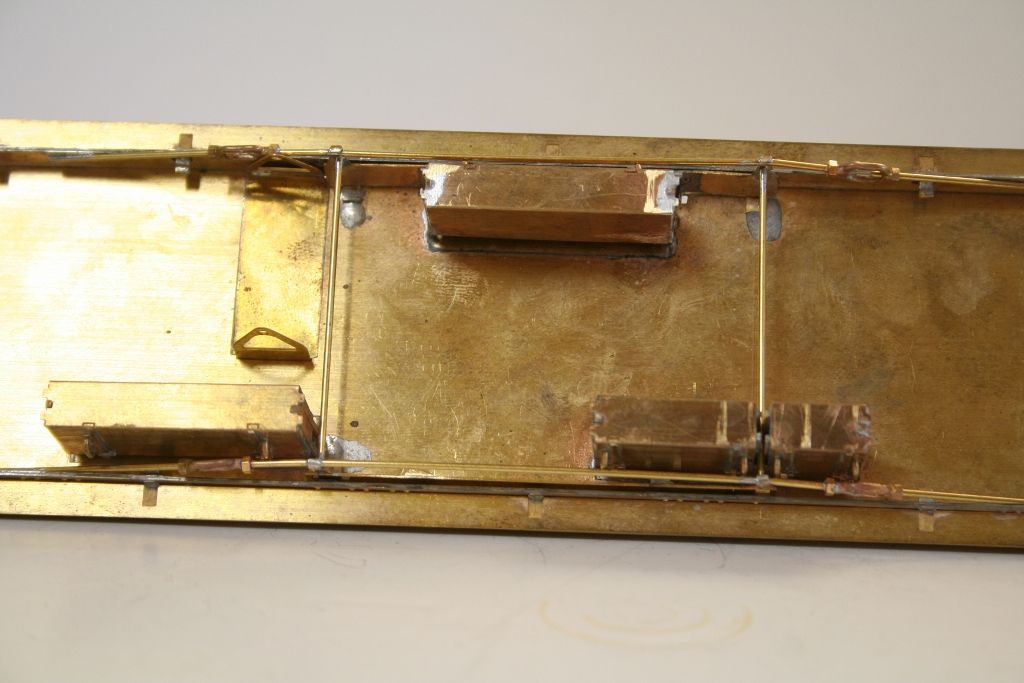
After wasting most of yesterday with the turnbuckles I did manage to get the battery rearranged and the queen posts modified to this stage.
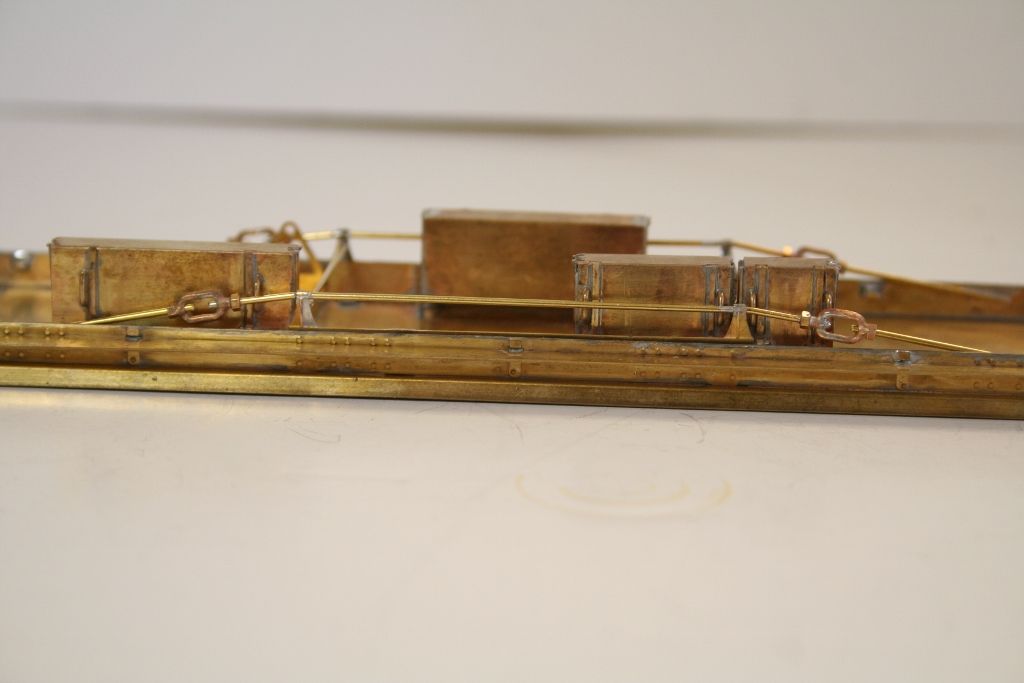
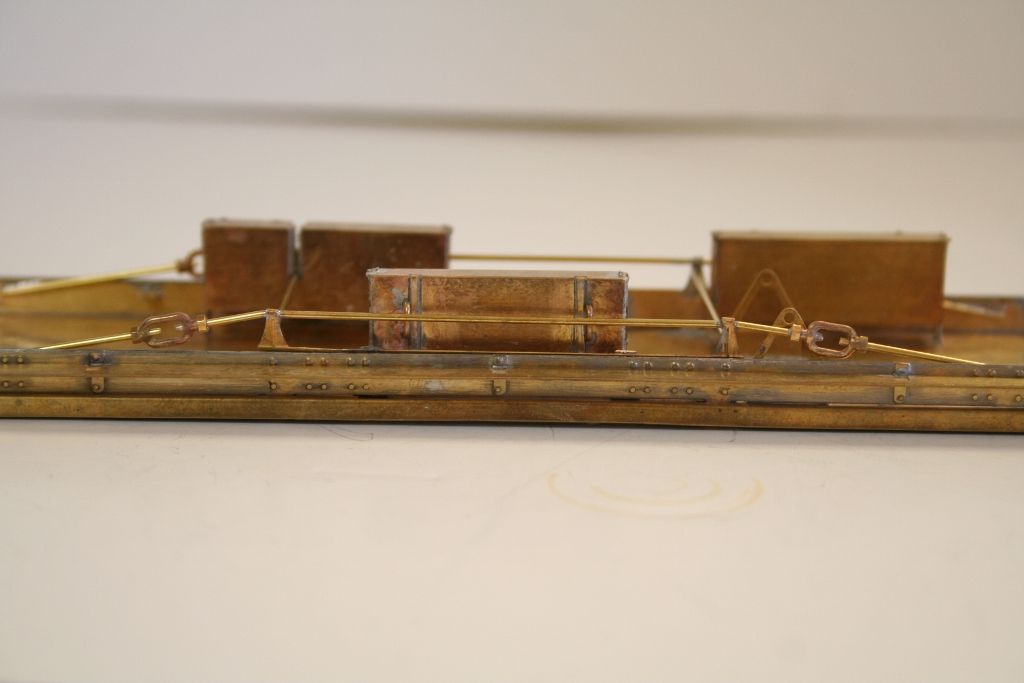
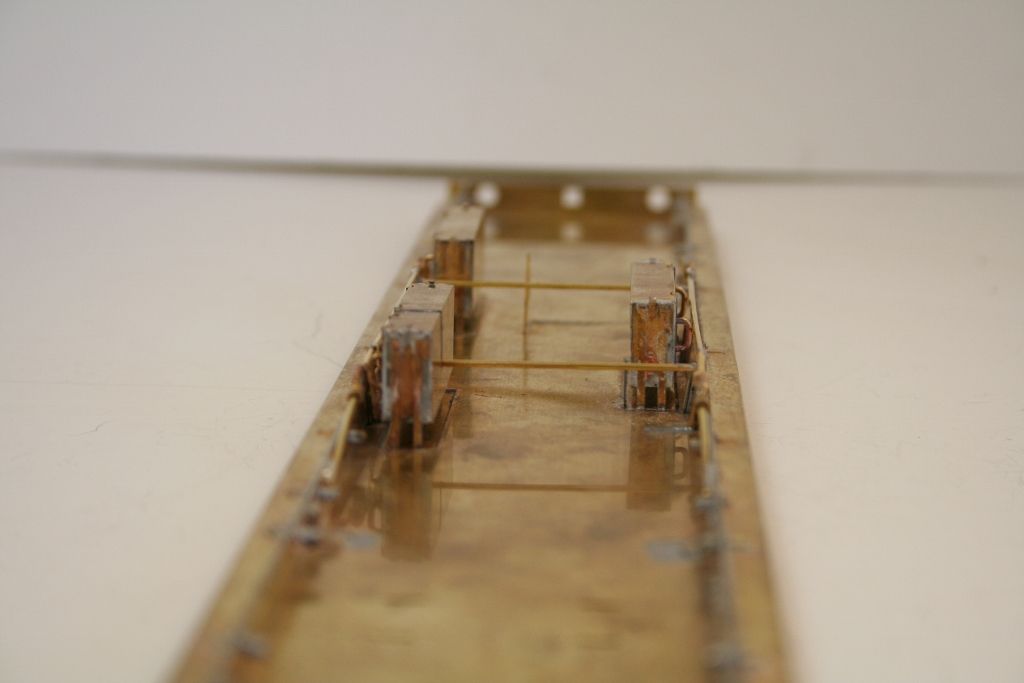
So back to plan A where I buy them.
After wasting most of yesterday with the turnbuckles I did manage to get the battery rearranged and the queen posts modified to this stage.


- Robpulham
- LNER A4 4-6-2 'Streak'
- Posts: 1721
- Joined: Thu Mar 27, 2008 9:54 pm
- Location: Lower Wensleydale
- Contact:
Re: Kemilway GNR 52' Composite
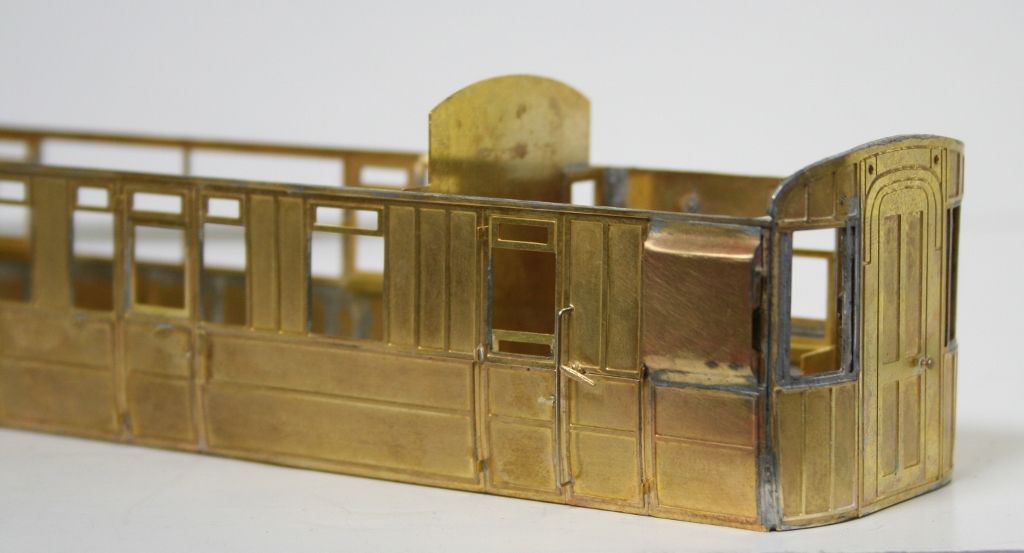
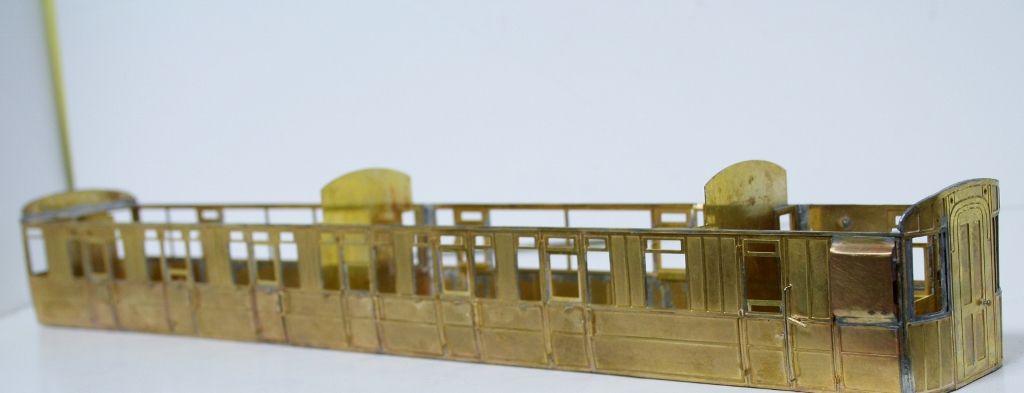
In tandem with the NBR BG I have also been progressing the Kemilway Diagram 176.
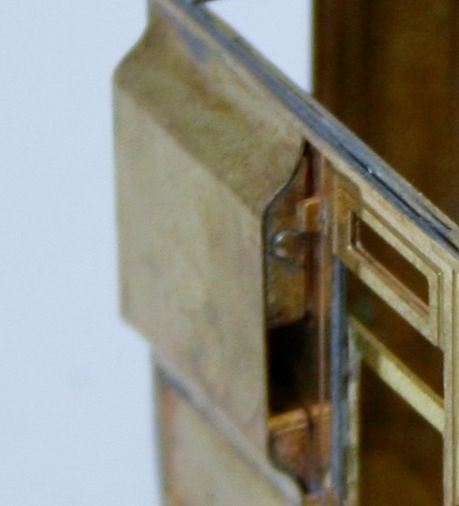
The duckets took a bit of forming but I got there in the end.
The detail supplied for the guards compartment is really quite something.
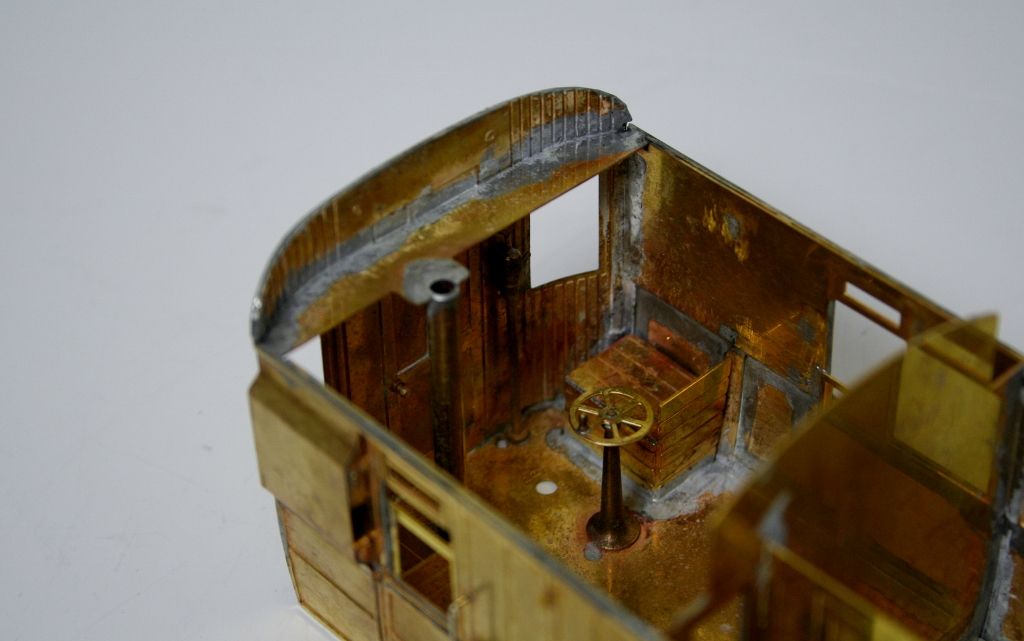
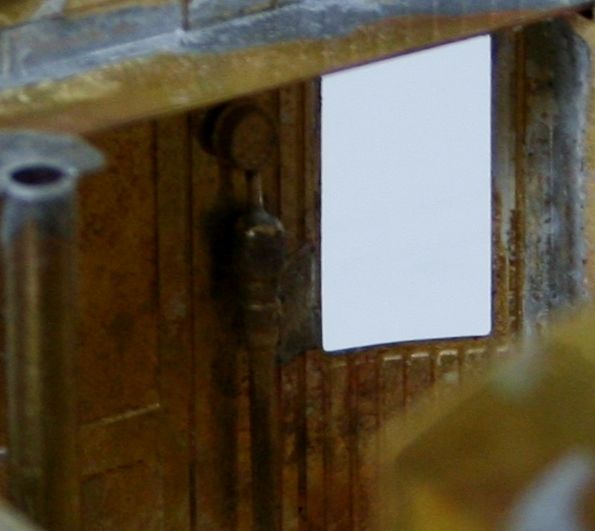
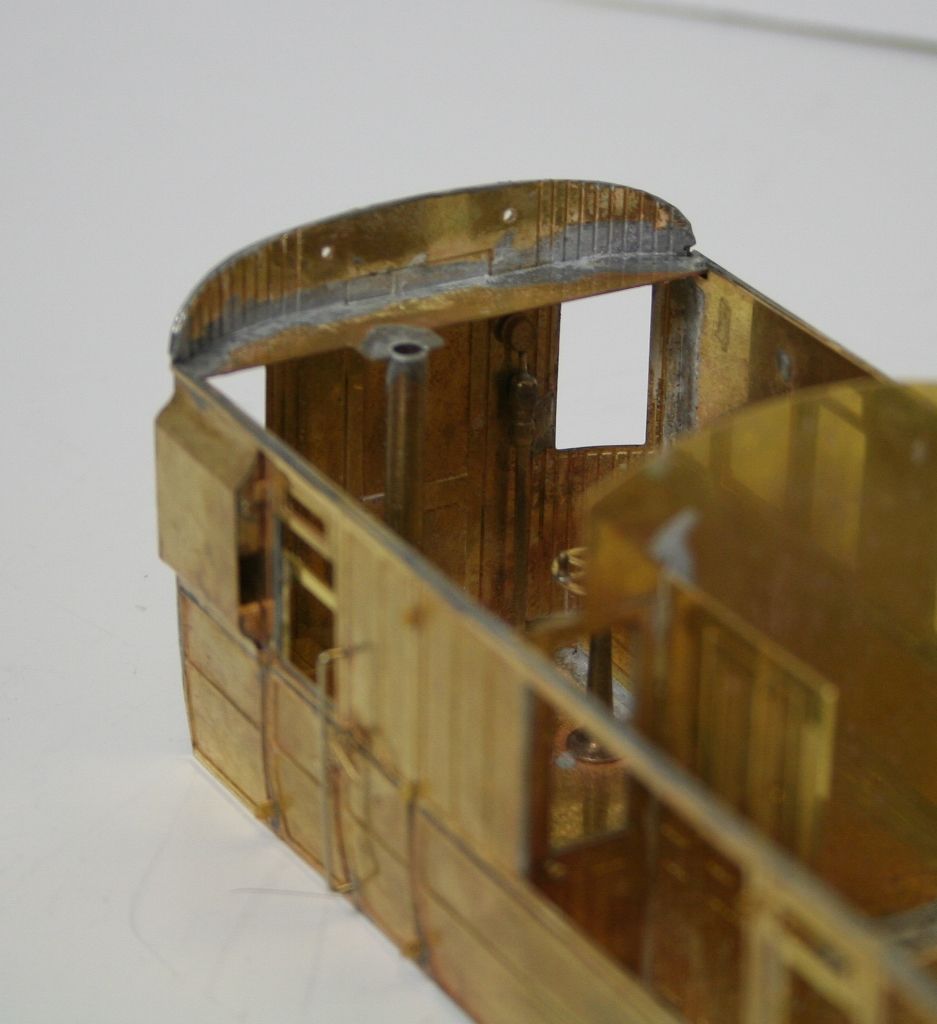
The duckets took a bit of forming but I got there in the end.


The detail supplied for the guards compartment is really quite something.


- Robpulham
- LNER A4 4-6-2 'Streak'
- Posts: 1721
- Joined: Thu Mar 27, 2008 9:54 pm
- Location: Lower Wensleydale
- Contact:
Re: Kemilway GNR 52' Composite
Bogies
Once the sides were on the D176 I turned my attention to the bogies - yes I know that I need the underframe but there is method in my madness honest!
I need some Fox bogies for the BG and I have in the stash several sets of Newbould model Fox bogies (they are desdtined for other things but can be borrowed in the interim...).
The things about the Newbould bogies is that nice as they are there are no instructions so I had the lightbulb moment of building a set of Kemilway and a set of Newbould in tandem so that I could cross reference parts to get an idea of how the Newbould ones go together.
Below are a couple of photos of where I got to. - All is done to this point without any soldering on either pair of bogies.
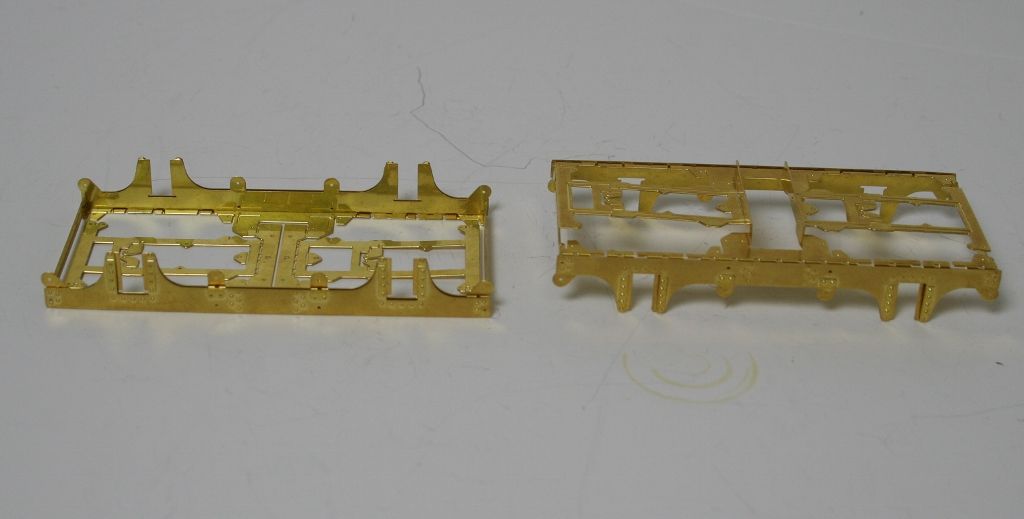
First up the Kemilway version. They gave the first time that I have had to do any amount of filing, which was needed on the front and rear of the frames. To be fair the instructions do point out that you will need to make them fit properly.
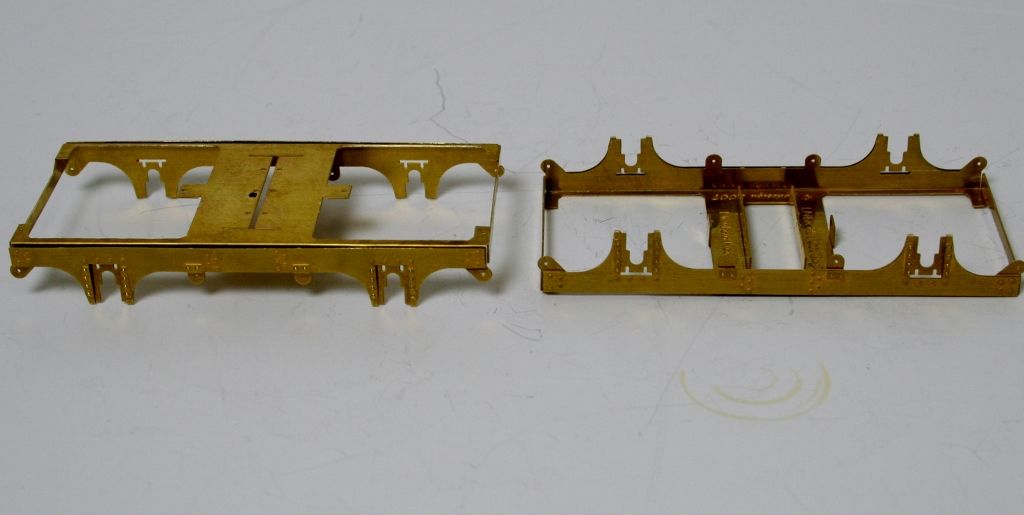
Then the Newbould version.
So far they are similar in many respects.
Once the sides were on the D176 I turned my attention to the bogies - yes I know that I need the underframe but there is method in my madness honest!
I need some Fox bogies for the BG and I have in the stash several sets of Newbould model Fox bogies (they are desdtined for other things but can be borrowed in the interim...).
The things about the Newbould bogies is that nice as they are there are no instructions so I had the lightbulb moment of building a set of Kemilway and a set of Newbould in tandem so that I could cross reference parts to get an idea of how the Newbould ones go together.
Below are a couple of photos of where I got to. - All is done to this point without any soldering on either pair of bogies.

First up the Kemilway version. They gave the first time that I have had to do any amount of filing, which was needed on the front and rear of the frames. To be fair the instructions do point out that you will need to make them fit properly.

Then the Newbould version.
So far they are similar in many respects.
- Robpulham
- LNER A4 4-6-2 'Streak'
- Posts: 1721
- Joined: Thu Mar 27, 2008 9:54 pm
- Location: Lower Wensleydale
- Contact:
Re: Kemilway GNR Coaches
No photo's yet but some progress has been made with the bogies before I succumbed to lurgy that has been haunting me for a couple of weeks.
Unlike many etched kits, unless other wise stated all the folds on the Kemilway kits go to the outside and I as I have come to expect, the instructions for the bogies start of by stating this. They then deviate from it completely with many of the folds in the first section of construction needing to be to the inside......
You can just make out albeit it's not the clearest photo in the work that the right hand Kemilway bogie above has two strips protruding upwards from the middle of the bogie - where you would expect the bolster to be. While looking at the illustrations that accompany the text it's clear that there are a few small tabs that clearly fold inside not outside. This was nagging at me so I re-read the instructions and thinking about it more I realised that this bit was wrong as well and that they should have folded down not up. This allows the pieces that fold out from them to sit cleanly on the top on the bogie ends where they should.
So having redone the ones that were wrong - very gently and nothing having broken away I am now ready to look at the springs.
On a different note I would just like to commend the service that I have received from CPL. I have only ever bought items from CPL at shows and I recently enquired by email about some LNER coach etches that they have listed. Pat Legg very kindly sent me some photo copies of the etches so that I could see what was included and explained how to order etc. Those may be on the cards for the New Year when funds permit but in the mean time I sent of an order for various bit's and pieces to help me finish the NBR BG. Posted the order and cheque on Monday and I only had a 2nd class stamp to hand. I received a package with the order this morning. Super service, especially I would expect that PCL are probably attending the Reading show and as such will no doubt have a busy week this week. Highly recommended!