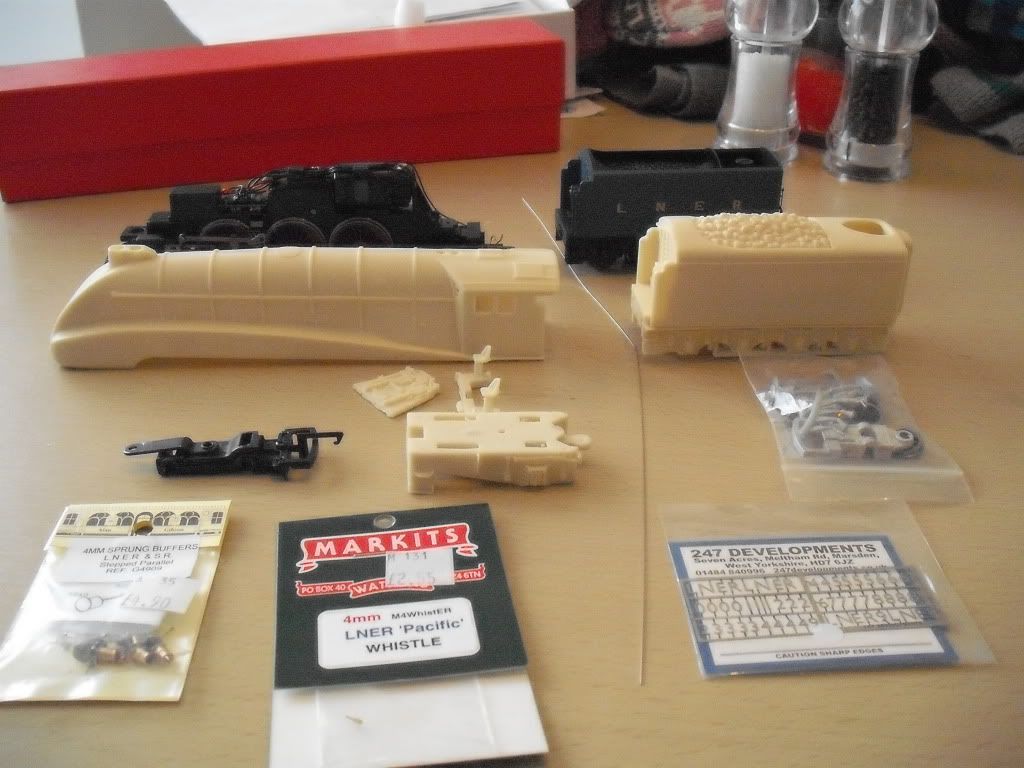
At warley last year I got the resin kit from Dean Sidings and a few bits from 247
I am going to build a Gresley W1 in rebuilt form, with a little modellers license
I already had a chassis I brought of ebay and a tender from another project
I intend to build her in early '48 condition with a non corridor tender as she was allocated one when her corridor one was attached to Union of South Africa (and still is) although for most of the time of this pairing she was in the works. This is where the license comes in, at this time she was given her BR number I shall keep her as 10000 but have British Railways on the tender, my logic is that the works where rather slow at changing it. Needless to say at this point she was still Garter Blue and didn't get the Brunswick Green until the 50's
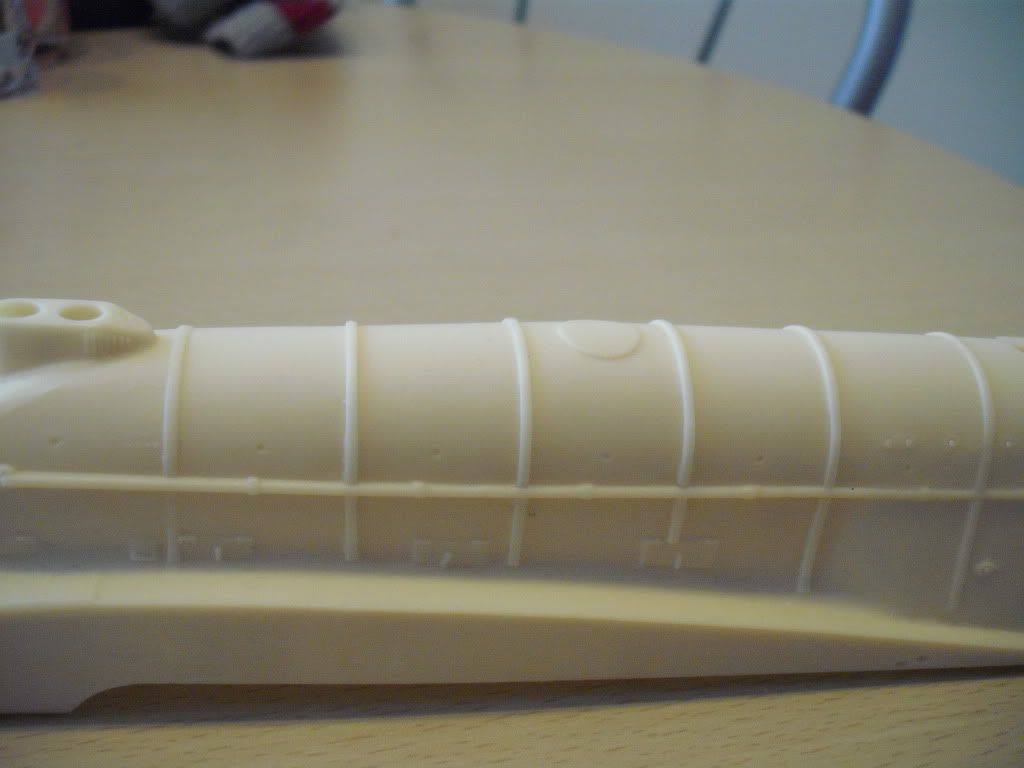
Now for the kit, body is okay, no visable pits or bubbles, but will see once I undercoat it in grey primer. Looking at the banding they will have to go, way to thick, will either thin or totally remove and replace with micro strip (see pic below) the usual flashing needs removing, and a good wash to make sure all chemicals from the casting process are gone
The handrail knobs and wire included in the kit are suppressingly good, much better than what was in the B17/5 I did a couple of years ago, so will be keeping them, the whistle and buffers on the other hand are not, so suitable replacement ones from 247 will be used
The instructions say to use a chassis from the Hornby railroad range but as it's the same block as the one from the main range I will be having loco drive with finer side rods n valve gear (even tho most of it will be hidden behind valances)
The rear cartazzi/truck from the kit will be binned, a donor from the spares box replacing it, with the bottom of the fire box & axle box details cut from the kit one and attached to the main body, thus hiding the swinging pony truck (no first rad curves on my layout)
Am going to try the Humbrel Garter Blue paint in a hope it will match the Hornby tender so I can avoid re-painting it, if not I have a pot of precision paints & railmatch too
Items still left to buy are the parabolic curve and tender decals from Fox Transfers, and sort out how to glaze the cab, any ideas?
so here is the kit of parts ready to go and the offensive boiler bands
so wish me luck, I plan to try complete in 4-5 weeks
I also have a surprise at the end, another bit of license based on fact......
photos of progress will follow
--------------------
Brian


