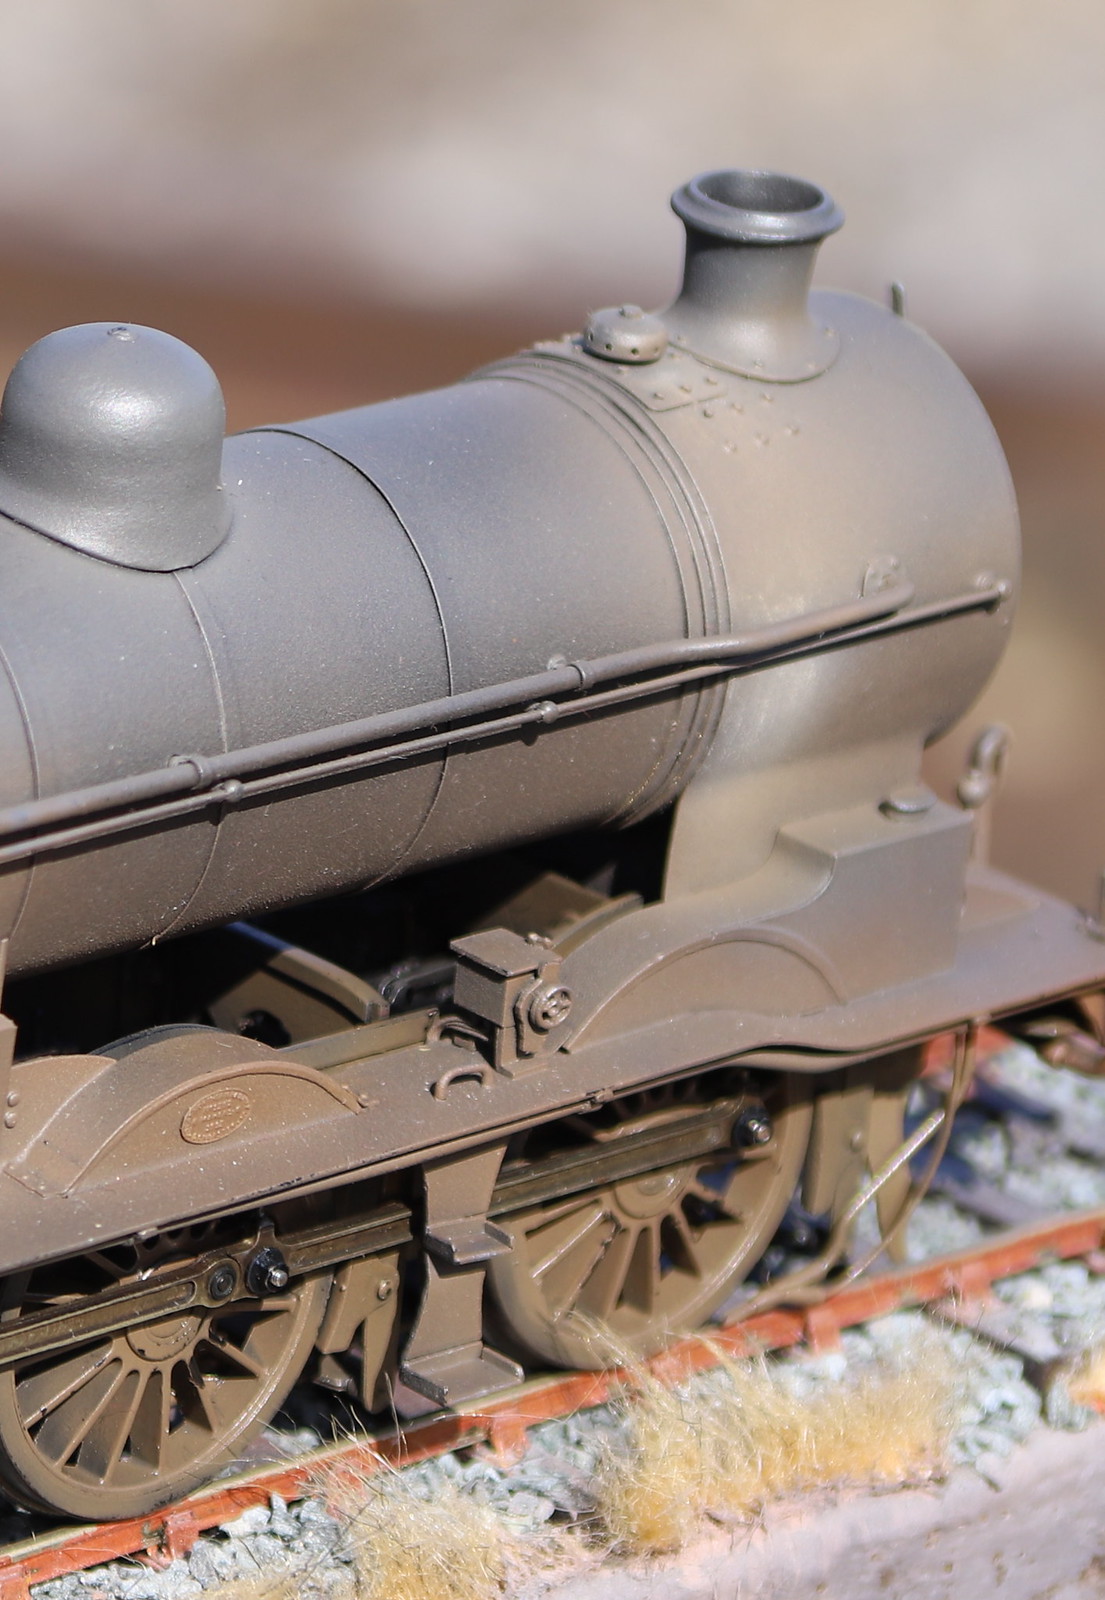
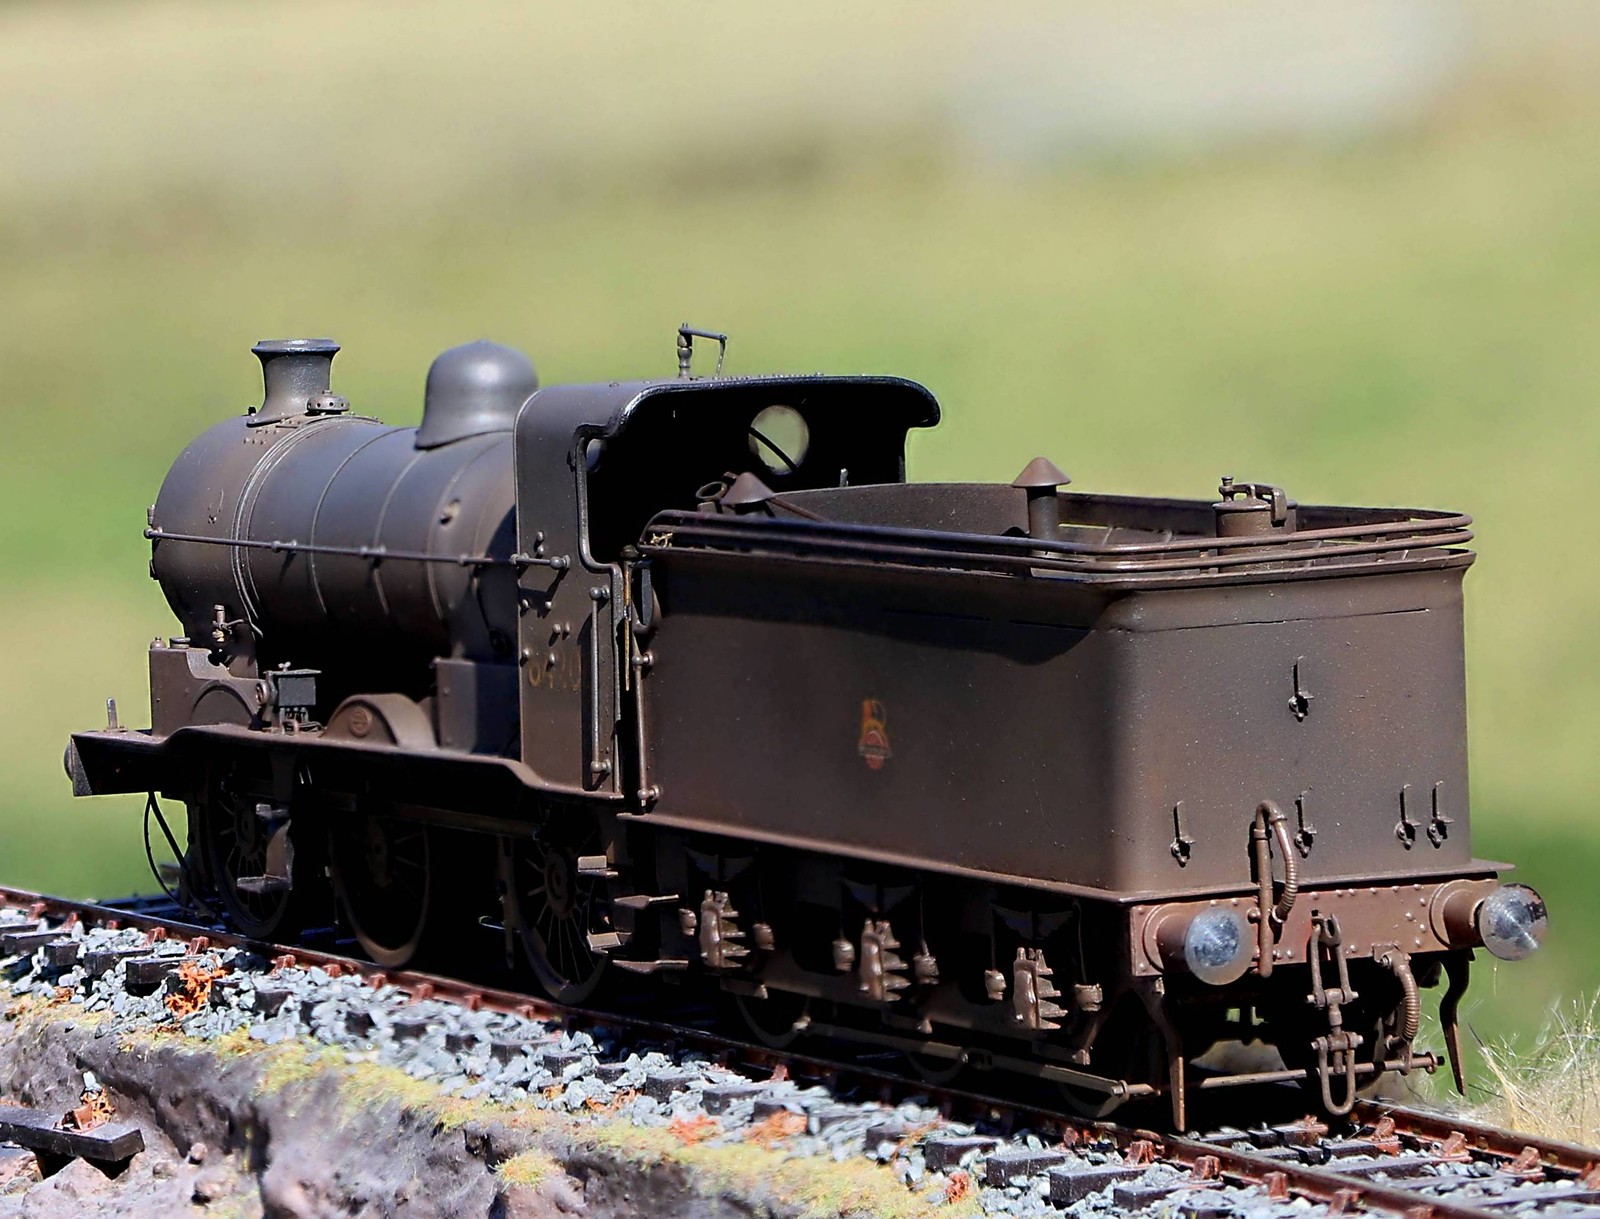
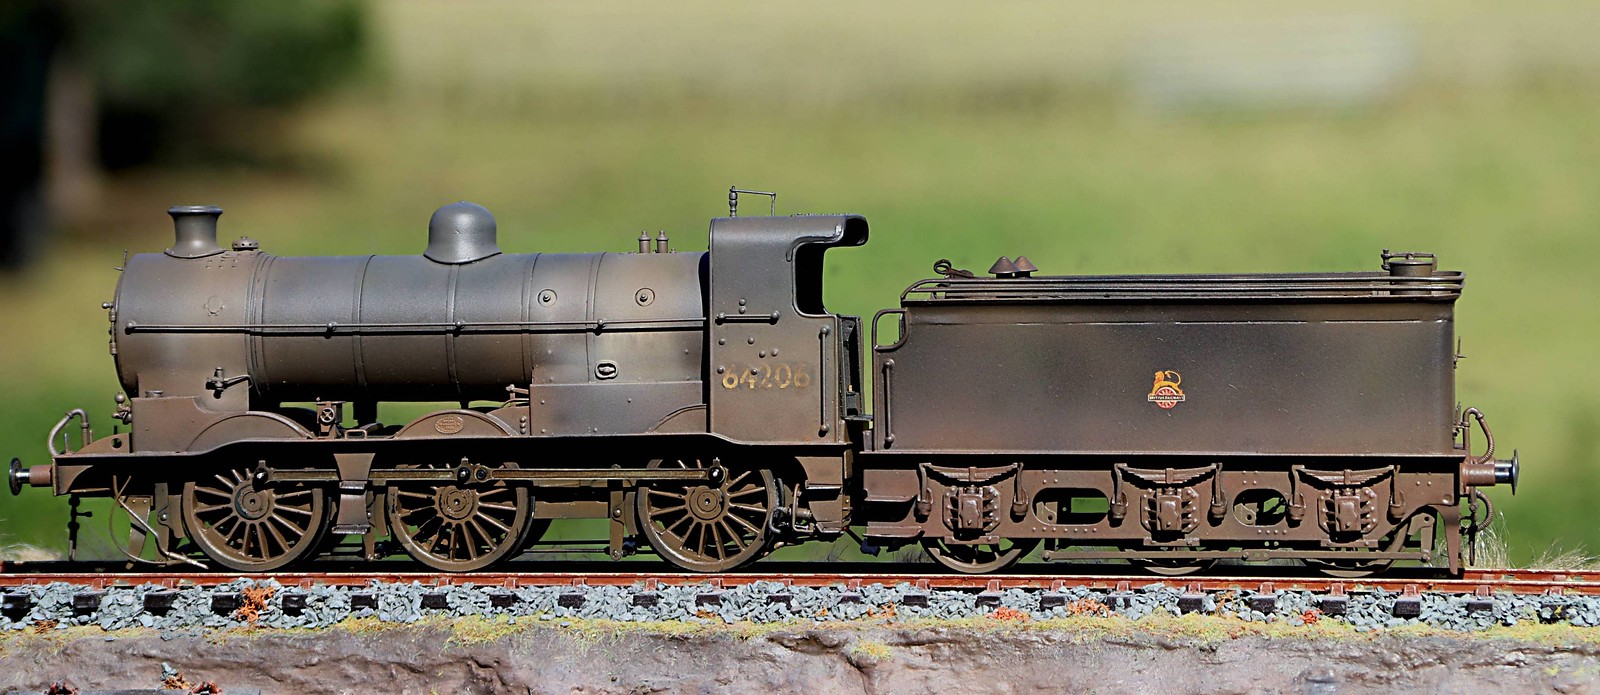
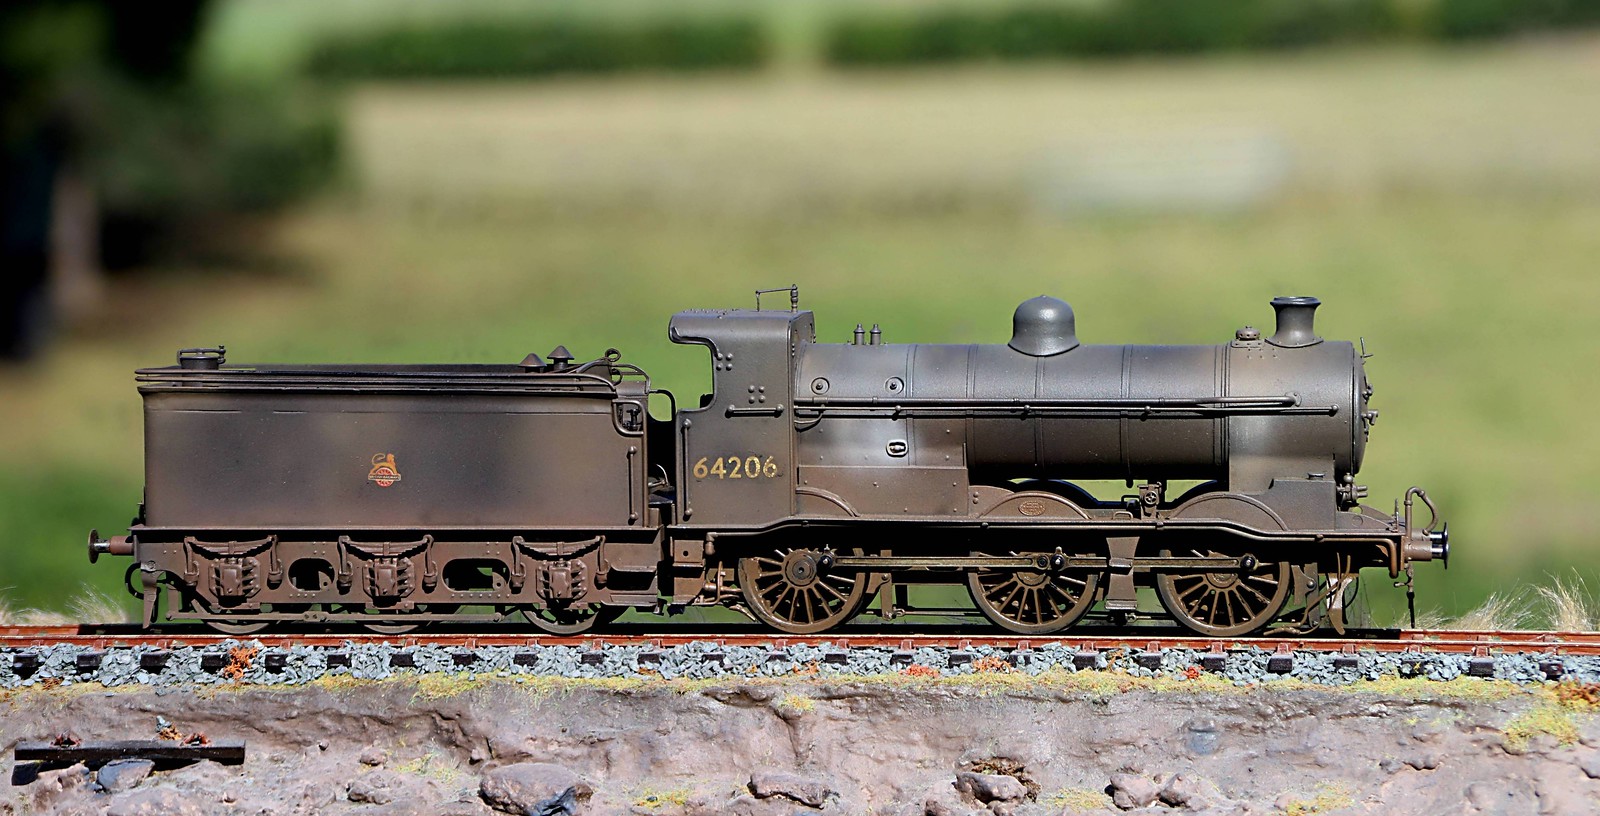
Gladiator LNER/BR J6
Moderators: 52D, Tom F, Rlangham, Atlantic 3279, Blink Bonny, Saint Johnstoun, richard
- Robpulham
- LNER A4 4-6-2 'Streak'
- Posts: 1721
- Joined: Thu Mar 27, 2008 9:54 pm
- Location: Lower Wensleydale
- Contact:
Re: Gladiator LNER/BR J6 - Inside Motion Now Working
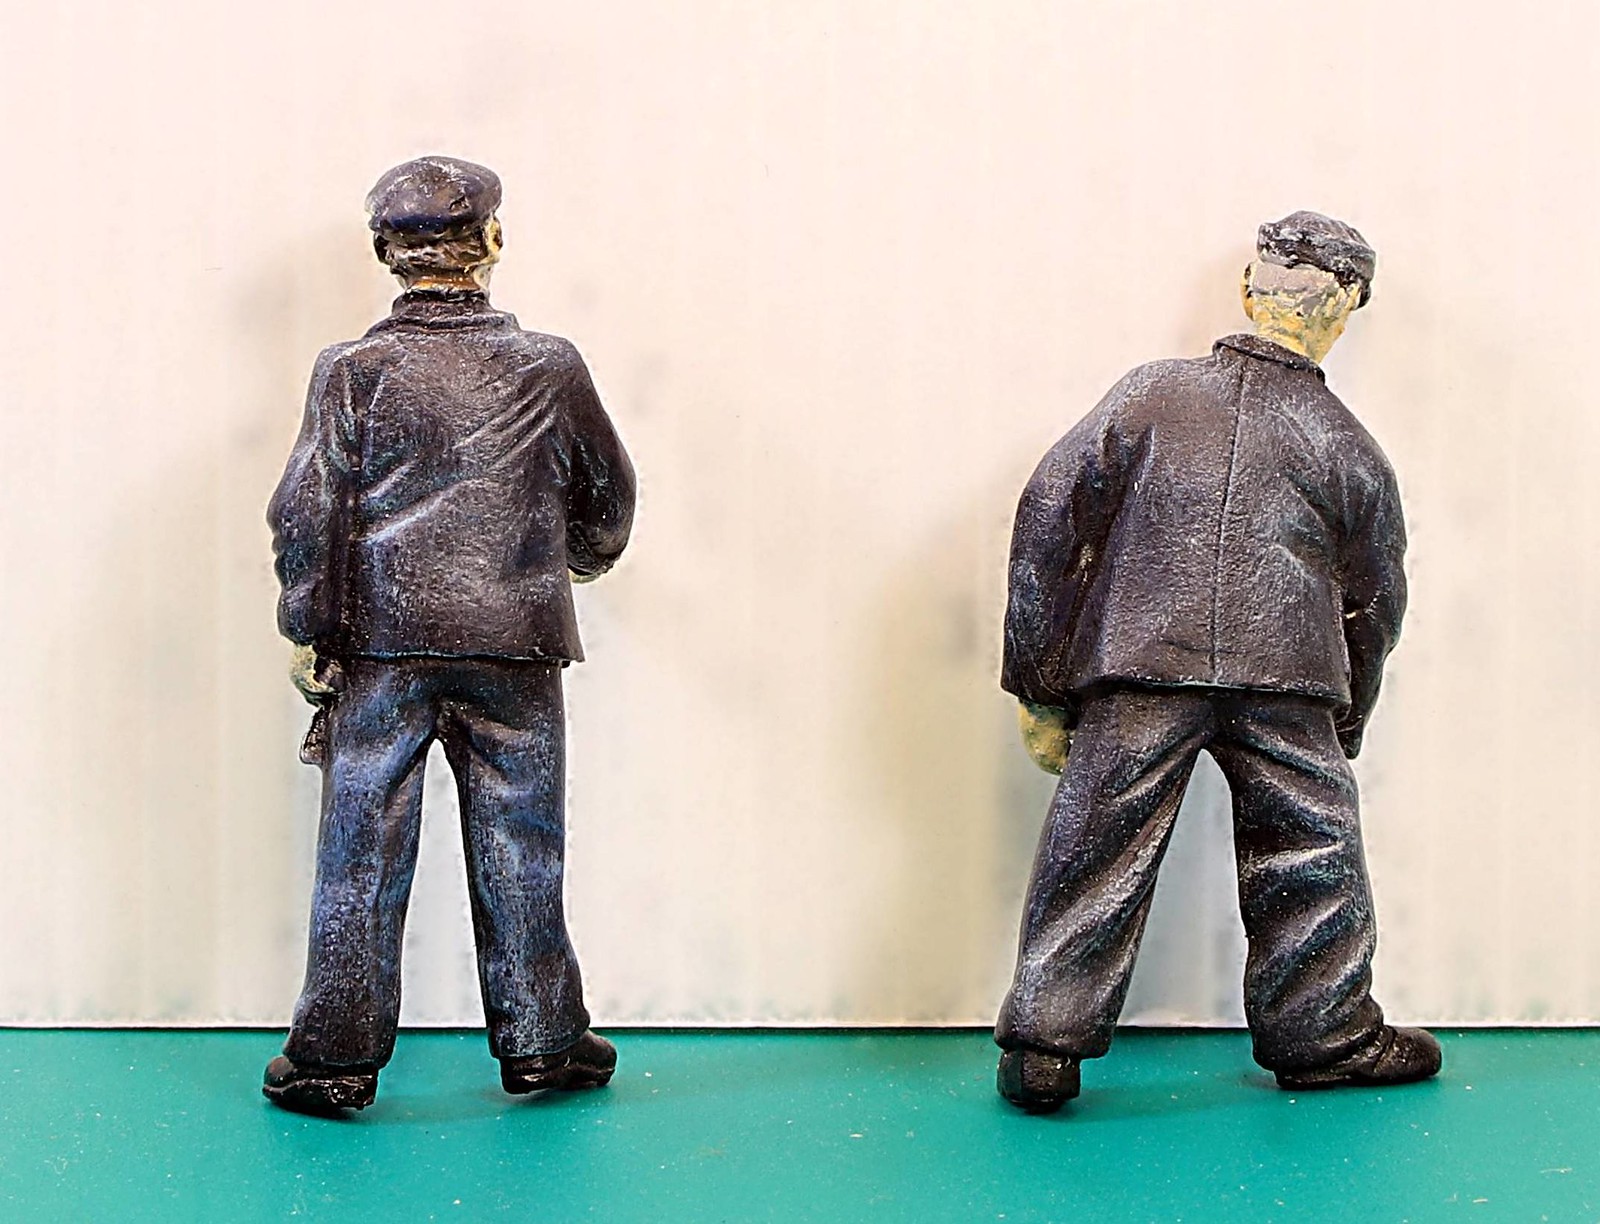
In between cutting down the weeds on the railway embankment, I indulged in a little figure painting.
Not something I do very often so I am quite pleased with how the loco crew turned out
The fireman's shovel is still work in progress
Unfortunately this one looks like they are taking a leak...
Not something I do very often so I am quite pleased with how the loco crew turned out
The fireman's shovel is still work in progress
Unfortunately this one looks like they are taking a leak...
Re: Gladiator LNER/BR J6
The fireman looks older than the driver. To my eyes.
-
- LNER A4 4-6-2 'Streak'
- Posts: 4303
- Joined: Wed Oct 25, 2006 8:46 am
Re: Gladiator LNER/BR J6
Not an impossible situation if the driver had worked up the grades at a shed where there was high turnover/labour shortage. I agree it's less usual, but I recall reading a memoir by a driver who was in exactly that situation and was frequently told he couldn't be the driver because he was visibly much younger than his fireman.
- Robpulham
- LNER A4 4-6-2 'Streak'
- Posts: 1721
- Joined: Thu Mar 27, 2008 9:54 pm
- Location: Lower Wensleydale
- Contact:
Re: Gladiator LNER/BR J6
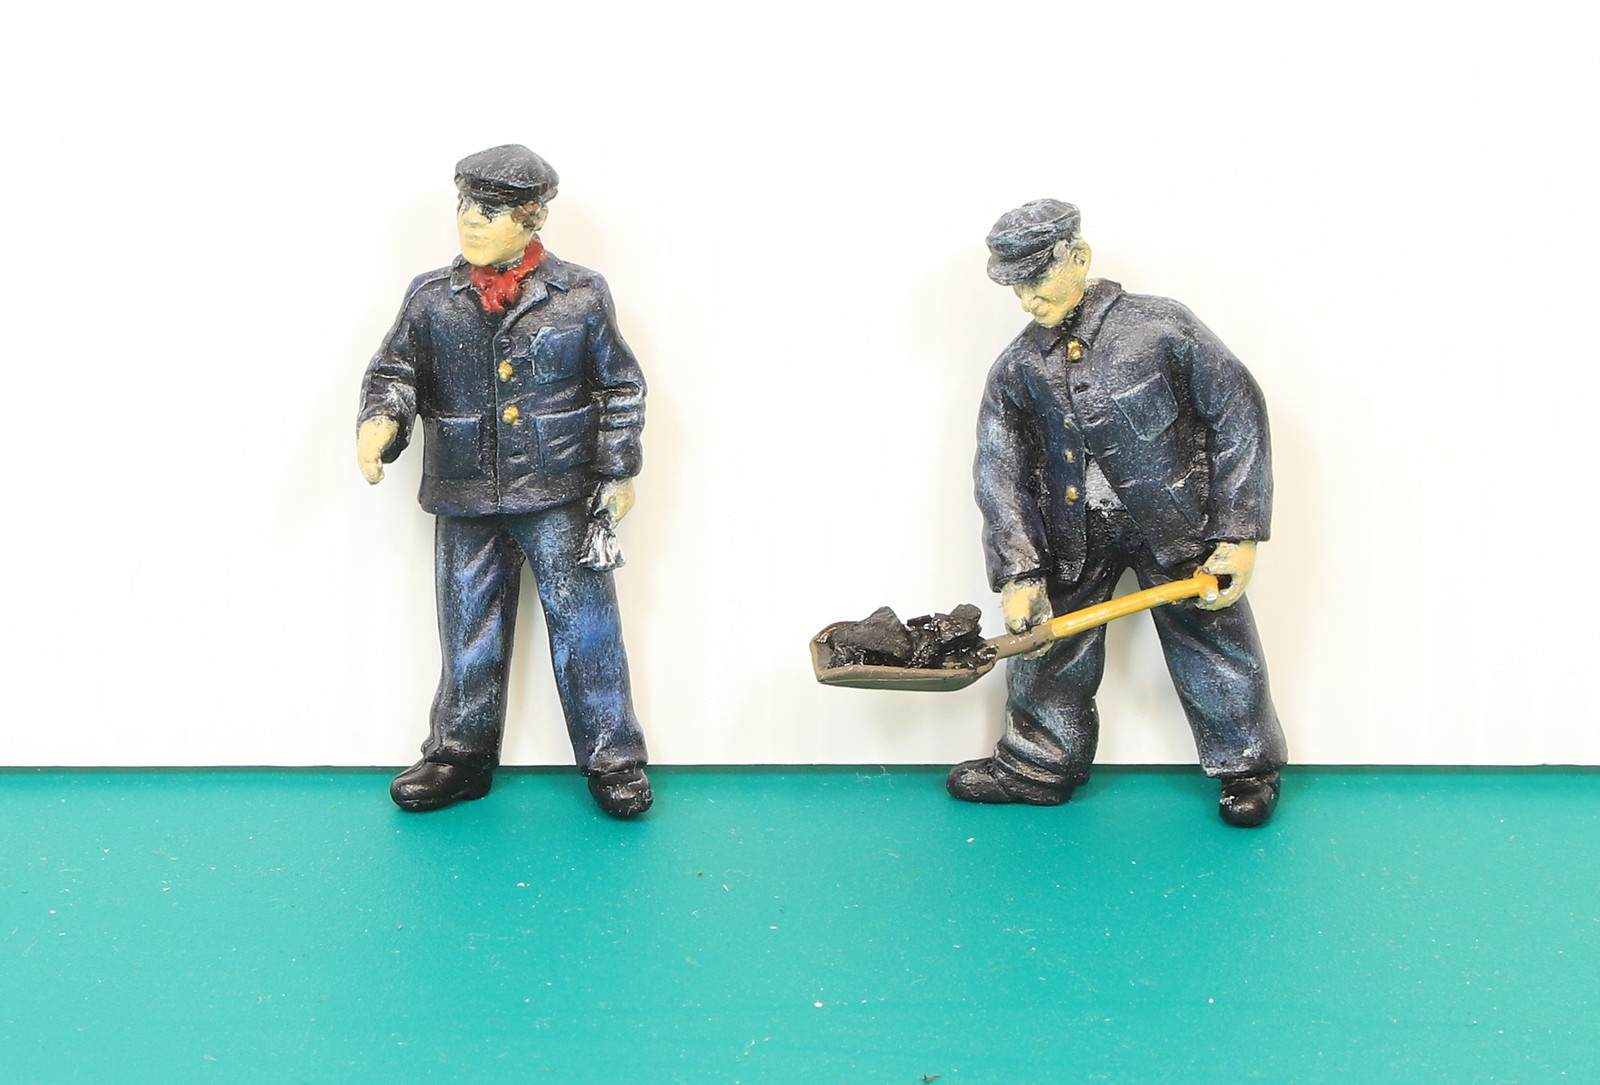
A bit more tinkering with the crew has the driver sporting a red kerchief and the fireman with a shovel full of coal. What a job I had trying to get the coal to stay on the shovel with my ham fists.
-
- LNER V2 2-6-2 'Green Arrow'
- Posts: 1101
- Joined: Mon Sep 19, 2011 12:24 am
Re: Gladiator LNER/BR J6
maybe a bit of a bushy beard would suitably age the driver!!!!!!!!
- Robpulham
- LNER A4 4-6-2 'Streak'
- Posts: 1721
- Joined: Thu Mar 27, 2008 9:54 pm
- Location: Lower Wensleydale
- Contact:
Re: Gladiator LNER/BR J6
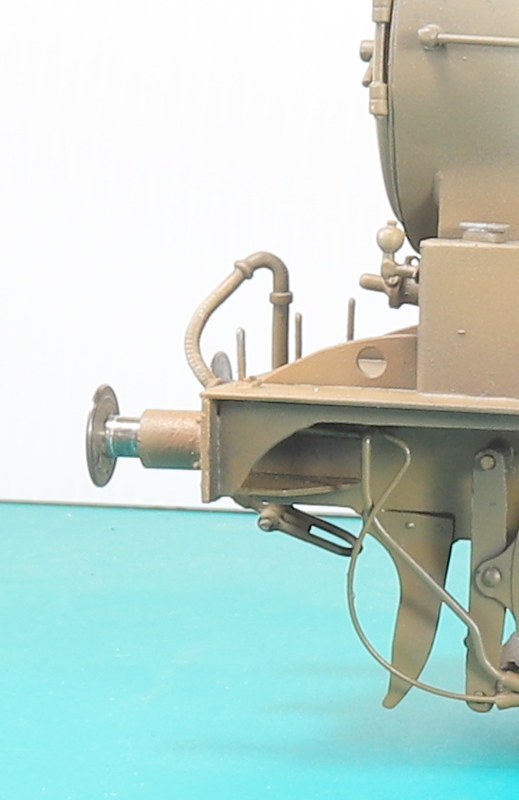
Recently while attempting to finish off all the little details of the J6 I had a bit of a conundrum. While I had fitted the front buffers previously to check that they went through the holes okay (I have had them in the past that haven’t and the hole had needed easing) I hadn’t actually tried to fit them with the body on.
What I found was that the 8BA nuts fouled the strengthening plates on the chassis and that the threads on the actual buffer heads hadn’t quite been threaded deep enough to pull the thicker part of the ram into the buffer stock. I recalled that David Hill of Gladiator had built one of these kits so I emailed David to ask how he had overcome the problem of the nuts fouling the chassis and I also mentioned about the threads not being deep enough. At this point although I could turn some replacements, the easier route would be to just run a die down them to make the thread a little deeper. What I was struggling with was working out the eternal problem of how to hold it securely to thread it.
As I have always found when emailing David, he responded very promptly and advised that he had filed flats on the nuts to clear the strengthening plates and he apologised about the threads and offered to replace the buffer heads. Now by this time I had my thinking head on and had worked out how to hold the existing buffer heads to add a few more threads.
Last night I decided to have a go. I had short stub of 16mm aluminium bar which I drilled 4mm x 5mm deep. Then I parted off a 5mm length and made a slit down one side to allow the centre hole to be squeezed to grip the buffer head.
Sadly, the buffer ram behind the head was 3.8mm and having drilled it 4mm (the nearest sized bit that I had) I found that the aluminium wasn’t quite flexible enough to tighten and grip the ram. I quickly sawed the rest of the way through making two halves these then gripped the ram and a few more threads were quickly added to both of them.
Next was what to do about the 8BA nuts fouling the chassis. I decide to see if I could drill out a 10BA nut and tap it 8BA. The 1.8mm drill bit was either two big or two small to be gripped tightly in the myriad of pin vices that I have so in the end I gripped the drill bit in a spare Jacobs chuck and used that to ease out the hole in the nut. I used my 10BA nut spinner to hold the nut while drilling and tapping to save faffing about trying to hold it squarely in a vice.
The next small issue was that the tail of the buffer was visible beyond the valence. To overcome this, I took 5mm of each of them and they became a snug fit behind the buffer plank (while still retaining some movement against the spring) and invisible once the body is on the chassis.
What I found was that the 8BA nuts fouled the strengthening plates on the chassis and that the threads on the actual buffer heads hadn’t quite been threaded deep enough to pull the thicker part of the ram into the buffer stock. I recalled that David Hill of Gladiator had built one of these kits so I emailed David to ask how he had overcome the problem of the nuts fouling the chassis and I also mentioned about the threads not being deep enough. At this point although I could turn some replacements, the easier route would be to just run a die down them to make the thread a little deeper. What I was struggling with was working out the eternal problem of how to hold it securely to thread it.
As I have always found when emailing David, he responded very promptly and advised that he had filed flats on the nuts to clear the strengthening plates and he apologised about the threads and offered to replace the buffer heads. Now by this time I had my thinking head on and had worked out how to hold the existing buffer heads to add a few more threads.
Last night I decided to have a go. I had short stub of 16mm aluminium bar which I drilled 4mm x 5mm deep. Then I parted off a 5mm length and made a slit down one side to allow the centre hole to be squeezed to grip the buffer head.
Sadly, the buffer ram behind the head was 3.8mm and having drilled it 4mm (the nearest sized bit that I had) I found that the aluminium wasn’t quite flexible enough to tighten and grip the ram. I quickly sawed the rest of the way through making two halves these then gripped the ram and a few more threads were quickly added to both of them.
Next was what to do about the 8BA nuts fouling the chassis. I decide to see if I could drill out a 10BA nut and tap it 8BA. The 1.8mm drill bit was either two big or two small to be gripped tightly in the myriad of pin vices that I have so in the end I gripped the drill bit in a spare Jacobs chuck and used that to ease out the hole in the nut. I used my 10BA nut spinner to hold the nut while drilling and tapping to save faffing about trying to hold it squarely in a vice.
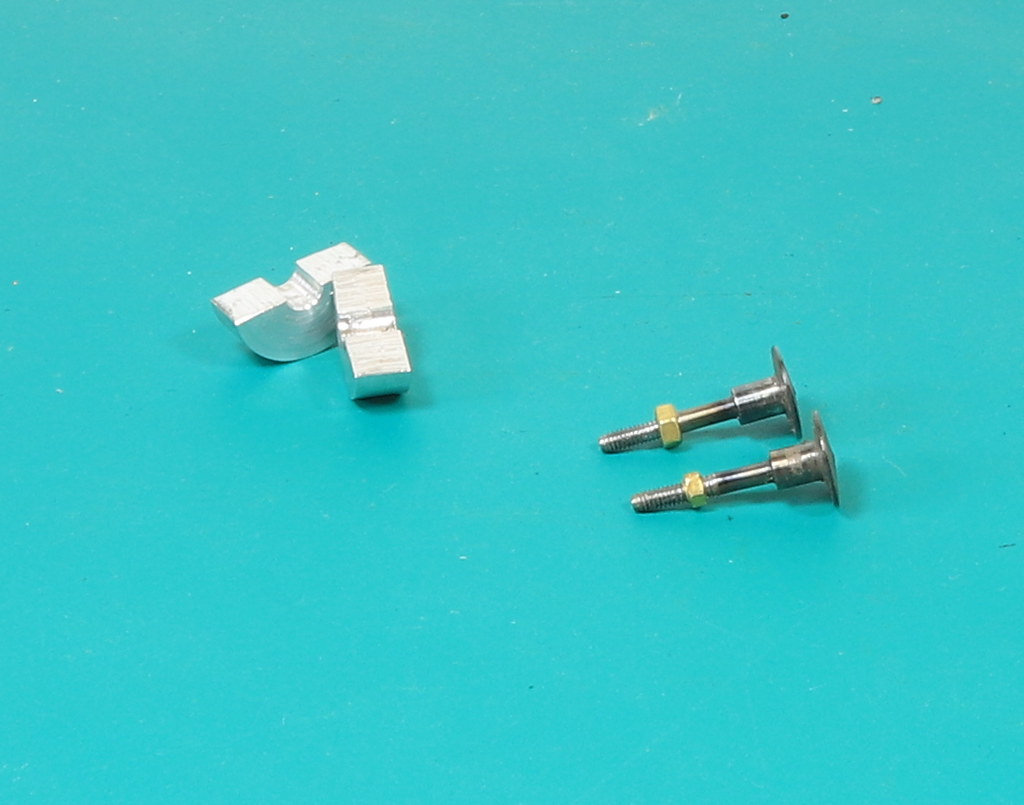
The next small issue was that the tail of the buffer was visible beyond the valence. To overcome this, I took 5mm of each of them and they became a snug fit behind the buffer plank (while still retaining some movement against the spring) and invisible once the body is on the chassis.
- Robpulham
- LNER A4 4-6-2 'Streak'
- Posts: 1721
- Joined: Thu Mar 27, 2008 9:54 pm
- Location: Lower Wensleydale
- Contact:
Re: Gladiator LNER/BR J6
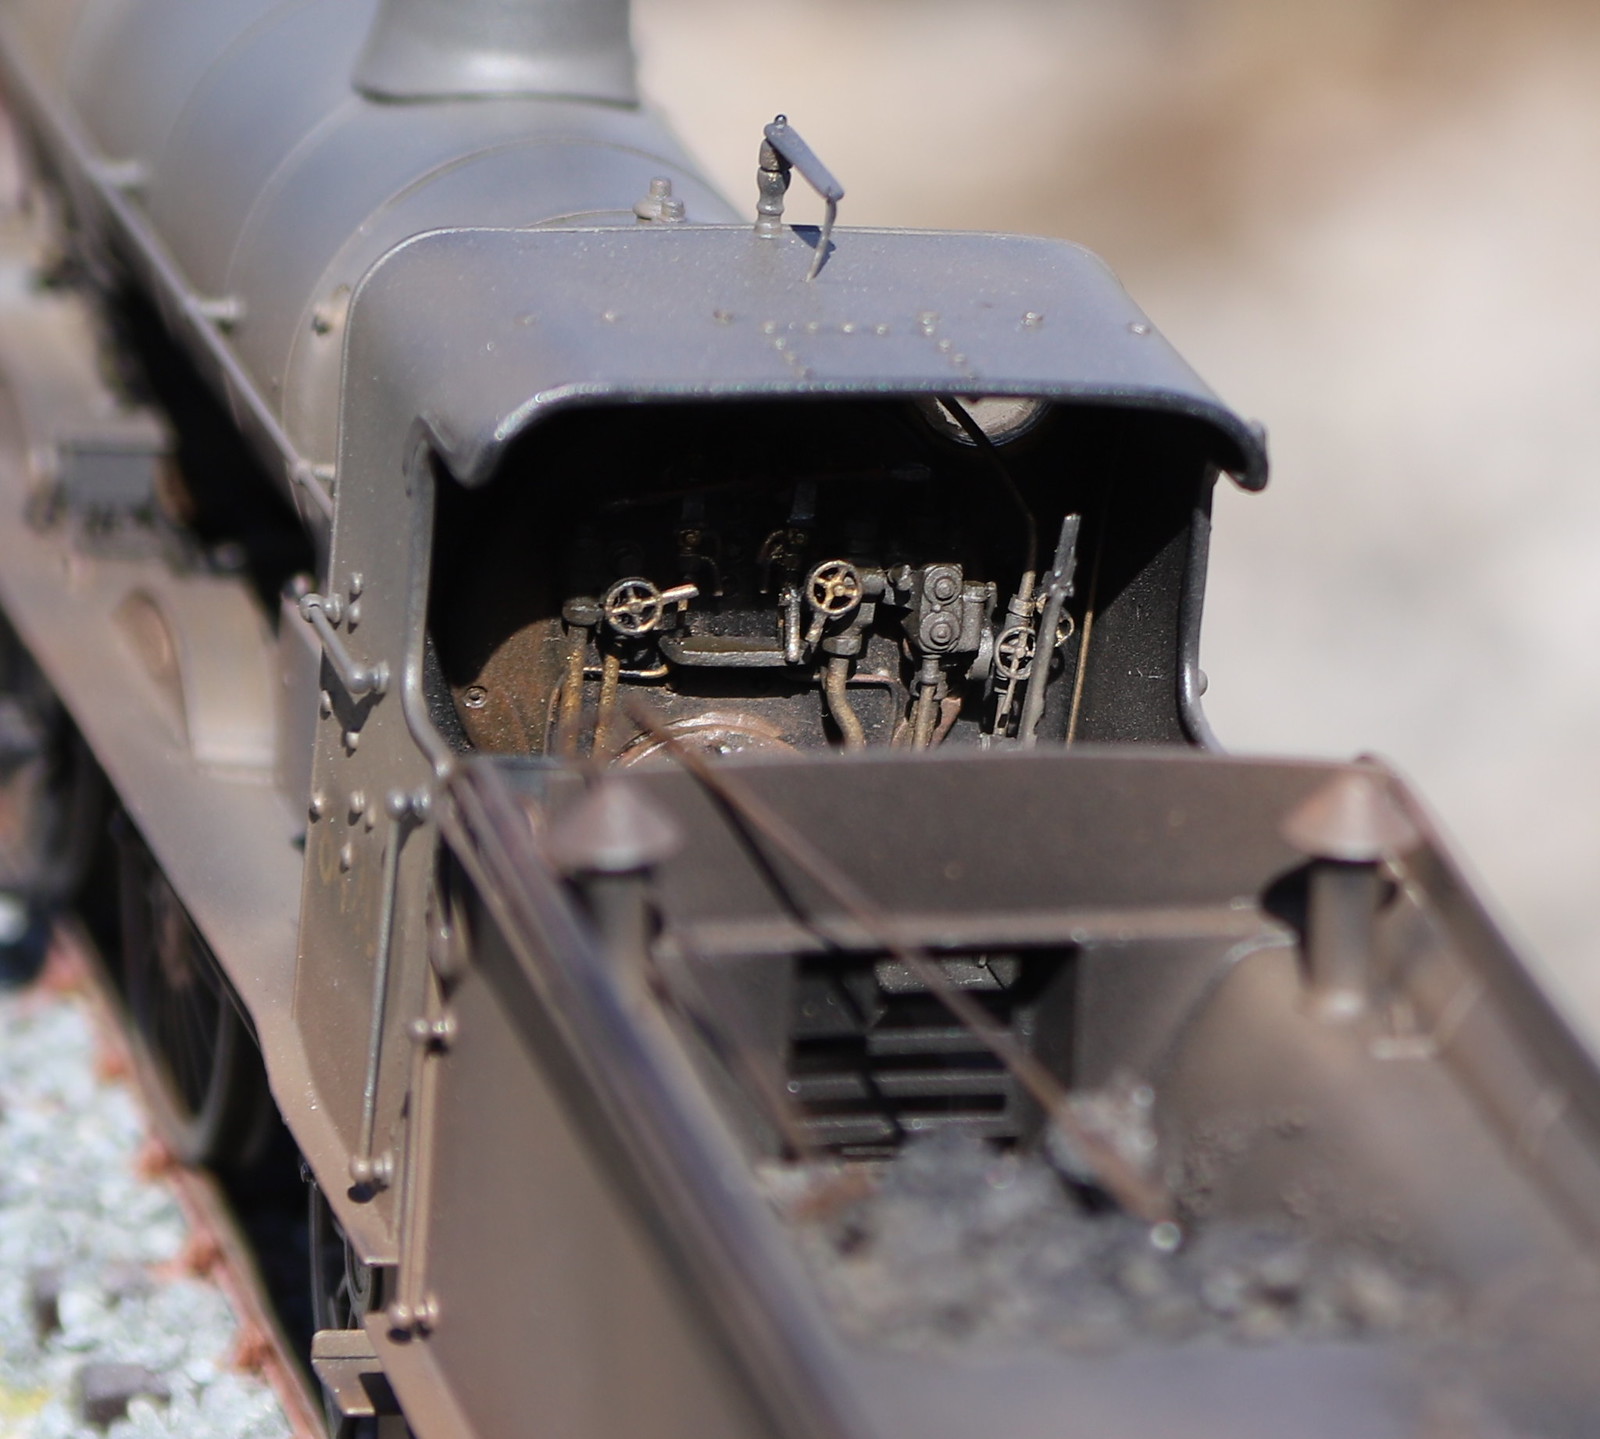
I haven't posted any images of the finished and weathered J6 as I planned to enter it into the modelling competition at Guildex.
I was really pleased to take third place "Commended" from the judges but was even more pleased and surprised to get the "Runner Up" award from the "Public vote".
The winner of the public vote was the same crane that took first in the rolling stock category, which meant, that in the eyes of the public who voted that the J6 was the best loco in the show.
-
- LNER V2 2-6-2 'Green Arrow'
- Posts: 1101
- Joined: Mon Sep 19, 2011 12:24 am
Re: Gladiator LNER/BR J6
That sounds like a politicians way of counting votes, but well done.
two prizes
Paul
two prizes
Paul
- Robpulham
- LNER A4 4-6-2 'Streak'
- Posts: 1721
- Joined: Thu Mar 27, 2008 9:54 pm
- Location: Lower Wensleydale
- Contact:
Re: Gladiator LNER/BR J6
Well, you have to see the bright side...john coffin wrote: ↑Mon Sep 05, 2022 6:16 pm That sounds like a politicians way of counting votes, but well done.
two prizes
Paul
- manna
- LNER A4 4-6-2 'Streak'
- Posts: 3862
- Joined: Sun May 24, 2009 12:56 am
- Location: All over Australia
Re: Gladiator LNER/BR J6
G'Day Gents
Great build and Congratulations.
manna
PS Hope to see more Ex GN 0-6-0's in the future.
Great build and Congratulations.
manna
PS Hope to see more Ex GN 0-6-0's in the future.
EDGWARE GN, Steam in the Suburbs.
- Robpulham
- LNER A4 4-6-2 'Streak'
- Posts: 1721
- Joined: Thu Mar 27, 2008 9:54 pm
- Location: Lower Wensleydale
- Contact:
Re: Gladiator LNER/BR J6
Thanks Manna,
I hope to semi scratch build another at some point using the extra bits provided in the kits but it's a good way off and I don't have any other GN 0-6-0's in the pipeline. I do have a few ex NER 0-6-0's to do though.
I also have a C1, D2, J50, J52 and a pair of N2's, so the GNR is not entirely neglected...