Gladiator LNER/BR J6
Moderators: 52D, Tom F, Rlangham, Atlantic 3279, Blink Bonny, Saint Johnstoun, richard
- Robpulham
- LNER A4 4-6-2 'Streak'
- Posts: 1721
- Joined: Thu Mar 27, 2008 9:54 pm
- Location: Lower Wensleydale
- Contact:
Re: Gladiator LNER/BR J6
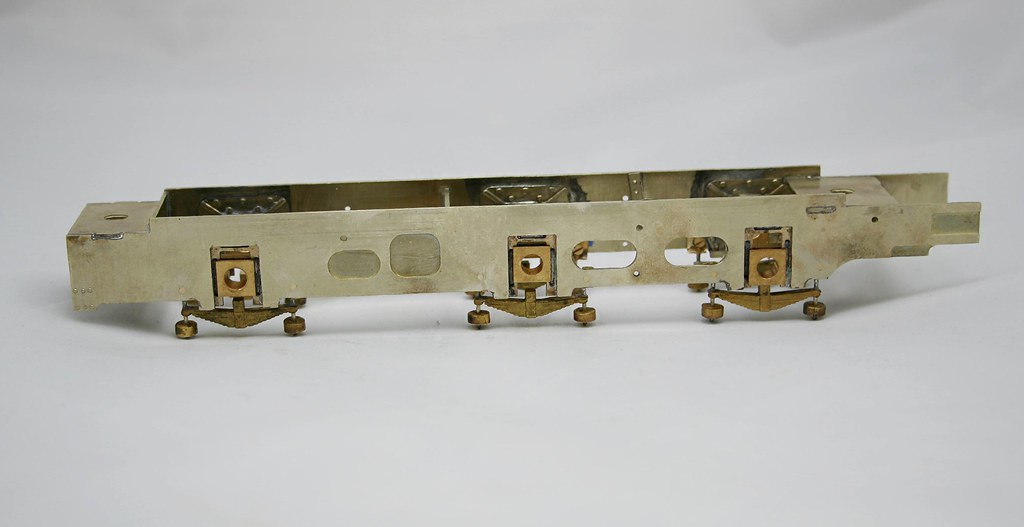
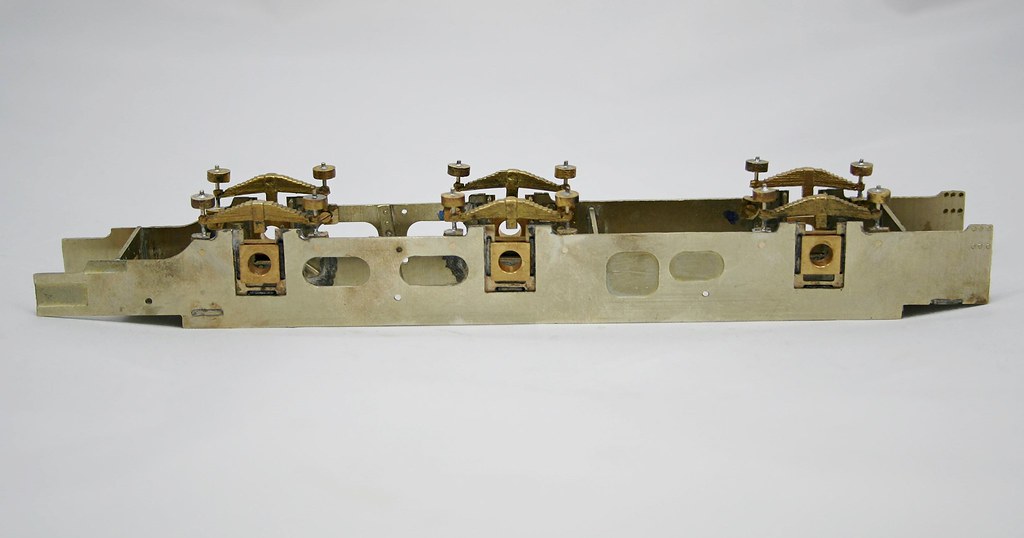
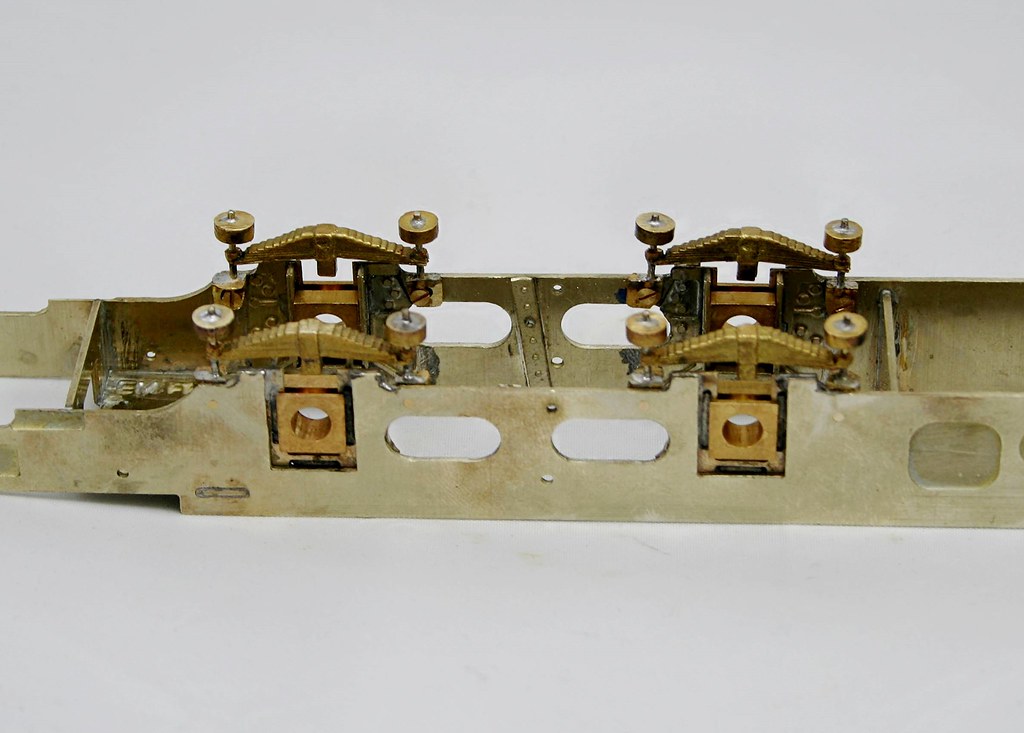
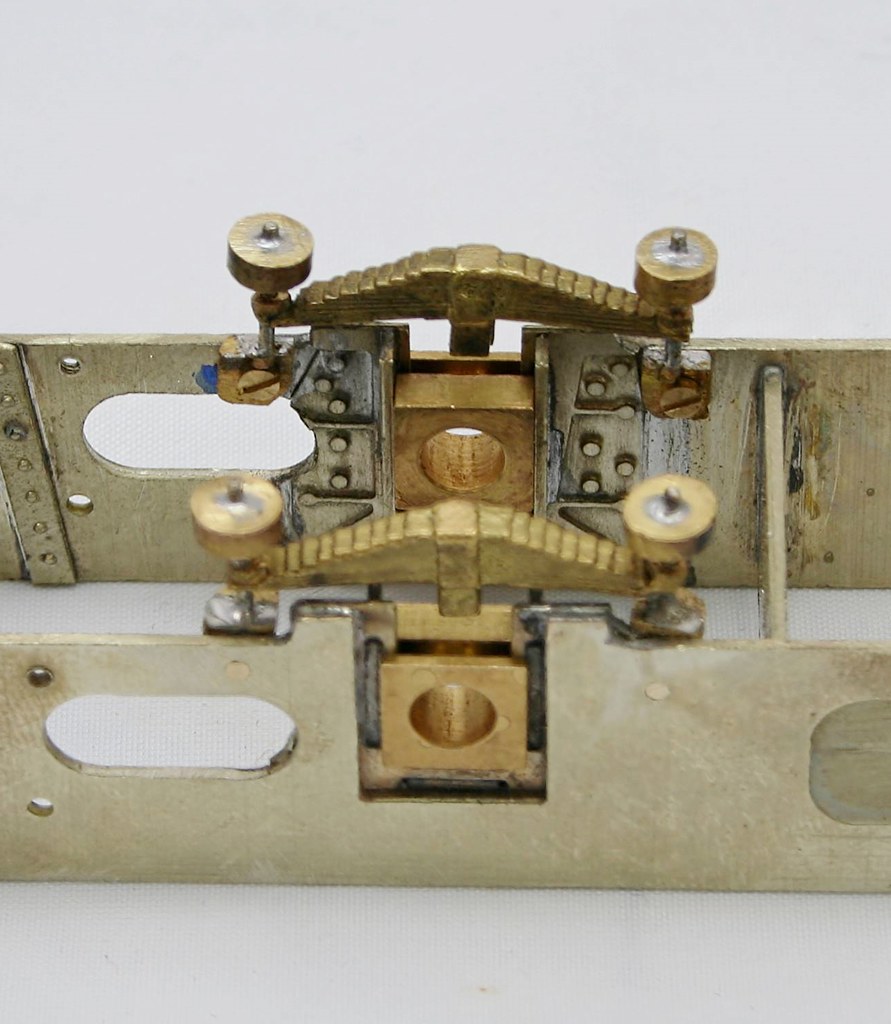
To conclude this chapter here is part 3 of the modification. The plan is to drill and tap the frames 12ba and use them to retain the hornblocks.
I just need to pick up some more 12 ba screws at Kettering .
- Robpulham
- LNER A4 4-6-2 'Streak'
- Posts: 1721
- Joined: Thu Mar 27, 2008 9:54 pm
- Location: Lower Wensleydale
- Contact:
Re: Gladiator LNER/BR J6
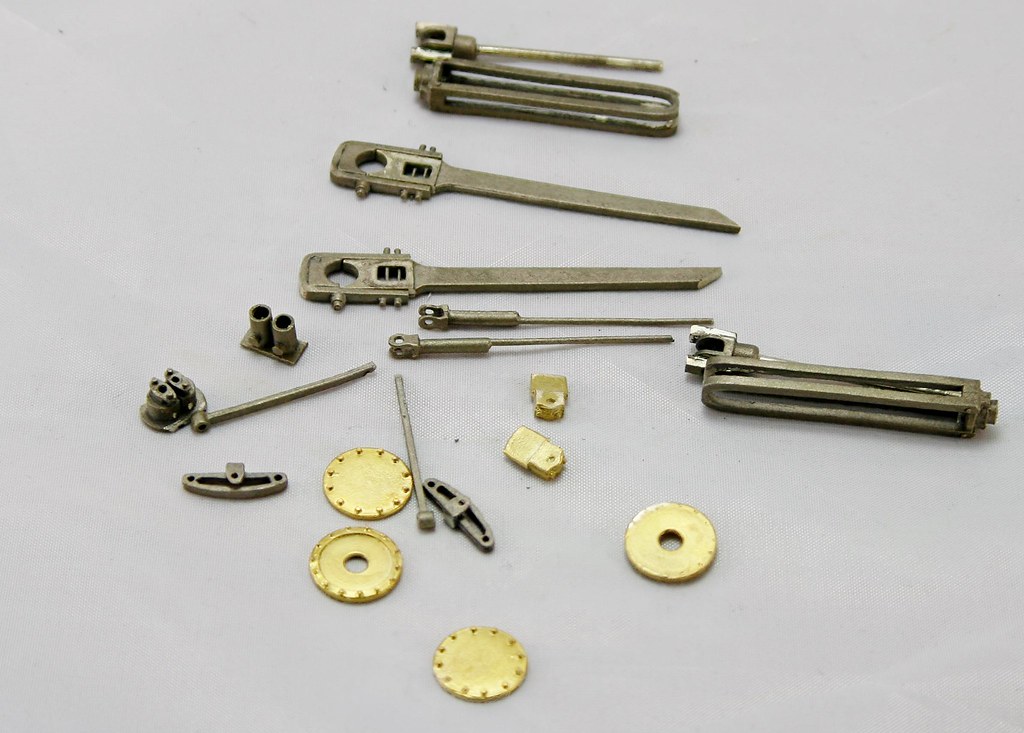
The last couple of evenings have been spent removing the rest of the motion parts from the sprues and cleaning them up. All I need to do now is work out where it all goes....
- Robpulham
- LNER A4 4-6-2 'Streak'
- Posts: 1721
- Joined: Thu Mar 27, 2008 9:54 pm
- Location: Lower Wensleydale
- Contact:
Re: Gladiator LNER/BR J6
I had originally planned to go to Kettering show this weekend with a stop over on Friday night. Taking the decision not to go has given me an extra couple of days of thinking/modelling time in which to really get my head into the inside motion.
Fellow modeller Paul Penn-Sayers had offered to cut out a motion plate for the J6 for me. Paul has also supplied lots of information and patiently answered my 'newby' questions regarding inside motion for which I am eternally grateful. While I fully intended to take up the offer events somewhat overtook me.
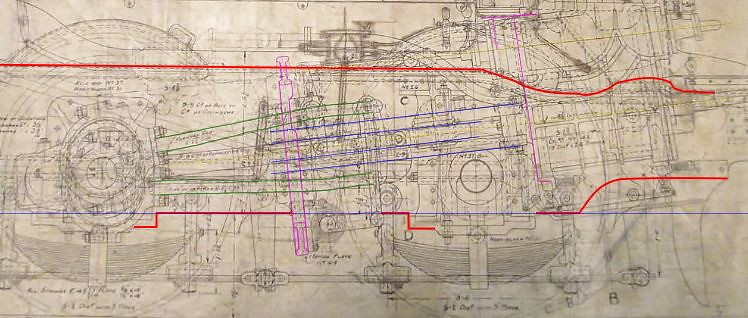
While studying the GA drawing to work out which bit was which on Wednesday evening I had the thought of importing it into Inkscape (the drawing package that I use to draw for the silhouette), rescaling it to 7mm scale and then highlighting the components that make up the motion so that I could see what they are.
[/url]
You can see the difference in the layout of the motion compared with the Midland variation in which the motion set from Laurie Griffin is based - below is a snip from the LG instructions.
[/url]
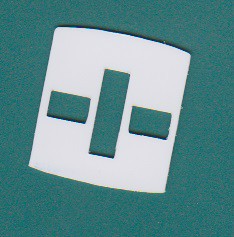
While I was doing my stuff in Inkscape, Chris suggested using my silhouette to create a template for the motion plate to test whether it would fit between the frames etc. I thought that a great idea and within a very short space of time I had drawn up and cut this
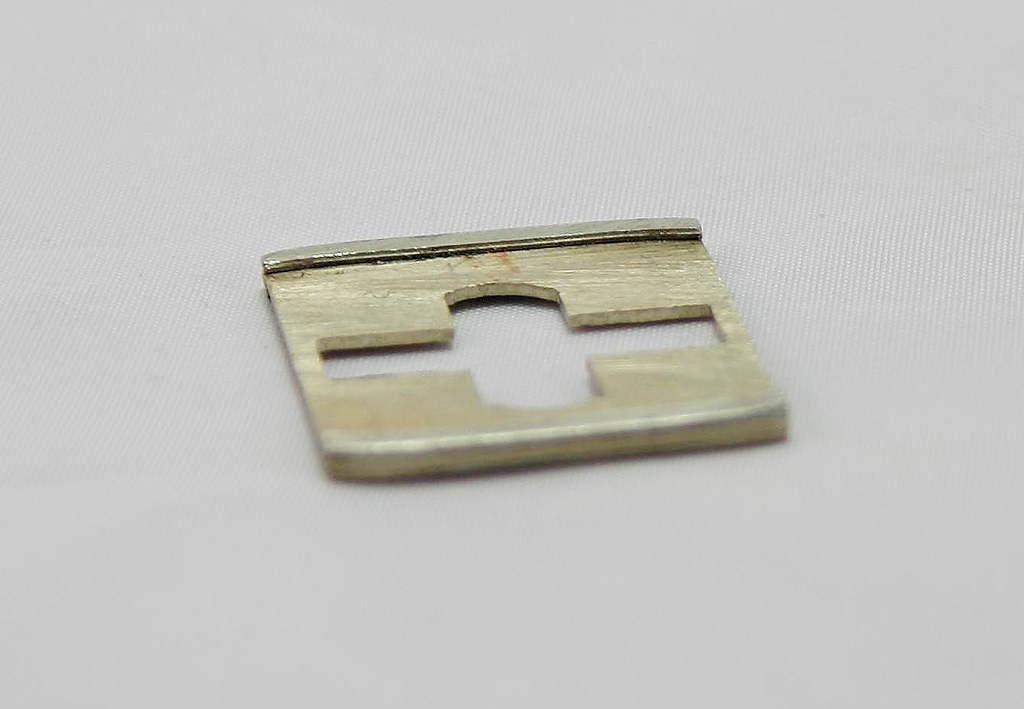
I used that to transfer the measurements onto a spare frame spacer and drilled/cut filed it out. Due to using it as a template to scribe around, some of the measurements were fractionally over size, while the internal ones were slightly undersized. I kept filing until the slide bars fit and I got this. - I added the framing top and bottom afterwards.
am[/url], on Flickr
Looking at Paul's and Nick Dunhill's superb motion plate examples, I realise that I will have to file some relief in the tops and bottom of the slide bar seats/openings in a similar manner to the centre opening where the eccentric rods will pass through, in order to allow for the up/down movement of the piston rods.
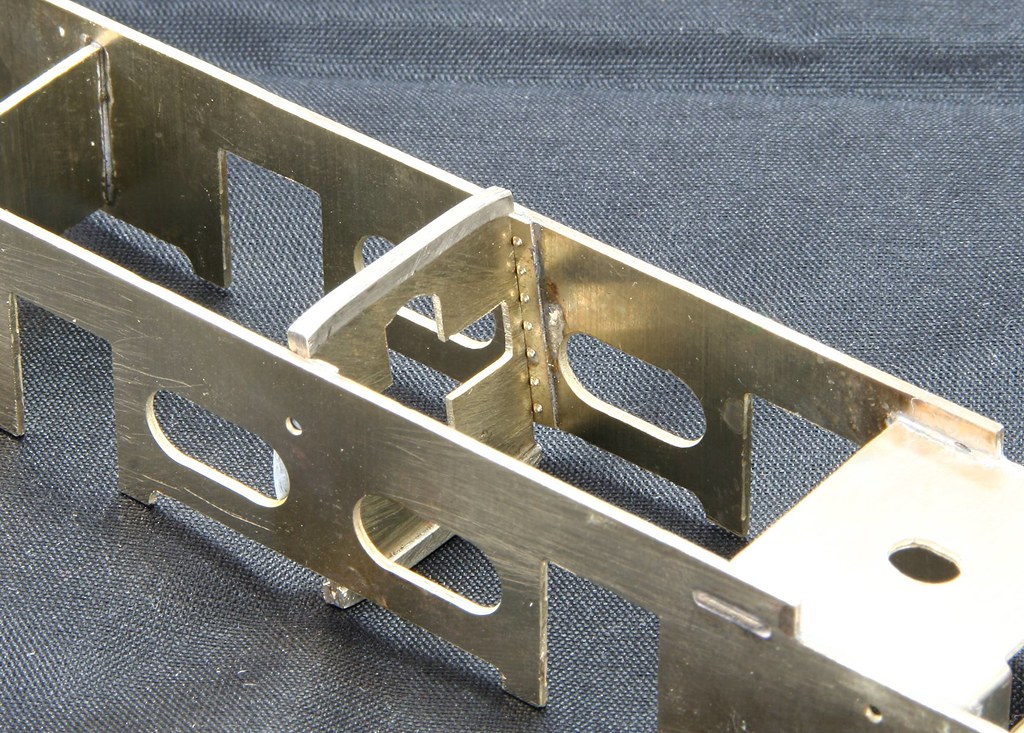
This is it in the frames - held by a blob of Blue tack
Although as I say I am very grateful to Paul for his offer to cut one out for me and looking at the example posted by Heather Kay on Western Thunder, it would have been of a much higher fidelity than my first effort has achieved but it's a skill learned and Paul's help has helped me to make sense of GA's which has previously eluded me - all the lines blurring into a shapeless mass. Another skill which will only improve with practice and should translate into better quality models at the end of it.
- Robpulham
- LNER A4 4-6-2 'Streak'
- Posts: 1721
- Joined: Thu Mar 27, 2008 9:54 pm
- Location: Lower Wensleydale
- Contact:
Re: Gladiator LNER/BR J6
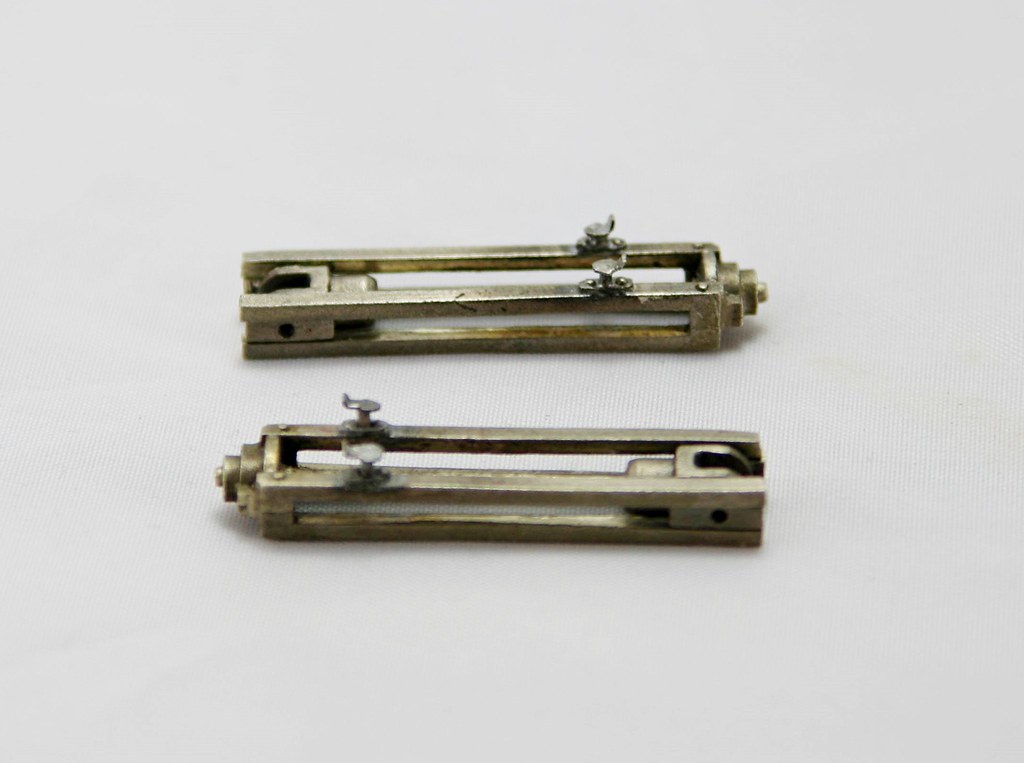
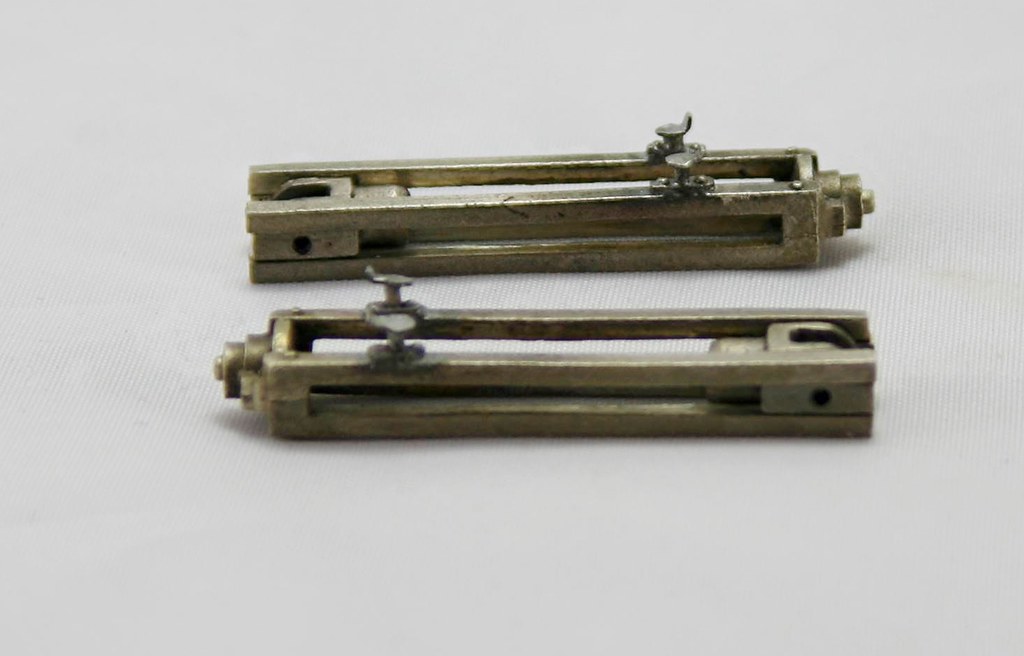
Alongside creation of the motion plate, I had to prepare the slide bars and make the cross heads fit.
Once I had them running nice and smooth and having test fitted them in the motion plate, I detailed them with the very prominent oil pots on the tops. Made from spare etch and nickel rod
I am not sure why but these proved and absolute pain to take photos of...
Once I had them running nice and smooth and having test fitted them in the motion plate, I detailed them with the very prominent oil pots on the tops. Made from spare etch and nickel rod
I am not sure why but these proved and absolute pain to take photos of...
- Robpulham
- LNER A4 4-6-2 'Streak'
- Posts: 1721
- Joined: Thu Mar 27, 2008 9:54 pm
- Location: Lower Wensleydale
- Contact:
Re: Gladiator LNER/BR J6
Although there hasn't been much to share, work has been progressing on the J6.
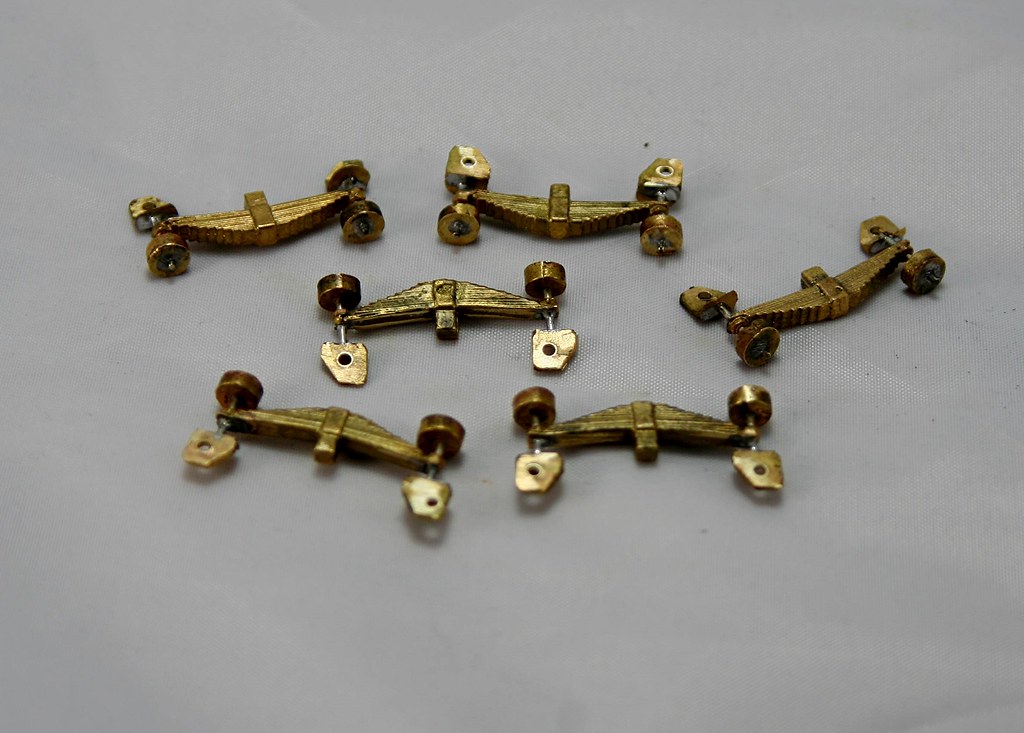
We now have all the springs attached to the frame. Initially I though to have the centre springs removable and the for and aft ones just soldered on but in the end I drilled and tapped them all 12ba so they are all removable should the need arise.
- Robpulham
- LNER A4 4-6-2 'Streak'
- Posts: 1721
- Joined: Thu Mar 27, 2008 9:54 pm
- Location: Lower Wensleydale
- Contact:
Re: Gladiator LNER/BR J6
After my interlude with the Streamlined Coronations I am now back on the J6.
Over the last couple of evenings I have prepared the Finney Hornguides/blocks ([s]nicked[/s]) borrowed from my A1 kit until I collect some more from the guys at Telford.
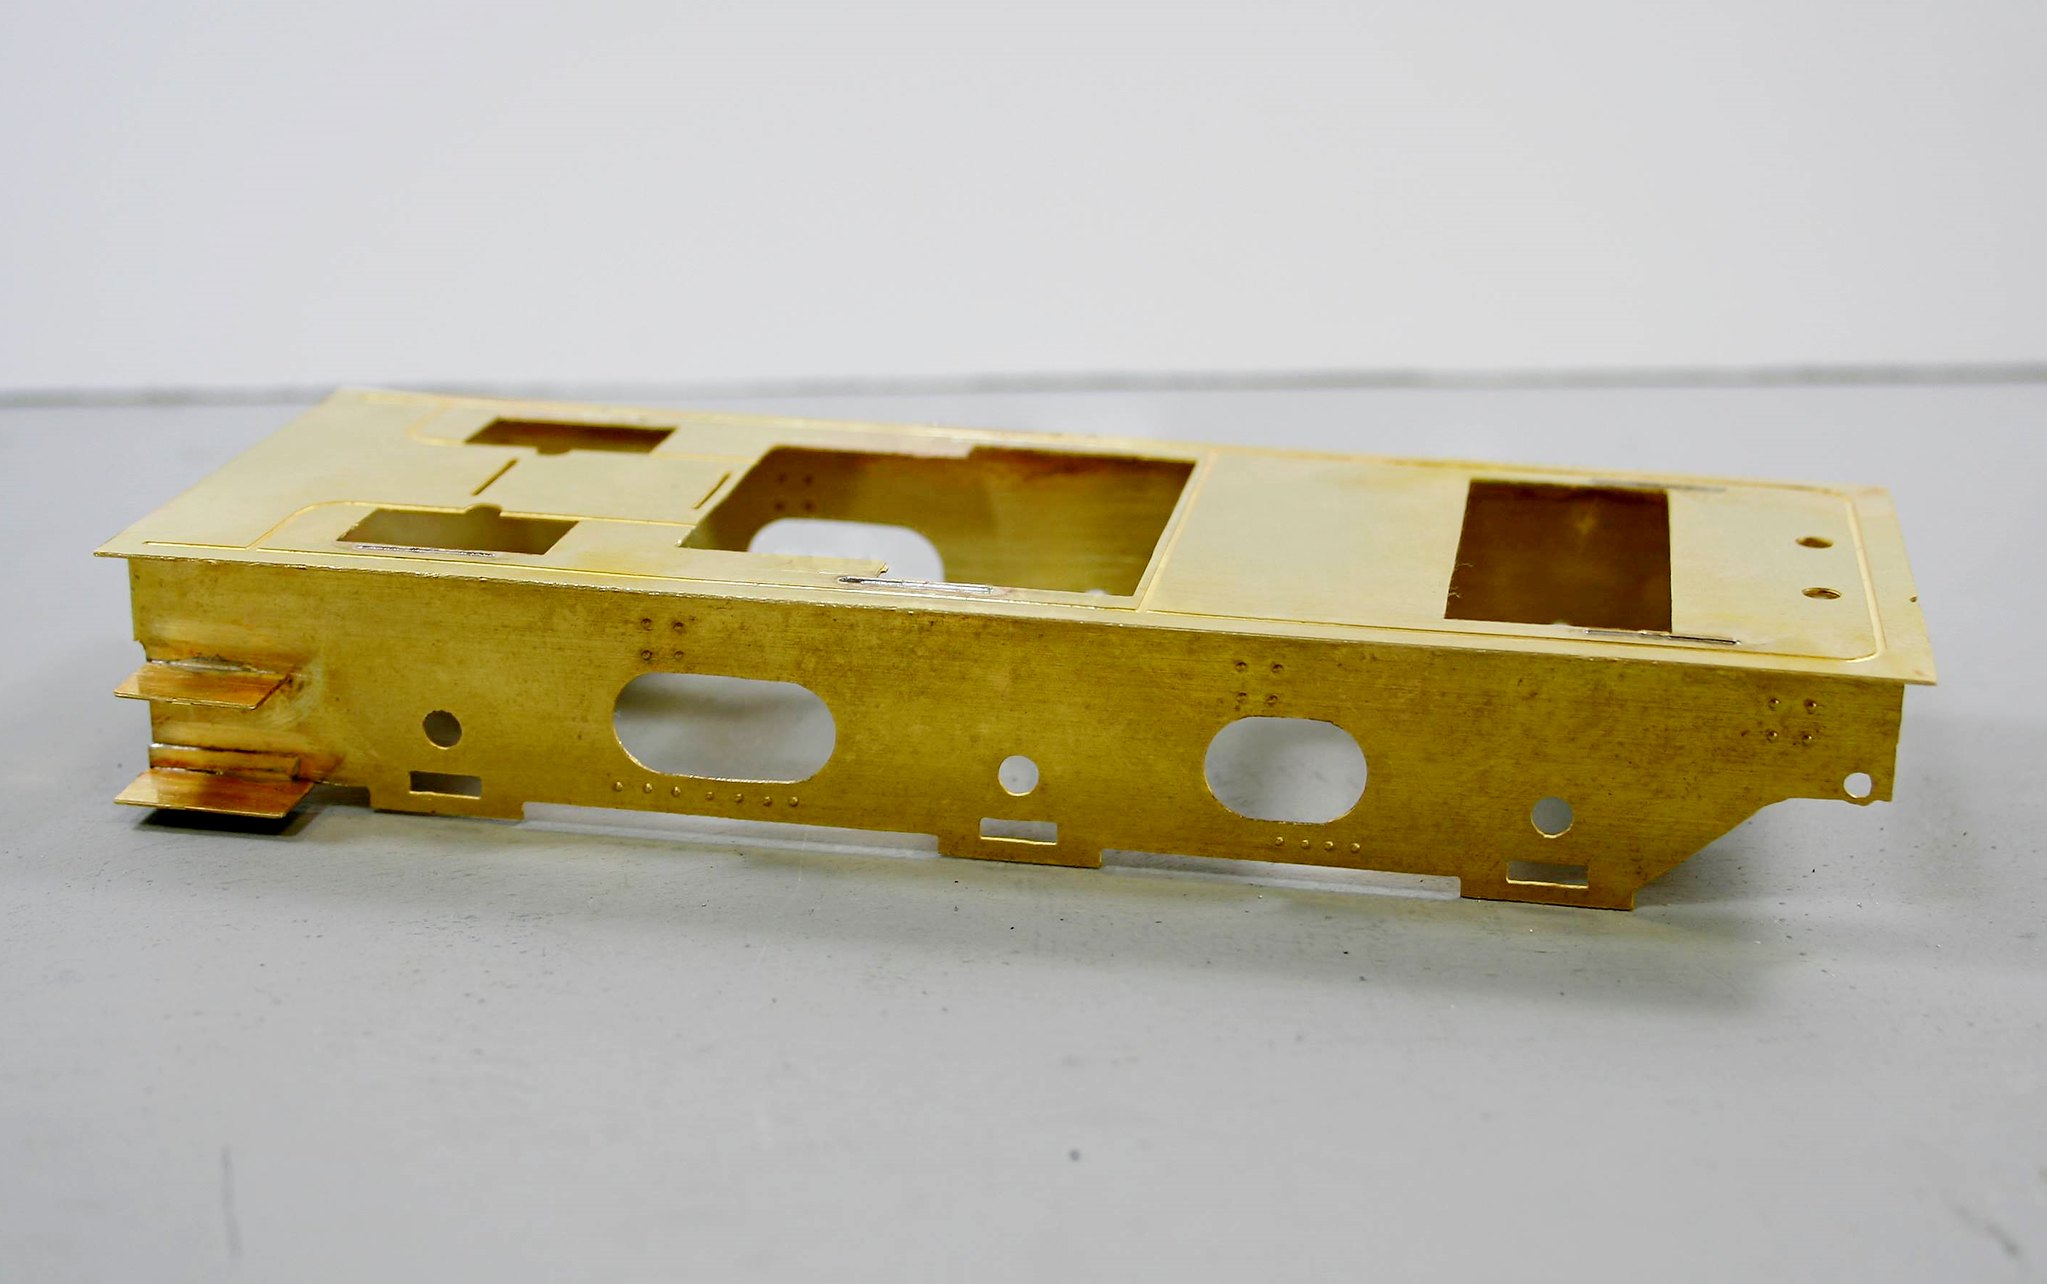
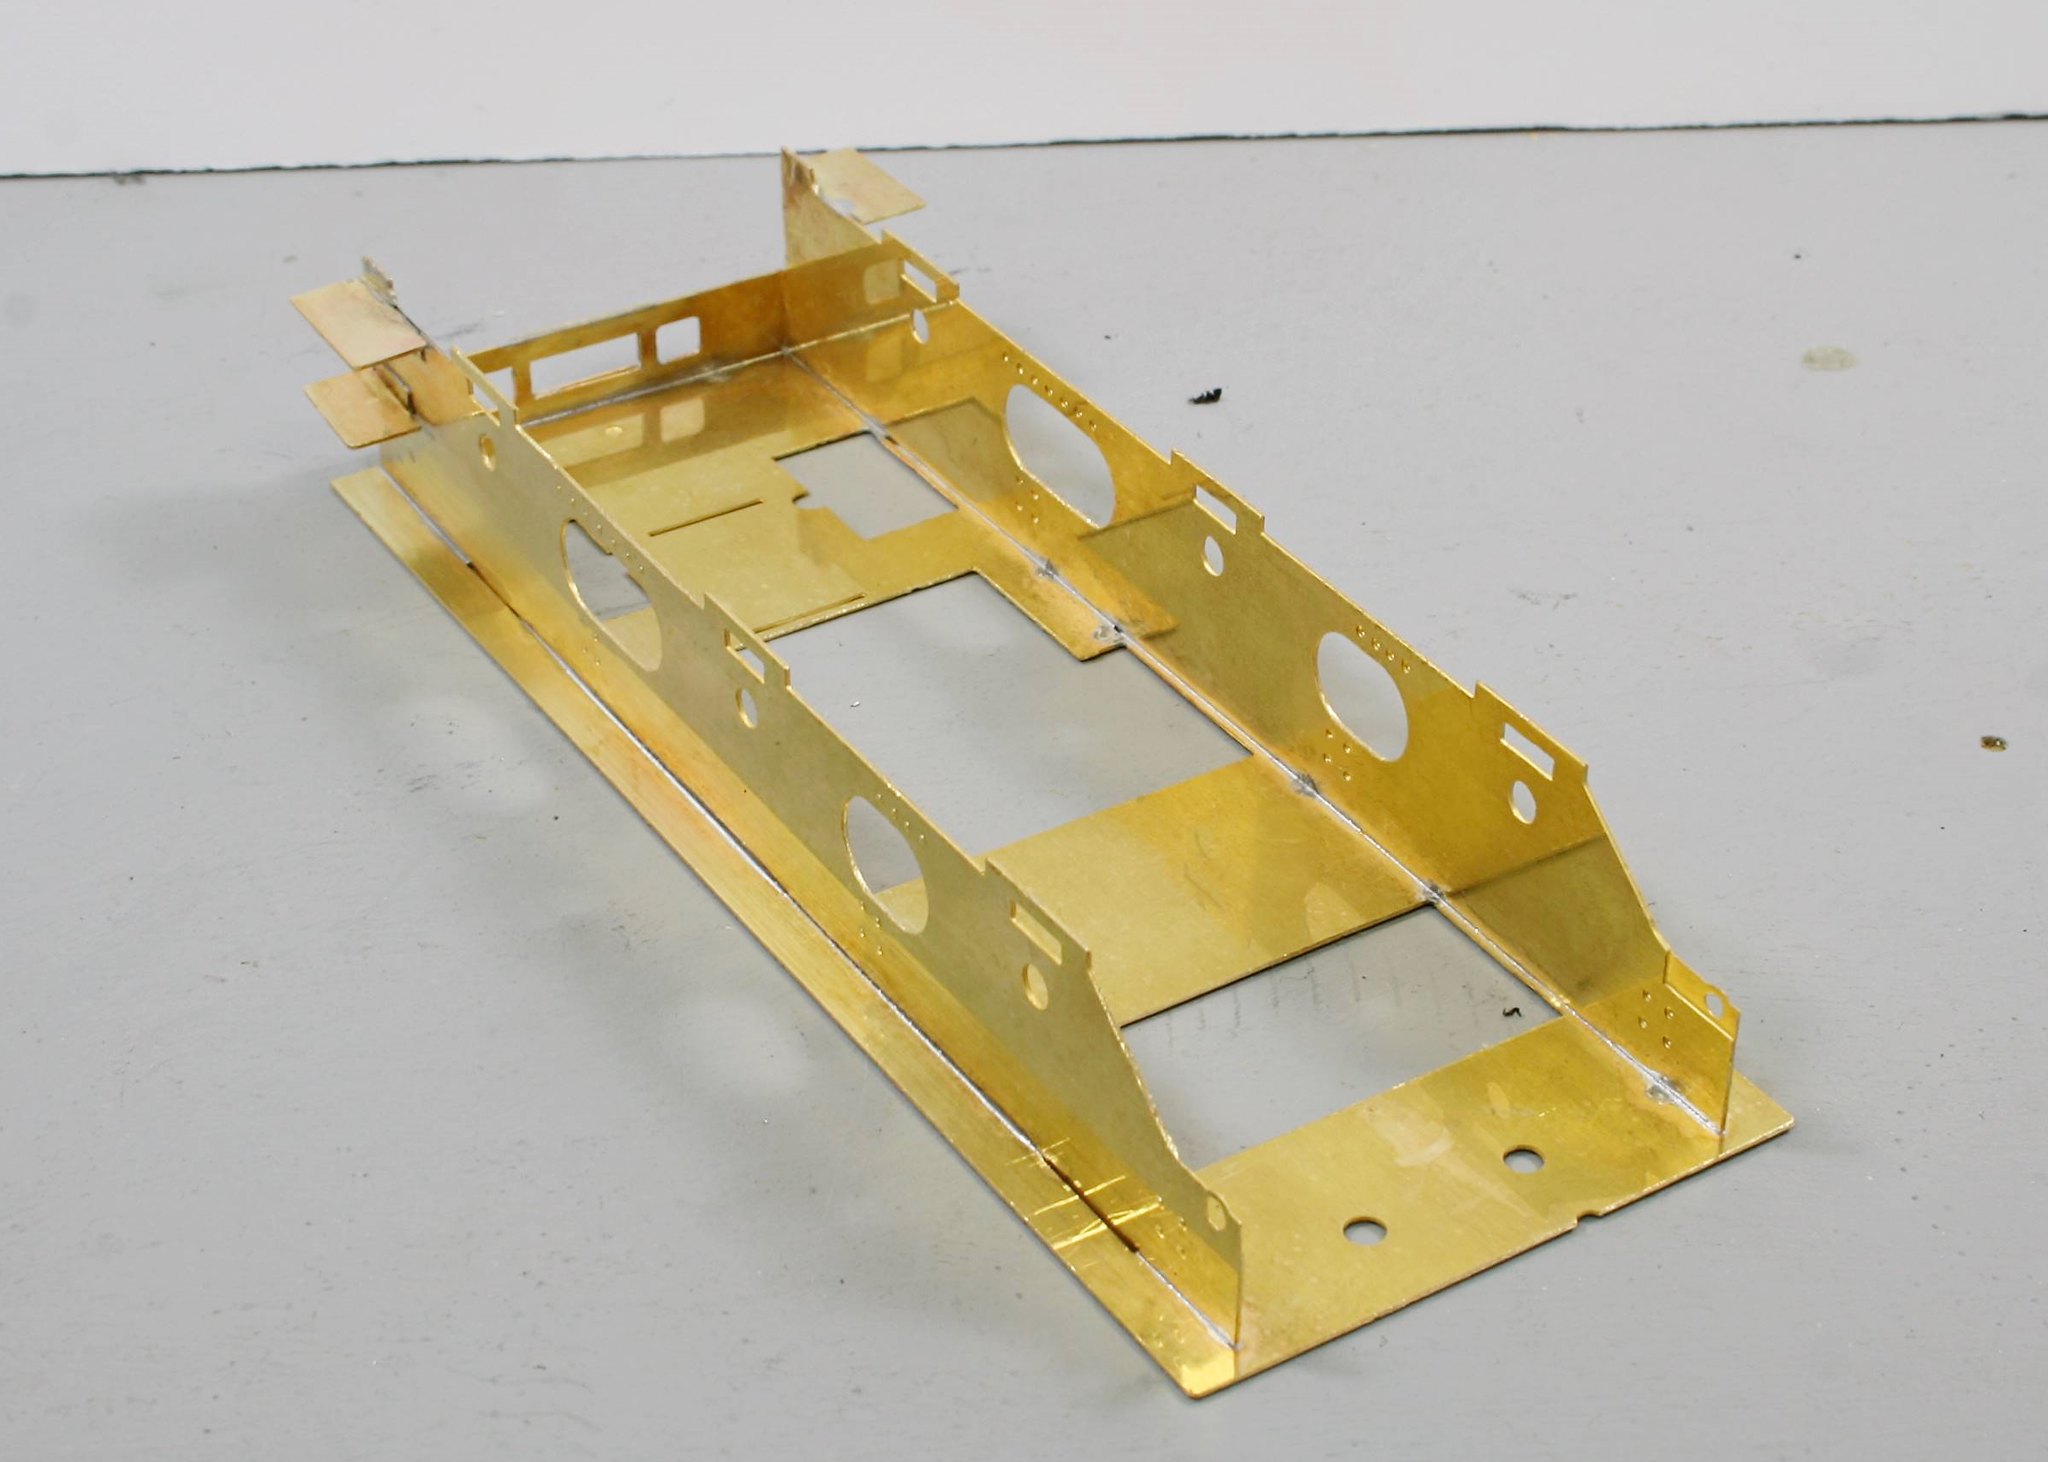
Then I started on the instructions which have you prepare the outer chassis first and then attach it to the tender footplate.
Here's where I got to on that last night.
-
- LNER V2 2-6-2 'Green Arrow'
- Posts: 1101
- Joined: Mon Sep 19, 2011 12:24 am
Re: Gladiator LNER/BR J6
Nice clean soldering Rob, one of the reasons for suggesting soldering the outside frames to the soleplate first is
we found that it was the best method of ensuring the soleplate stayed flat. Soldering on the sidesheets first
did not ensure flatness.
Any comments on the inadequacy of the instructions are gratefully received
Paul
we found that it was the best method of ensuring the soleplate stayed flat. Soldering on the sidesheets first
did not ensure flatness.
Any comments on the inadequacy of the instructions are gratefully received
Paul
- Robpulham
- LNER A4 4-6-2 'Streak'
- Posts: 1721
- Joined: Thu Mar 27, 2008 9:54 pm
- Location: Lower Wensleydale
- Contact:
Re: Gladiator LNER/BR J6
Thanks Paul, I have sent you an email on the subject of the instructions.
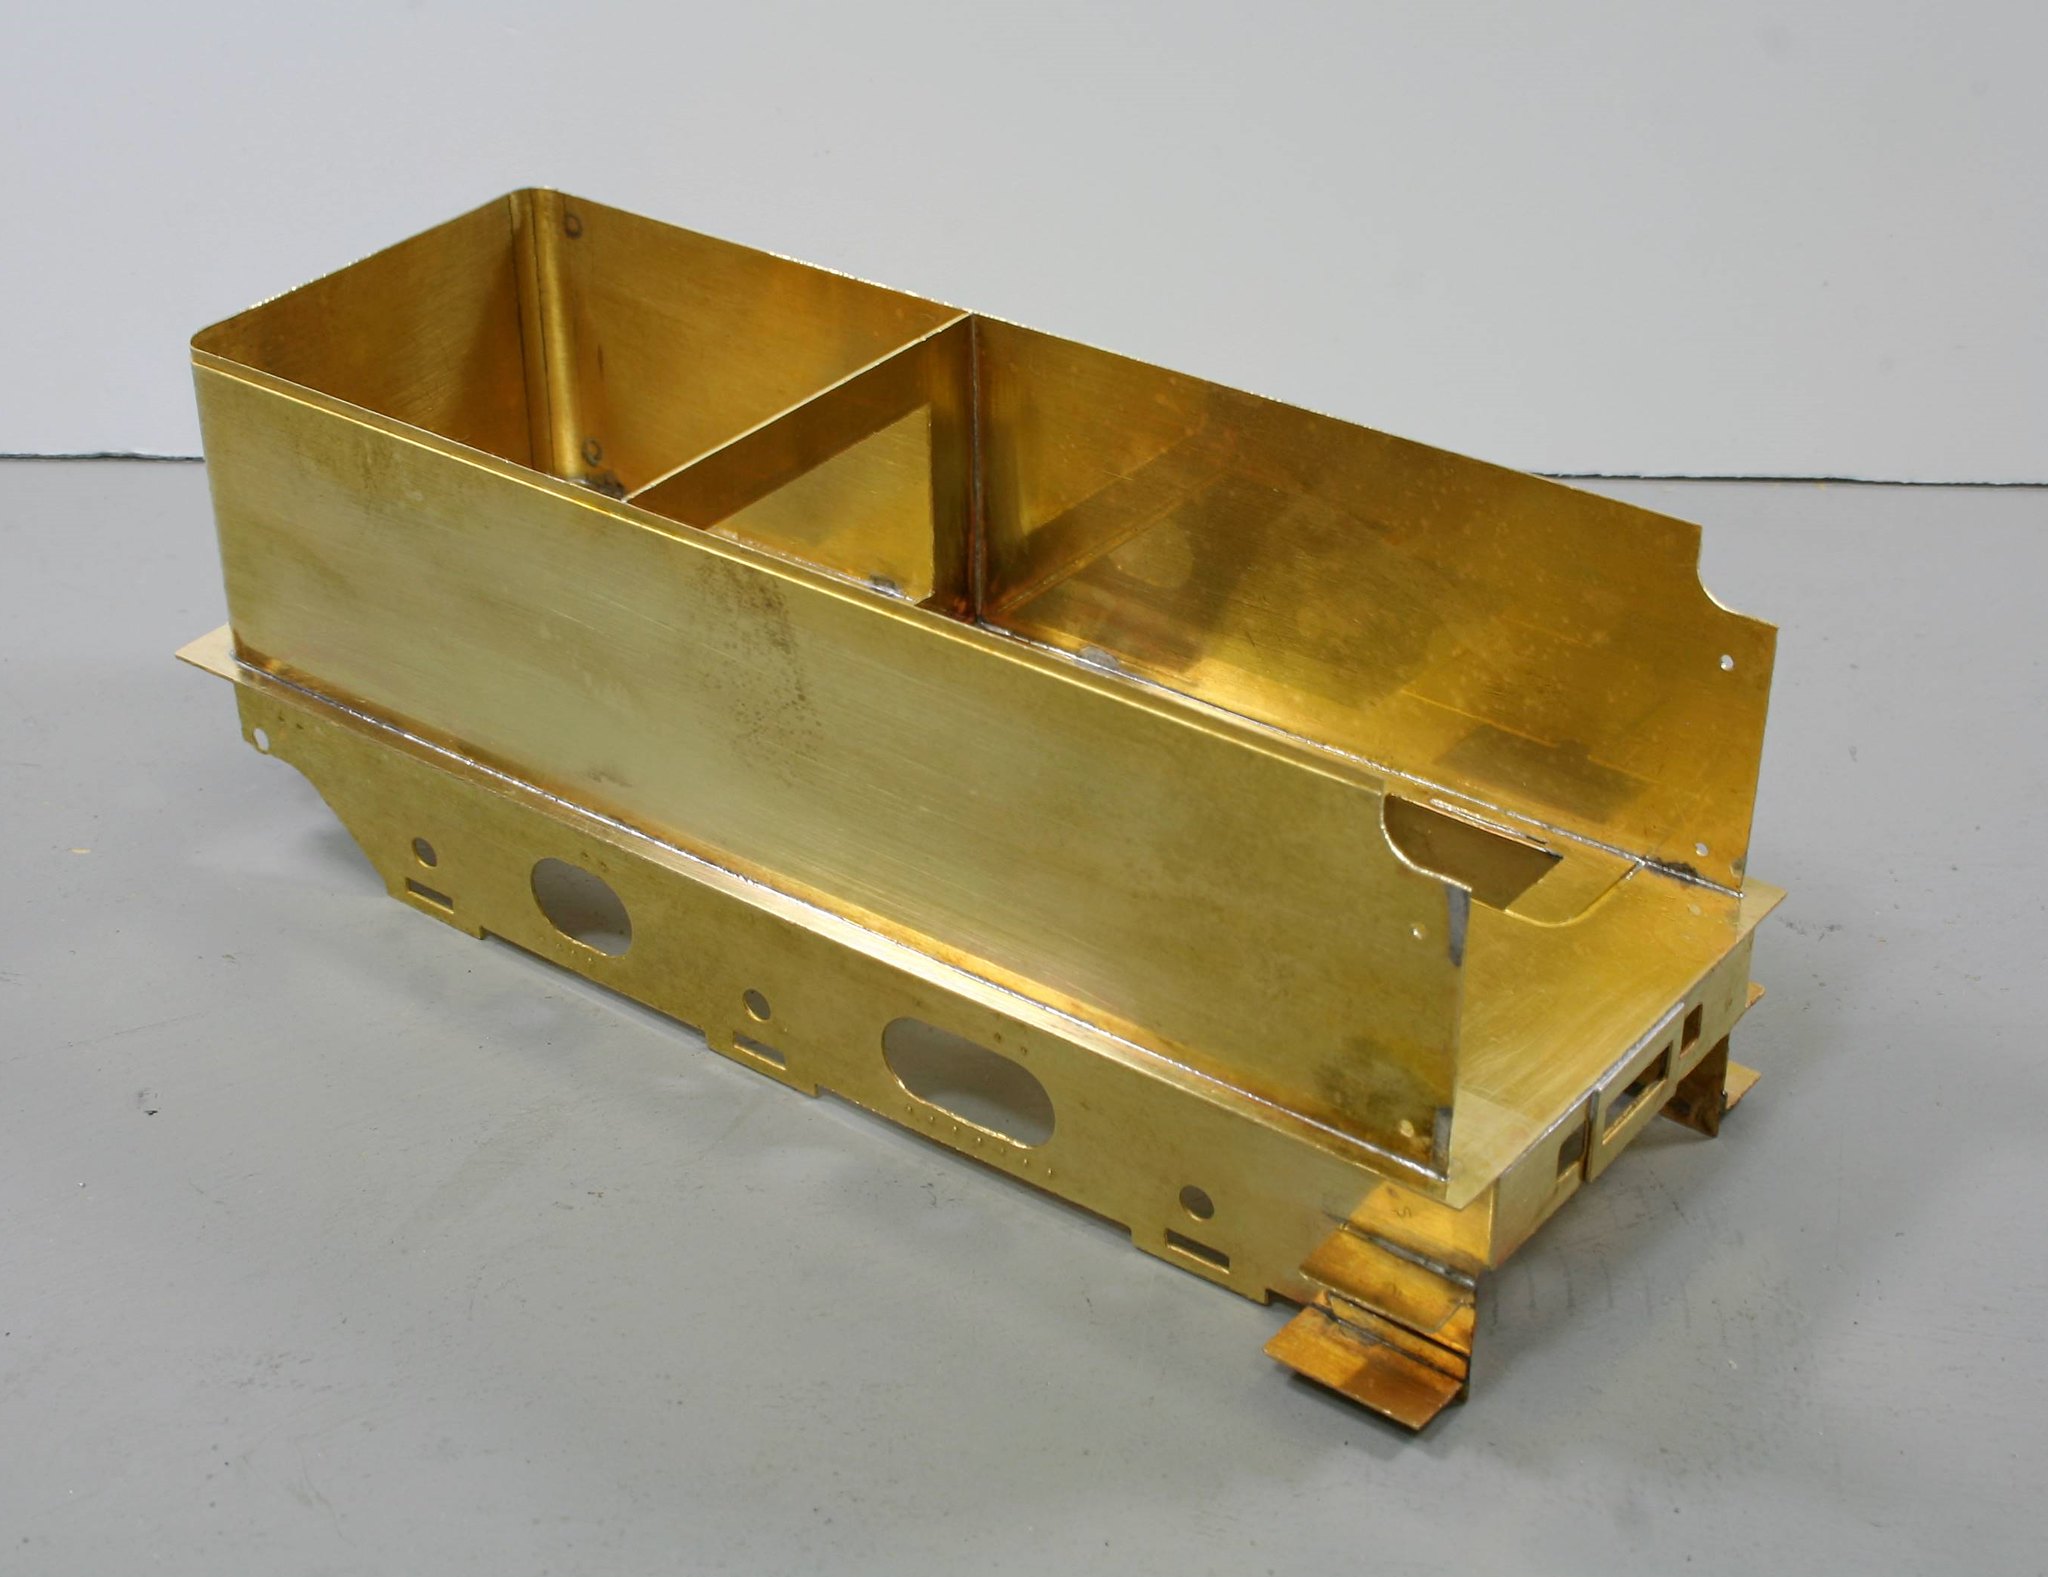
Further work on the tender last night got one of the more difficult bits behind me - bending the one-piece tank sides/end.
However, I will start off with a bit of a gotcha! The instructions tell you if modelling post 1940 to drill out two etched dimples on the rear right hand side of the tender for hand rails that must have been fitted to some tenders at some point.
Having done it I immediately started to think I wonder. Sure, enough when I looked at photos of 64206 which is the loco being modelled I noted no rear handrail....
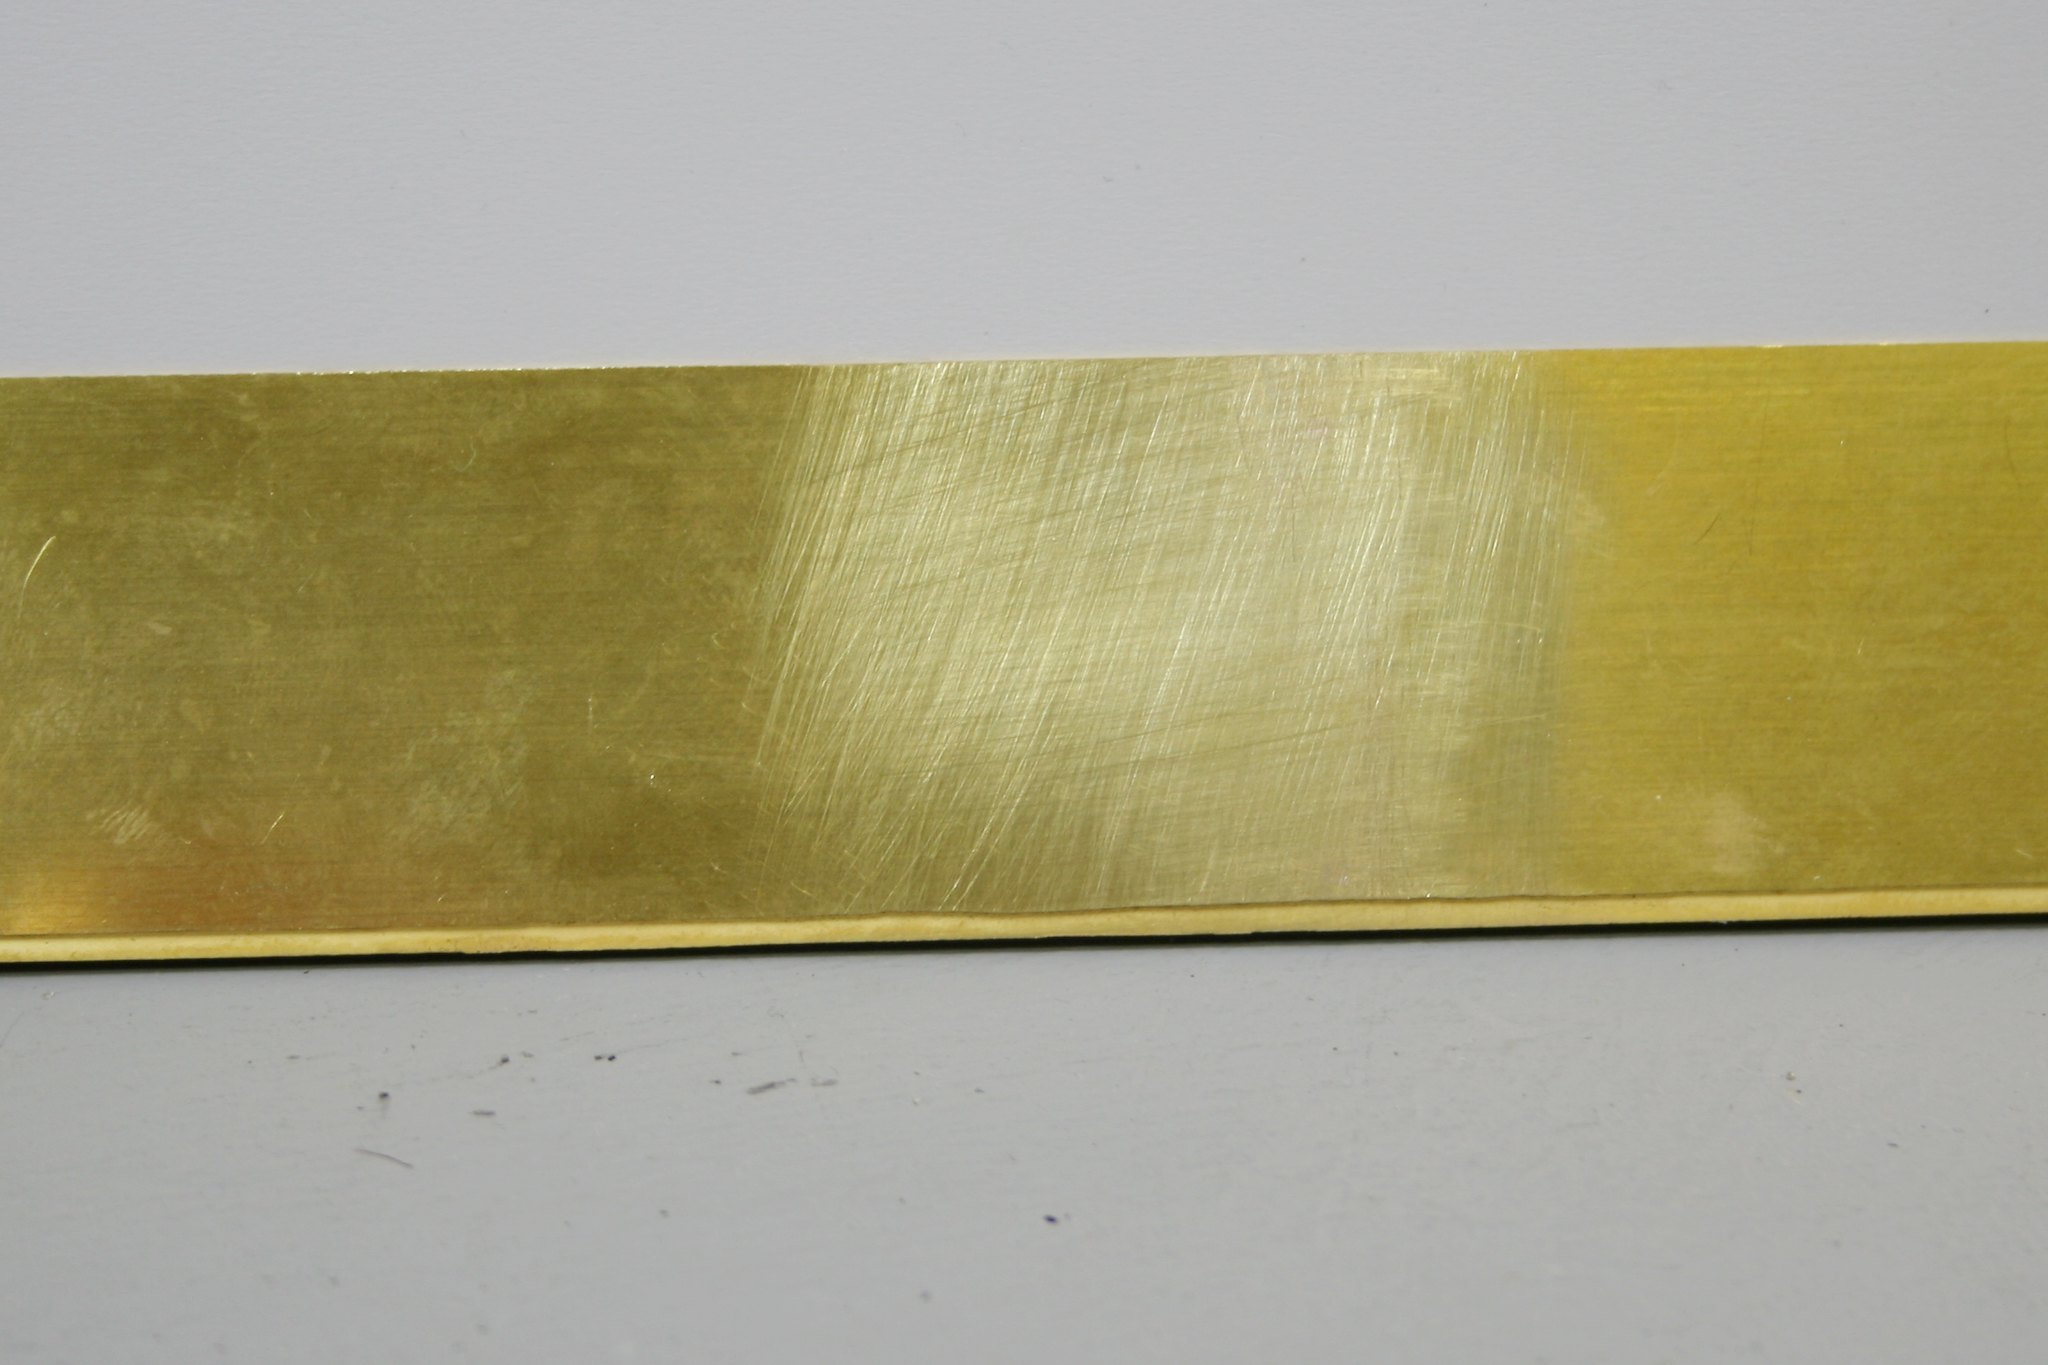
So, I opened out the holes to 1.55mm and soldered some stubs of rod in - this is it from the inside
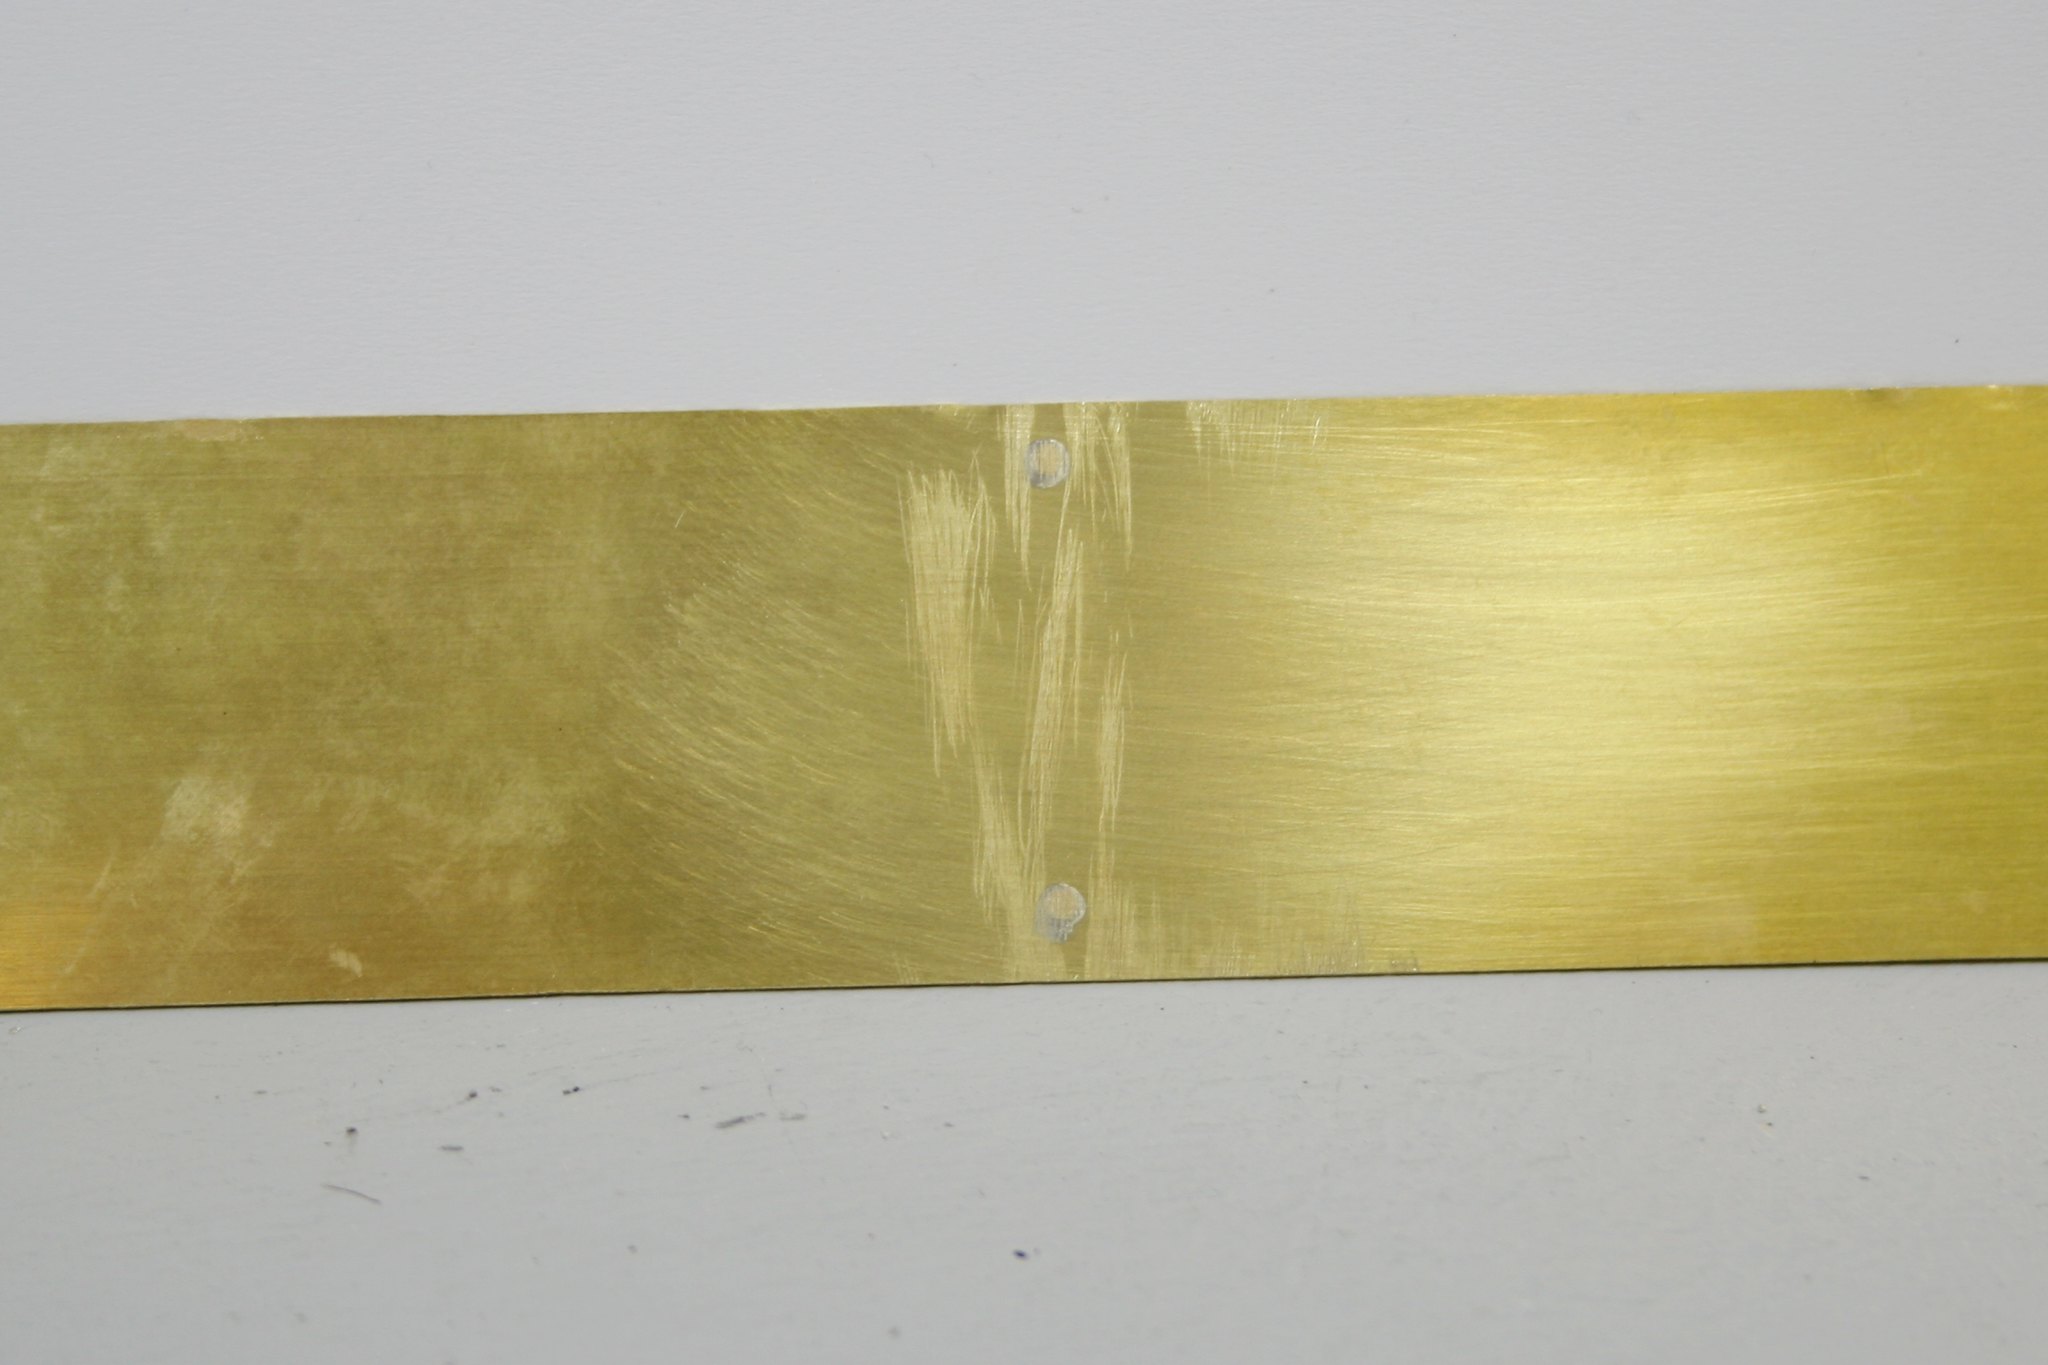
And from the outside - thankfully nothing shows
Next the tender sides are rectangular but on the real thing on the tender that I am working on there are cut outs for a handrail as in this example by Ron Bowyer.
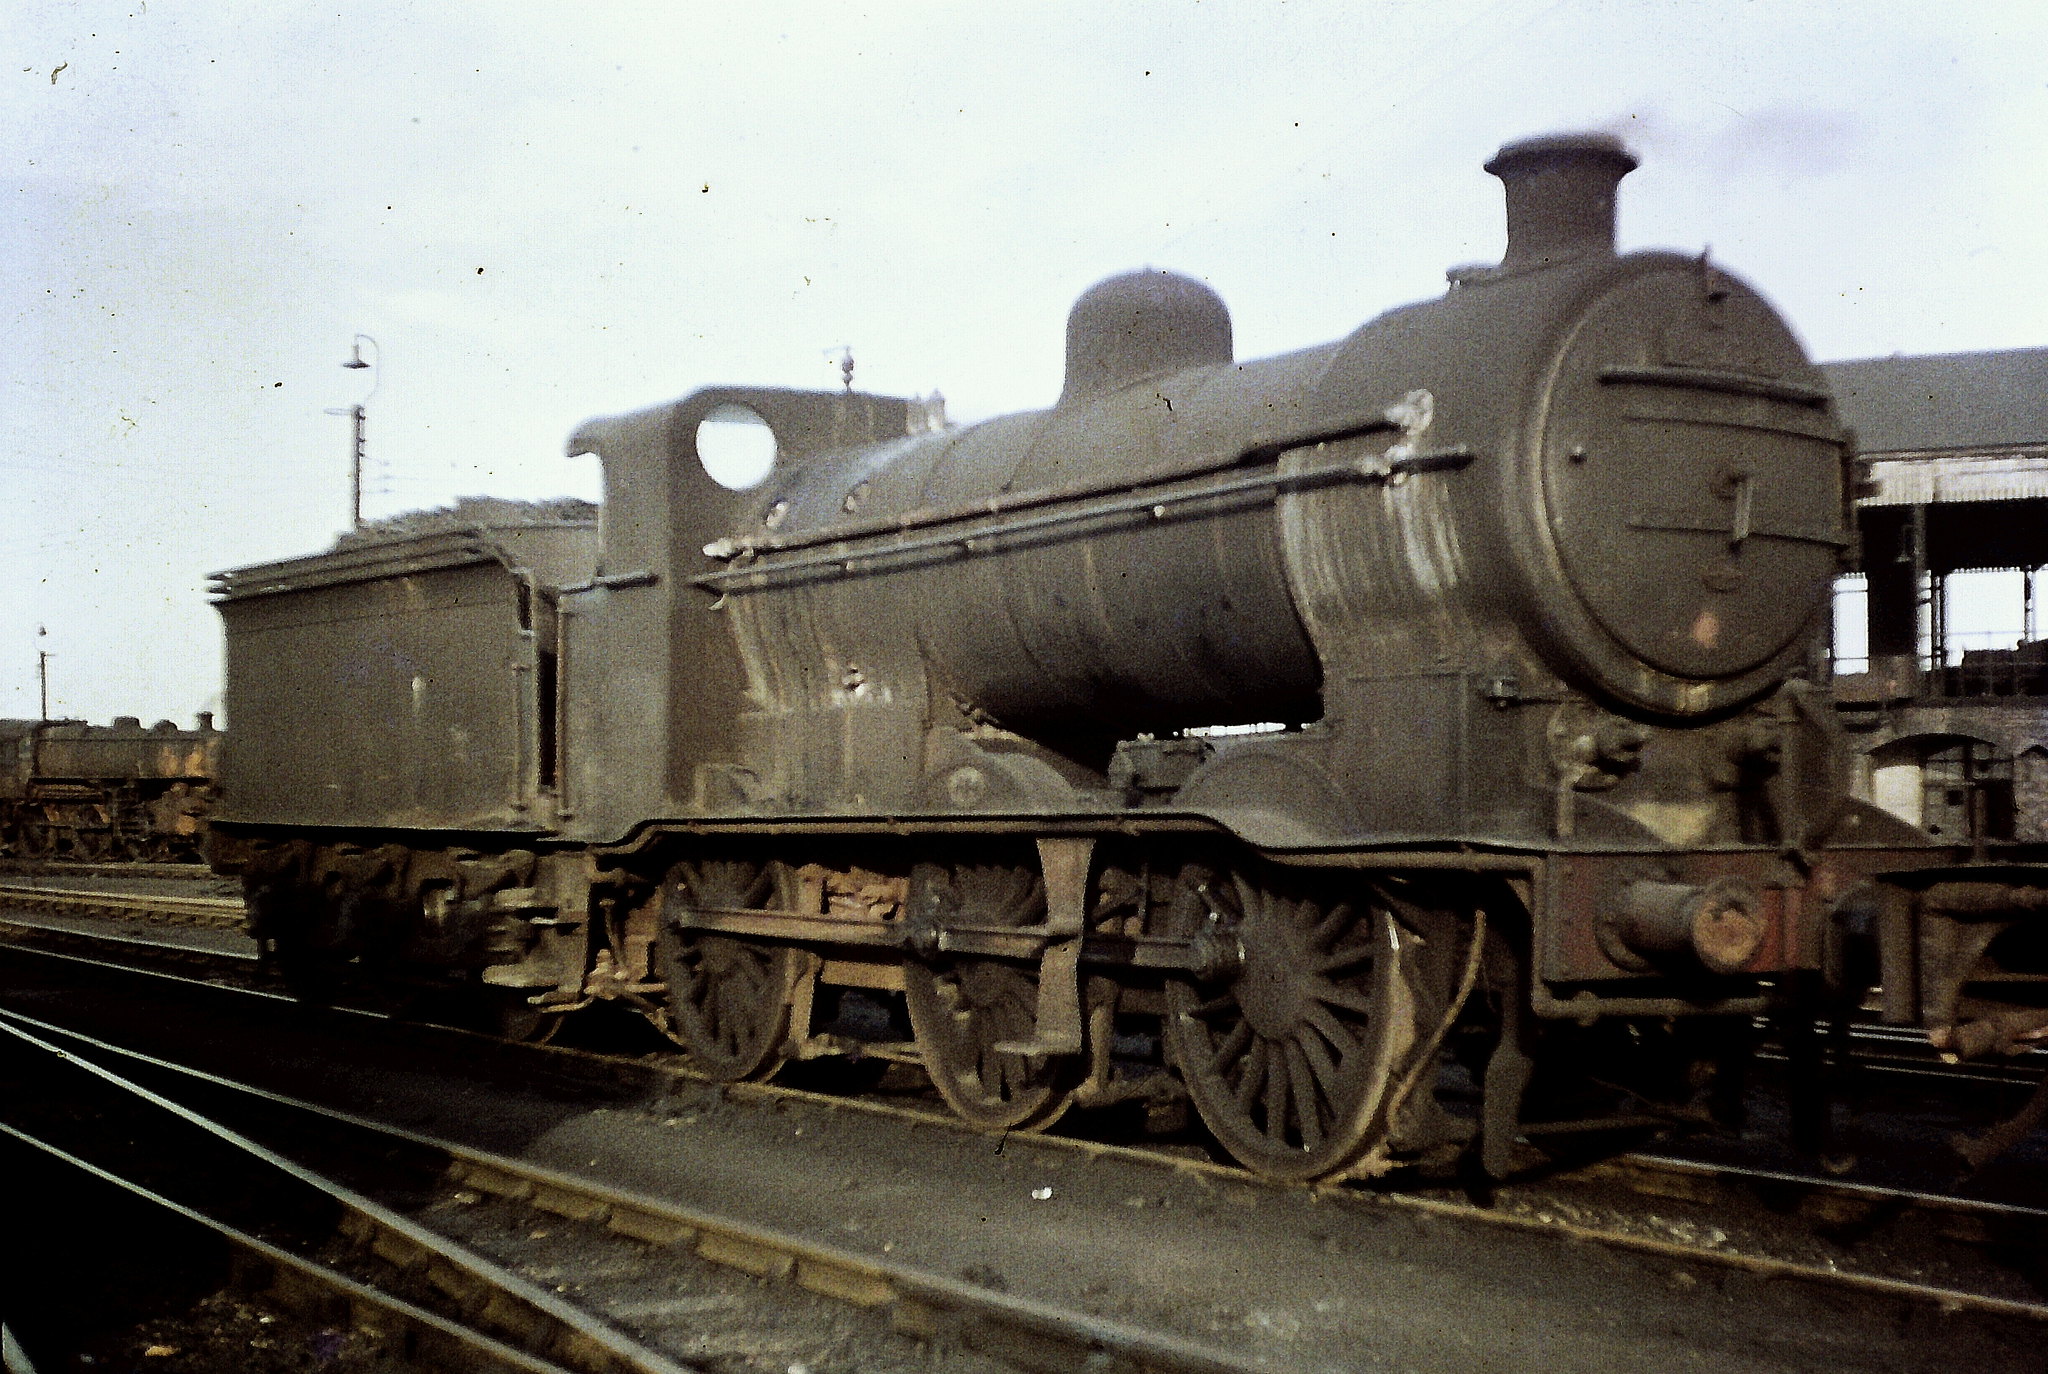
GNR/LNER Gresley "J6" class 0-6-0 No. 64223. by Ron Bowyer, on Flickr
I have to confess to struggling with the instructions on this point so I went my own way. There are sections of etched beading to represent this and having worked out for myself how I believe they are meant to fit I tacked them to each end
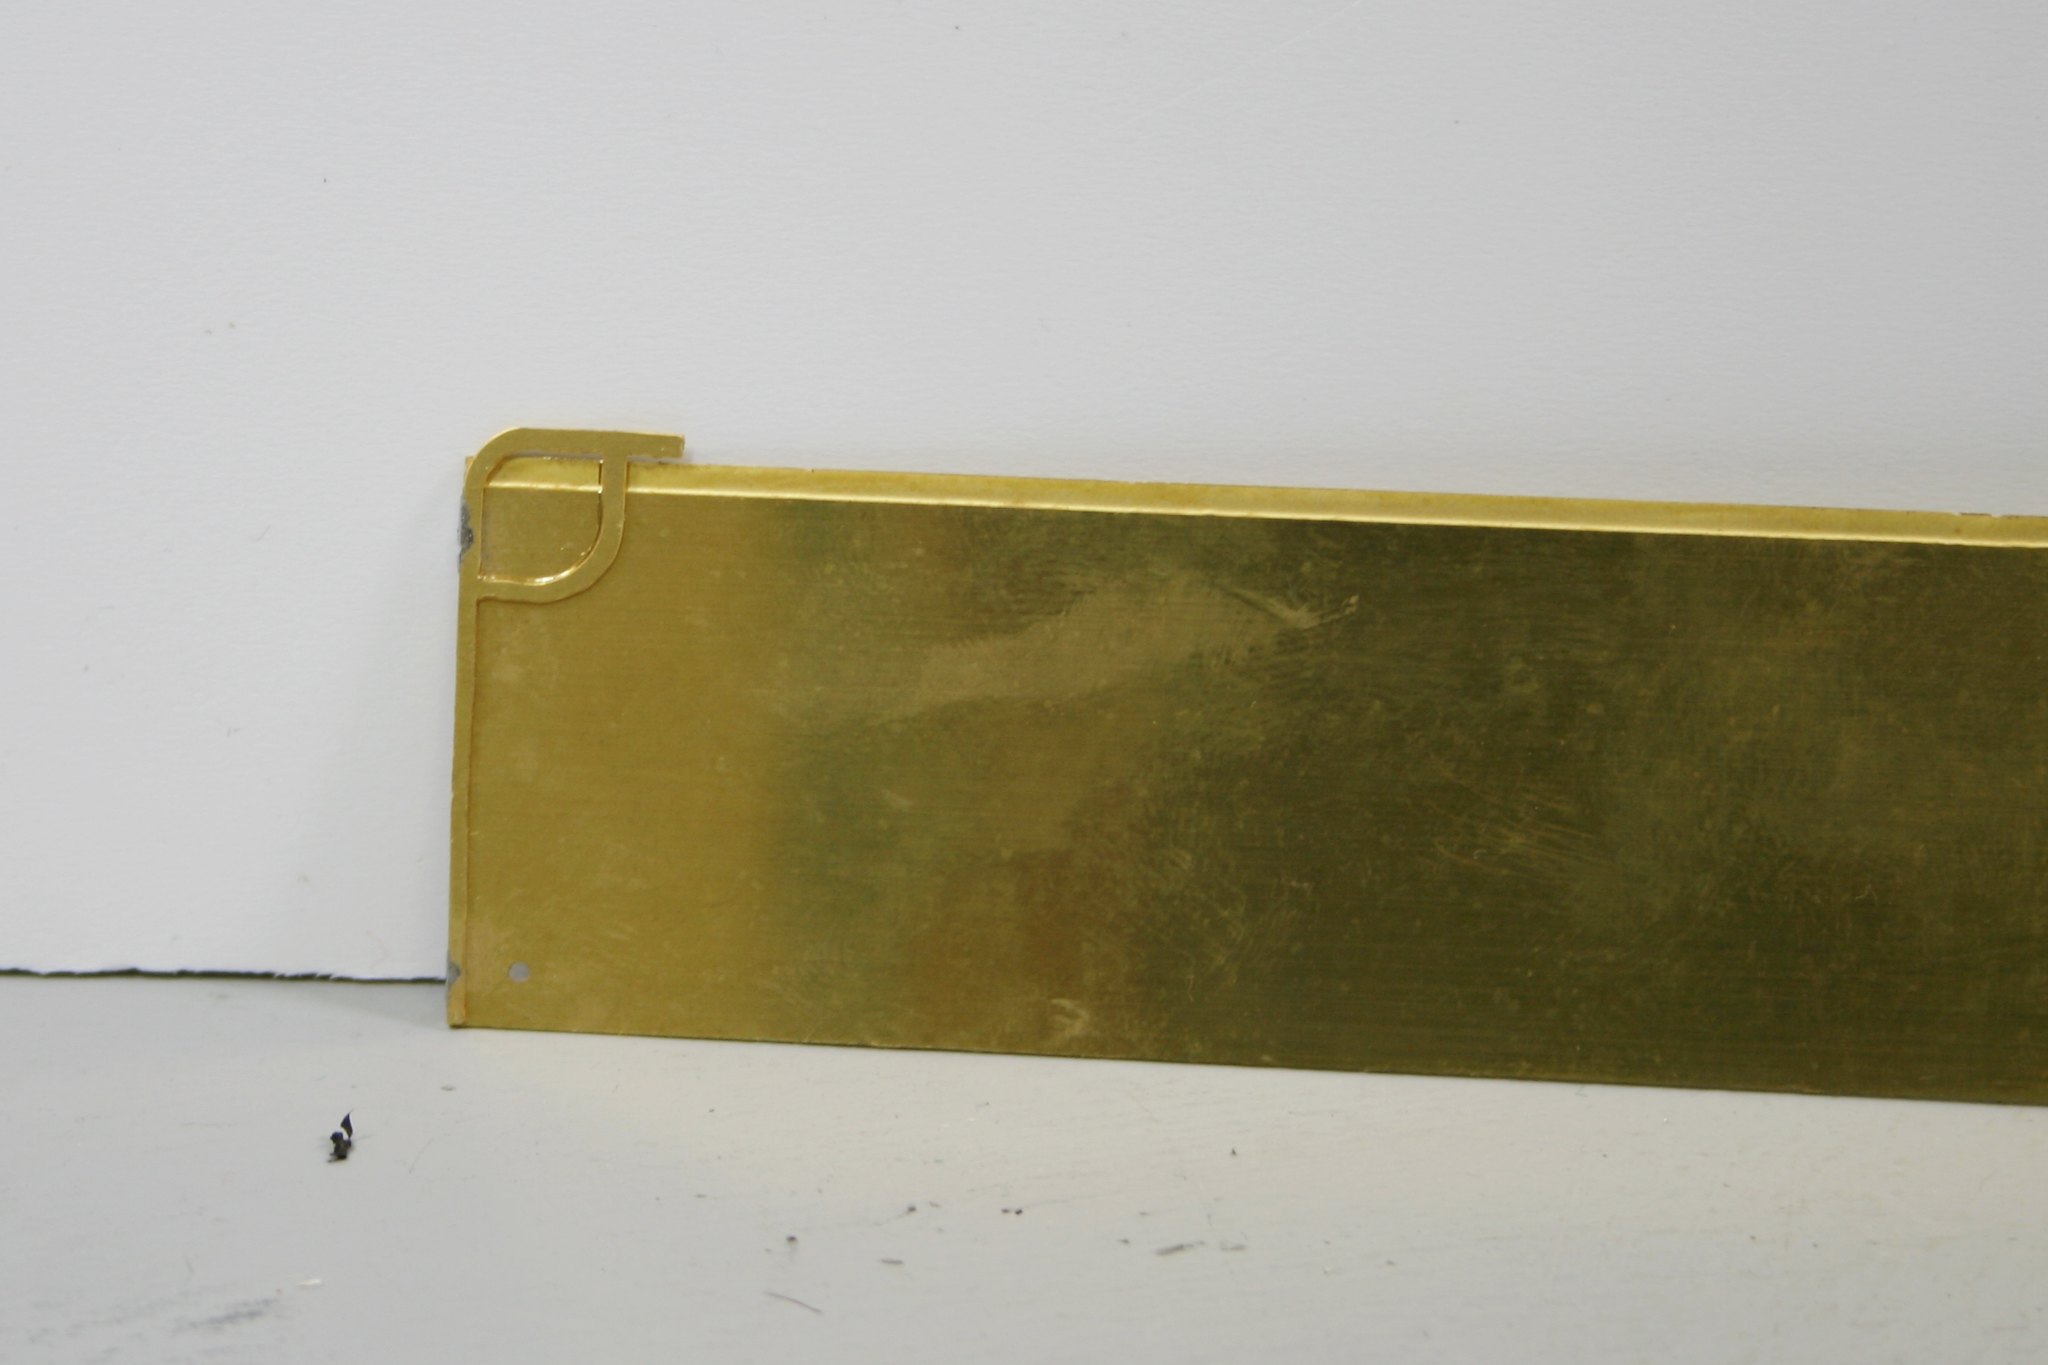
This allowed me to scribe a line to cut/file to and then I unsoldered them and removed the bits that needed removing. Time will tell as to whether what I have done is correct but studying various photos it looks right.
The next job was to drill out one of two dimples for the front handrail knob - these are design for a short rail where the top is cut out as I have done or a long rail where the side is left at full height. I drilled out the lower ones.
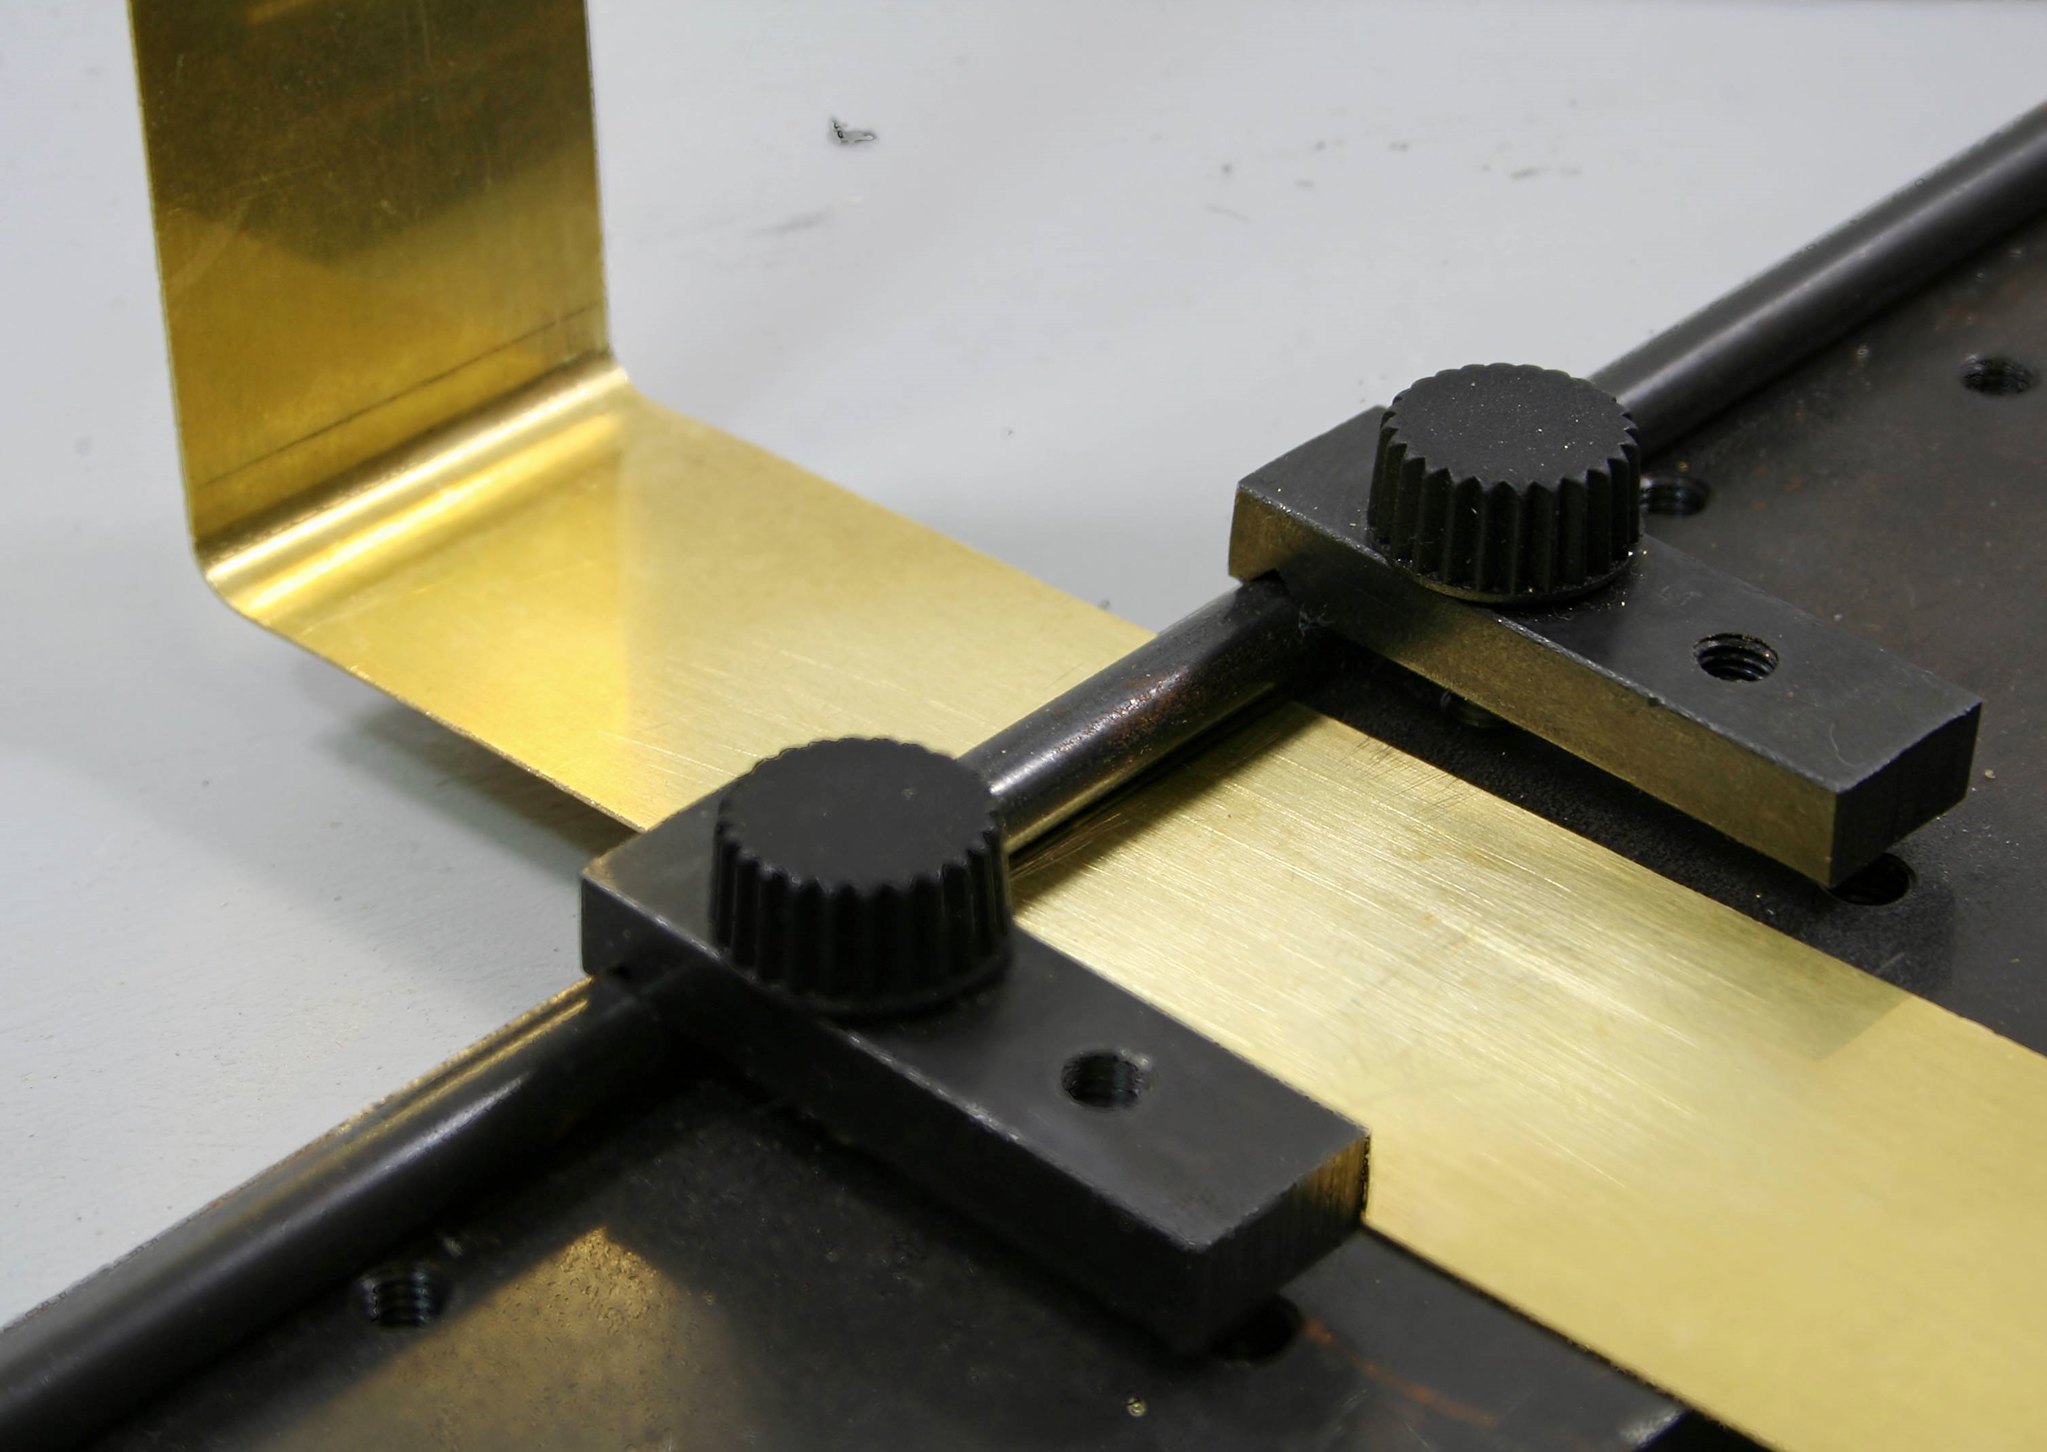
Then I carefully marked out where the first bend should be and then bent it using my Metalsmith Drilling table with a rod slightly smaller than the required bend clamped to it.
If this sort of thing scares you take heart. I didn't get it right first time, I just calmly straightened it with fingers and thumbs finally using smooth bladed pliers to finish off and them remeasured and tried again. The first side (the one in the photos) I got right on the second attempt. The other side took three goes.... but I got there.
Next up is to solder in the bulkhead.
Where the instructions are really lacking is that they refer to parts but don't number them so you are constantly searching the scans of the etches and the index to find out which part you are looking for - the scans are labelled with part numbers and there is an index but it would be so much better if the instructions had part numbers alongside the text.
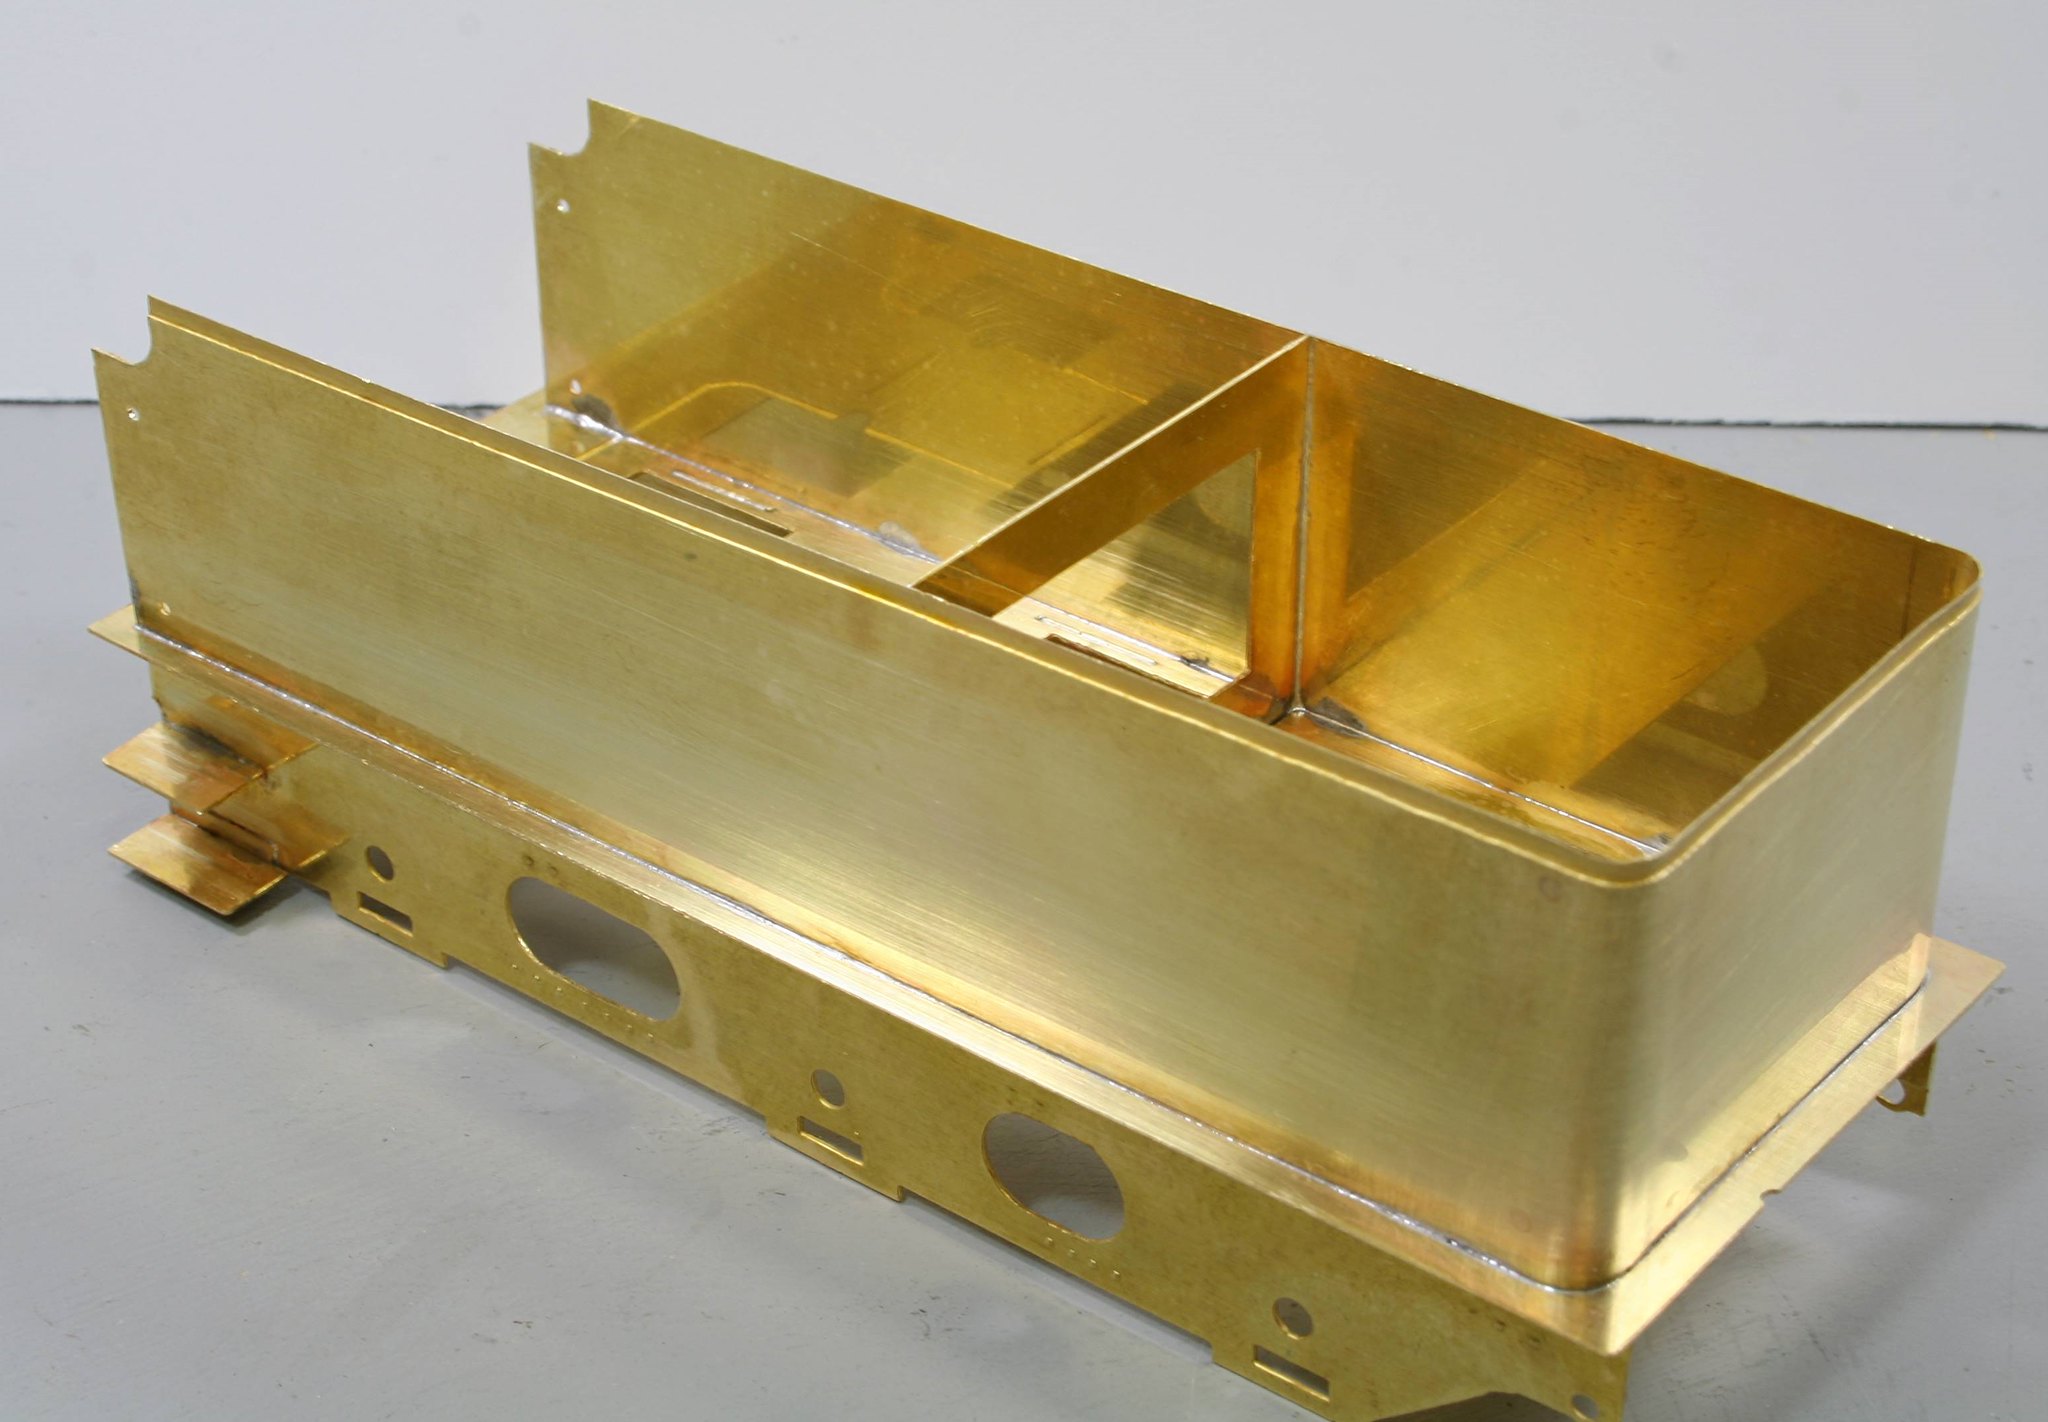
Then lastly solder the side/end piece to the footplate.
Further work on the tender last night got one of the more difficult bits behind me - bending the one-piece tank sides/end.
However, I will start off with a bit of a gotcha! The instructions tell you if modelling post 1940 to drill out two etched dimples on the rear right hand side of the tender for hand rails that must have been fitted to some tenders at some point.
Having done it I immediately started to think I wonder. Sure, enough when I looked at photos of 64206 which is the loco being modelled I noted no rear handrail....
So, I opened out the holes to 1.55mm and soldered some stubs of rod in - this is it from the inside
And from the outside - thankfully nothing shows
Next the tender sides are rectangular but on the real thing on the tender that I am working on there are cut outs for a handrail as in this example by Ron Bowyer.
GNR/LNER Gresley "J6" class 0-6-0 No. 64223. by Ron Bowyer, on Flickr
I have to confess to struggling with the instructions on this point so I went my own way. There are sections of etched beading to represent this and having worked out for myself how I believe they are meant to fit I tacked them to each end
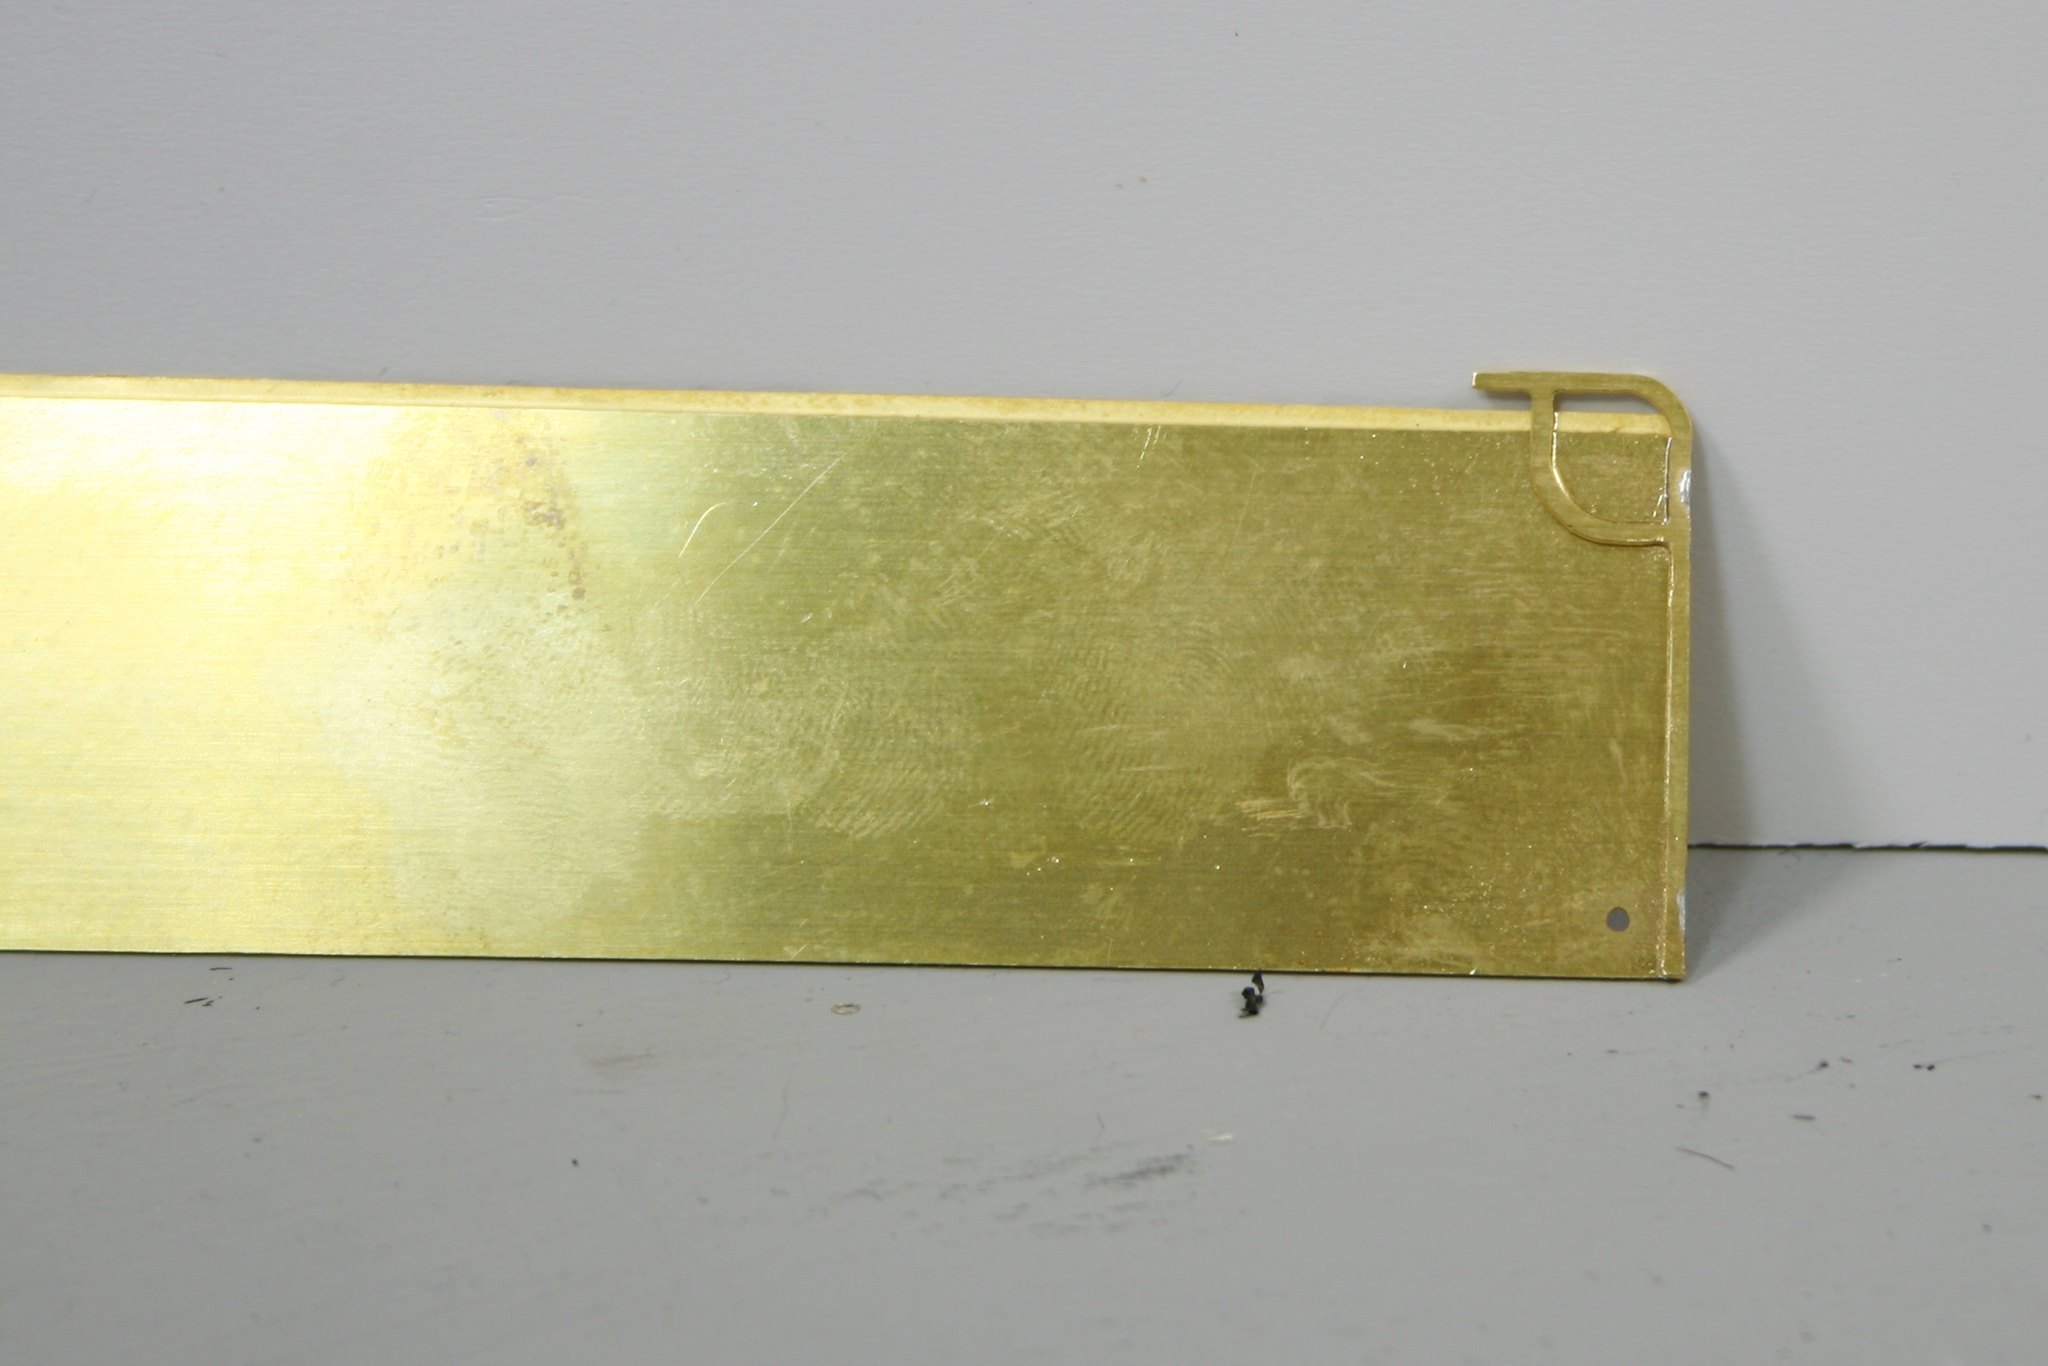
This allowed me to scribe a line to cut/file to and then I unsoldered them and removed the bits that needed removing. Time will tell as to whether what I have done is correct but studying various photos it looks right.
The next job was to drill out one of two dimples for the front handrail knob - these are design for a short rail where the top is cut out as I have done or a long rail where the side is left at full height. I drilled out the lower ones.
Then I carefully marked out where the first bend should be and then bent it using my Metalsmith Drilling table with a rod slightly smaller than the required bend clamped to it.
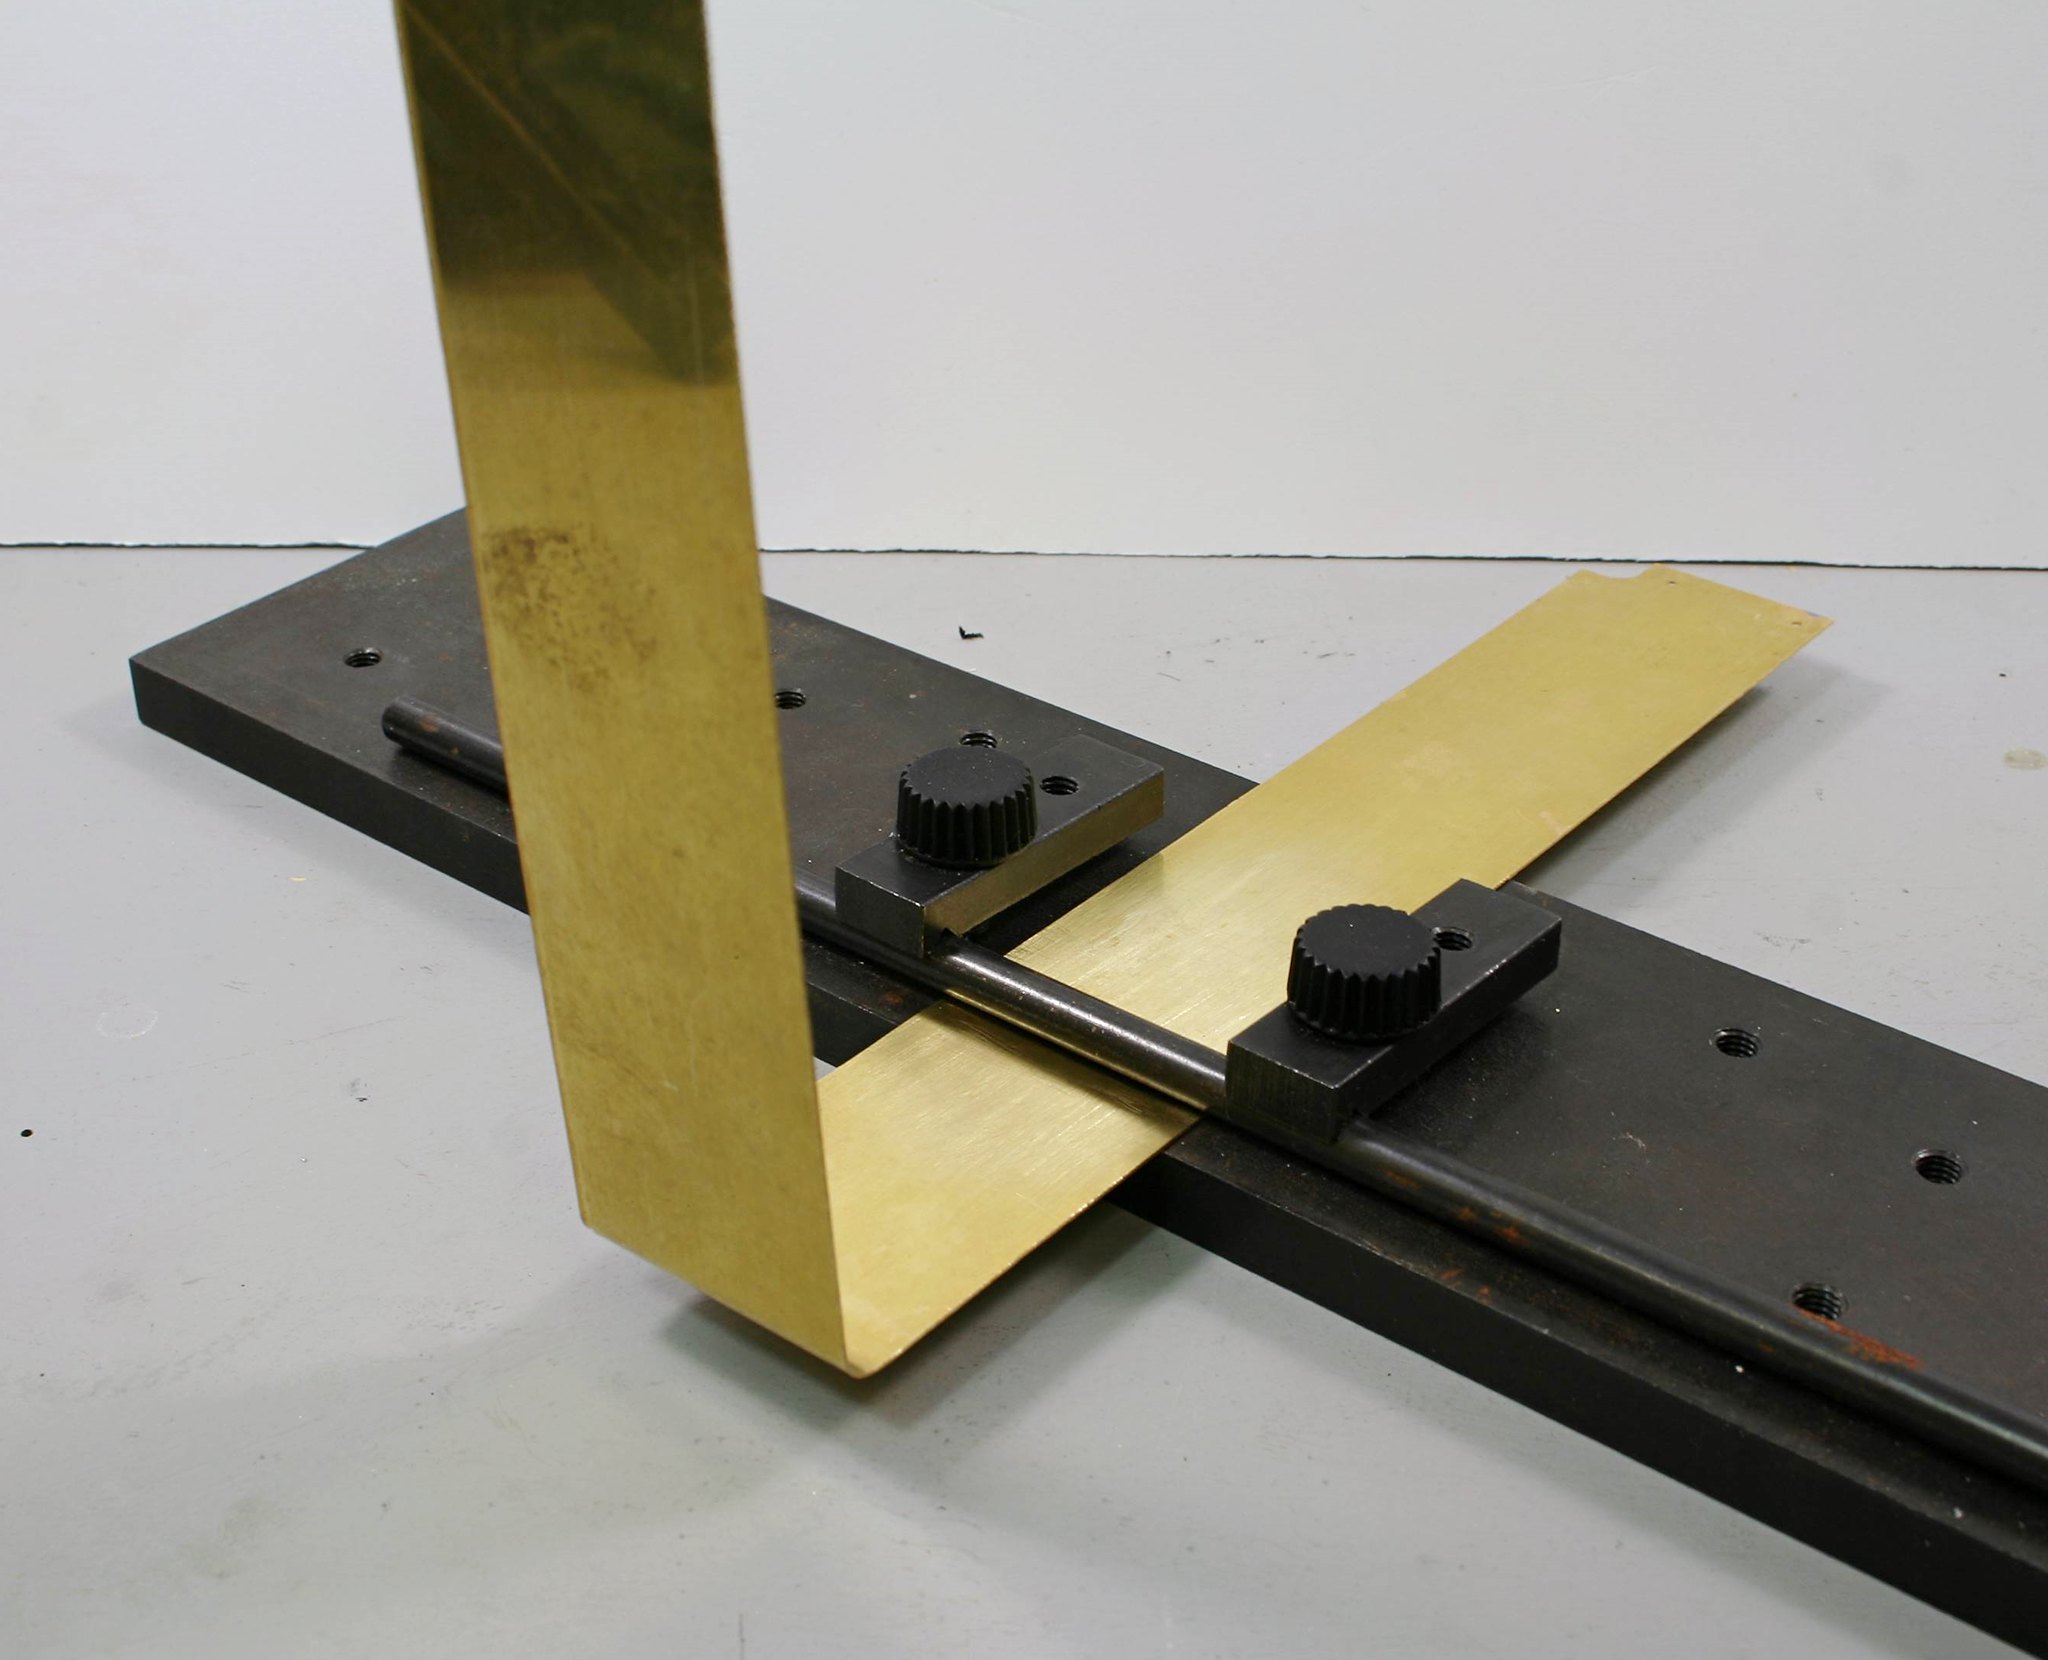
If this sort of thing scares you take heart. I didn't get it right first time, I just calmly straightened it with fingers and thumbs finally using smooth bladed pliers to finish off and them remeasured and tried again. The first side (the one in the photos) I got right on the second attempt. The other side took three goes.... but I got there.
Next up is to solder in the bulkhead.
Where the instructions are really lacking is that they refer to parts but don't number them so you are constantly searching the scans of the etches and the index to find out which part you are looking for - the scans are labelled with part numbers and there is an index but it would be so much better if the instructions had part numbers alongside the text.
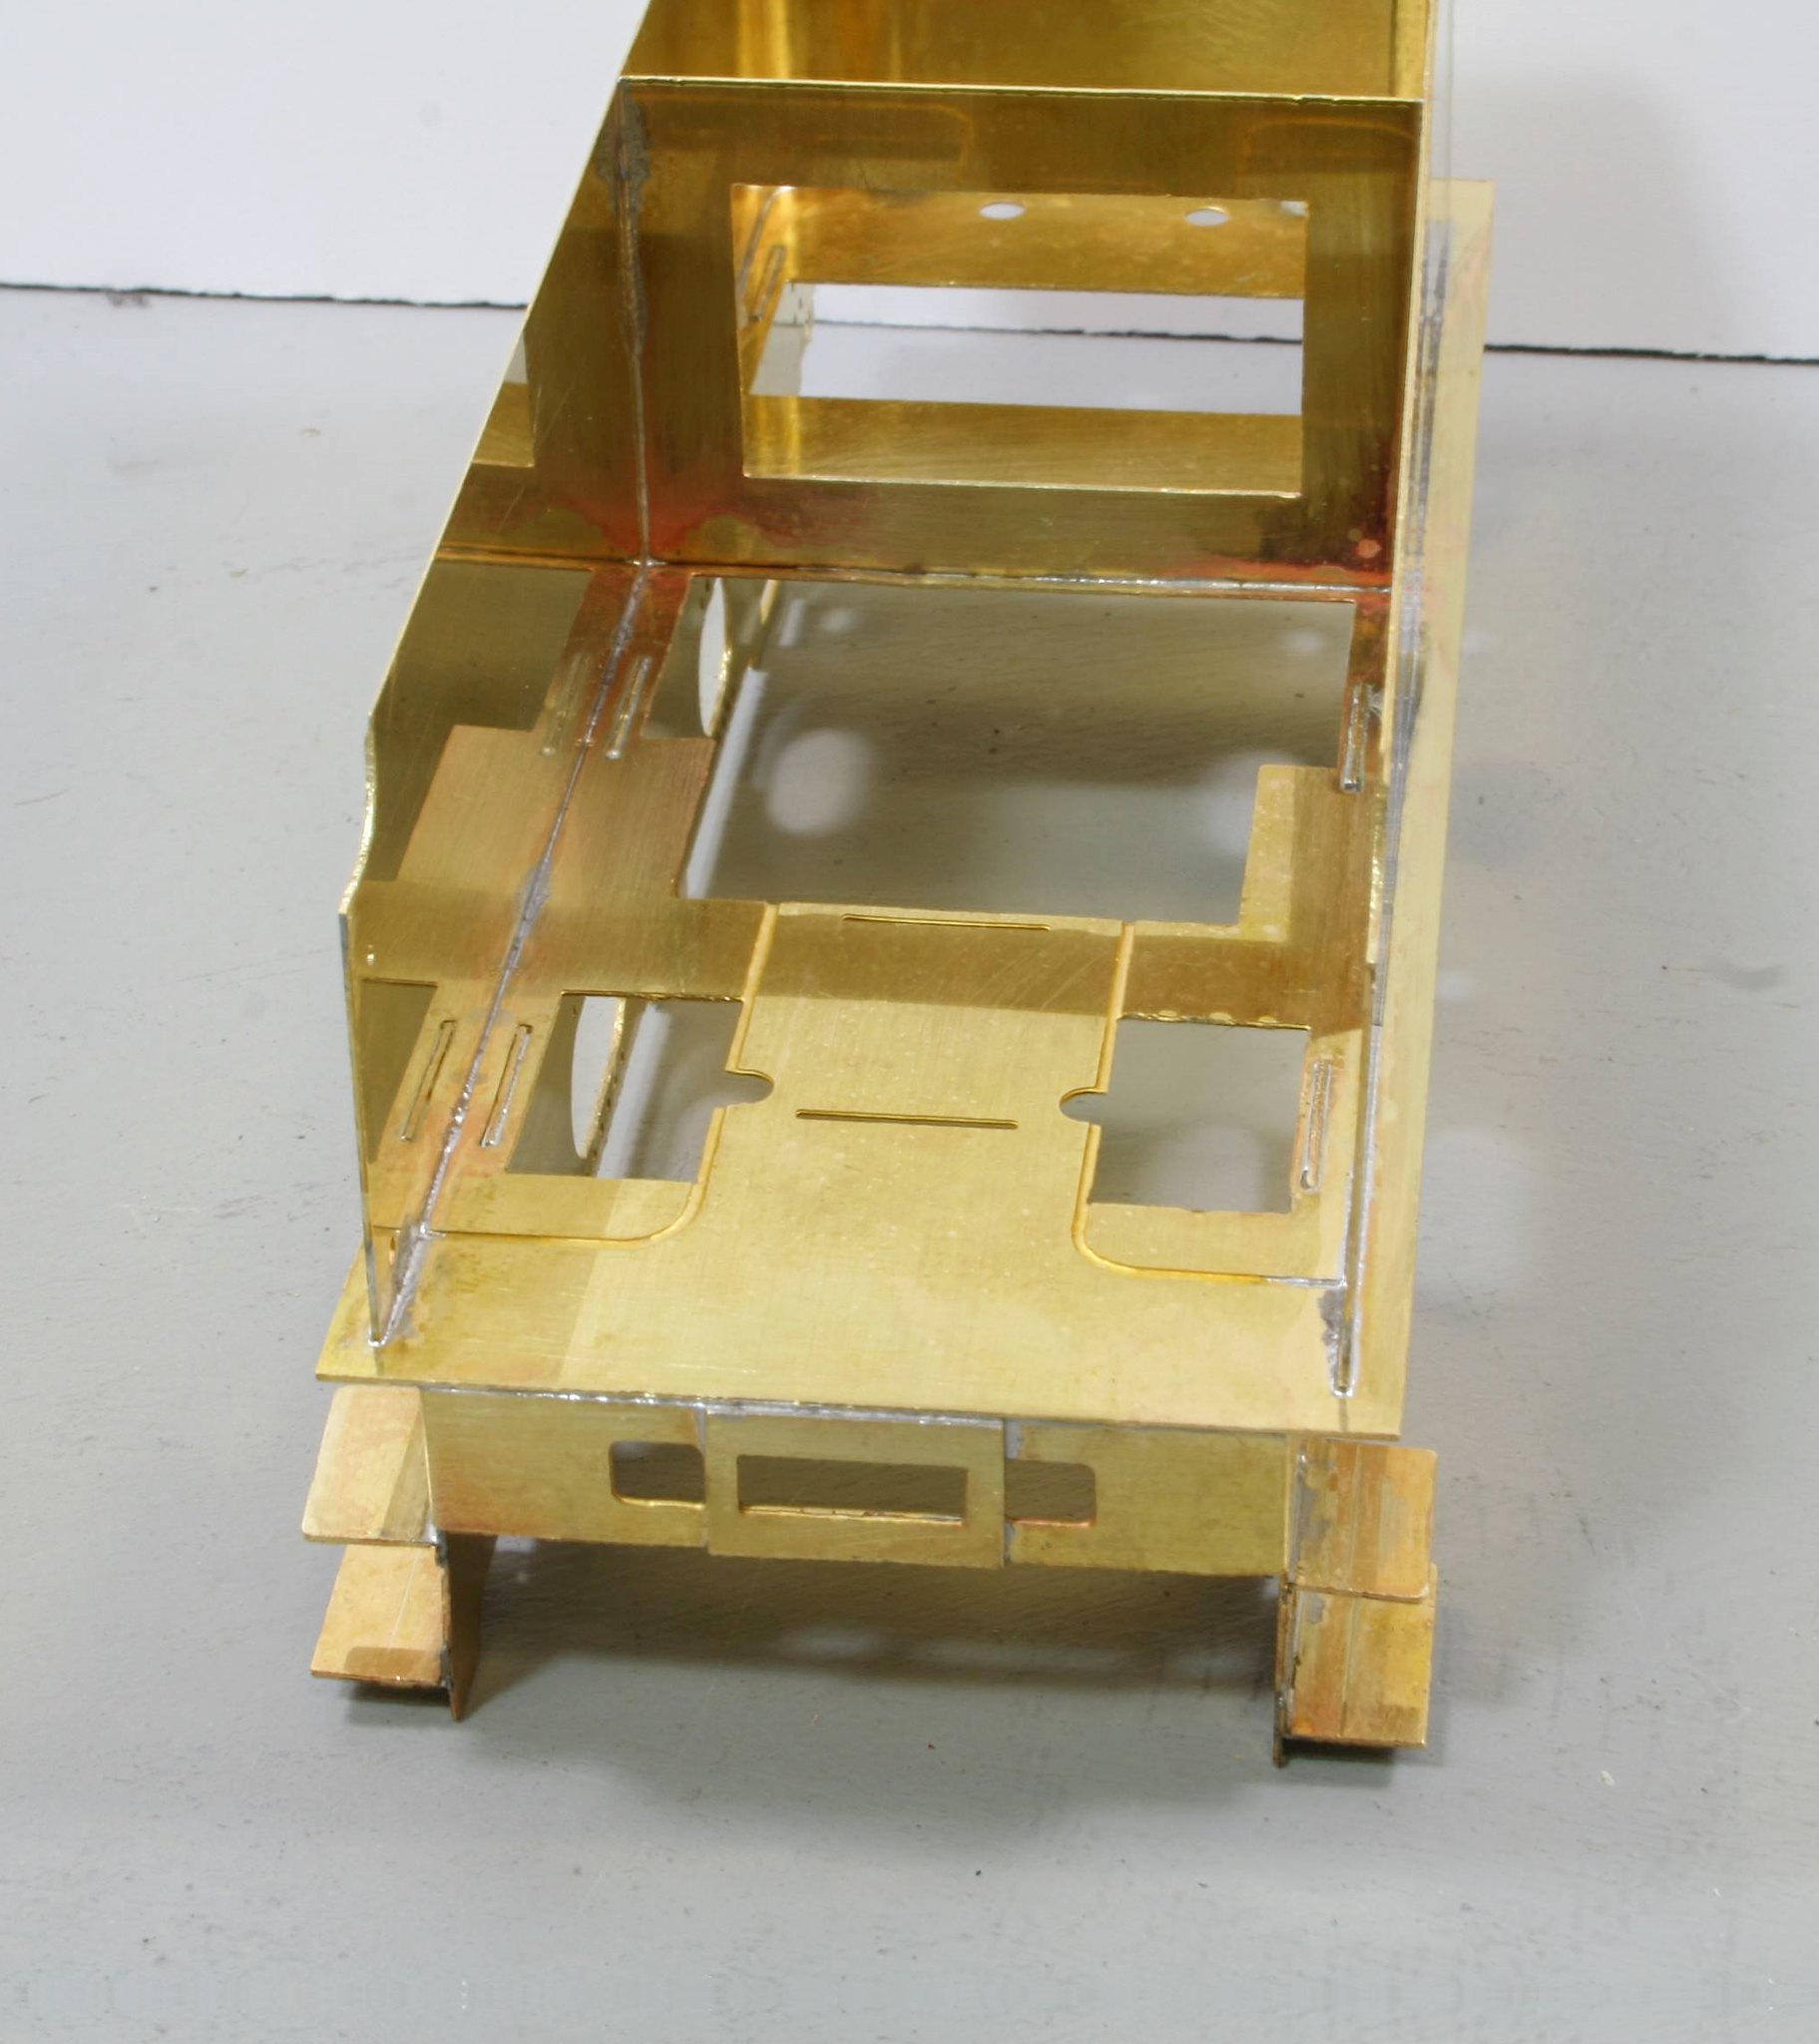
Then lastly solder the side/end piece to the footplate.
Re: Gladiator LNER/BR J6
Great work Rob. The J6 is one of my favourite classes and I've been watching this build progress with great interest.
Steve
- Robpulham
- LNER A4 4-6-2 'Streak'
- Posts: 1721
- Joined: Thu Mar 27, 2008 9:54 pm
- Location: Lower Wensleydale
- Contact:
Re: Gladiator LNER/BR J6
Thanks Steve,
It one of those that I really ought to add to my collection too.
- Robpulham
- LNER A4 4-6-2 'Streak'
- Posts: 1721
- Joined: Thu Mar 27, 2008 9:54 pm
- Location: Lower Wensleydale
- Contact:
Re: Gladiator LNER/BR J6
Well I have to admit I have reached a bit of the kit instructions that have really stumped me...
"Take coal space sides, note the handling and drill 1.85mm at half etched pops if fitting scoop and tank vents, then fold so that the sides fit into the coal space front plate, tack into position taking care to be square to front plate. Sit the assembly into it's slot in the sole plate and tack onto position square 'each way'"
I found the parts easily enough and put them together how I interpreted the instructions but then found that there was nowhere/way that they would fit.
There is a plan and top down outline drawing supplied but I can't figure out from which bit is the coal space front plate or which orientation it fits in.
My only saving grace is that there is one of these tenders attached to the C1 Atlantic at Locomotion so I plan to see if I can get aboard it when I am there next weekend to see how the coal chute/plate is made up on the real thing.
I am on my way to Telford tomorrow so I will have better things to think about until mid next week.
-
- LNER V2 2-6-2 'Green Arrow'
- Posts: 1101
- Joined: Mon Sep 19, 2011 12:24 am
Re: Gladiator LNER/BR J6
Nice soldering Rob, now you know why I am interested in the instructions, albeit mainly for 4mm!
You have the so called Self trimming tender designed by Malcolm Crawley, and there are a lot out there some built
and probably many not built.
What you have are the sides of the self trimming front part of the coal space. Actually as displayed, they are upside down.
The narrow part should be at the top rear of the coal space, and is soldered to the "tongue" of the top of the tender inner.
That caused me great problems when trying to detail it without any drawings or photos.
Please let me know if I can help anymore.
Paul
- Robpulham
- LNER A4 4-6-2 'Streak'
- Posts: 1721
- Joined: Thu Mar 27, 2008 9:54 pm
- Location: Lower Wensleydale
- Contact:
Re: Gladiator LNER/BR J6
Thanks Paul,
Depending on what time I get back from Telford tomorrow I may get to taking it apart and revisiting it. I will let you now how I get on...
Last edited by Robpulham on Wed Sep 05, 2018 6:13 pm, edited 1 time in total.
Re: Gladiator LNER/BR J6
However that self trimming tender is supposed to go together, I can see that this has all the makings of a first class build!
Steve
- Robpulham
- LNER A4 4-6-2 'Streak'
- Posts: 1721
- Joined: Thu Mar 27, 2008 9:54 pm
- Location: Lower Wensleydale
- Contact:
Re: Gladiator LNER/BR J6
Thanks Steve,
You are too kind
You are too kind