Rustys workbench - builds and paints
Moderators: 52D, Tom F, Rlangham, Atlantic 3279, Blink Bonny, Saint Johnstoun, richard
Re: Rustys workbench - builds and paints
Doing the beading next, fine brass wire and low melt everything else has been done with hard solder.
-
Woodcock29
- GNR C1 4-4-2
- Posts: 713
- Joined: Tue Nov 27, 2012 8:59 am
- Location: South Australia
Re: Rustys workbench - builds and paints
Interestingly I used very fine wire for the beading on my first C12 built about 1980. When I visited Shipley Model Railway Society last year I saw the London Road Models J3 built by Frank Davies. He told me he filed 0.7mm wire flat on one side (he made a simple jig for doing this) and used that for the beading. When comparing it to photos I realised that the beading is actually quite chunky and that he had got it right. So I'll probably follow his lead with the two C12s I have to finish.
One comment on the Craftsman C12s I've got - I always thought the smokebox door wasn't quite right - the actual door's diameter is too big. When in UK last year I managed to get some replacement smokebox fronts from London Road Models which I intend to use.
Andrew
One comment on the Craftsman C12s I've got - I always thought the smokebox door wasn't quite right - the actual door's diameter is too big. When in UK last year I managed to get some replacement smokebox fronts from London Road Models which I intend to use.
Andrew
- Atlantic 3279
- LNER A4 4-6-2 'Streak'
- Posts: 6660
- Joined: Fri Jun 26, 2009 9:51 am
- Location: 2850, 245
Re: Rustys workbench - builds and paints
As I found by experience on one occasion, brass wire can be very much work-hardened by the time you've filed it flat on one side. It may have to be annealed again before it will bend without breaking.
Most subjects, models and techniques covered in this thread are now listed in various categories on page1
Dec. 2018: Almost all images that disappeared from my own thread following loss of free remote hosting are now restored.
Dec. 2018: Almost all images that disappeared from my own thread following loss of free remote hosting are now restored.
Re: Rustys workbench - builds and paints
Will see how I like it using o.33mm wire then make a decision.
fingers crossed.
fingers crossed.
Re: Rustys workbench - builds and paints
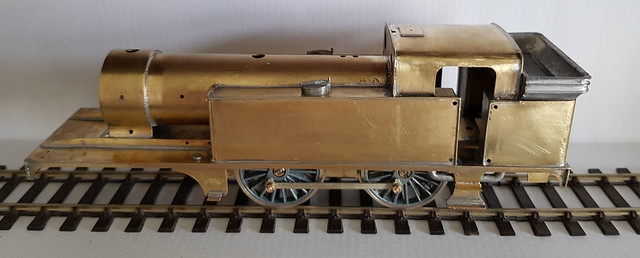
Put some beading on and i don't think it looks too bad still some cleaning up to do:

Re: Rustys workbench - builds and paints
More work on the C12 done, I've added more beading fitted the boiler bands and the Ross Pops as well as the buffer bodies:
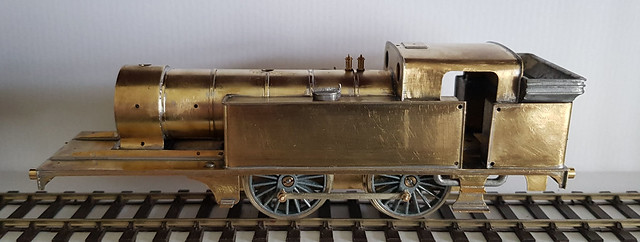
and another angle:
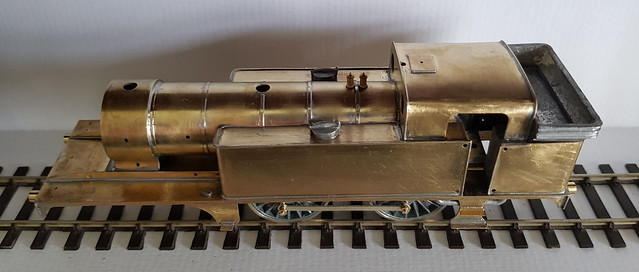

and another angle:

Re: Rustys workbench - builds and paints
Wow, that's looking fantastic! I'm going to have to revisit my N gauge version having seen this!
Steve
Re: Rustys workbench - builds and paints
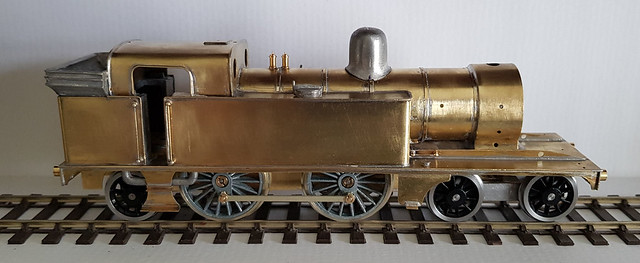
Bit more work on the C12, most of the handrails now on together with the dome and the leading and trailing wheels have been trial fitted:
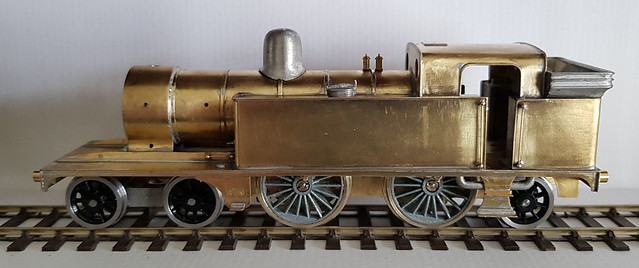
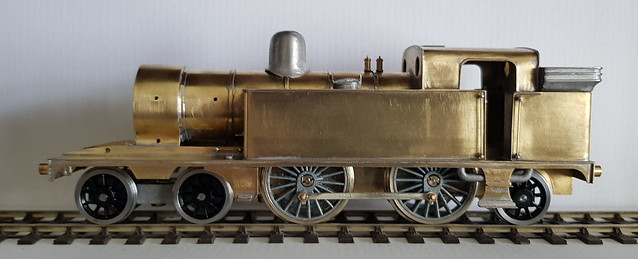
And from the other side:
might have to stop for a few days as I have a 7mm D34 to paint in BR lined Black.

And from the other side:

might have to stop for a few days as I have a 7mm D34 to paint in BR lined Black.
Re: Rustys workbench - builds and paints
Frame pieces now added:

Re: Rustys workbench - builds and paints
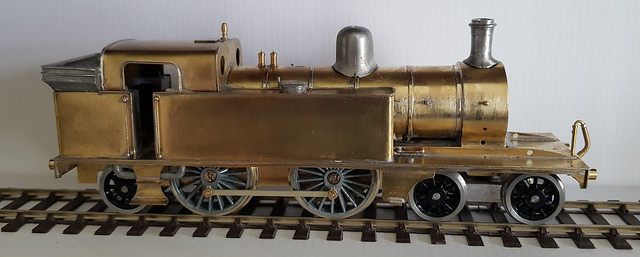
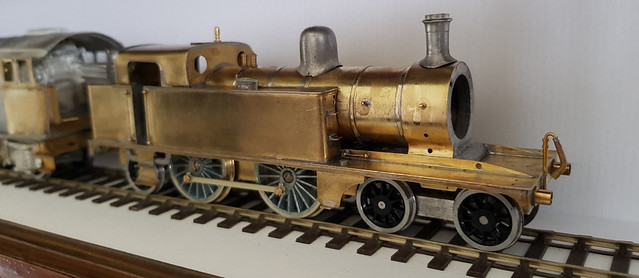
Chimney now added together with the whistle, more handrail knobs and brake stands, although you cannot see them I have now put brass bushes in the leading bogie and trailing truck:
]
]


Re: Rustys workbench - builds and paints
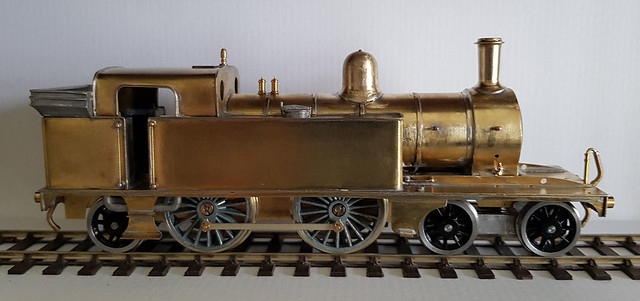
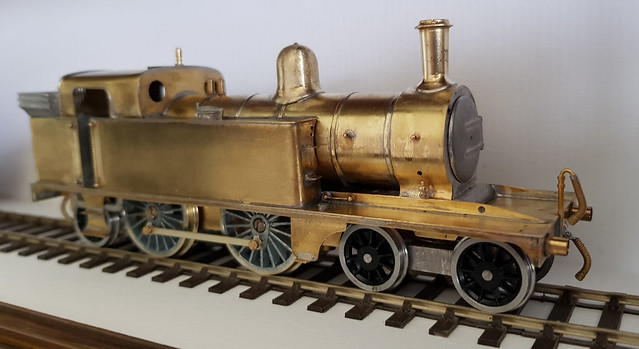
steam heat pipes and Smoke box lubricators now fitted together with a chimney and dome from LRM:



-
Woodcock29
- GNR C1 4-4-2
- Posts: 713
- Joined: Tue Nov 27, 2012 8:59 am
- Location: South Australia
Re: Rustys workbench - builds and paints
Looking good. When I was in the UK last year I picked up several LRM C12 smokebox doors - these look much better than the Craftsman version which appears too big in diameter and lacks the seating ring. I particularly like the LRM dome - I'll have to get some of those!
Keep up the good work.
Andrew Emmett
Keep up the good work.
Andrew Emmett
- Atlantic 3279
- LNER A4 4-6-2 'Streak'
- Posts: 6660
- Joined: Fri Jun 26, 2009 9:51 am
- Location: 2850, 245
Re: Rustys workbench - builds and paints
I have mixed feelings about some of the LRM cast brass fittings. If the shape appears spot-on and the finish almost perfect, the news is good. If the shape isn't quite right and needs alteration, or there are casting defects or feeds to clean off before use, then the hard brass makes the job hard work.
Most subjects, models and techniques covered in this thread are now listed in various categories on page1
Dec. 2018: Almost all images that disappeared from my own thread following loss of free remote hosting are now restored.
Dec. 2018: Almost all images that disappeared from my own thread following loss of free remote hosting are now restored.
Re: Rustys workbench - builds and paints
Basically just removed the casting sprue and gave the castings a gentle sand and that was it, to be honest they are much better quality than the castings that were in the box with the loco.
Paul
Paul
-
Woodcock29
- GNR C1 4-4-2
- Posts: 713
- Joined: Tue Nov 27, 2012 8:59 am
- Location: South Australia
Re: Rustys workbench - builds and paints
You have a point about the hardness of brass castings Graeme. However, I will still be looking to get a couple of domes. I was intending to get a couple of the tall C12 chimneys but I'm not convinced at all about the shape of those they lack the demarcation of the classic 3 sections of the GN chimneys in my view.
Andrew
Andrew