Rob's 7mm Rolling Stock Workbench

This forum is for the discussion of railway modelling of the LNER and its constituent companies.

Moderators: 52D, Tom F, Rlangham, Atlantic 3279, Blink Bonny, Saint Johnstoun, richard

User avatar
Robpulham
LNER A4 4-6-2 'Streak'
Posts: 1721
Joined: Thu Mar 27, 2008 9:54 pm
Location: Lower Wensleydale
Contact:

Re: 7mm Rolling Stock Builds

Post by Robpulham »

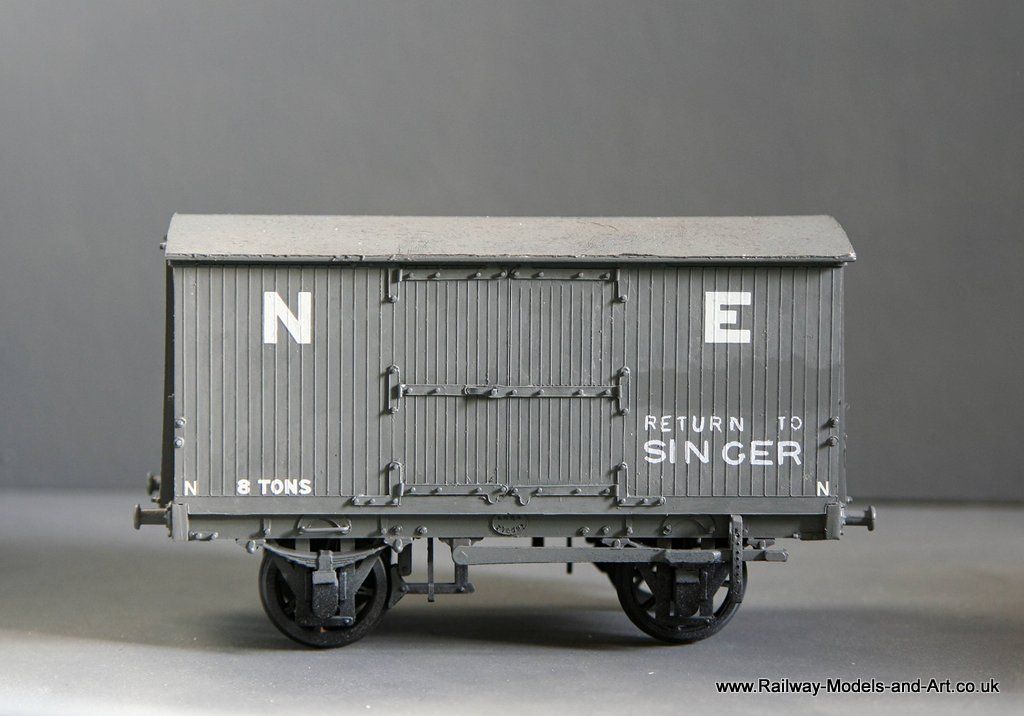
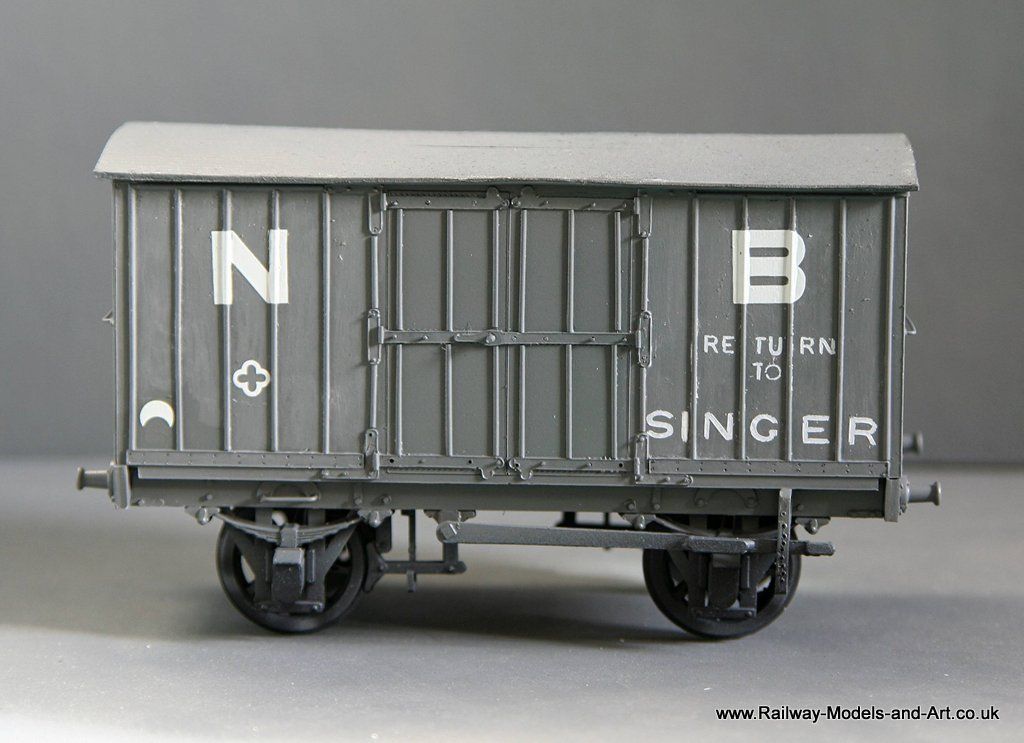
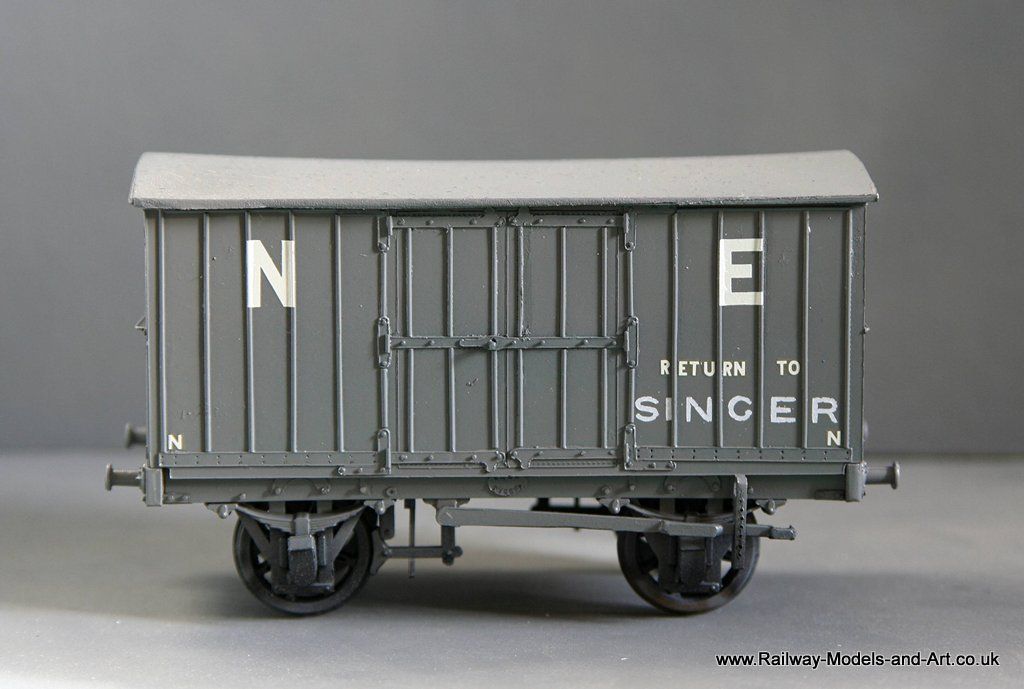
Around meeting up with the guys at Shildon on Sunday I have managed to make good progress with getting the transfers on the Jubilee vans.

Image

Image

Image

Three down and one to go. I do still need to add running numbers to them all - that's what looks like a water mark on the van sides is - the glossy bit that awaits the number.

Even now while looking at photos I keep seeing more details to add.

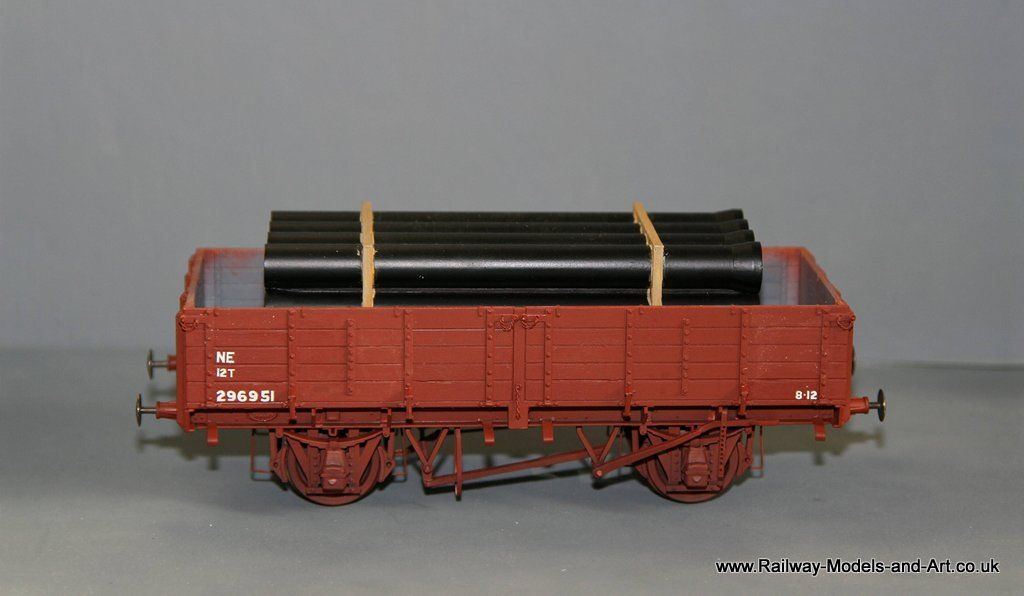
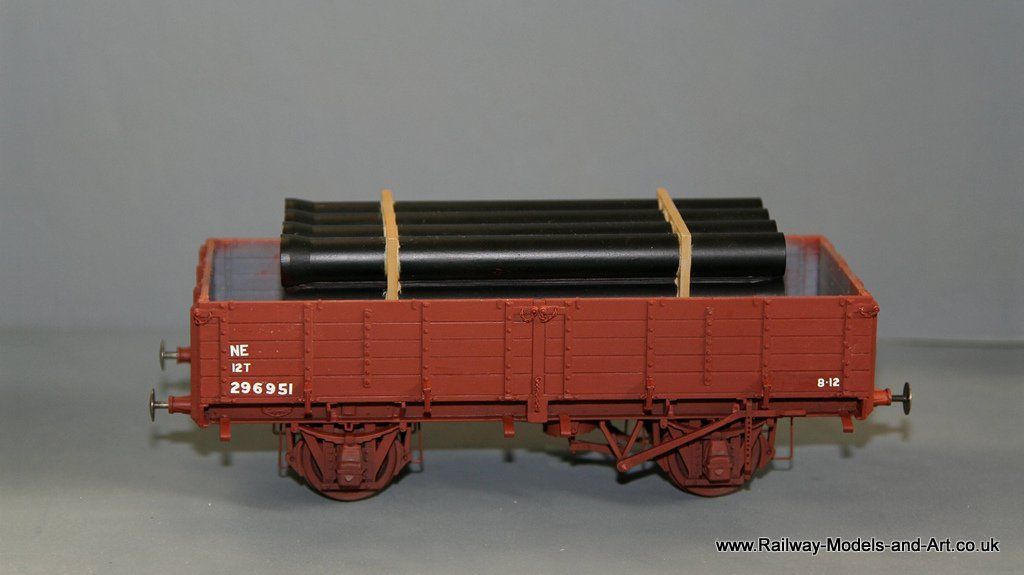
Lastly I also got some transfers on the pipe wagon too.

Image

Image

I still have some way to go with painting and weathering them all but they are coming on.
User avatar
Robpulham
LNER A4 4-6-2 'Streak'
Posts: 1721
Joined: Thu Mar 27, 2008 9:54 pm
Location: Lower Wensleydale
Contact:

Re: 7mm Rolling Stock Builds

Post by Robpulham »

All the transfers are now on the NBR vans so the next job is varnish and weathering - I didn't take photos not wishing to bore anyone....
User avatar
Robpulham
LNER A4 4-6-2 'Streak'
Posts: 1721
Joined: Thu Mar 27, 2008 9:54 pm
Location: Lower Wensleydale
Contact:

Re: 7mm Rolling Stock Builds

Post by Robpulham »

My obsession with interest in all things ex NBR continues.

Last year I bought a selection of NBR underframe sprues from Parkside for scratch building wagons (this was before the Silhouette Cutter was even on the horizon. At the same time I also got a couple of ends from the 8 ton Jubilee van kit with a view to making one of the later Diagram 40B vans. Unfortunately when I compared the drawings the later vans whilst having the same style of ends were not only taller but wider too.

So the ends went in the spares box and were forgotten about. That is, until last weekend when I happened to be reading the chapter in Vol 3 of LNER wagons and realised that the first few vans that the NBR built to D39B were not only low roofed but the same width as the earlier Jubilee vans - Bingo!

The next problem was that although I have a few drawings they are all of the taller vans. Tatlow to the rescue. Although there isn't a drawing, there is a pretty good square on side view photo, so I scanned and imported it into Inkscape. I resized it using the wheel base as the known dimension and essentially drew over the top of the photo.

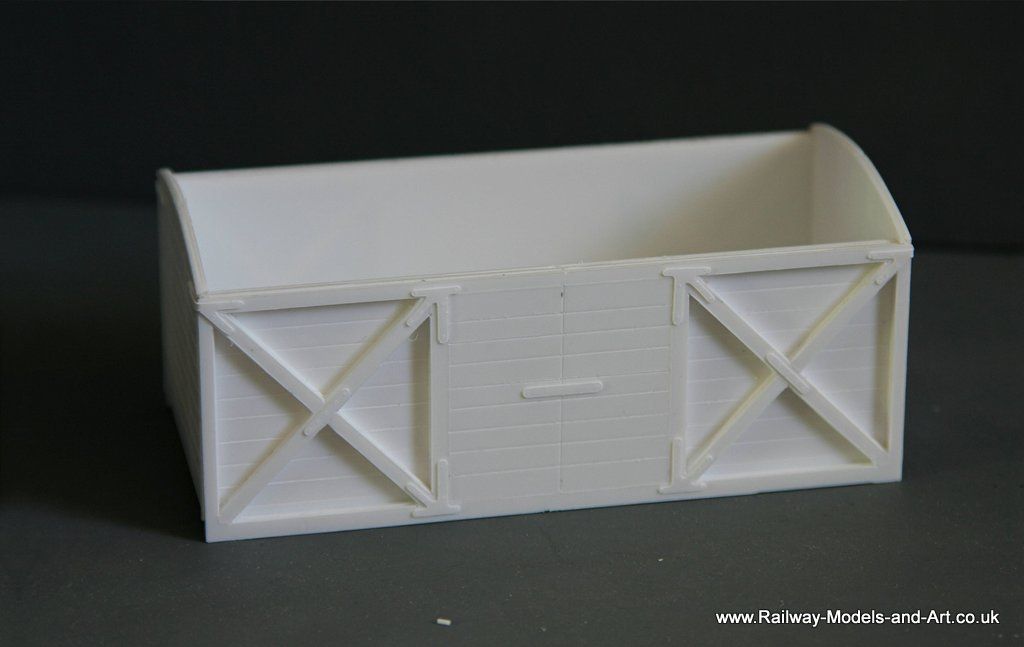
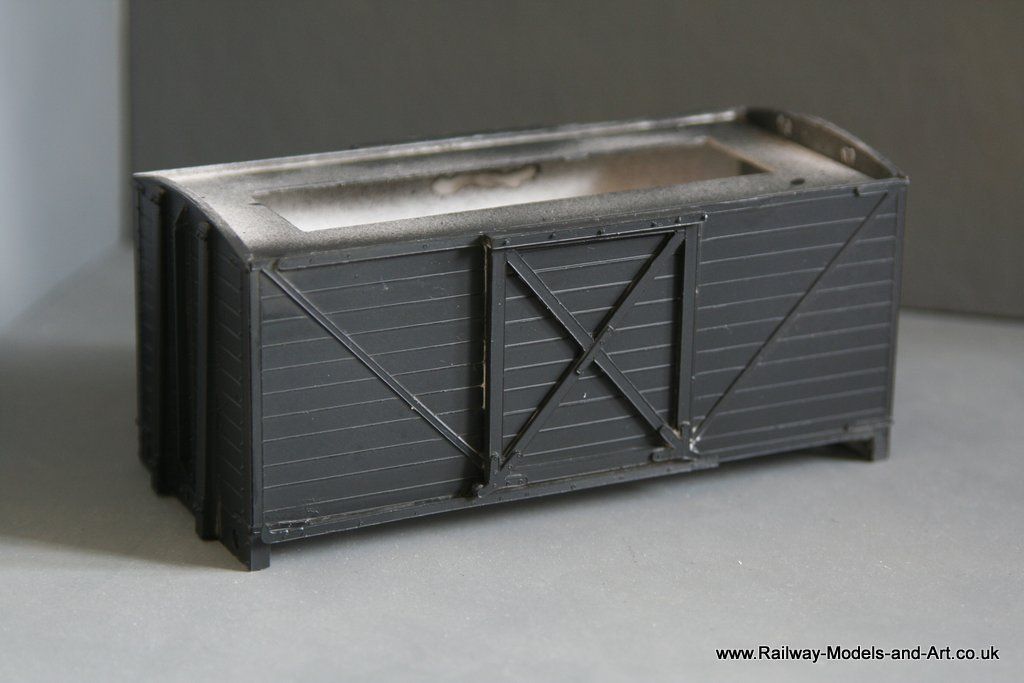
I have in mind to do some outside framed vans starting with and NER G1 van and decided that the external framed door on this one would act as a proving ground for doing them in layers. Initially I drew the doors as 6 layers of 20thou - 2 backing, 1 plank detail and 3 for the framing. Once I had snapped them out and compared them to my existing Parkside 8 ton Jubilee vans I came to the conclusion that 6 layers was too thick. I left out one of the backing layers and one of the framing layers and then proceeded to assemble the doors.

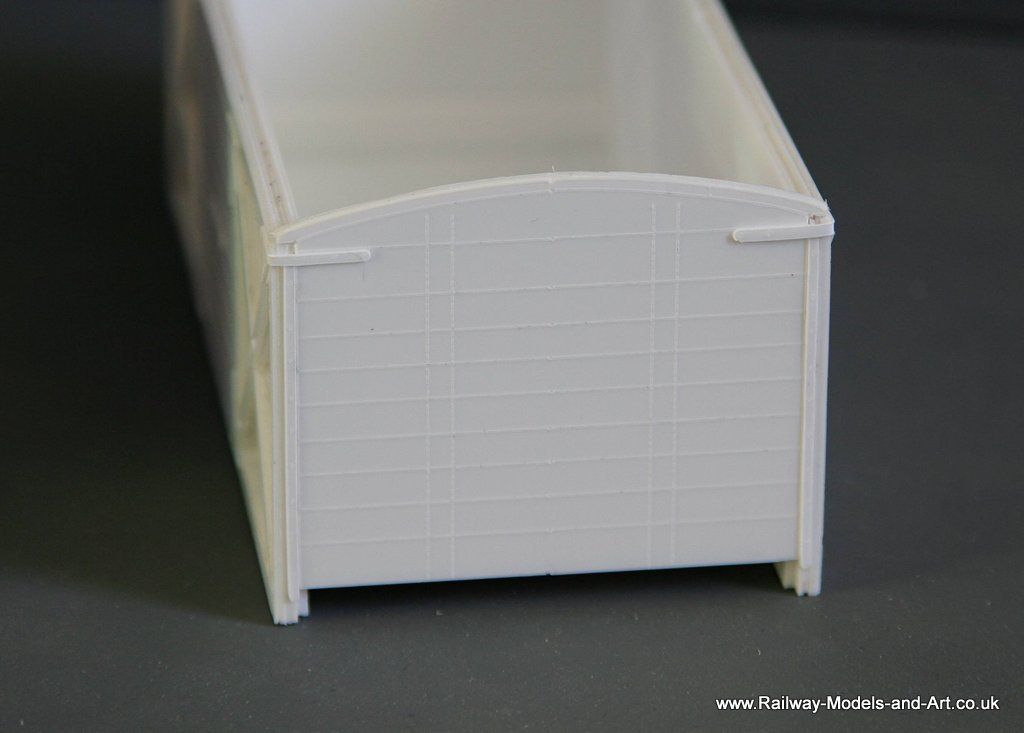
On the other van ‘kits’ that I have done I have done sides and ends in 3 layers and have sized the inner 2 side layers shorter to allow the ends to fit inside the outer layer of the sides. I had to do it a little differently on this one because the Parkside ends are chamfered to a 45 degree angle. To get around it I made the 1st inner layer 0.5mm shorter than the outer side and the next one another 0.5mm shorter than that. It was a great idea but fell down in practice because it was difficult to spread Butanone on the layer and then accurately place the next layer central with a 0.5mm gap at either end so the next ones that I do will have a removable registration tab on them.

I managed to get them together in the end and then using a broad diamond file (from the ladies manicure counter) I filed them to an angle that fitted against the ends. I took care to mark each side and end where they fitted together to make sure that they went back as I had filed them to fit.

In the end I was really pleased with how nicely they fit against the ends bearing in mind that I had drawn the parts from a scaled photo.

I had drawn the curved ended bottom runner and the plates that look a bit like birds feet in 20 thou to give them a bit more strength (I also cut some from 10 thou just in case). That left the runners themselves which are very much like pulleys. I hit upon the idea of putting a length of 2mm styrene rod in a pin vice and then using the blunt point of a round file to score/pick at it to make a groove around it that would sit on the runner. I then used a scalpel to cut of the runner by rotating the pin vice and I was quite impressed at how cleanly the “pulley” was cut off. Since then I have thought of a refinement – grind a curved cutting edge on a piece of 0.8mm piano wire instead of the rather crude file point.

Next I assembled runners and the door stops etc. on one side and glued it to the ends/floor. At this point I thought I was onto a winner when the spares box also revealed a pair of spare Parkside sole bars but sadly they were too long and although I could have cut them down the wheel base was wrong too.

Enough of the talk on to the pictures.
Image

Image

Image

Image

Image
Hatfield Shed
LNER A4 4-6-2 'Streak'
Posts: 1728
Joined: Fri Dec 23, 2011 3:34 pm

Re: 7mm Rolling Stock Builds

Post by Hatfield Shed »

The NB's sliding door van was the first vehicle body I ever scratchbuilt, thanks to a long ago sketch drawing in a heap of magazines provided at the primary school by an enthusiast teacher. Not nearly so neatly and in 4mm, and I still have the souvenir scar on my forefinger from mishandling the scalpel.

I have long guessed, but never researched, that this NBR design influenced the LNER's adoption of the sliding door as standard on their van fleet. The correspondence in general appearance is very marked.
User avatar
Robpulham
LNER A4 4-6-2 'Streak'
Posts: 1721
Joined: Thu Mar 27, 2008 9:54 pm
Location: Lower Wensleydale
Contact:

Re: 7mm Rolling Stock Builds

Post by Robpulham »

Hatfield Shed wrote:The NB's sliding door van was the first vehicle body I ever scratchbuilt, thanks to a long ago sketch drawing in a heap of magazines provided at the primary school by an enthusiast teacher. Not nearly so neatly and in 4mm, and I still have the souvenir scar on my forefinger from mishandling the scalpel.

I have long guessed, but never researched, that this NBR design influenced the LNER's adoption of the sliding door as standard on their van fleet. The correspondence in general appearance is very marked.
Hi HS, would that have been the low roofed version or the high? Or is it too far back to remember? I have drawings of the higher roofed version and plan do do some of them soon but an NER G1 is next on my hit list.
User avatar
Robpulham
LNER A4 4-6-2 'Streak'
Posts: 1721
Joined: Thu Mar 27, 2008 9:54 pm
Location: Lower Wensleydale
Contact:

Re: 7mm Rolling Stock Builds

Post by Robpulham »

One of the things that I have tried to do is to make as much use out of each drawing as I can. The NBR and the NER (I haven't looked too closely at the other constituents of the LNER too closely yet). really help with this because of the many variations on a theme.

Using the example of the 8 ton Jubilee vans that I have just done I managed to use the artwork twice with minor amendments to make the matchboard version. looking a little further in vol 3 of Tatlow brought me to a 3rd and 4th variation this time in the guise of yeast vans same sized bodies, with both beaded and matchboard variations the only difference being is the added complication of louvres.

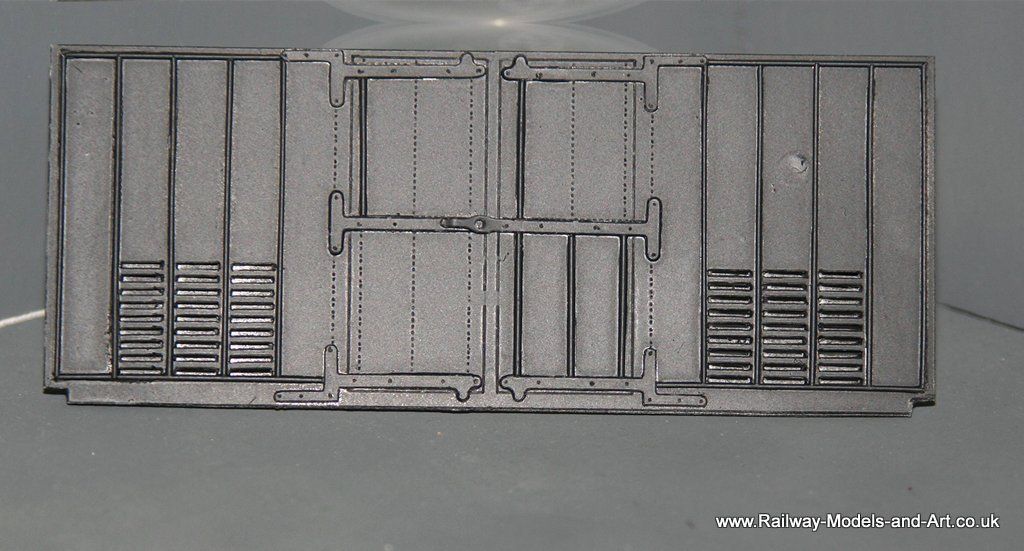
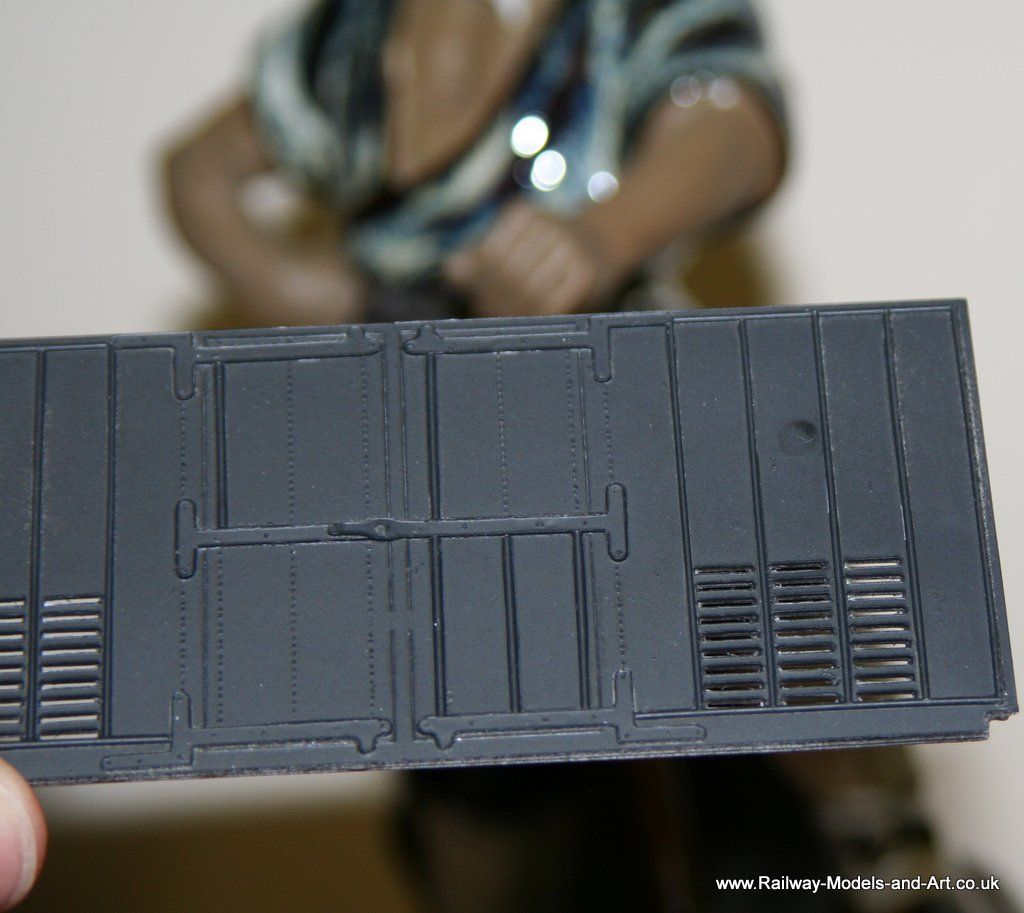
Since doing the louvres for the NER CCT I have studied and discarded a few methods of making louvres using combinations of styrene strip cut at angles etc. The flush sides of the louvres on the NBR vans gave me the opportunity to try another method which has far exceeded my expectations even if it is a bit time consuming to do.

This is where I have got to with the first van - or rather side of a van. Each side/end is made up of 3 layers and on the two inner layers I have moved the position of the louvre cut outs up by one pixel (I also marked each layer so that I knew which order to assemble them). To cut the slots I used an Exacto type chisel blade which was just marginally too wide for the length of the slot so I rubbed it on a diamond stone to reduce it a little.

To cut out the narrow end I used a suggestion from Graham (Beare) which was at the time for something else but applicable in this instance too. That suggestion was to use a piece of piano wire (0.8mm in this case) and file a chisel blade on one end I then gripped this in a pin vice and away I went - admittedly the patience only let me cut the slots in the 3 layers for one side at one session.

Image

Image


Please excuse the odd second photo I took it this way to illustrate that when viewed from a low angle you can see through the louvres but from the more normal side on view you can - JLRT.......

It still needs some beading finishing off and the other side and the ends need their louvres cutting out
User avatar
Robpulham
LNER A4 4-6-2 'Streak'
Posts: 1721
Joined: Thu Mar 27, 2008 9:54 pm
Location: Lower Wensleydale
Contact:

Re: 7mm Rolling Stock Builds

Post by Robpulham »

Robpulham wrote:All the transfers are now on the NBR vans so the next job is varnish and weathering - I didn't take photos not wishing to bore anyone....
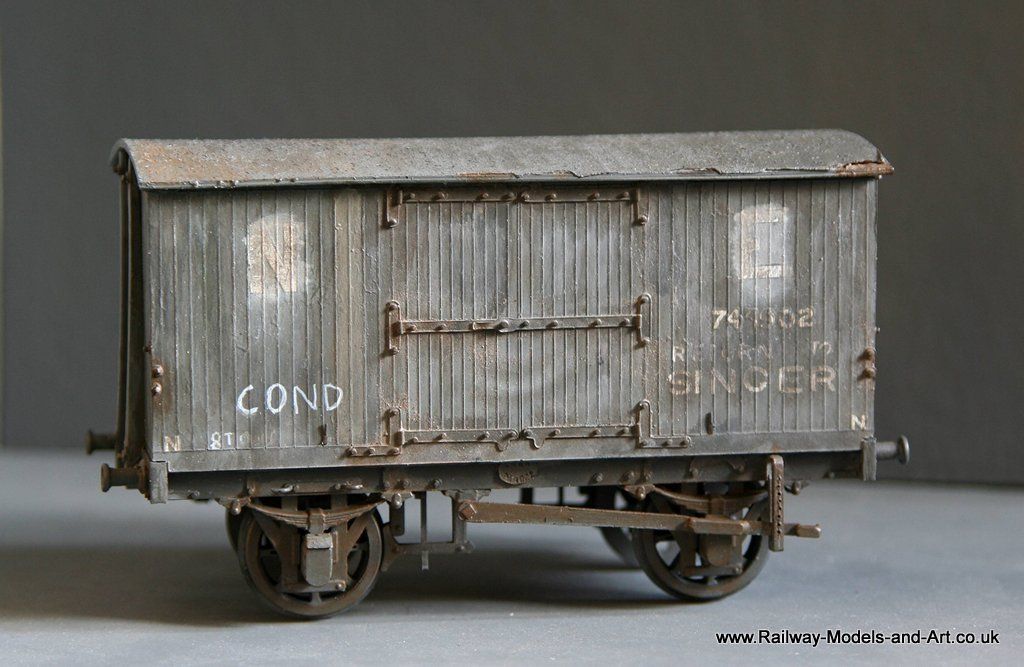
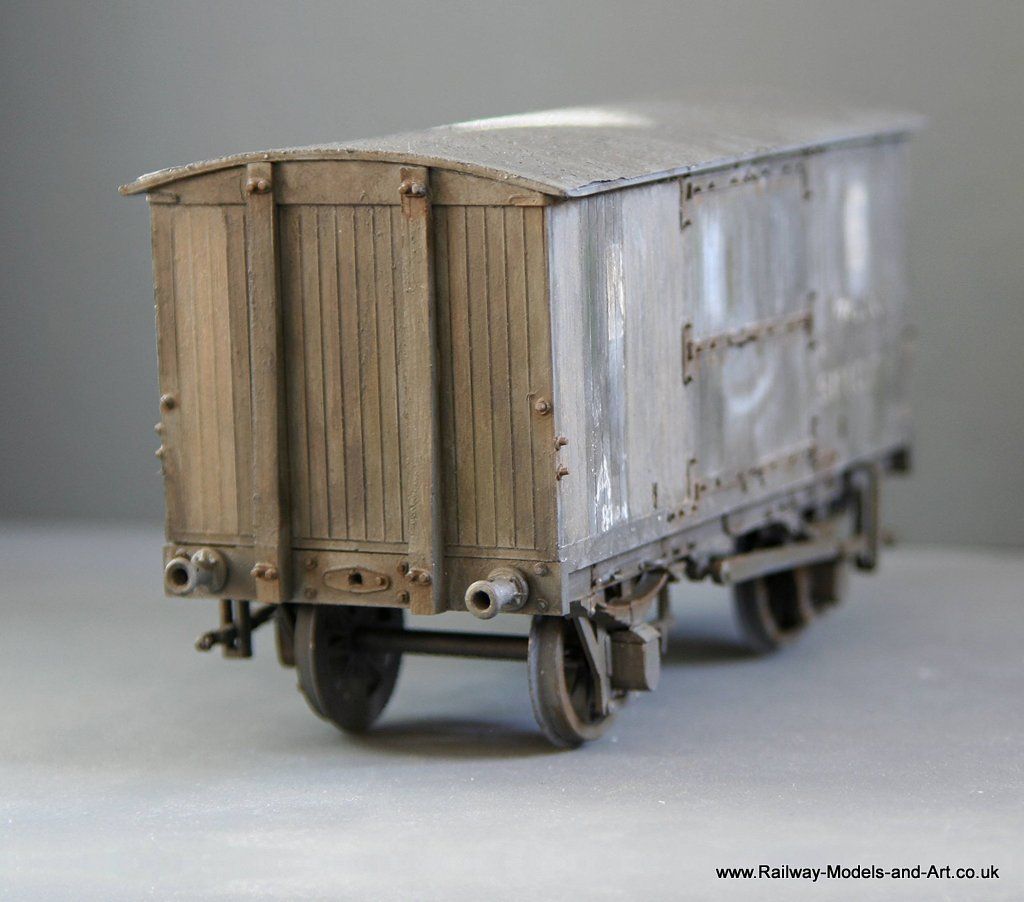
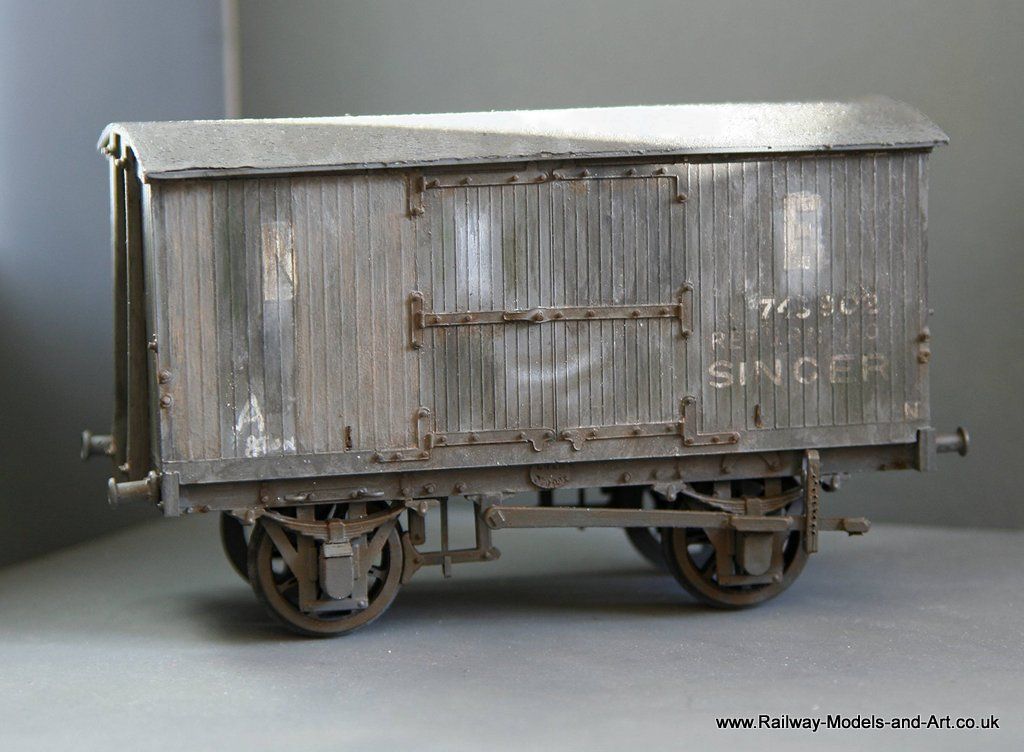
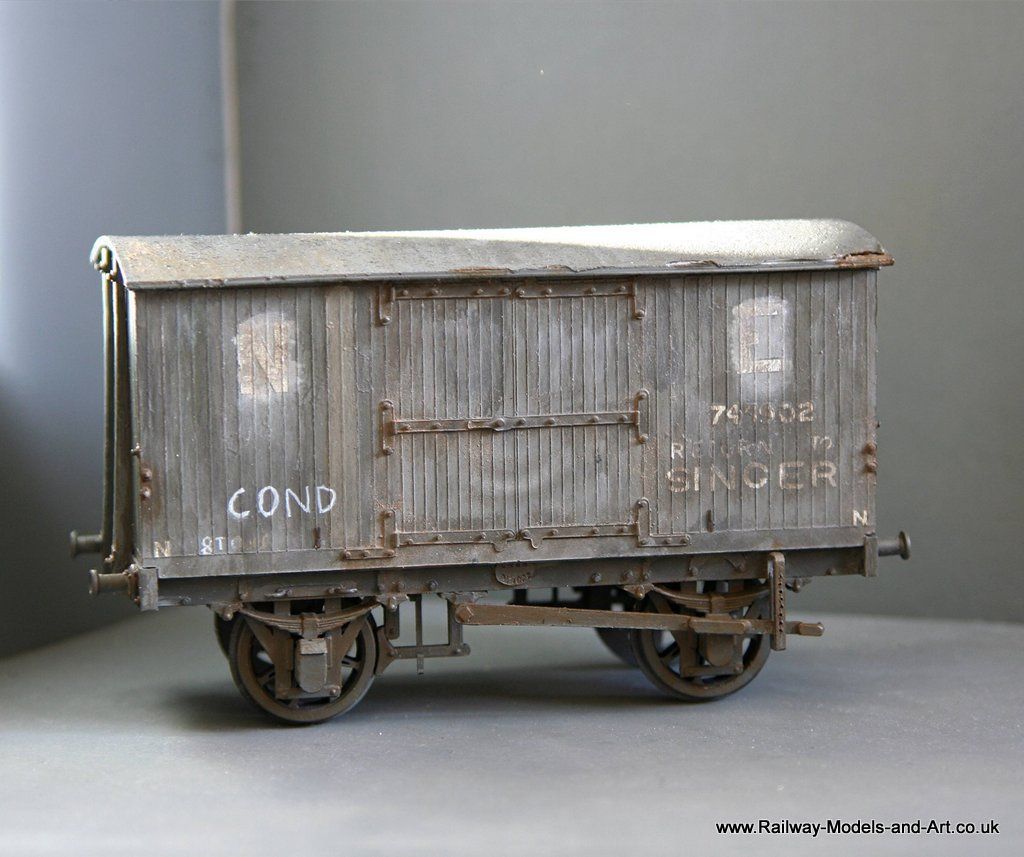
After no pictures for the last posting prepare for a photo fest! a bit of Sunshine helped too after snow showers for most of yesterday.

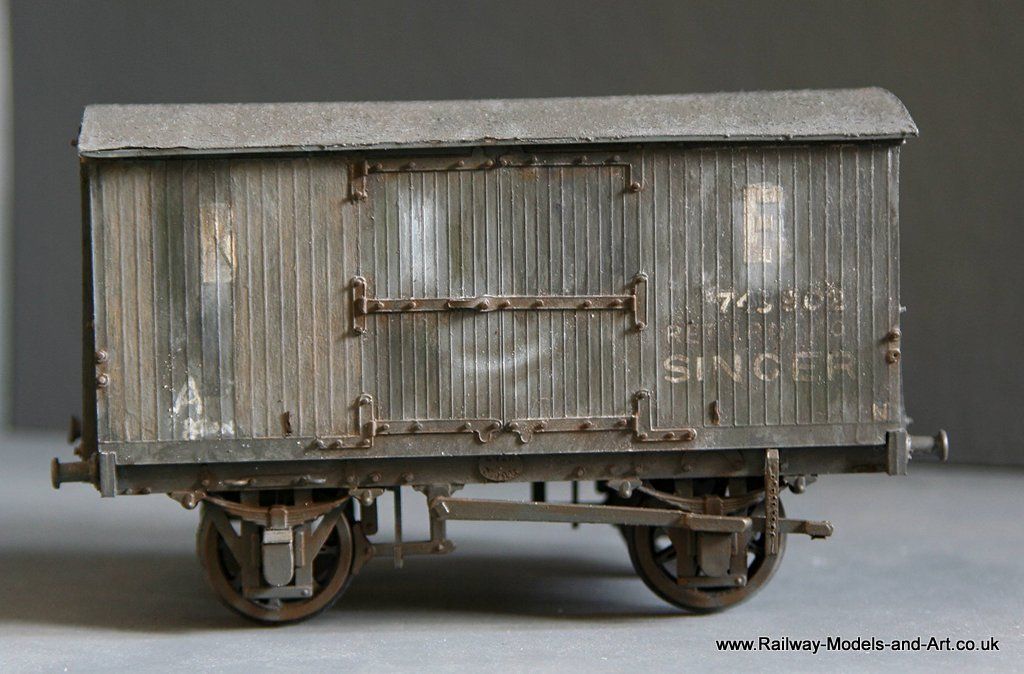
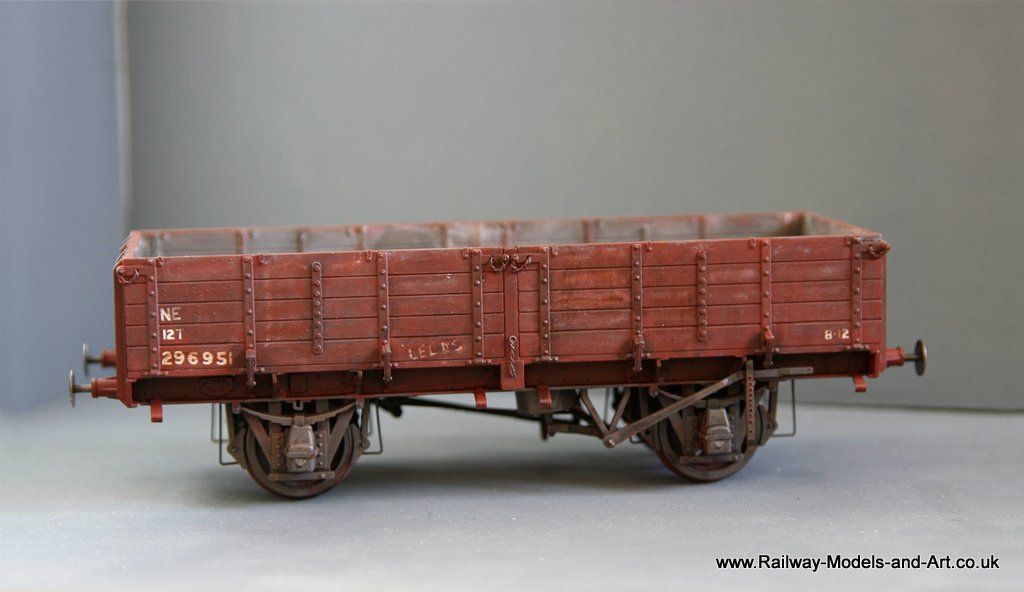
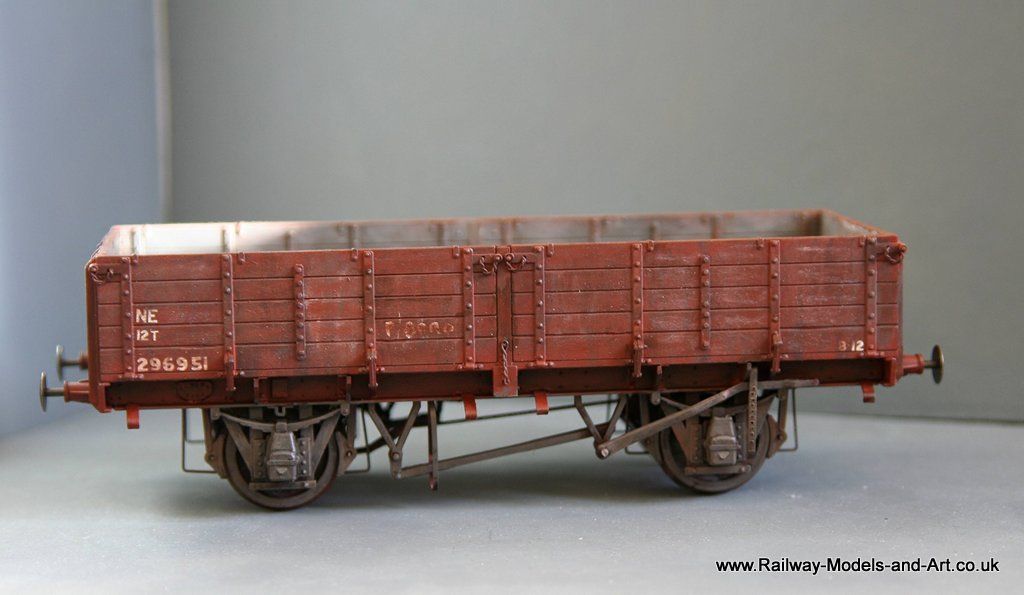
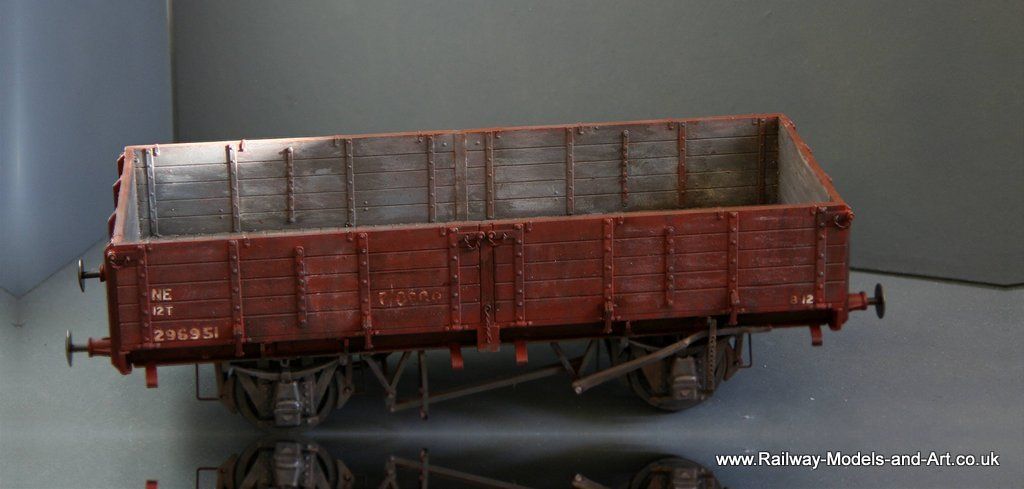
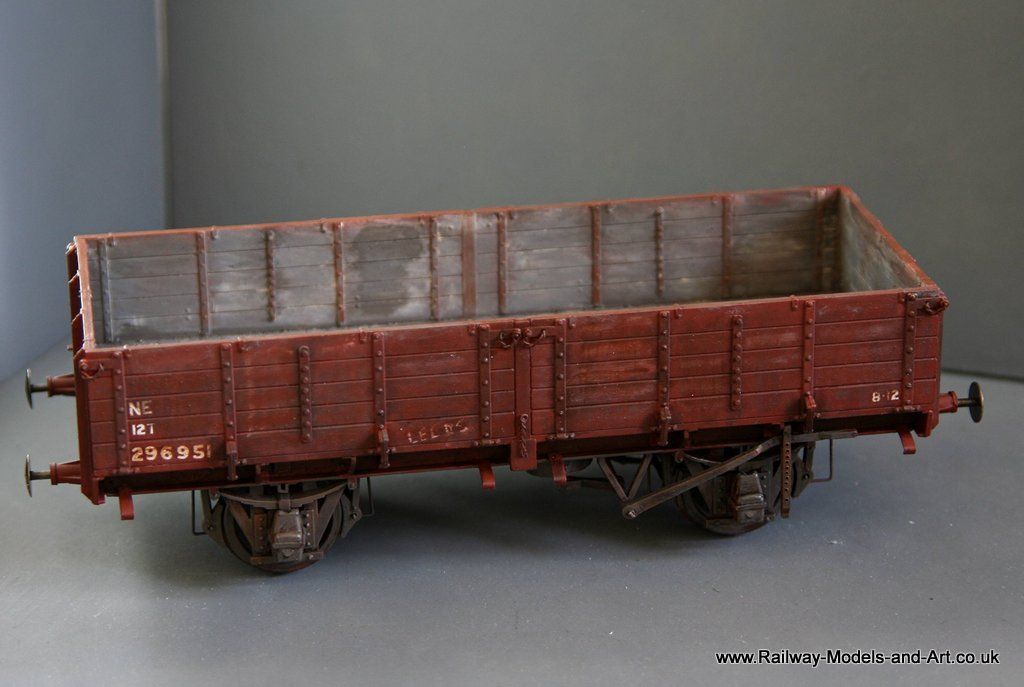
In Tatlow there is a super photo of one of the matchboard Jubilee vans at the end of it's life and I could't resist the urge to recreate it in model form.

Image

Image

Image

Image

Image

I just need to remember where I put the buffer heads after blackening them now.
User avatar
Robpulham
LNER A4 4-6-2 'Streak'
Posts: 1721
Joined: Thu Mar 27, 2008 9:54 pm
Location: Lower Wensleydale
Contact:

Re: 7mm Rolling Stock

Post by Robpulham »

Although I didn't get to doing any painting this weekend, last weekend along side the condemned van I also got the pipe wagon nearer to completion.

Image

Image

Image

Image
User avatar
greenglade
GCR O4 2-8-0 'ROD'
Posts: 525
Joined: Thu Feb 23, 2012 1:59 pm

Re: 7mm Rolling Stock

Post by greenglade »

great work as always Rob...I like seeing your builds...very nice...one day i may have the time to start on my own rolling stock....one day....:)
User avatar
Robpulham
LNER A4 4-6-2 'Streak'
Posts: 1721
Joined: Thu Mar 27, 2008 9:54 pm
Location: Lower Wensleydale
Contact:

Re: 7mm Rolling Stock

Post by Robpulham »

Thanks Pete.
User avatar
Robpulham
LNER A4 4-6-2 'Streak'
Posts: 1721
Joined: Thu Mar 27, 2008 9:54 pm
Location: Lower Wensleydale
Contact:

Re: 7mm Rolling Stock

Post by Robpulham »

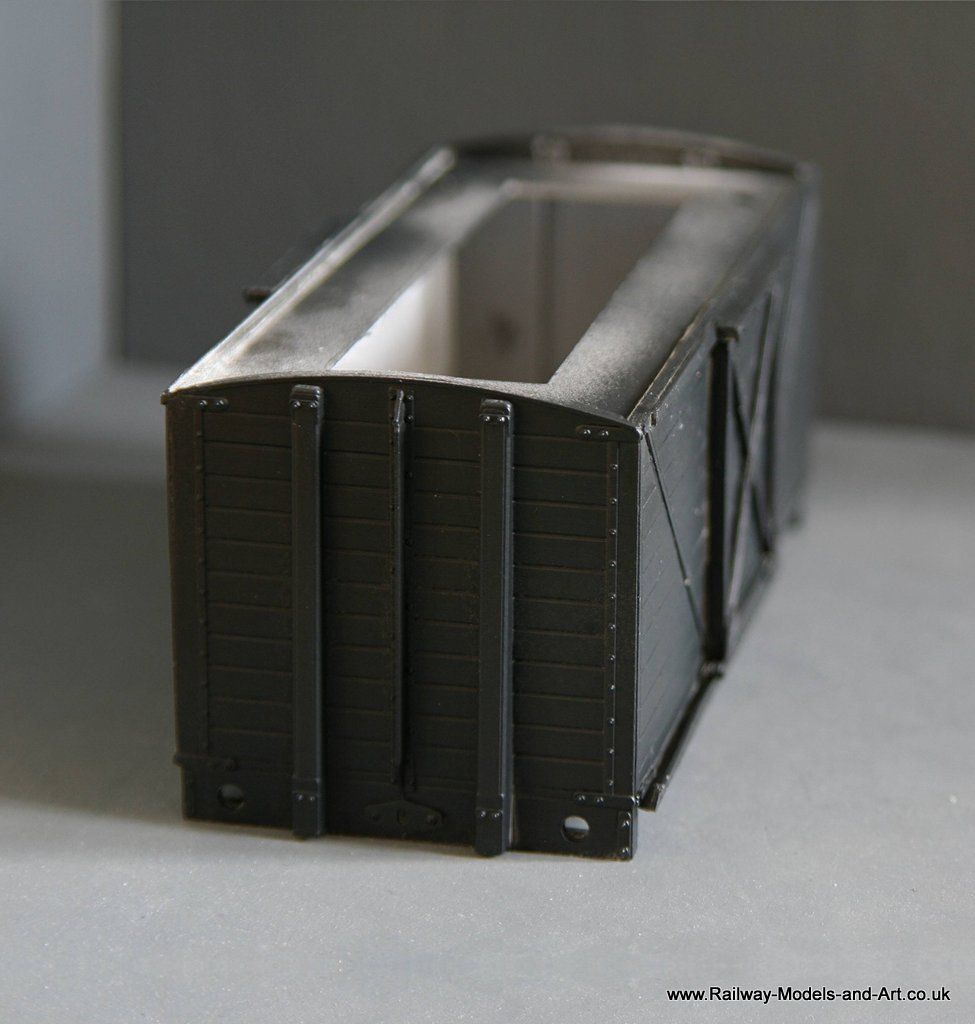
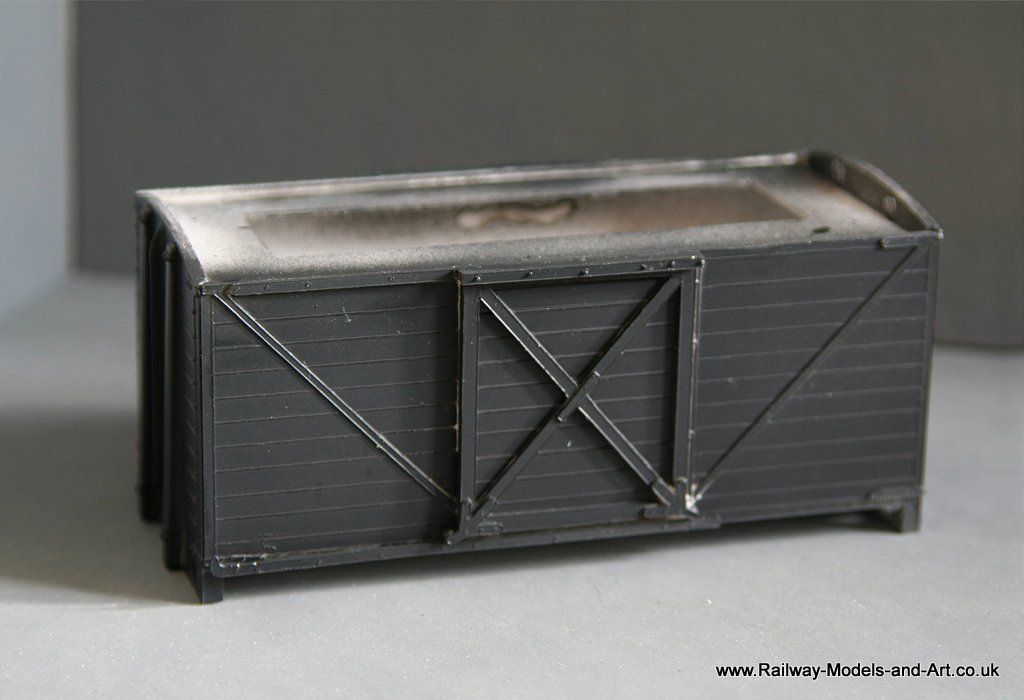
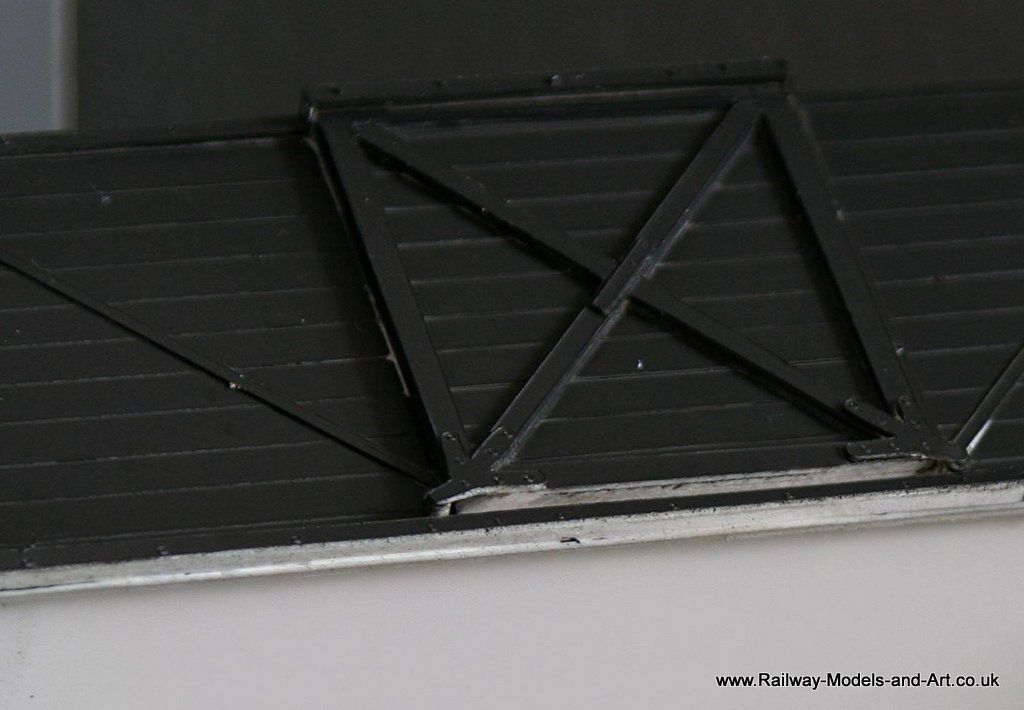
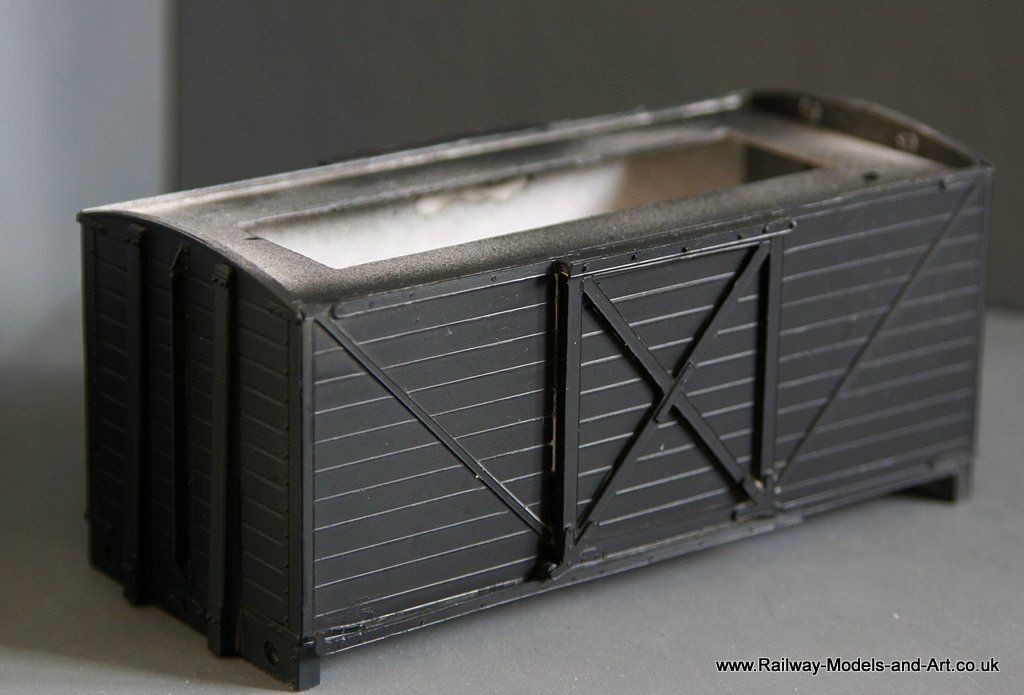
In between assembling the vacuum shed I also managed to get the other side and ends of the G1 van assembled. I was most perturbed to see how short the ends are in relation to the sides and for a moment I was convinced that I hadn't transferred the sizes properly when importing into Silhouette Studio to cut them. A look at the photos in Volume 2 of LNER wagons thankfully confirmed that I had cut them correct and in reality the discrepancy is caused by the corner posts being let into the buffer planks. A nice little oddity.

Image

Image
1H was 2E
GCR D11 4-4-0 'Improved Director'
Posts: 421
Joined: Sun Mar 31, 2013 9:04 pm
Location: The Shires

Re: 7mm Rolling Stock

Post by 1H was 2E »

Just seen the slightly earlier post about the reason for the LNER adopting sliding doors on vans.
Found the answer a little while ago in the GWR wagons book (very useful data about wagons generally, and the RCH - but the latest version costs 55 quid!!!!).
It states that the reason the LNER (and LMS) standardised on sliding doors whereas the GW and SR adopted hinged ones (and thereby there was no RCH standard) was because the loading platforms on the former were too high to allow hinged doors to open.
The LNW (and maybe others) had what seemed at first sight an odd arrangement of a flap, hinged in the horizontal plane, at the bottom, with opening doors above but this was presumably to allow the doors to be opened when the platform was above floor level. In later years, these were converted to conventional hinged doors suggesting that the platforms were eventually reduced in height.
User avatar
Robpulham
LNER A4 4-6-2 'Streak'
Posts: 1721
Joined: Thu Mar 27, 2008 9:54 pm
Location: Lower Wensleydale
Contact:

Re: 7mm Rolling Stock

Post by Robpulham »

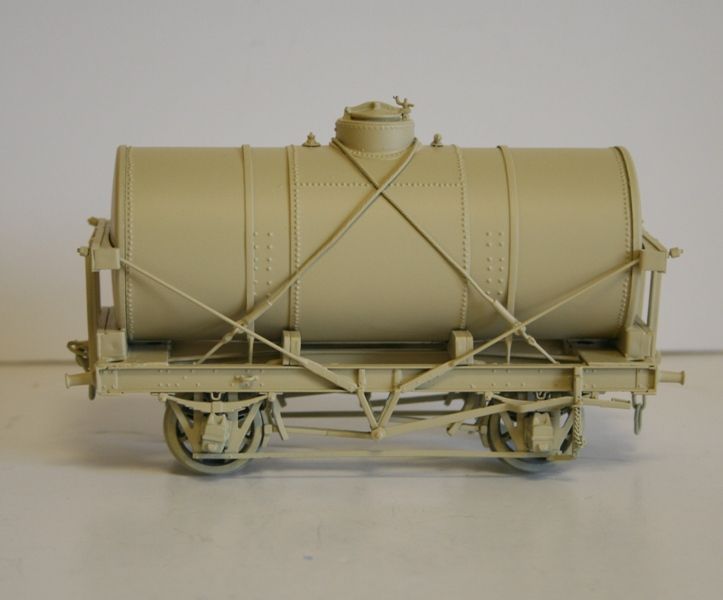
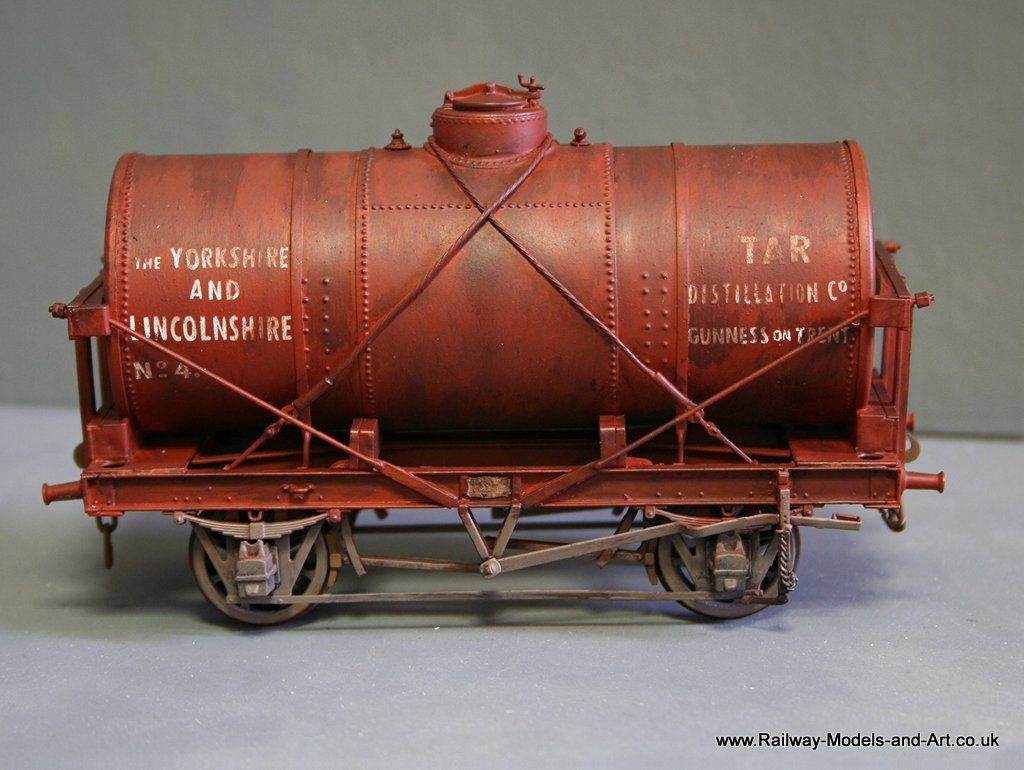
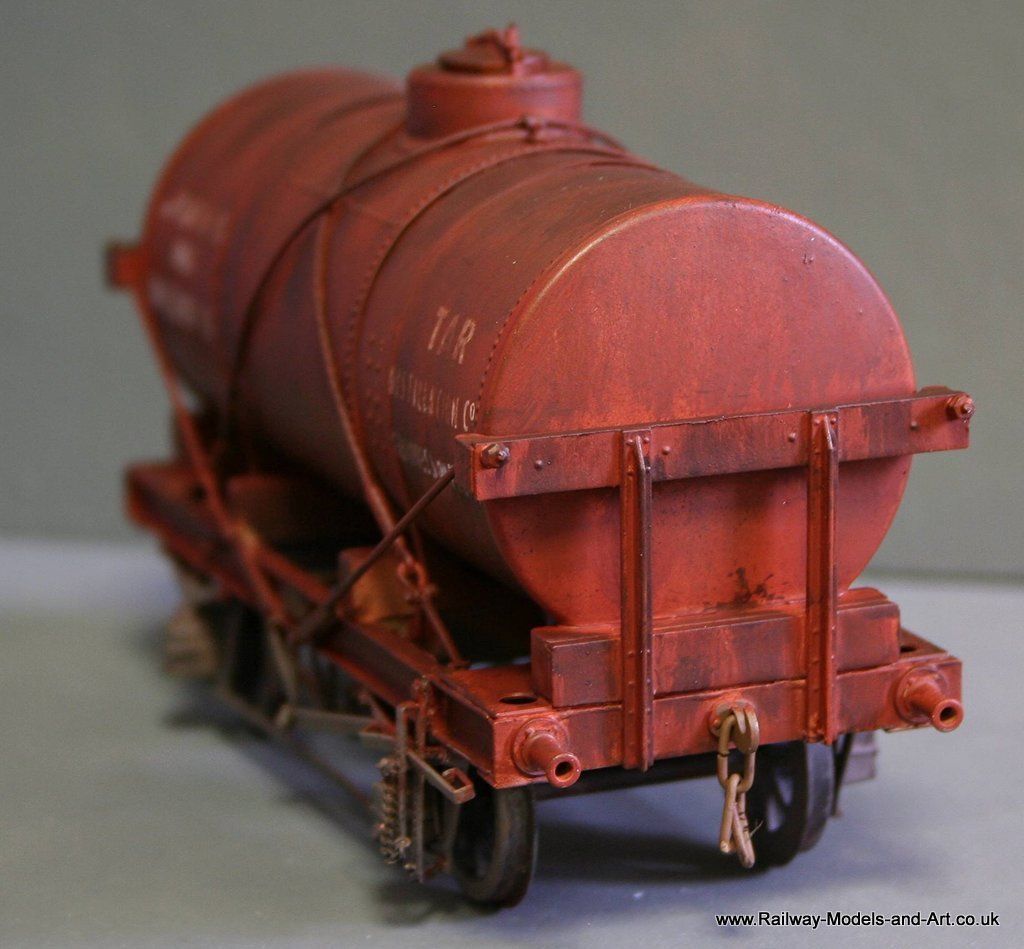
Right back at the beginning of this thread I built a Slaters 14 ton tank wagon on which I replaced the plastic 3 part tank with one made of rolled brass. I eventually got some of the correct transfers for it and painted it like this in readiness for adding the transfers

Image.

It turned out that the transfers that I bought were of the rub down type and I couldn't for the life of me work out how I was going to get them on over the straps and cables, so it languished on the shelf queens pile for the intervening years.

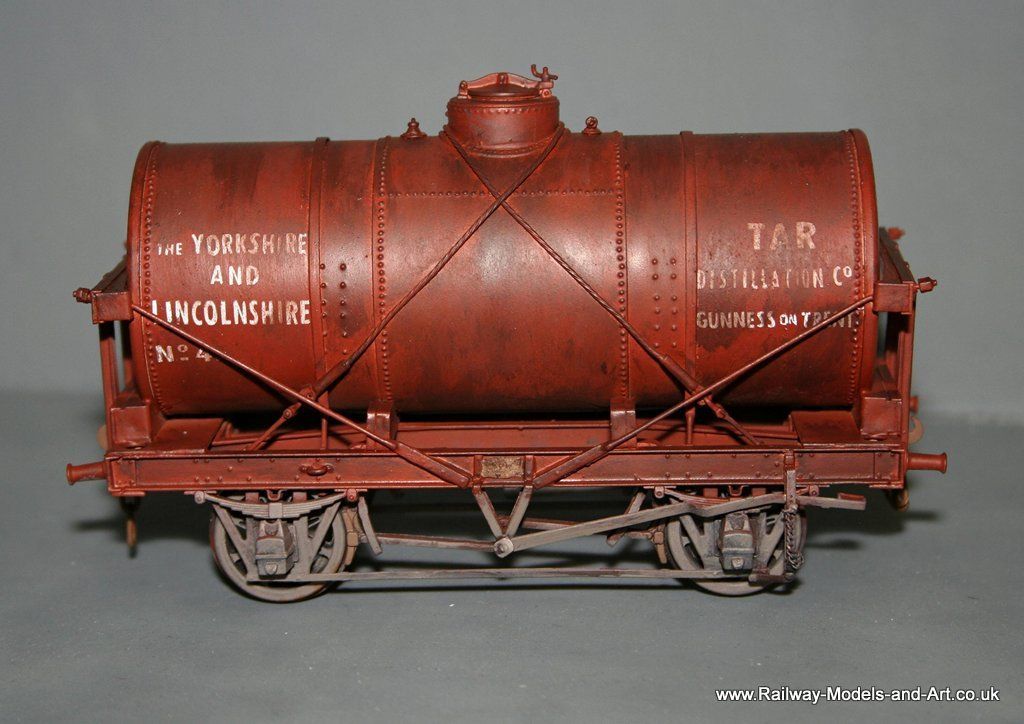
Move forward to Telford last year and Graham Beare(Western Star) was kind enough to loan me some of his collection of private owner wagon books and whilst browsing through them I found a photo of a Yorkshire and Lincolnshire Tar Distillation 14 ton tank wagon. I thought all my birthdays had come at once because after an appeal on the Guild site for spare Y&L transfers I had a spare set that I had planned to use on another rectangular tank at some point but thought that this would be a much better use.

Fast forward again to a few weeks ago when I was spraying the jubilee vans, I repainted the Slaters' tank wagon into red oxide at the same time.

Then my dreams were shattered. When I referenced the photo and the transfers to the wagon itself, I quickly realised that not only were transfers physically too big for the available space on the tank, the wording was subtly different too. So back to the drawing board and plan B (or c,d e, etc.....).

The next plan was to try to cut the letters out using the Silhouette cutter and apply them a letter at a time.

Image

Image

Image

The first side took 3 sessions to get them all on and the second side took an hour to do the lot - it just flowed.

Now all I need to do is remember where I put the buffer heads and blacken them.
john coffin
LNER V2 2-6-2 'Green Arrow'
Posts: 1101
Joined: Mon Sep 19, 2011 12:24 am

Re: 7mm Rolling Stock

Post by john coffin »

Richard, as usual, I applaud your work, but wonder why you do not use an old trick for jobs such as this?

When I was a young lad, :roll: there was a product called Letraset, which was a rub on item loved by designers of artwork etc.
It was used often by a number of modellers of Tanks, you know big cannon on wheels!
The deal was to see what colour would the numbers, letters, stars etc be on the body, and undercoat the whole vehicle in that.
Next put the transfer on the required spot, but do not rub it down. Then spray with the top coat. Once it was dry, pull the transfer
off, you will be left with a slightly relieved, but quite decent set of letters etc.

Today, I would consider using spray mount to put thin paper on the item and then pull it off after spraying.

The technique is worth considering if nothing else works.

Paul
User avatar
Robpulham
LNER A4 4-6-2 'Streak'
Posts: 1721
Joined: Thu Mar 27, 2008 9:54 pm
Location: Lower Wensleydale
Contact:

Re: 7mm Rolling Stock

Post by Robpulham »

john coffin wrote:Richard, as usual, I applaud your work, but wonder why you do not use an old trick for jobs such as this?

When I was a young lad, :roll: there was a product called Letraset, which was a rub on item loved by designers of artwork etc.
It was used often by a number of modellers of Tanks, you know big cannon on wheels!
The deal was to see what colour would the numbers, letters, stars etc be on the body, and undercoat the whole vehicle in that.
Next put the transfer on the required spot, but do not rub it down. Then spray with the top coat. Once it was dry, pull the transfer
off, you will be left with a slightly relieved, but quite decent set of letters etc.

Today, I would consider using spray mount to put thin paper on the item and then pull it off after spraying.

The technique is worth considering if nothing else works.

Paul
Hi Paul,

Thanks for the suggestion, it's another technique to try at some point on something with straight and more accessible sides. On a subject as awkward as this one I am not sure what the advantage would be?

As I see it the most critical bit was getting the letters straight and lined up, whilst working under/over the cables. If I build any more (and I do have a scratch built B tank on the go) I will paint and letter before assembly.

Unless I am missing something (more than likely) I would have the same issues in getting them straight using paper templates that I subsequently remove?

I could of course save the pain and commission some transfers which have a carrier film that would take care of the straightness and spacing etc. but where would be the creativity in that.
Post Reply