Rob's 7mm Scale Coach Workbench
Posted: Tue Oct 22, 2013 7:34 pm
Having taken the plunge in stripping the cab of the A3 prior to making the roof removable did I continue with the F8?
Nah! I am sure that it will come as no surprise that it didn't take much encouragement from Chris for me to start on one of the coach kits that she bought me for my birthday.
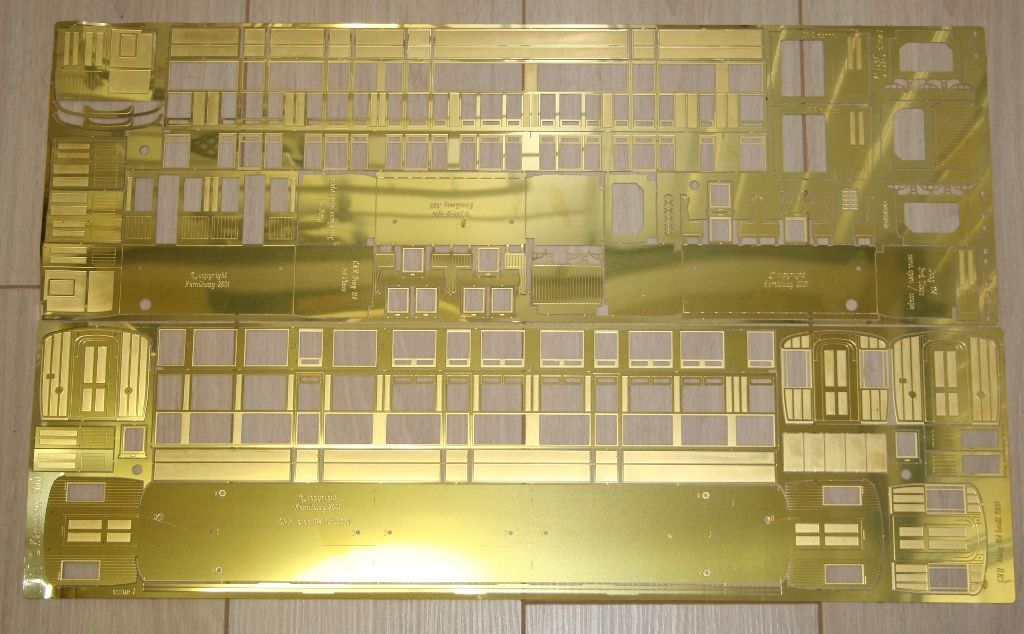
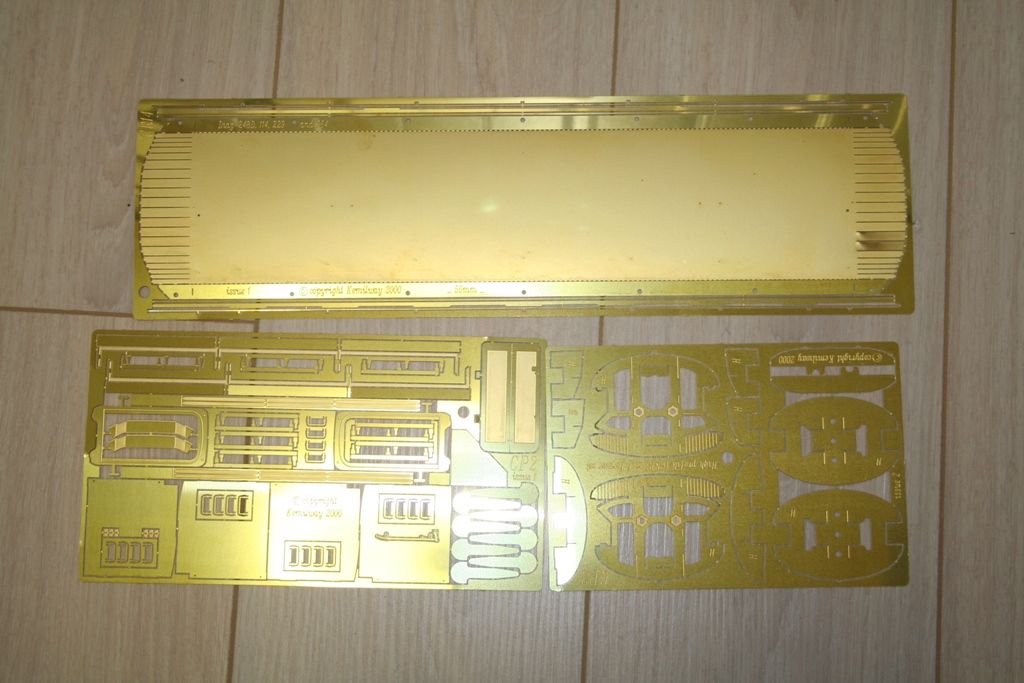
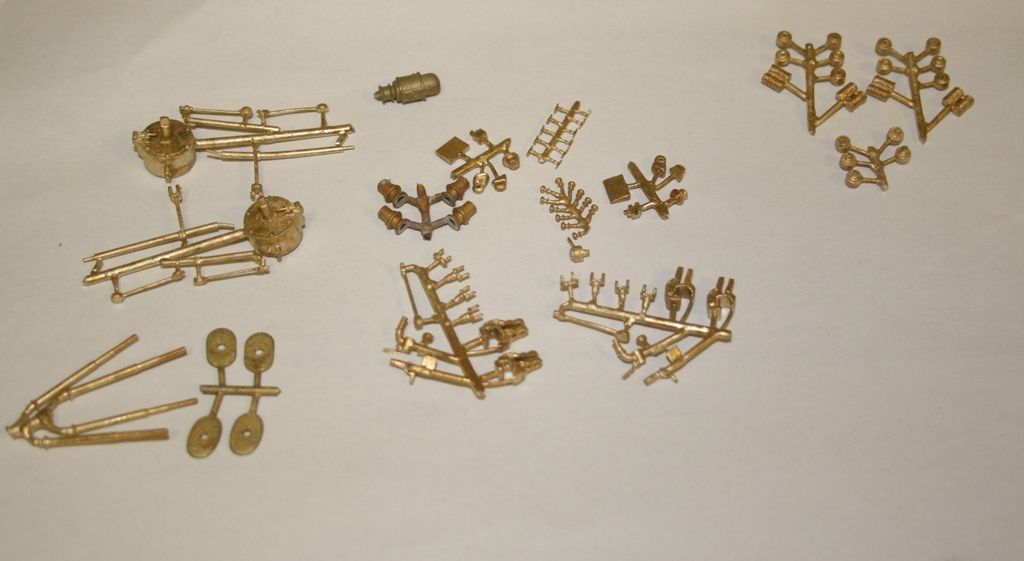
This is some of what's in the box - for this particular coach I am still waiting for the underframe and bogie etches.
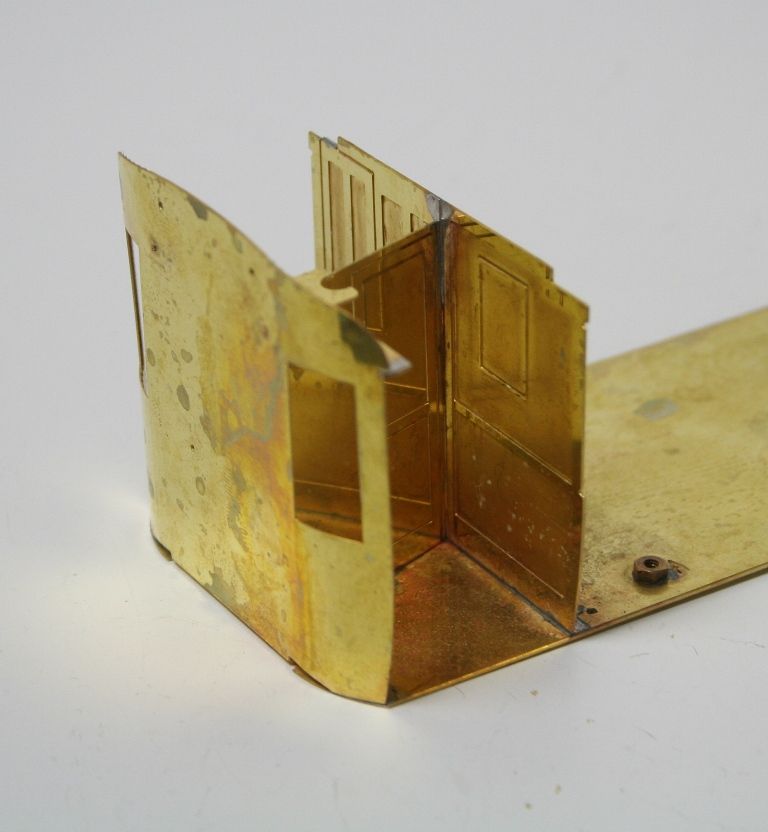
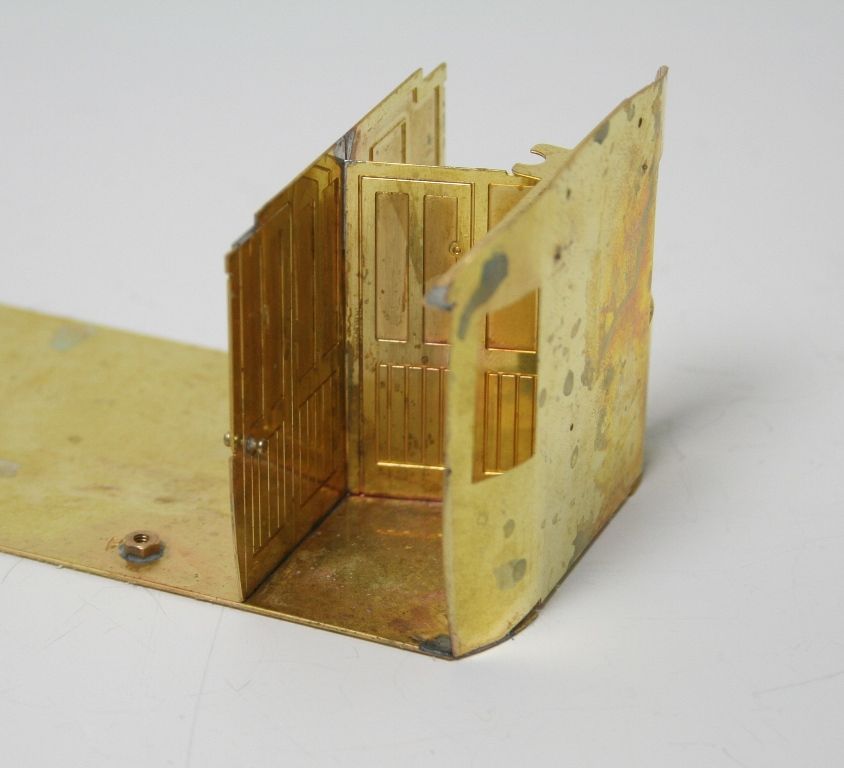
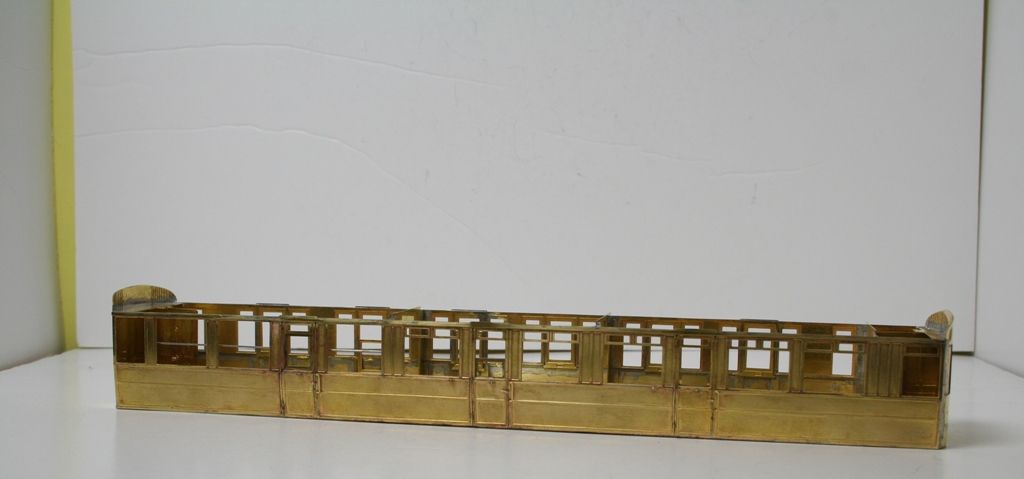
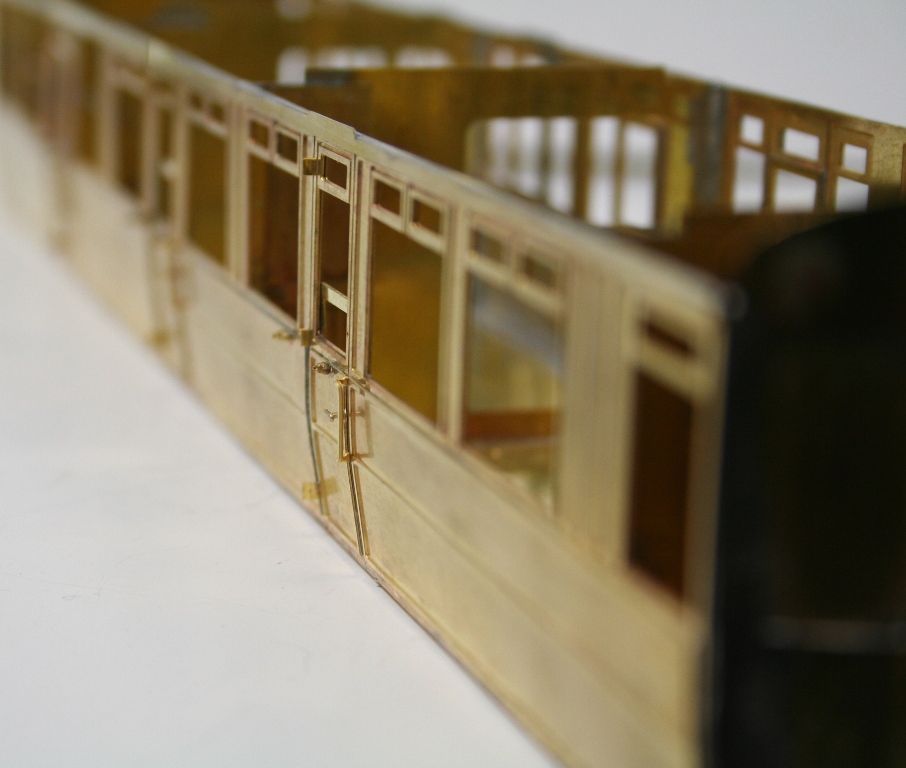
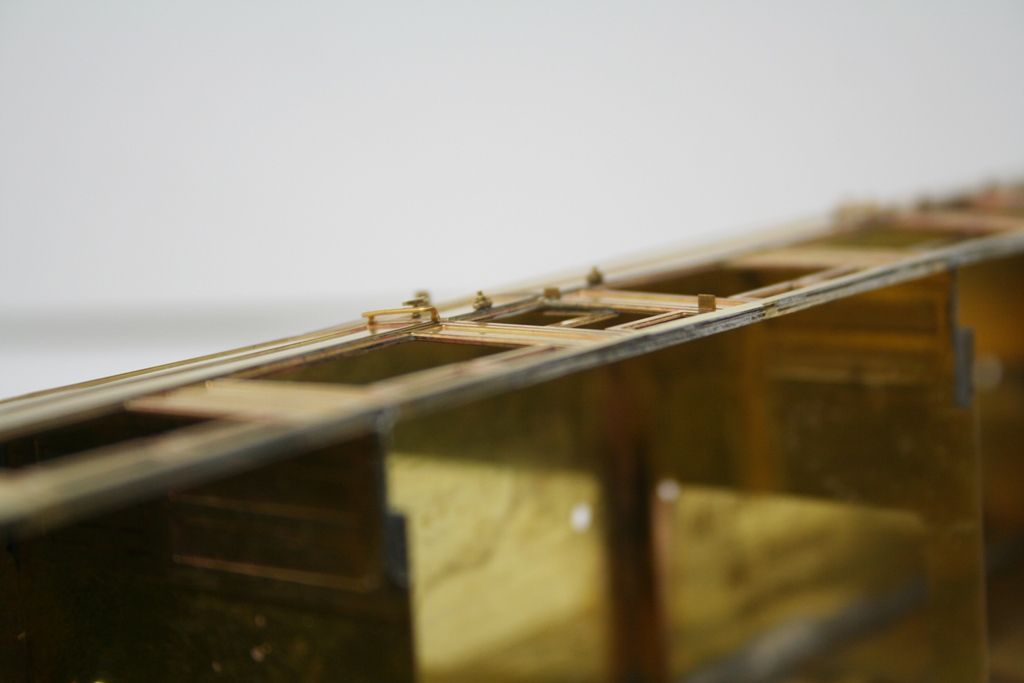
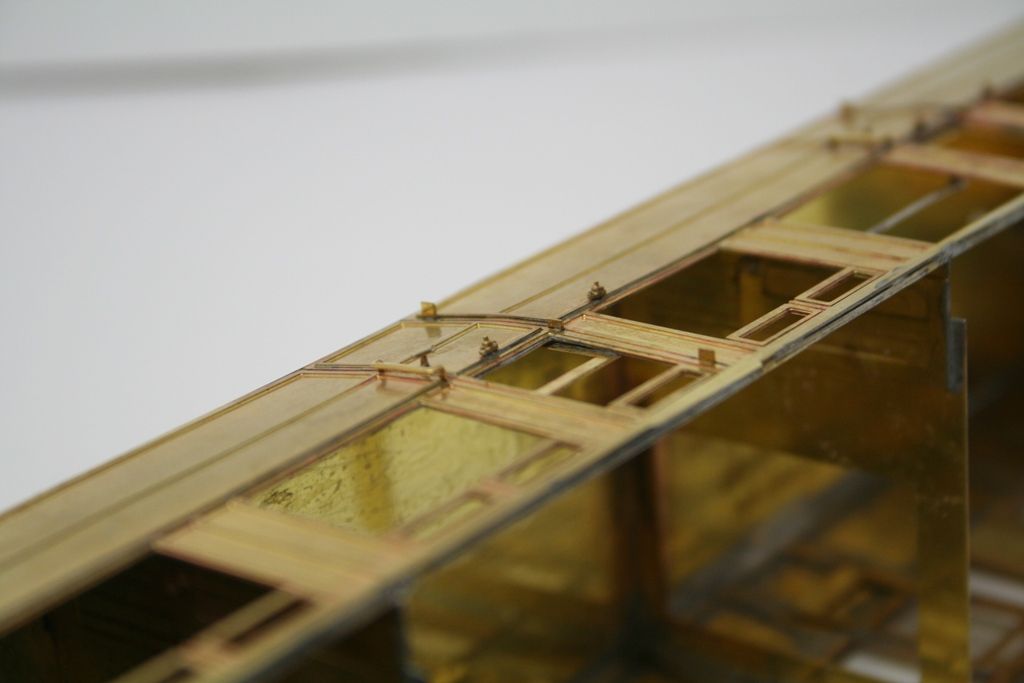
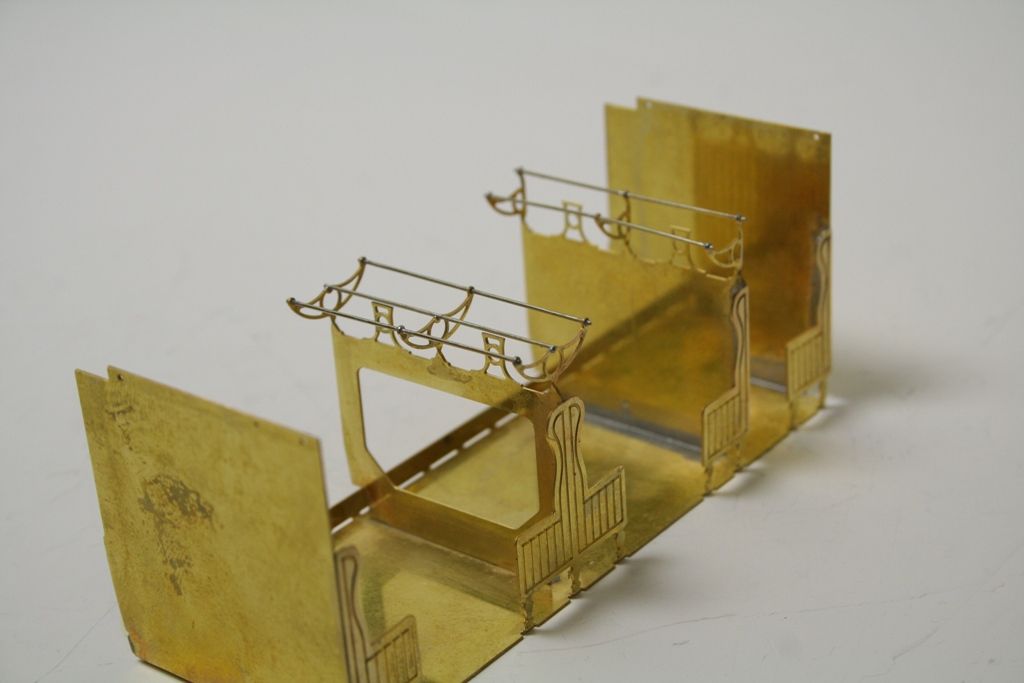
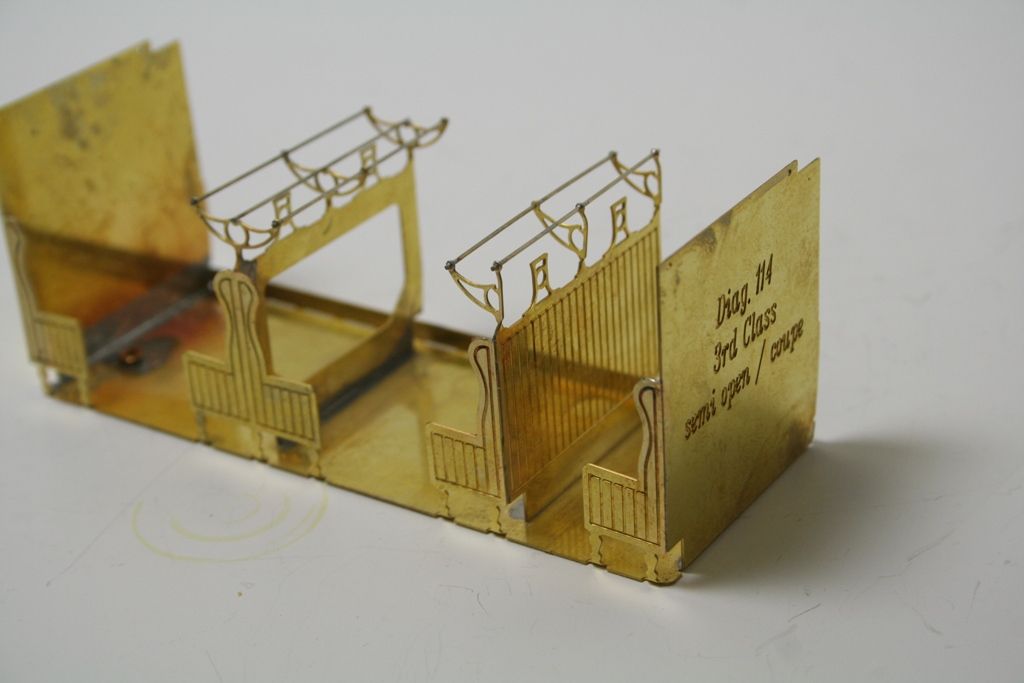
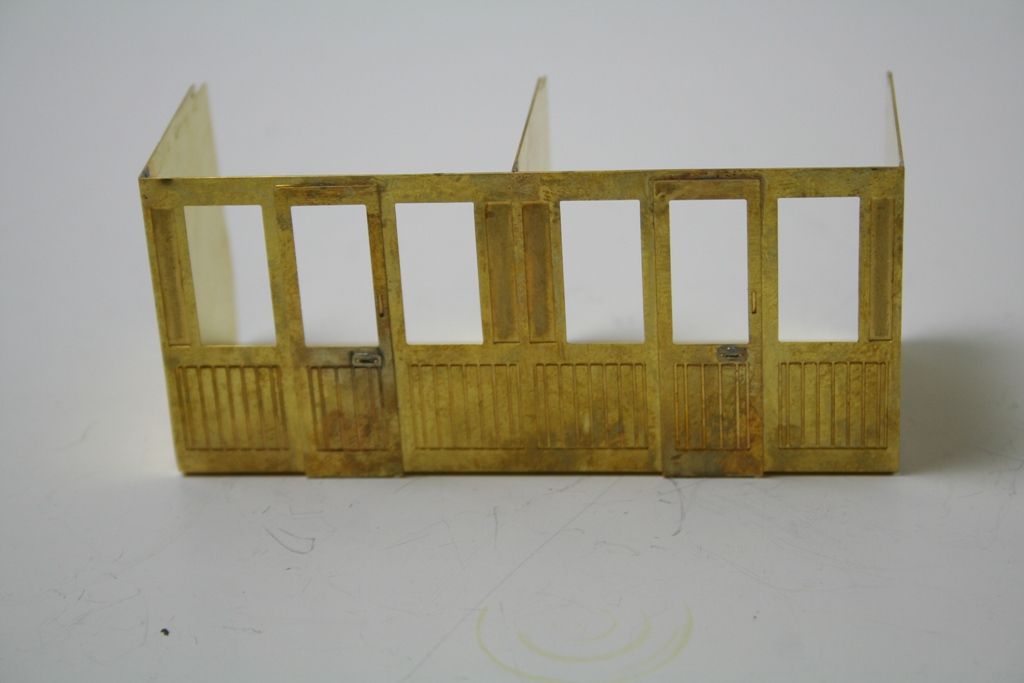
Having had a read of the quite comprehensive instructions available for download from the kemilway site it reckons about a hundred and fifty hours to build a coach depending on experience. Having had some of these kits in 4mm some years ago I had an idea what to expect and this is where I got to after 4 hours yesterday.
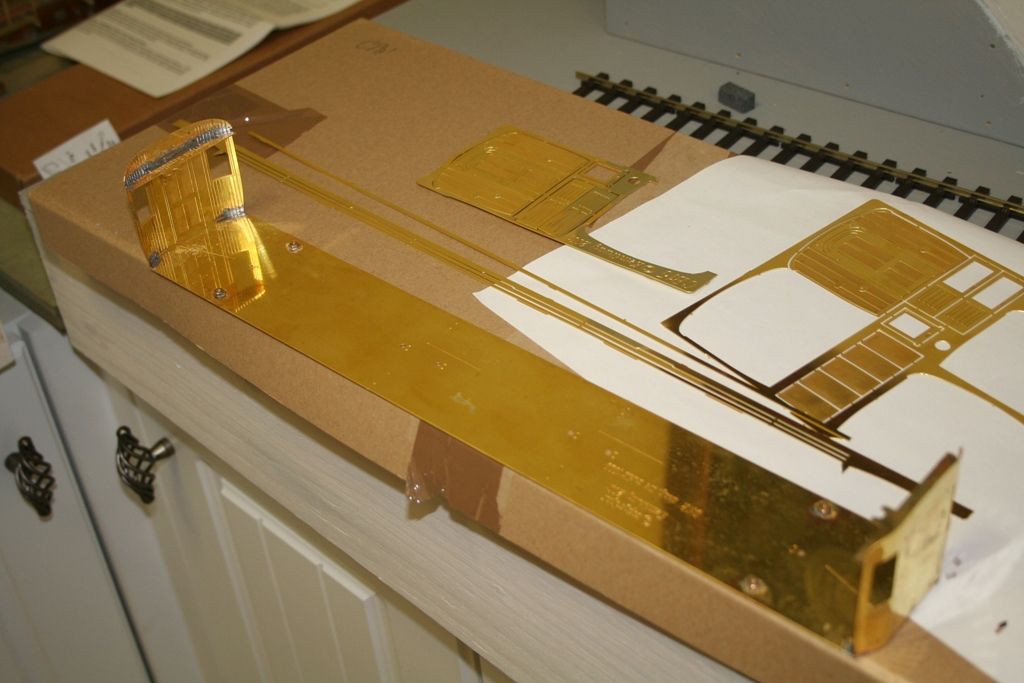
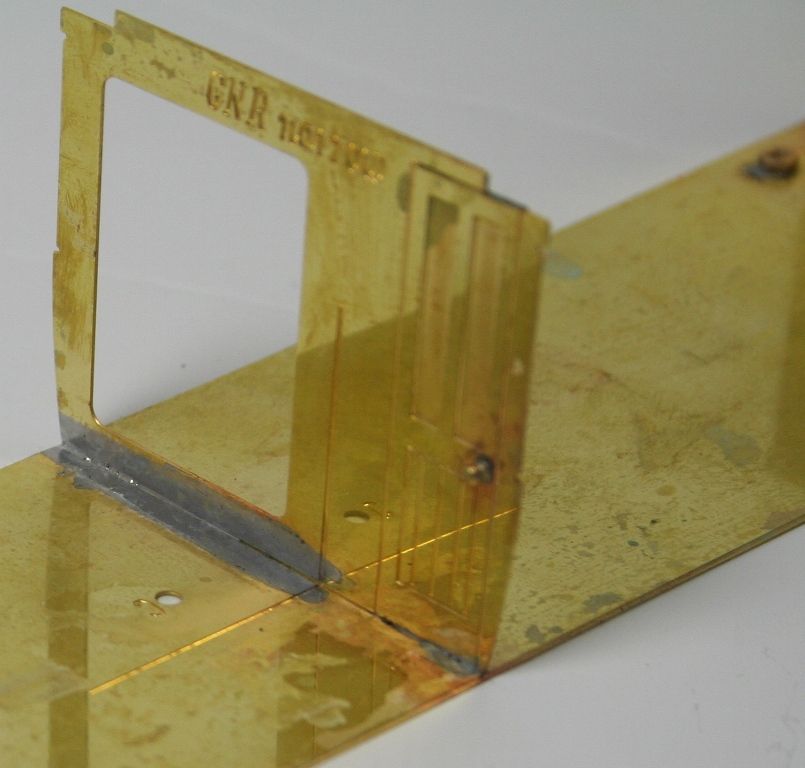
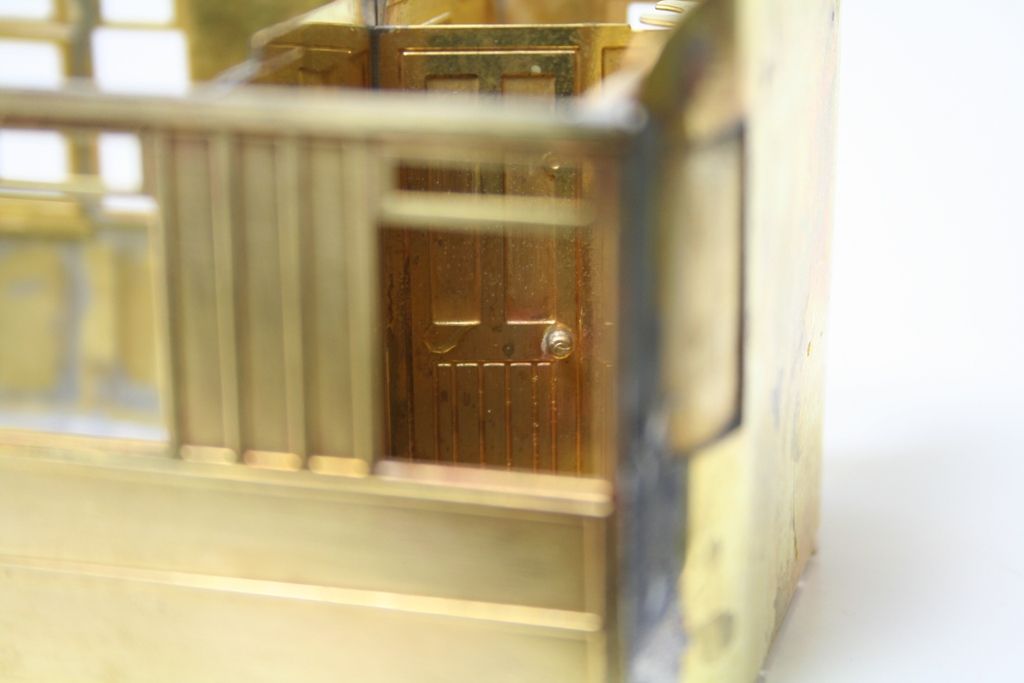
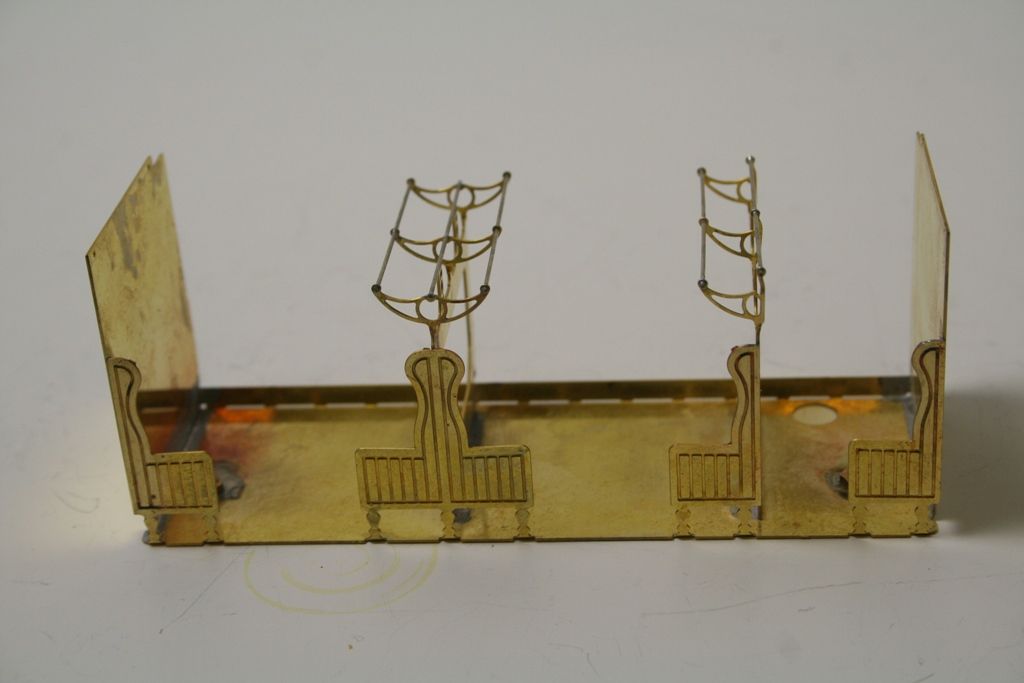
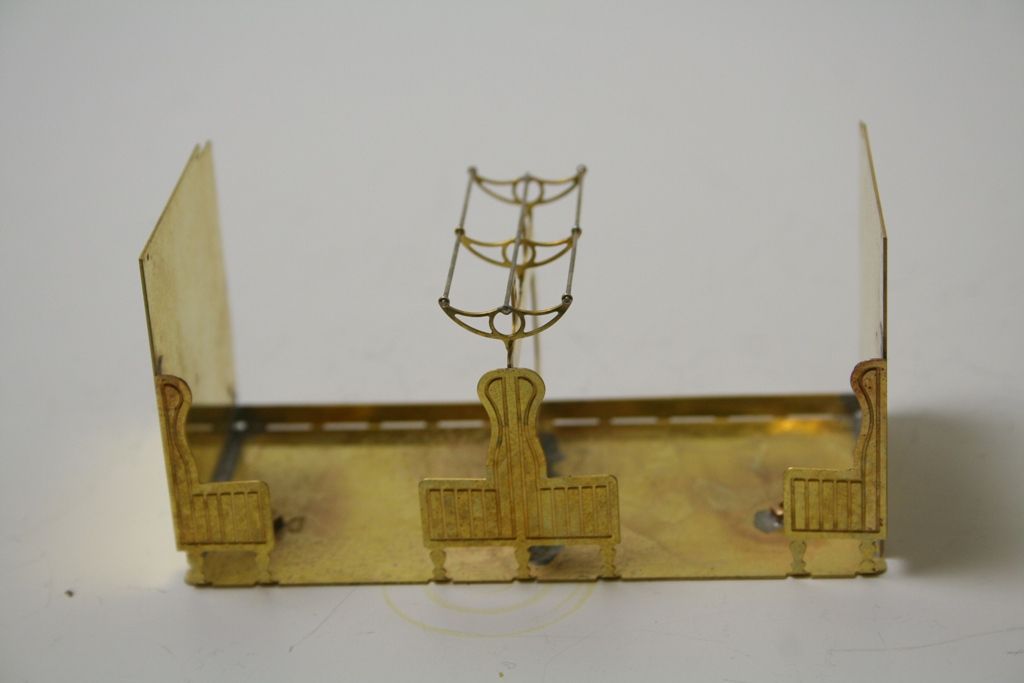
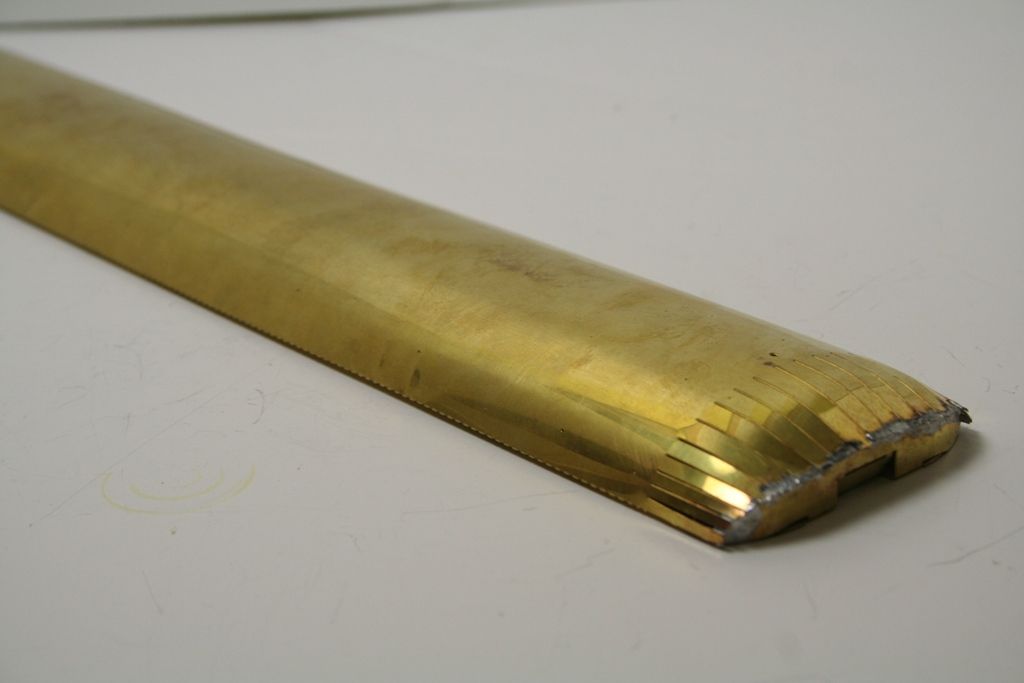
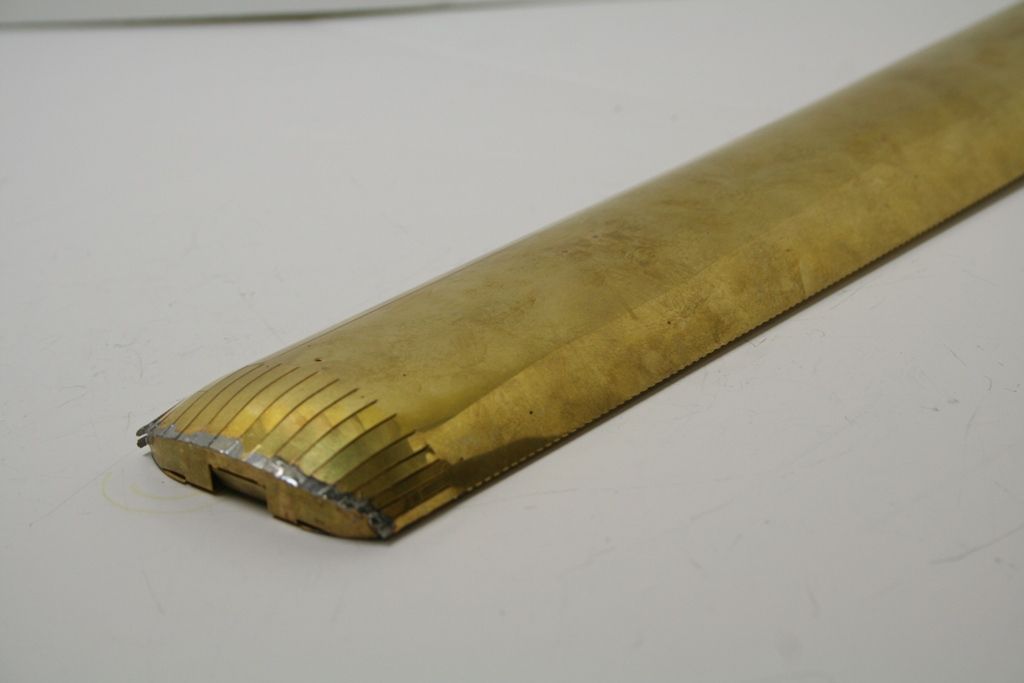
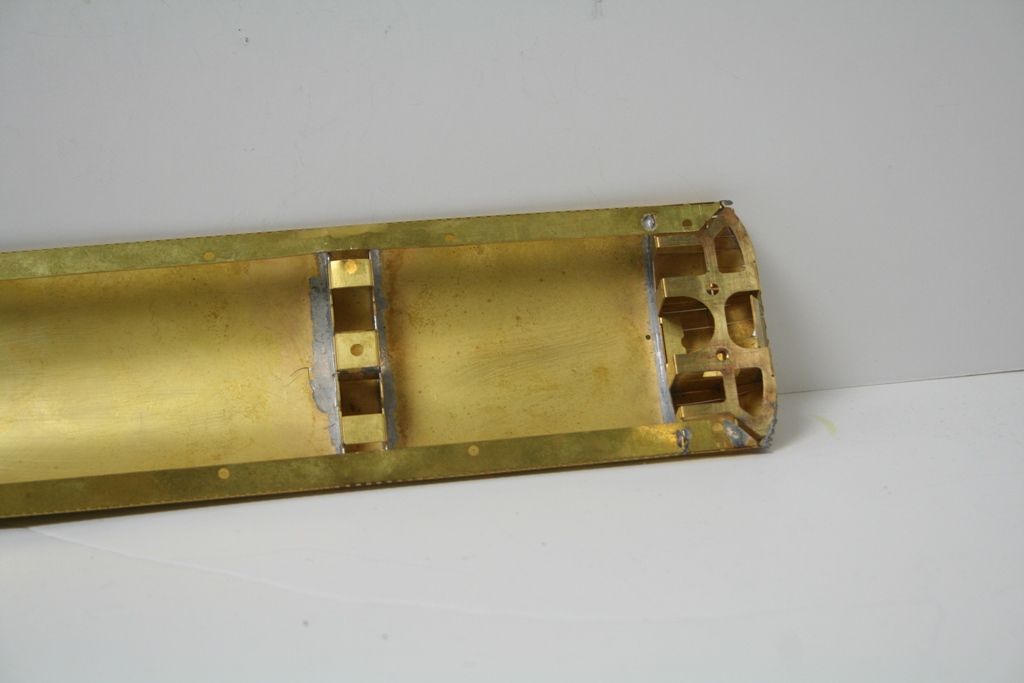
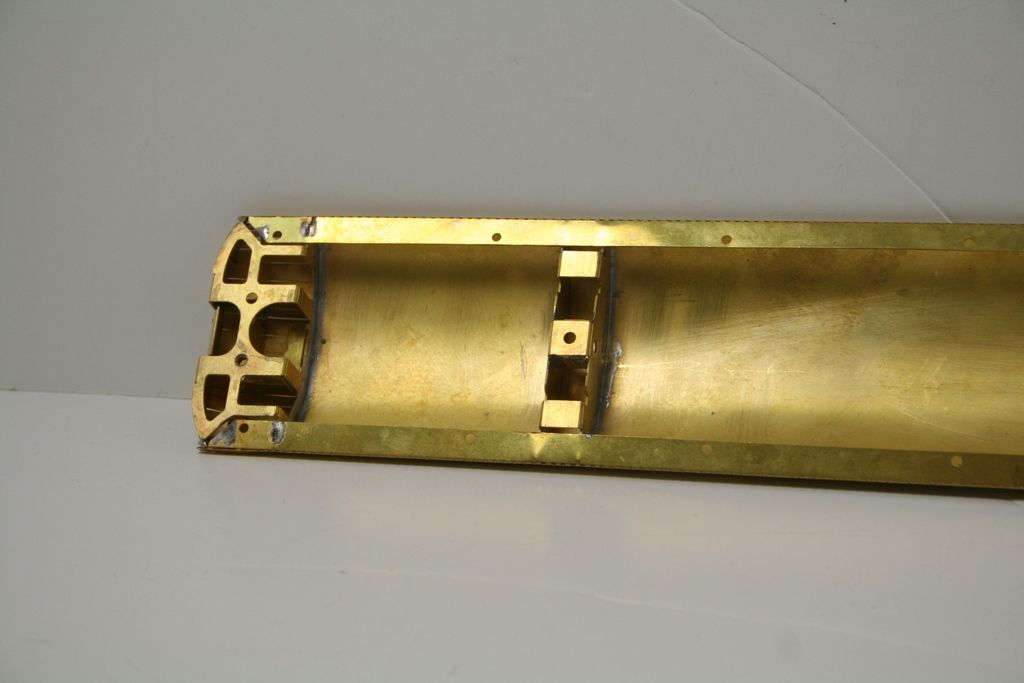
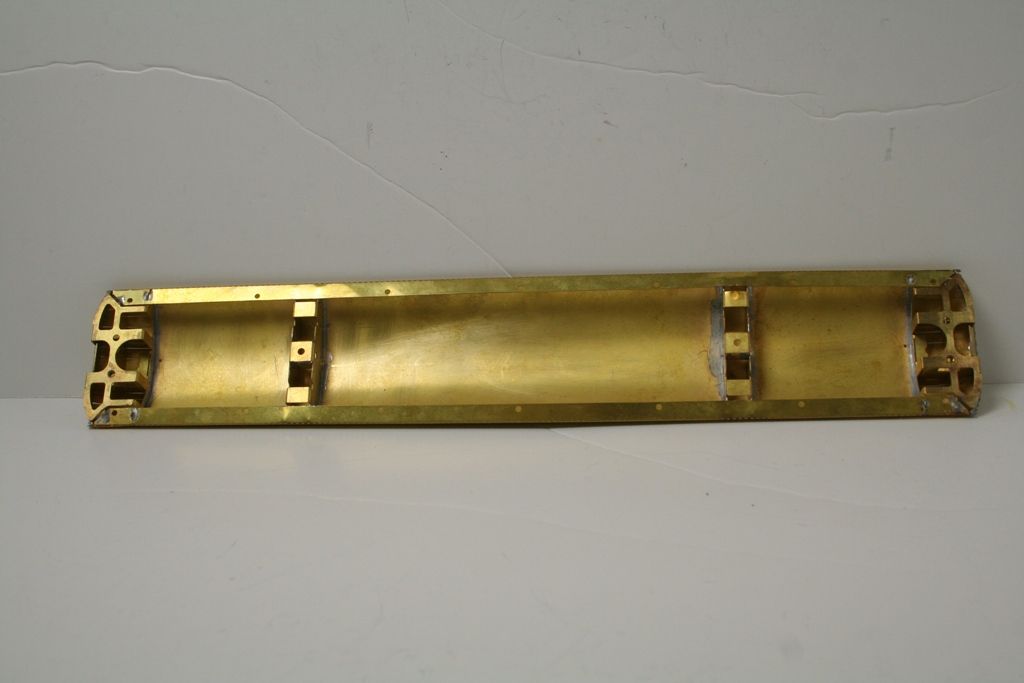
The floor pan folded up and the inner ends curved with the formers soldered in.
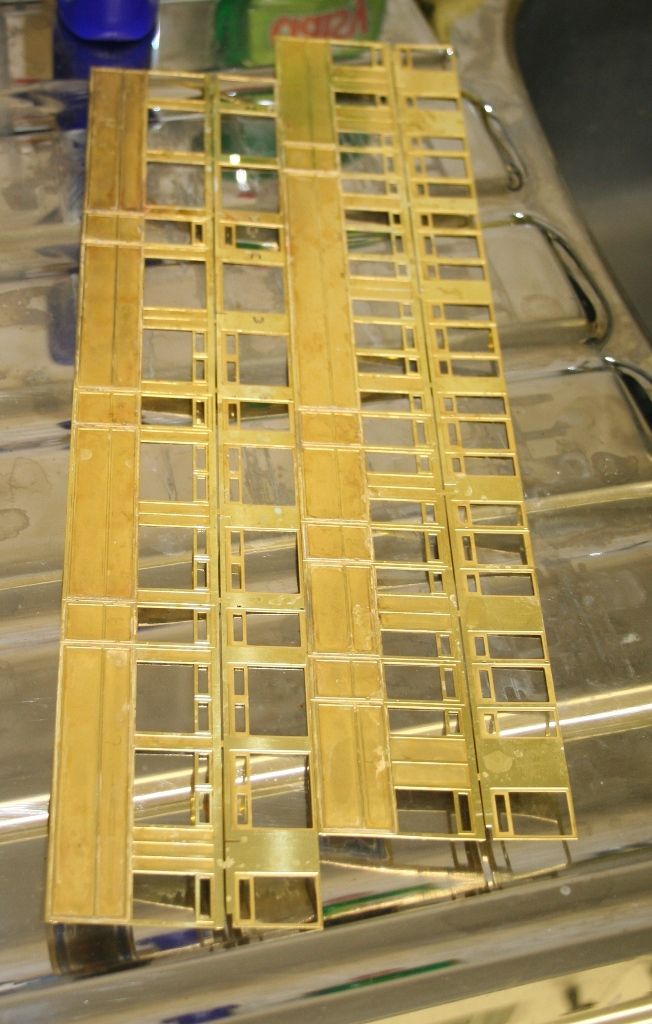
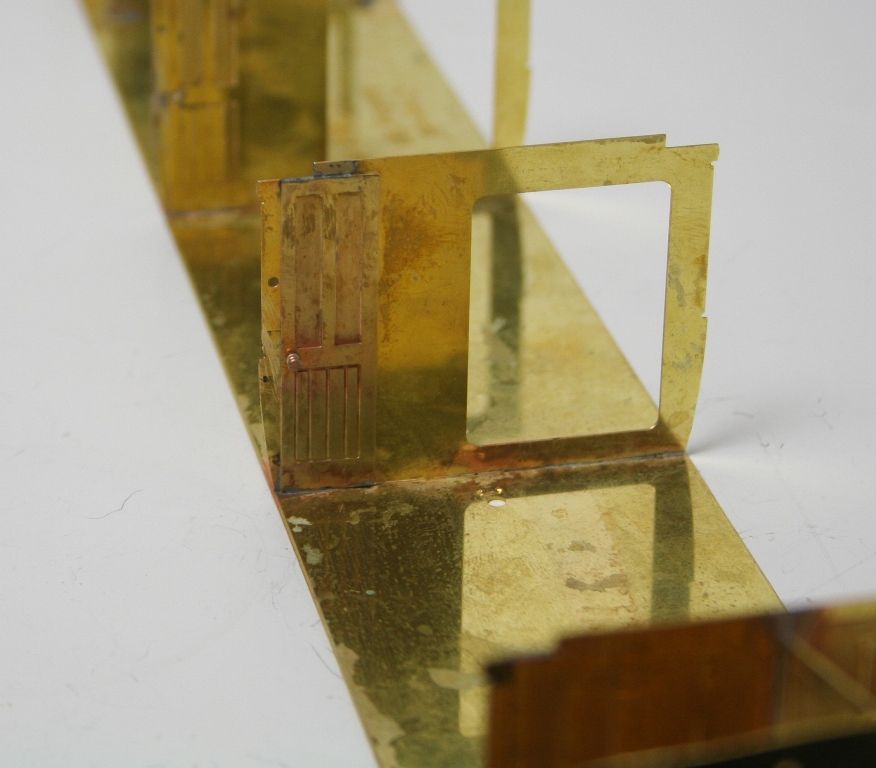
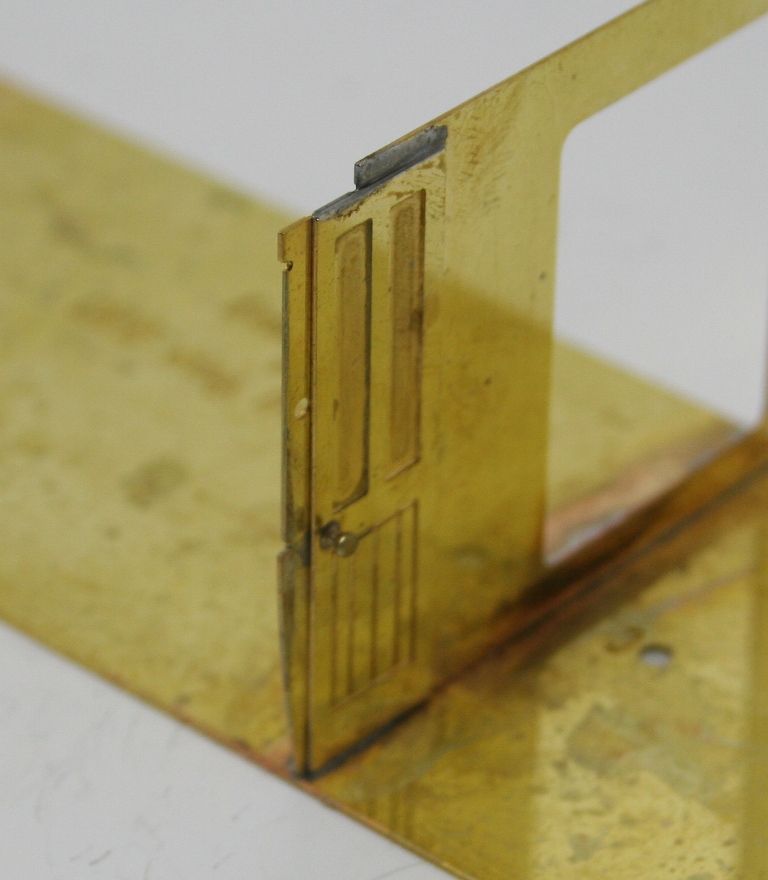
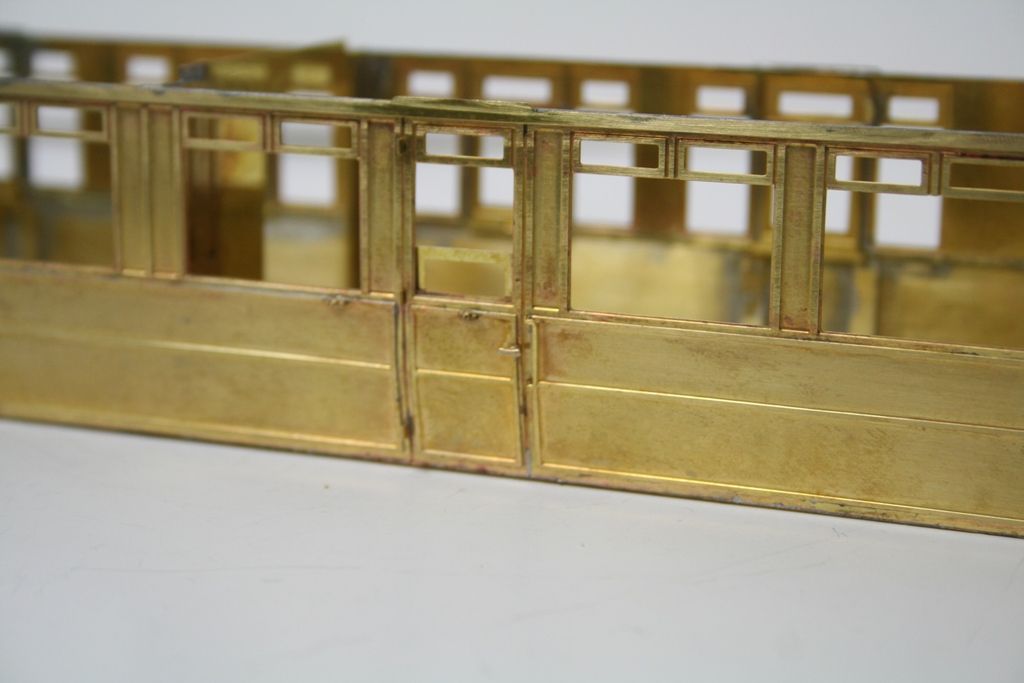
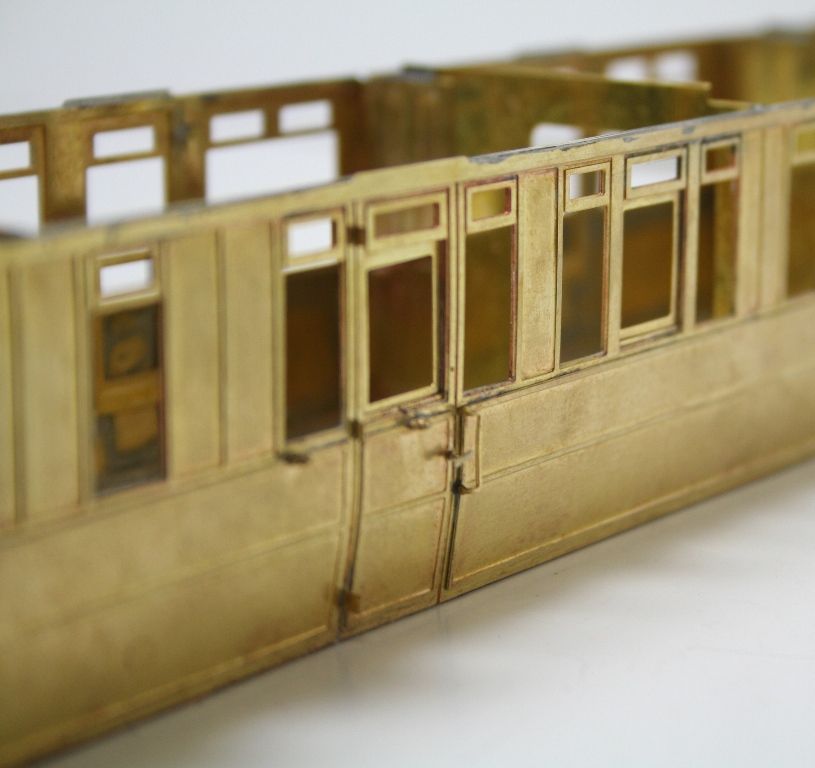
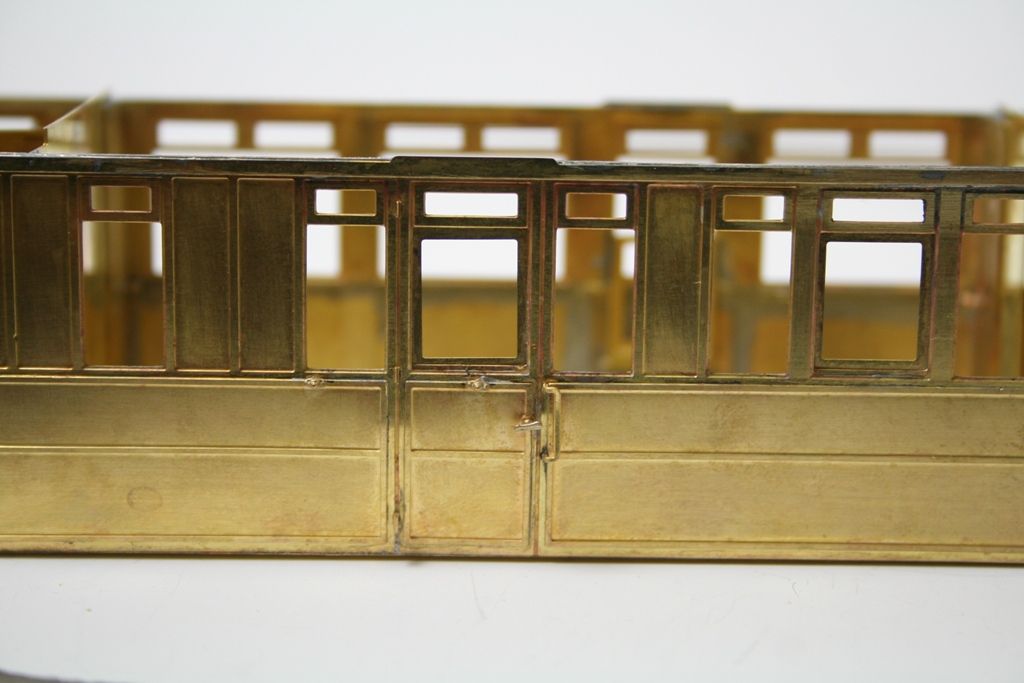
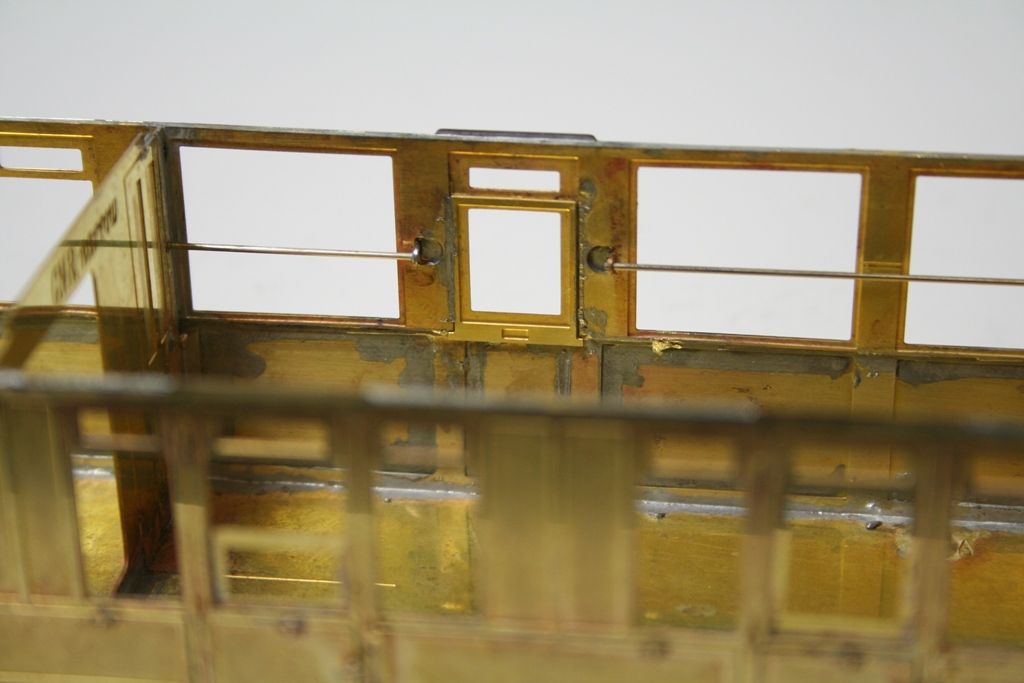
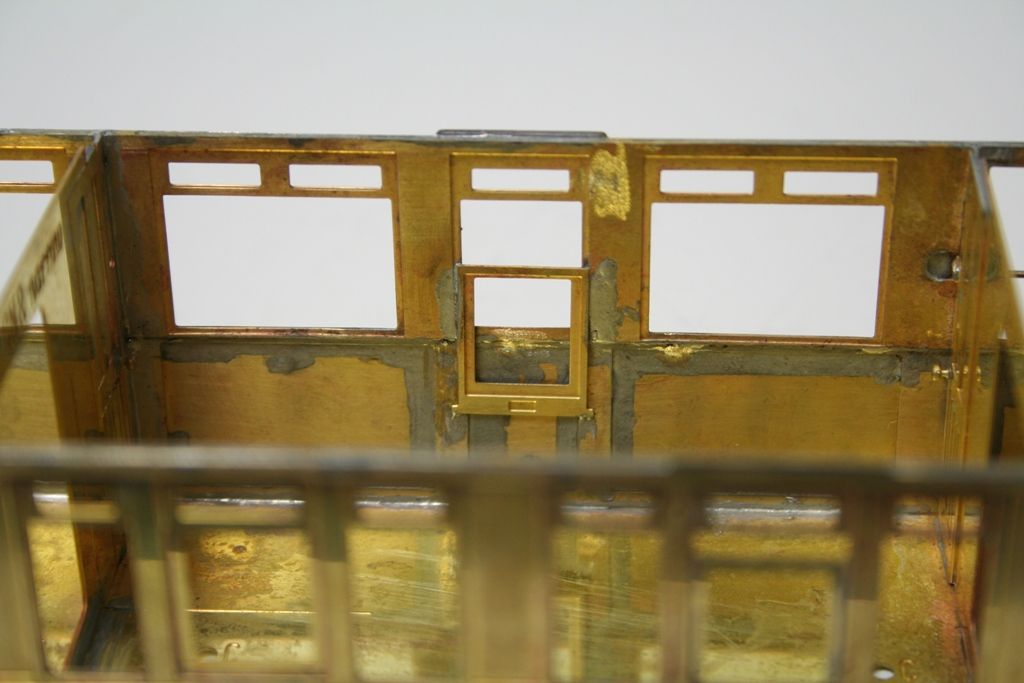
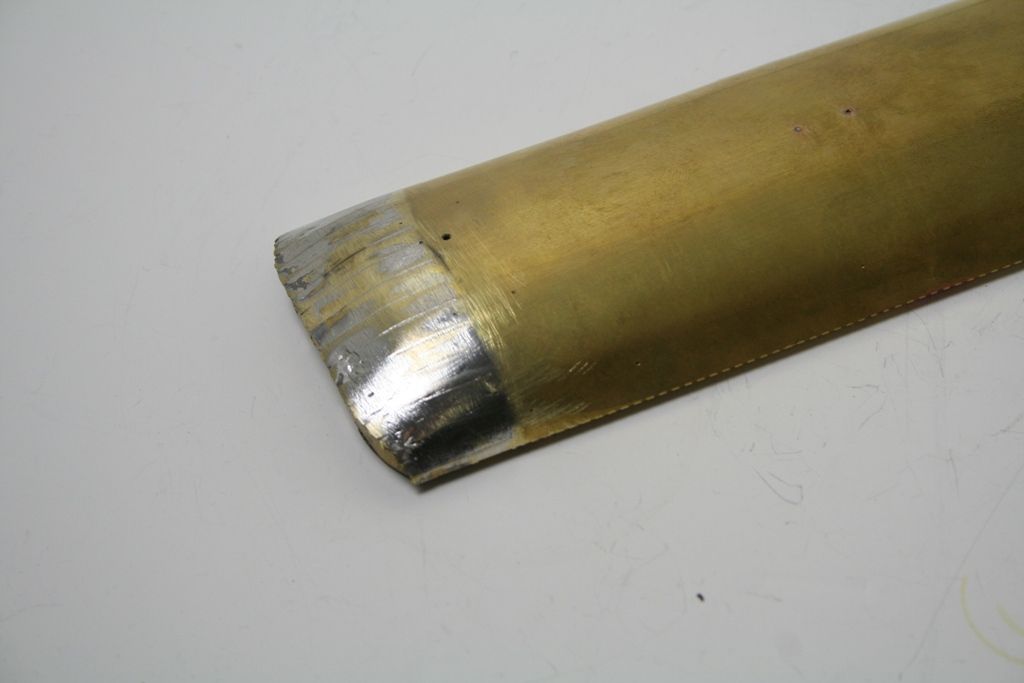
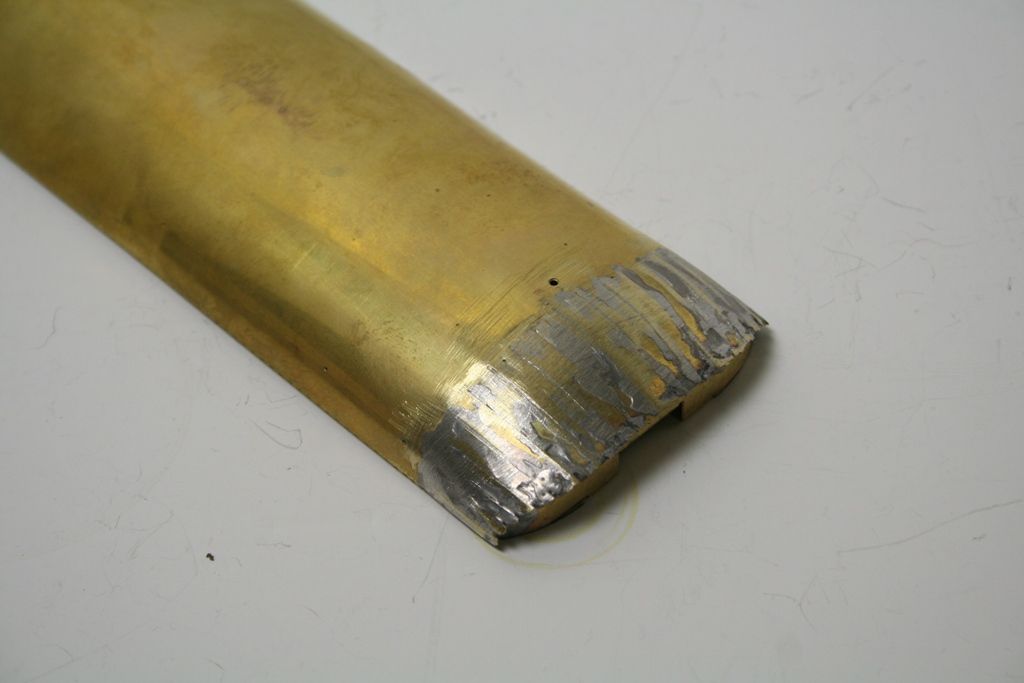
Both sides have their separate bottom panels soldered in.
Even though I had filed of the etching cusps I struggled with the first side to get the panels in flat etc. with a couple needing to be dropped out and repositioned. On the second side I made doubly sure that I had removed the cusps and I put a slight chamfer on the edges of each panel. This meant that they snapped into place with ease and I soldered up the second side in half the time it took for the first - a lesson learned for the next one.
Nah! I am sure that it will come as no surprise that it didn't take much encouragement from Chris for me to start on one of the coach kits that she bought me for my birthday.
This is some of what's in the box - for this particular coach I am still waiting for the underframe and bogie etches.


Having had a read of the quite comprehensive instructions available for download from the kemilway site it reckons about a hundred and fifty hours to build a coach depending on experience. Having had some of these kits in 4mm some years ago I had an idea what to expect and this is where I got to after 4 hours yesterday.

The floor pan folded up and the inner ends curved with the formers soldered in.

Both sides have their separate bottom panels soldered in.
Even though I had filed of the etching cusps I struggled with the first side to get the panels in flat etc. with a couple needing to be dropped out and repositioned. On the second side I made doubly sure that I had removed the cusps and I put a slight chamfer on the edges of each panel. This meant that they snapped into place with ease and I soldered up the second side in half the time it took for the first - a lesson learned for the next one.
