Page 1 of 2
Rob's 3D CAD workbench
Posted: Tue Aug 03, 2021 7:32 pm
by Robpulham
Not everything that I am drawing in Fusion fits with specific topics so I thought it would be easier to share my Fusion dabbling on a separate thread.
Before I get stuck into some more physical model making I thought that I would try my hand at an axle box. One of my LNER Wagon Books (Tatlow vol 3) has a GA for an NER open wagon which showed the type of axle box that was looking for.
I scanned the drawing and imported it into fusion on two planes. Since picking up how to calibrate drawings from the last SIG session this job has become much easier than my rather long winded manual resizing of the drawing that I was doing previously


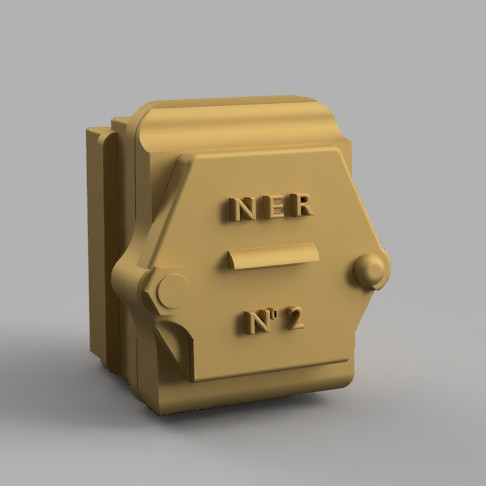
I also discovered the render tool which makes the pictures look so much better.
Re: Rob's 3D CAD workbench
Posted: Wed Aug 04, 2021 12:01 pm
by Hatfield Shed
Neat. You might produce a version with the securing bolt released and the cover plate swung down on the pin with the axle end and journal exposed. (In the long ago I made a few such of different types for a cripple road, wagons run hot detached from freights and waiting the attention of the greaser, based on a photo of such a location.)
Re: Rob's 3D CAD workbench
Posted: Thu Aug 05, 2021 12:48 pm
by Robpulham
Now that would be an interesting challenge, I am not sure that I will take it up, but never say never...
Re: Rob's 3D CAD workbench
Posted: Thu Aug 05, 2021 12:51 pm
by Robpulham
Paul very kindly pointed out that we don't necessarily model the portion of the axle box behind the W Iron in our scales so I quickly modified the file to leave just the part that sits on the front of the W Iron


Re: Rob's 3D CAD workbench
Posted: Fri Aug 06, 2021 7:22 am
by jwealleans
I assumed you'd make them fully working, like everything else. No opening front flap and oil pads?
Re: Rob's 3D CAD workbench
Posted: Fri Aug 06, 2021 9:09 am
by Robpulham
jwealleans wrote: ↑Fri Aug 06, 2021 7:22 am
I assumed you'd make them fully working, like everything else. No opening front flap and oil pads?
Baby steps at first

Re: Rob's 3D CAD workbench
Posted: Sun Aug 29, 2021 4:14 pm
by Robpulham
Re: Rob's 3D CAD workbench
Posted: Mon Aug 30, 2021 10:01 am
by Robpulham
Re: Rob's 3D CAD workbench
Posted: Tue Aug 31, 2021 7:42 pm
by Robpulham
Re: Rob's 3D CAD workbench
Posted: Wed Sep 01, 2021 11:56 am
by Robpulham
Did anyone spot the not so deliberate mistake?
Tom gently pointed out that I had the orientation of the top out. It should run in line with the boiler DOH!
As ever with these things fixing the mistake taught me a few things which has improved this version over yesterday's effort so it wasn't a total bust.
Re: Rob's 3D CAD workbench
Posted: Wed Sep 01, 2021 5:05 pm
by Robpulham
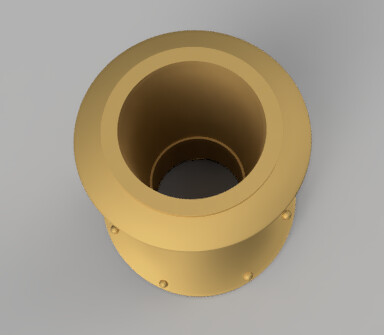
J Class chimney to go with the Safety Valve bonnet.
Albeit that the J class didn't actually have a brass cap the drawing that I used showed it so I couldn't resist adding it for the photos at least.
I did a version with rivets around the base but apparently the NER used countersunk bolts with nothing visible after paint so I removed them.
Re: Rob's 3D CAD workbench
Posted: Wed Sep 01, 2021 8:54 pm
by Robpulham
Re: Rob's 3D CAD workbench
Posted: Mon Oct 11, 2021 12:21 pm
by Robpulham
After my recent adventures with horse drawn vehicles I thought that I would have a go at drawing up a spoked wheel.
The lack of availability of suitable wheels has been what has held me back in the past from doing more with horse drawn vehicles. They were so much a part of the railway scene in my chosen modelling era. Indeed my paternal grandfather was still delivering milk from his farm via horse and cart in the late 1950's
The basic wheel and spokes took only a short time to draw up but it then took around an hour and a half to work out how to get the camber on the spokes. I deleted the ring of spokes multiple times before I got there.
Re: Rob's 3D CAD workbench
Posted: Fri Jul 08, 2022 2:09 pm
by Robpulham
I haven't had much time for physical modelling this week so I have spend what time I have had doing a bit more drawing in Fusion.
These are an assortment of parts for the D2 test build when I get back to it.

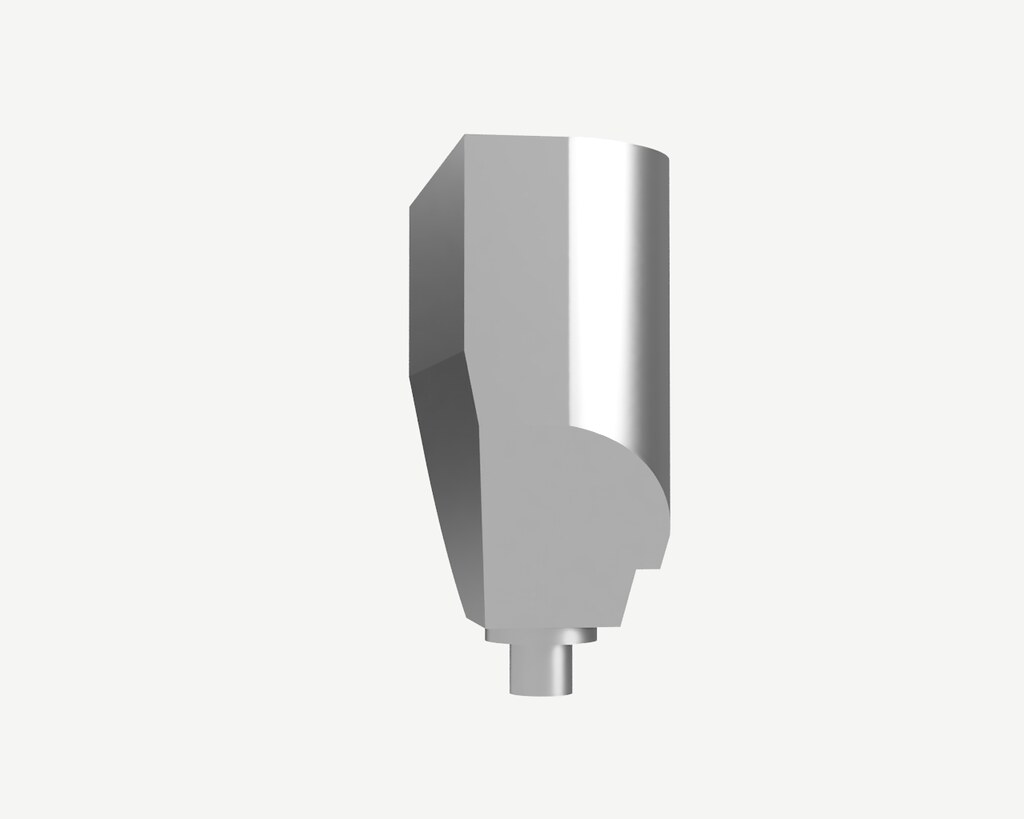
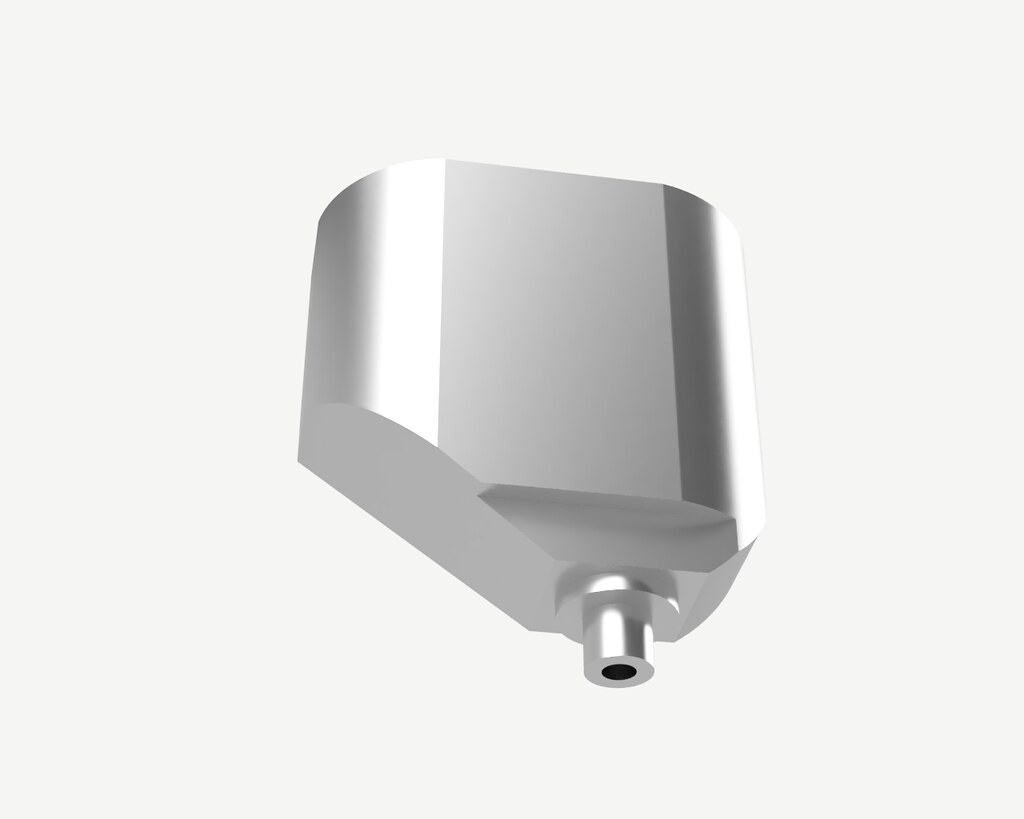
Front Sandbox, most of it will be hidden behind the front steps but some of it is visible.

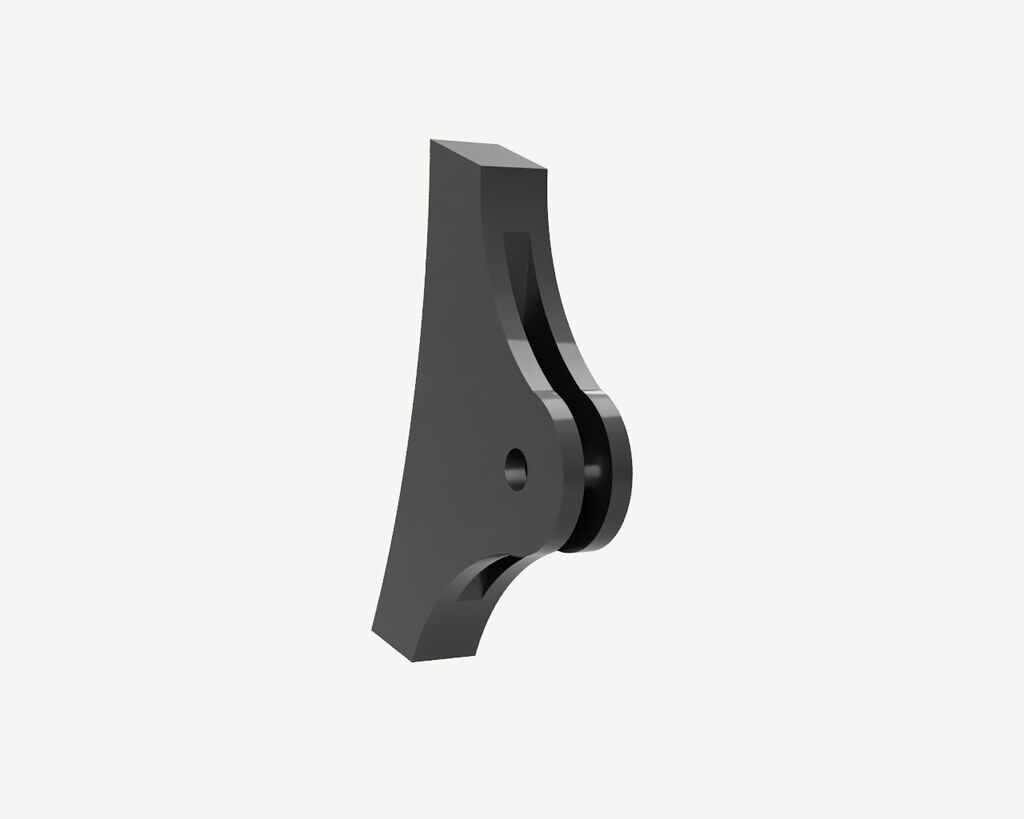
Brake shoes, to take away the risk of shorts.
Finally for now at least is the Reverser for the cab


Re: Rob's 3D CAD workbench
Posted: Fri Jul 08, 2022 5:08 pm
by Robpulham
I couldn't resist another embellishment to the reverser.


