Although these parts are allied to a current non LNER build, I thought that I would add the making of them and the reasoning behind it as a separate thread just in case anyone has need to solve a similar problem in the future.
On the tender I had to make the brake gear removable to ensure that I could remove the wheels due to them being mounted on telescopic axles. This need stems from a similar issue but I will start at the beginning.
Although the gent that I am building it for doesn't want full inside motion. One thing that is quite visible through holes in the front frames, is movement of the crossheads. I was asked if I could add some element of movement using the spare outside motion bits from the kit ( a set of Premier rods etc. has been supplied for the build). Having started to think about it long before getting to the actual start of the build I realised that with the axles being hollow I couldn't use traditional cranks to make the crossheads move (or rather I wasn't comfortable that I could make it work without ruining axles wheels). So I thought that a pair of eccentrics would impart movement while being able to be attached to the hollow axles without having to cut them.
We agreed this as the way forward and I ultimately bought castings for the slide bars/crossheads and eccentric straps from Laurie Griffin. I was also going to buy some eccentric sheaves too until I recalled Nick Dunhill finding the new cast versions very time consuming to prepare. Further thought made me also realise that the LG cast ones wouldn't really work anyway. This is because in a 'normal' inside motion set up the eccentric sheaves are trapped between the cranks so the eccentric straps cannot slip off the edge of the sheaves. Of course, I planned to use them as a single eccentric so they would need to be restrained at either side.
Instead of ordering a set of cast eccentrics along with the other parts, I bought a length of 12mm round brass bar instead.
Initially I was going to offset in the lathe using a four jaw chuck to offset the bar but having done a bit of research online, most machinists were of the view that you could but if you had a mill it would be far easier to drill it in the mill. Not being as proficient with my mill as I hope to be in time I did use the lathe to put a small centre mark in the end of the bar before transferring it to the vice in the mill.
Then using a centre drill inserted into my centre mark to centre it quickly, it was easy to plot the offset (2.4mm, more on this later) and then drill it out to 4.5mm. I then took it to final size with a reamer.
Transferring it back to the lathe I took a skim off the outside and marked up for the first sheave. Some time later we had this.
I tried the eccentric strap for size and found it was just a little too wide for the strap to close completely around the sheave.
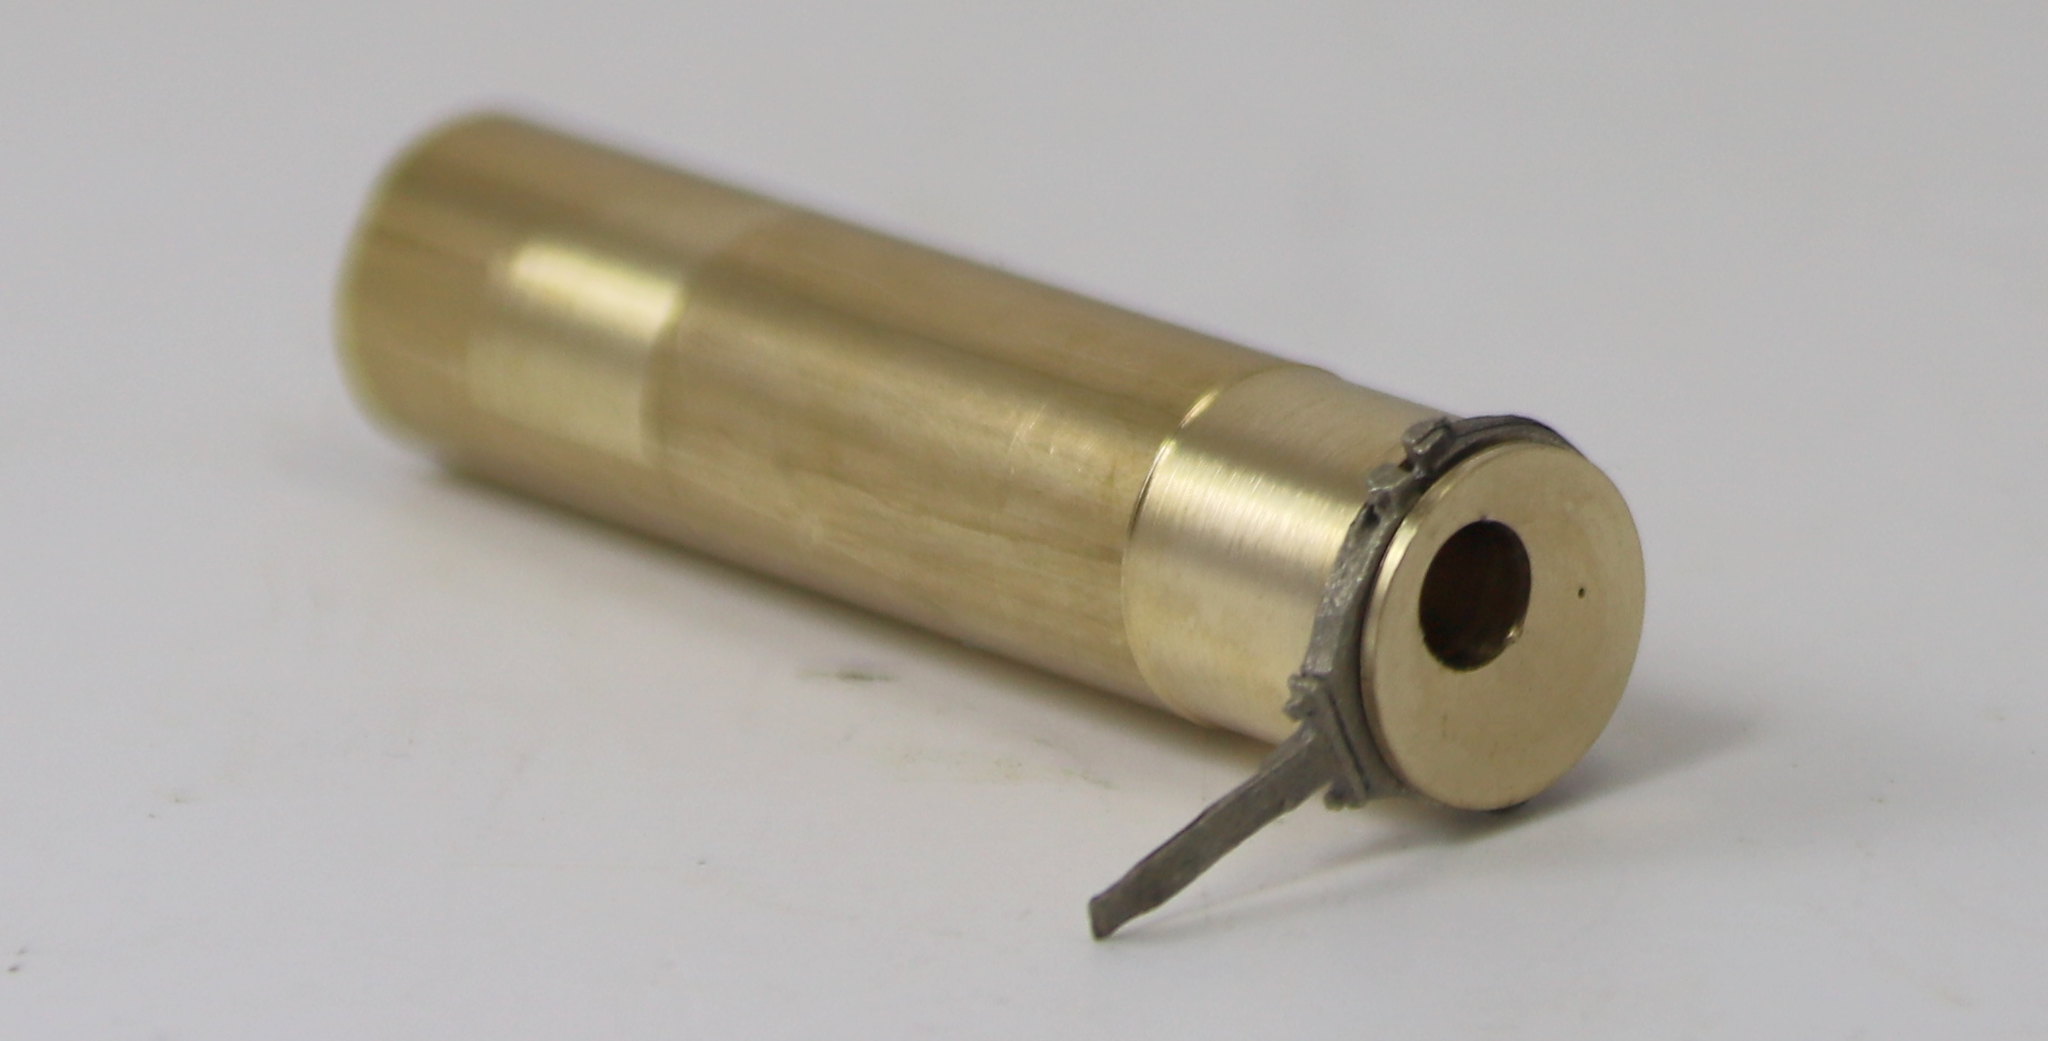
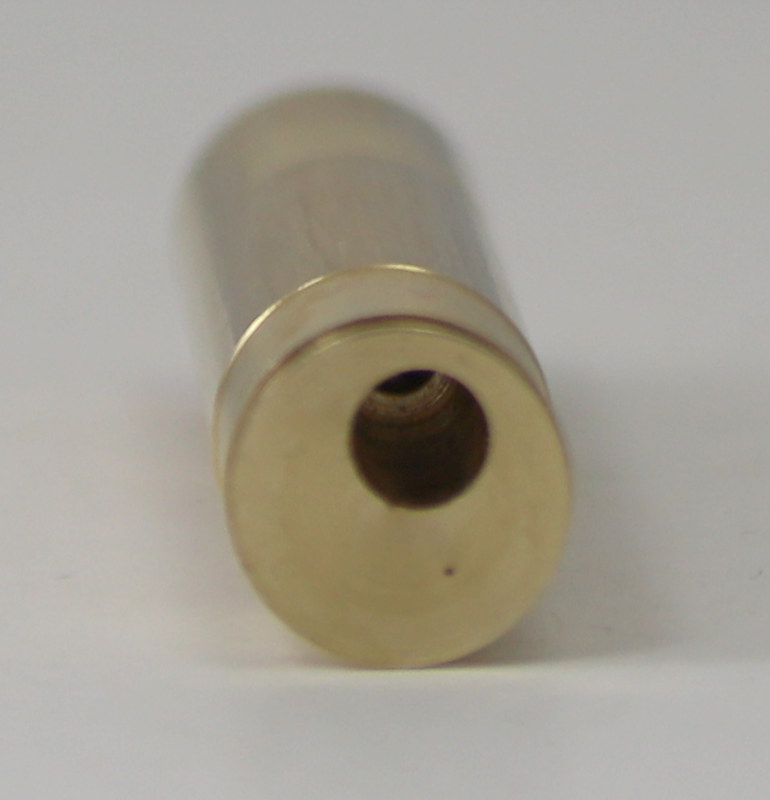
It was at this point that I noticed that the depth of cut of the groove to accommodate the strap was such that it was very close to breaking through into the offset hole. It seems that in setting my offset hole at 2.4mm from the centre to gain the maximum amount of movement was just too much.
You may be able to see the mark where it’s just about to break through in the image below. This was made worse by having to apply a second slightly larger reamer than 3/16 (4.74mm) to get the axle end into the offset hole
The plan is to start again from the other end with a 2mm offset hole and see how I get on.
To be continued…
Milled Lamp Irons
Moderators: 52D, Tom F, Rlangham, Atlantic 3279, Blink Bonny, Saint Johnstoun, richard
- Robpulham
- LNER A4 4-6-2 'Streak'
- Posts: 1721
- Joined: Thu Mar 27, 2008 9:54 pm
- Location: Lower Wensleydale
- Contact:
Milled Lamp Irons
Last edited by Robpulham on Tue Dec 14, 2021 6:31 pm, edited 1 time in total.
Re: Homemade Eccentric Sheaves
Lovely. Imagine having to do that in 4mm.
- Robpulham
- LNER A4 4-6-2 'Streak'
- Posts: 1721
- Joined: Thu Mar 27, 2008 9:54 pm
- Location: Lower Wensleydale
- Contact:
Re: Homemade Eccentric Sheaves
I am glad that I don't have to. The slots in these are challenging enough.
- Robpulham
- LNER A4 4-6-2 'Streak'
- Posts: 1721
- Joined: Thu Mar 27, 2008 9:54 pm
- Location: Lower Wensleydale
- Contact:
Re: Homemade Eccentric Sheaves
I went through the process again this time drilling the offset at 2mm which proved to be perfect for this particular application.
I had been using a very thin cutting tool which someone had ground (not very well it turned out) which came in the box of bits with the lathe. After cutting the first one I thought that I would examine the tool to see if I could improve it or at least rub it on a stone to restore the cutting edge. When I looked closely at the cutting part I noticed that the bottom of the tool was wider than the top and although there was some rake away from the cutting edge the fact that it was getting thicker couldn’t be helping to make an efficient cut.
This is a sketch of what the tool looked like originally albeit the bottom of the wedge is somewhat exaggerated.
I have watched a few Youtube videos on sharpening lathe tools recently so I had a go at grinding the tool to take off some of the thickness towards the bottom making the two sides parallel.
This improved the cut and I successfully cut the groove for the first sheave. Then I parted it off but I was a little too close leaving a very thin edge. During the parting off, the parting tool moved slightly in its holder which pushed over the thin rim of the sheave slightly closing the top of the groove.
In the end it was usable but I decided to cut another pair to be on the safe side. It was while parting off the first one that I noted that my parting tool was in fact just the right thickness for cutting the groove without having to move the carriage as well as the cross slide to get the desired cut.
Having discovered this the next one progressed much faster and modifying the fixture that holds the parting tool so that it grips the parting tool more securely by squeezing it in the vice made the third one even faster still. The parting tool is one like this albeit mine only has one tool. You will note that it’s a pressed steel fitting that grips the part with the aid of a cap screw. Mine didn’t hold the cutting tool very closely to the holder but it does now.
https://images-na.ssl-images-amazon.com ... L._AC_.jpg
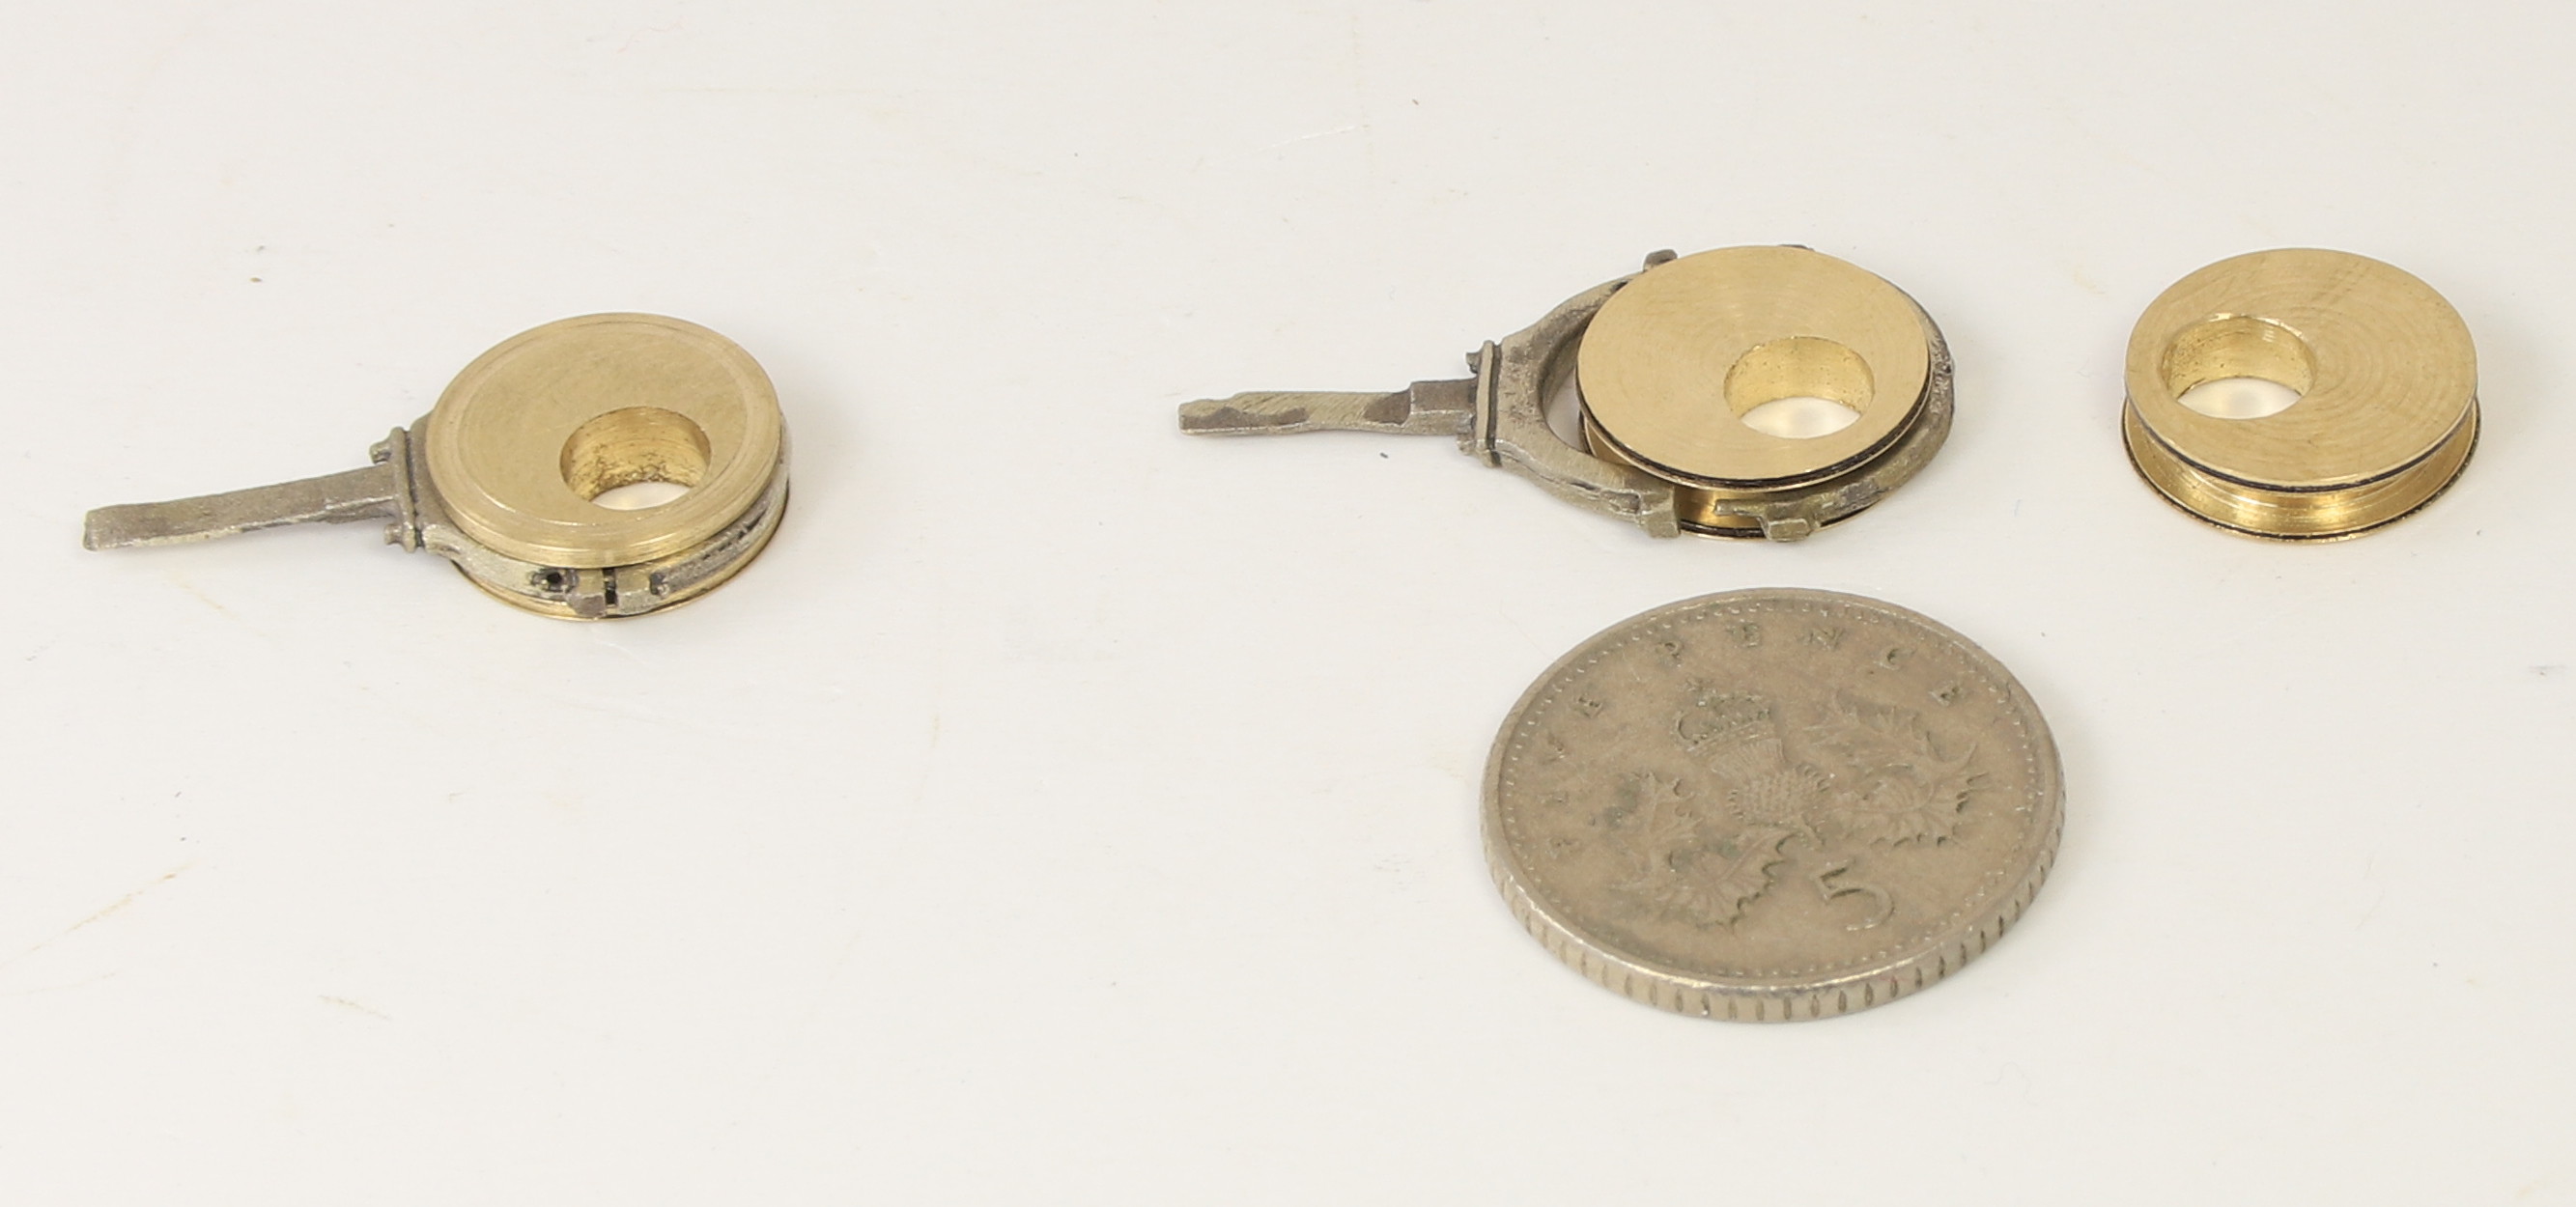
So here we have the finished sheaves.
This is how they will fit on the axle once I work out their alignment with the crossheads further down the line.
It turns out that I wasn’t far out with my 16mm deep offset hole, I had a measure of the remaining stock while putting this post together, and there is just about enough material to cut a 4th sheave had I needed a full set for a conventional inside motion build.
- Robpulham
- LNER A4 4-6-2 'Streak'
- Posts: 1721
- Joined: Thu Mar 27, 2008 9:54 pm
- Location: Lower Wensleydale
- Contact:
Milled Lamp Irons
Duplicate content deleted - I had forgotten how to edit the title and created a duplicate post instead.
Last edited by Robpulham on Tue Dec 14, 2021 6:33 pm, edited 1 time in total.
- Robpulham
- LNER A4 4-6-2 'Streak'
- Posts: 1721
- Joined: Thu Mar 27, 2008 9:54 pm
- Location: Lower Wensleydale
- Contact:
Milled Lamp Irons
Finding myself at the point of fitting lamp irons I was muttering about fold up etched version provided in kits and the fact that I ould buy some cast ones from Laurie Griffin et, al but I only needed 3 of one type and a couple of another. Then I recalled having some milled angle with one leg longer than the other which I had used for replacement step boards on the Slaters LNER brake van. I was sure I had some off cuts but they are stashed somewhere safe so while they resurface I thought about the more conventional type. I had once seen some made by silver soldering a strip at right angles to a another to recreate the shape when sawn of in strips but couldn't find the page that I had seen it on.
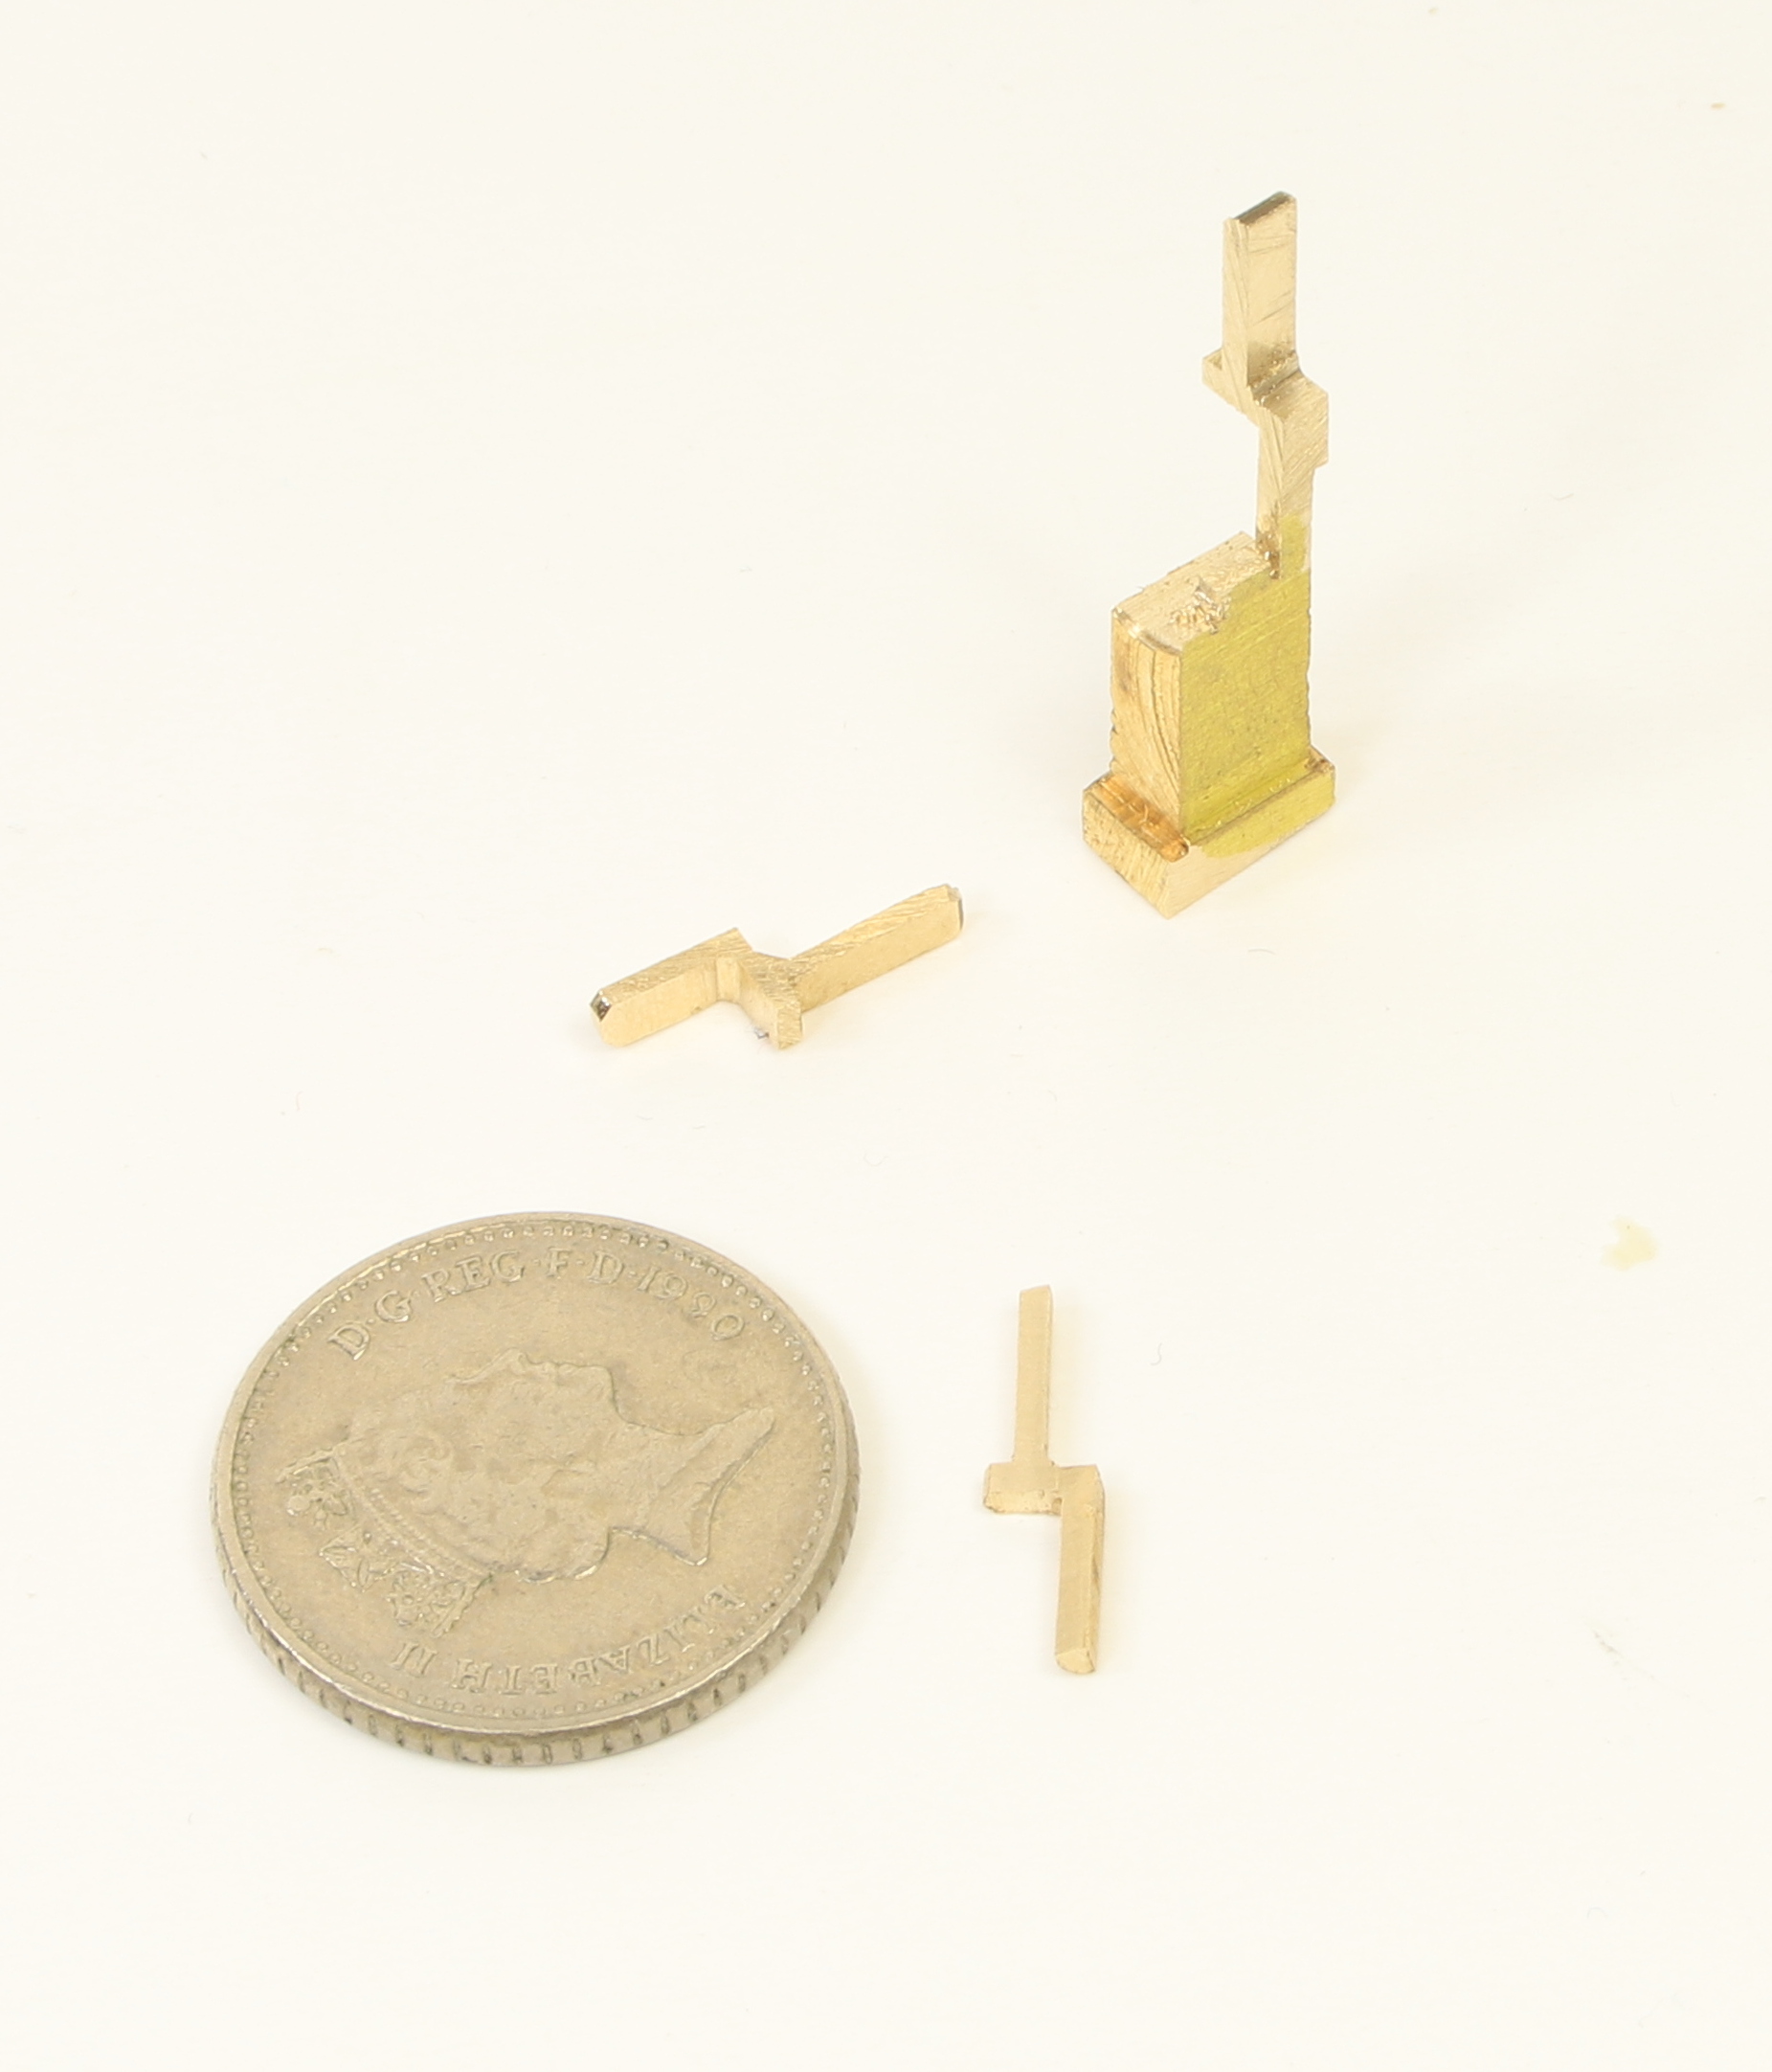
This brought to mind why don't I mill some. When we moved we had a drawer full of 13 amp plugs that I had removed from appliances before binning them. Knowing that we would never use so many plugs I took them apart and removed the pins (solid brass) for potential future material and binned the rest. Fortunately I knew exactly where they were so I set to this evening and milled one to shape.
Once I had the basic shape I then cut it into strips using a razor saw. Having proved the concept next time I make some I will use a slitting saw. I had thought about using it on these but didn't think that the milled shape would stand the cutting forces.
- Robpulham
- LNER A4 4-6-2 'Streak'
- Posts: 1721
- Joined: Thu Mar 27, 2008 9:54 pm
- Location: Lower Wensleydale
- Contact:
Milled Lamp Irons
On the back of the previous post's discussions I had another go and used the Slitting saw to separate them. With much more precise results.
This is the basic shape milled from another plug pin
Then cut with a 0.5mm slitting saw. My first go with the slitting saw that I got for my birthday a couple of months ago. Very nerve wracking!!!
After a brief clean up with a diamond file.
Finally cut off from the main pin. as long as I don't lose any I have one spare at the minute.