LNER Q1/2 Build.
Posted: Thu Mar 07, 2019 5:32 pm
Hi Folks,
First build for me. A couple of years ago I made a few 009 3D printed Loco's, they came out alright, but as is usually the case, plenty of post process was/is required.
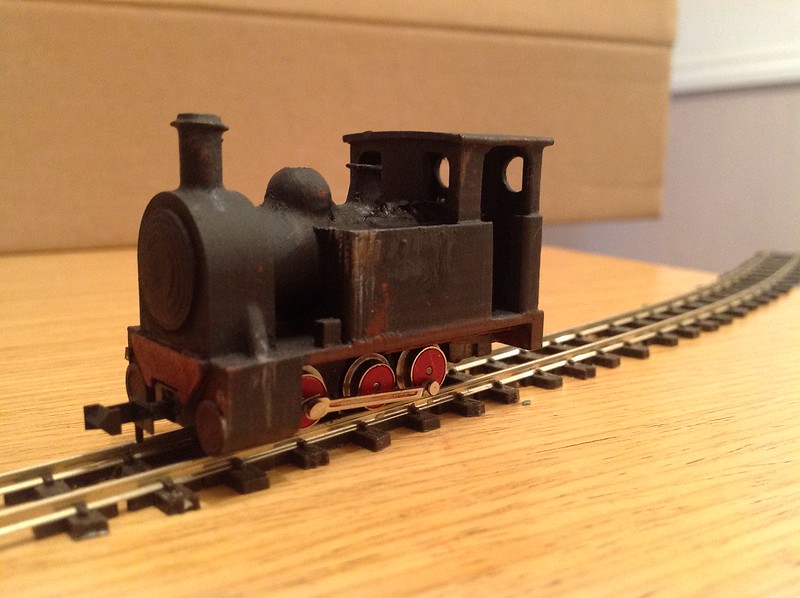 Photo 28-08-2017, 19 46 45 by Paul Sterling, on Flickr
 Photo 28-08-2017, 19 42 38 by Paul Sterling, on Flickr
As you can see, they still needed filling and finishing. The FDM process by its very nature, builds parts in layers, and curved surfaces, if not carefully orientated, have a finish not unlike woodgrain.
I've long since admired the LNER Thompson Q1, Denis Griffiths book, Heavy Freight Locomotives of Britain inspired me to have a go at making one, as it seems none of the manufacturers would ever do so, but I don't have the abilities with plasticard to do the engine justice, so a 3D printed one would almost certainly be the way. A heavily price reduced Bachmann ROD 2-8-0 sealed the deal.
Thanks to very kind and patient help from Richard (Mossie) and Graeme (Atlantic 3279) I put the design together on CAD, based off their info, and the line diagrams in Robinson Locomotives (Brian Haresnape & Peter Rowledge), the aforementioned Griffiths book, and Yeadons' LNER Locomotives Volume 20. I've since bought the RCTS book which covers the class. I've modelled the Q1/2 with the extended rear bunker, as the extra 2mm scale makes it long enough to use the Bachmann chassis unmodified.
This is the earliest mule print, to make sure everything goes together. The print was done in three parts, so that 1, I could change dimensions without having to reprint the whole thing, and 2, so that each respective part, smokebox/boiler, frames and tank/cab/bunker could all be orientated in a direction to limit the wood-grain effect and maximise structural integrity, and 3 so I could add detail parts to it and the filling with it in bits. Despite the size, this doesn't use a vast amount of filament, but showed room for improvement.
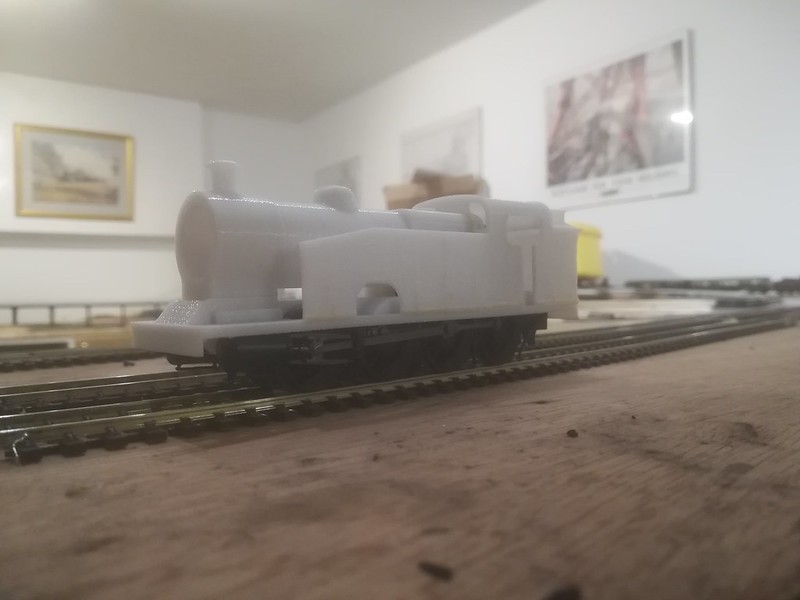 IMG_20190218_221828 by Paul Sterling, on Flickr
This was held together with Gorilla Glue, but no nonsense superglue does the job even better. The underside mimics the cast metal frame of the ROD/O4, and no modifications are required to the chassis, it can fasten straight in, aside from bridging the tender plug, which is a simple task, as kindly advised by Graeme King.
 Q1 3rd build by Paul Sterling, on Flickr
The Mk2 was a better print, and I used more alignment features to make sure the three parts almost clipped together, irrespective of glue. the frame didn't sit quite level, so I needed to create some additional pockets and some minor revisions. as it was, changing one face by something daft like 0.15mm made 1mm of difference end to end!
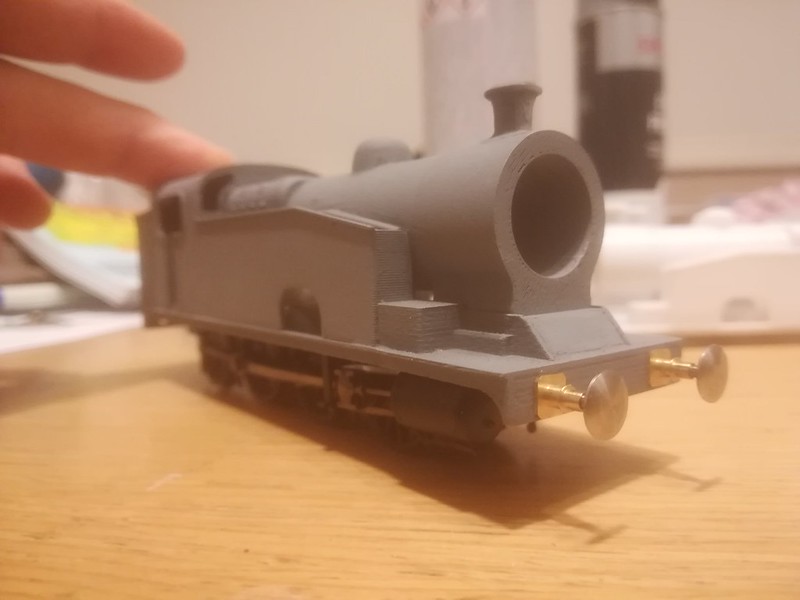
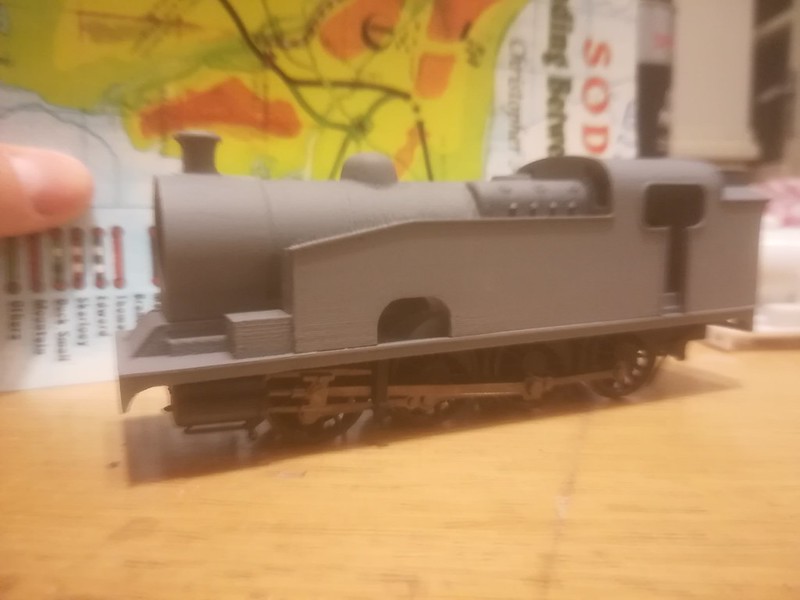
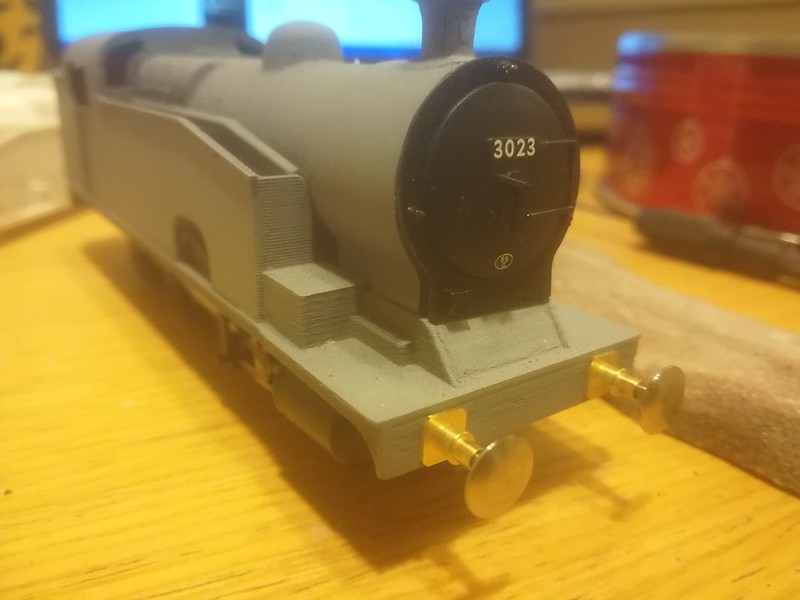
The next pics are the mk3, which is hopefully the final one. Even with the prints correctly orientated, there is still a bit of woodgrain, so I've filled and sanded the body where needed. you can see after the first cut of filler and primer that some graining stillshows through.
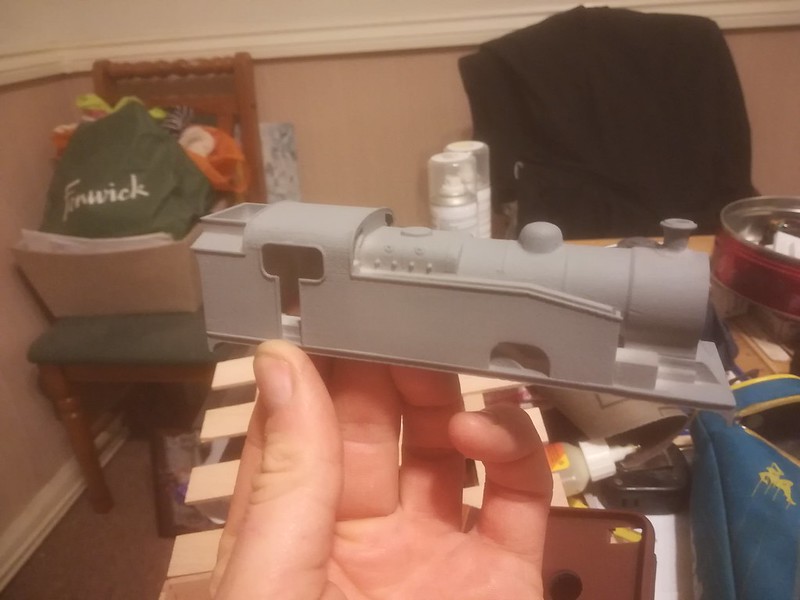 IMG_20190305_200639 by Paul Sterling, on Flickr
 IMG_20190305_200720 by Paul Sterling, on Flickr
 IMG_20190305_200657 by Paul Sterling, on Flickr
So after another light fill and sand, things start to look better.
 IMG_20190307_064225 by Paul Sterling, on Flickr
There is a little distortion on the pictures, but its mostly my appalling camera skills.
What I have done deliberately is left the tops of the tanks open, this is to fill them with lead ballast, probably the boiler barrel and bunker as well.
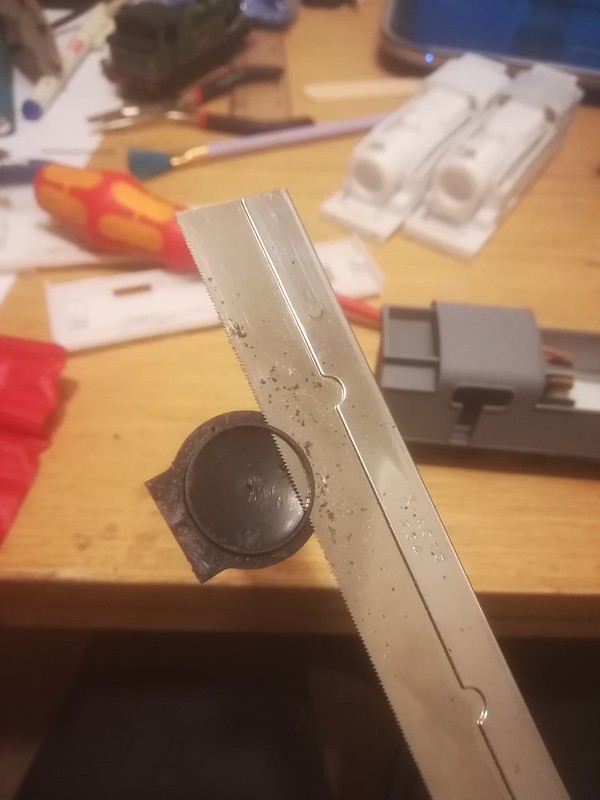
The next challenge is the smokebox door, its a shape with makes it difficult to get around wood grain effect on print, and to be honest, would probably be best as a whitemetal part.
More to follow
Thanks, Paul.
First build for me. A couple of years ago I made a few 009 3D printed Loco's, they came out alright, but as is usually the case, plenty of post process was/is required.
 Photo 28-08-2017, 19 46 45 by Paul Sterling, on Flickr
 Photo 28-08-2017, 19 42 38 by Paul Sterling, on Flickr
As you can see, they still needed filling and finishing. The FDM process by its very nature, builds parts in layers, and curved surfaces, if not carefully orientated, have a finish not unlike woodgrain.
I've long since admired the LNER Thompson Q1, Denis Griffiths book, Heavy Freight Locomotives of Britain inspired me to have a go at making one, as it seems none of the manufacturers would ever do so, but I don't have the abilities with plasticard to do the engine justice, so a 3D printed one would almost certainly be the way. A heavily price reduced Bachmann ROD 2-8-0 sealed the deal.
Thanks to very kind and patient help from Richard (Mossie) and Graeme (Atlantic 3279) I put the design together on CAD, based off their info, and the line diagrams in Robinson Locomotives (Brian Haresnape & Peter Rowledge), the aforementioned Griffiths book, and Yeadons' LNER Locomotives Volume 20. I've since bought the RCTS book which covers the class. I've modelled the Q1/2 with the extended rear bunker, as the extra 2mm scale makes it long enough to use the Bachmann chassis unmodified.
This is the earliest mule print, to make sure everything goes together. The print was done in three parts, so that 1, I could change dimensions without having to reprint the whole thing, and 2, so that each respective part, smokebox/boiler, frames and tank/cab/bunker could all be orientated in a direction to limit the wood-grain effect and maximise structural integrity, and 3 so I could add detail parts to it and the filling with it in bits. Despite the size, this doesn't use a vast amount of filament, but showed room for improvement.
 IMG_20190218_221828 by Paul Sterling, on Flickr
This was held together with Gorilla Glue, but no nonsense superglue does the job even better. The underside mimics the cast metal frame of the ROD/O4, and no modifications are required to the chassis, it can fasten straight in, aside from bridging the tender plug, which is a simple task, as kindly advised by Graeme King.
 Q1 3rd build by Paul Sterling, on Flickr
The Mk2 was a better print, and I used more alignment features to make sure the three parts almost clipped together, irrespective of glue. the frame didn't sit quite level, so I needed to create some additional pockets and some minor revisions. as it was, changing one face by something daft like 0.15mm made 1mm of difference end to end!
The next pics are the mk3, which is hopefully the final one. Even with the prints correctly orientated, there is still a bit of woodgrain, so I've filled and sanded the body where needed. you can see after the first cut of filler and primer that some graining stillshows through.
 IMG_20190305_200639 by Paul Sterling, on Flickr
 IMG_20190305_200720 by Paul Sterling, on Flickr
 IMG_20190305_200657 by Paul Sterling, on Flickr
So after another light fill and sand, things start to look better.
 IMG_20190307_064225 by Paul Sterling, on Flickr
There is a little distortion on the pictures, but its mostly my appalling camera skills.
What I have done deliberately is left the tops of the tanks open, this is to fill them with lead ballast, probably the boiler barrel and bunker as well.
The next challenge is the smokebox door, its a shape with makes it difficult to get around wood grain effect on print, and to be honest, would probably be best as a whitemetal part.
More to follow
Thanks, Paul.
