7mm Rising Star/Slaters LNER F8

This forum is for the discussion of railway modelling of the LNER and its constituent companies.

Moderators: 52D, Tom F, Rlangham, Atlantic 3279, Blink Bonny, Saint Johnstoun, richard

User avatar
Robpulham
LNER A4 4-6-2 'Streak'
Posts: 1721
Joined: Thu Mar 27, 2008 9:54 pm
Location: Lower Wensleydale
Contact:

Re: 7mm Rising Star/Slaters LNER F8

Post by Robpulham »

Here is where I got to last night with the lace pins soldered in.

Image

Image

Image
User avatar
Robpulham
LNER A4 4-6-2 'Streak'
Posts: 1721
Joined: Thu Mar 27, 2008 9:54 pm
Location: Lower Wensleydale
Contact:

Re: 7mm Rising Star/Slaters LNER F8

Post by Robpulham »

Still no sign of the drawing:(

I did do a bit more on the F8 last night in so much as I bought a rather nice brass Safety Bonnet casting from Gladiator which came in Wednesday - I would have got one with the rest of the bits from Laurie Griffin but he was out of stock. So last night was spent making it fit the boiler top and drilling/tapping it 8BA so that I can fasten it on after it's been painted and not have to mess about masking etc.
Here it is compared to the Slaters one in the kit - which is a nice casting to be fair but a bit of a struggle to make it polished brass....

Image

I have also made the inner slides for the radial truck and while looking at the Slaters insulated hornblocks realised that there are no grooves in them like "normal" (by that I mean Slaters and other suppliers that I have encountered) they just have a lip at one end. They still need to be filed to make them sit square in the truck.

Image

Image

This isn't a problem for the radial trucks as they will be glued in but I was going to use them with the Finney hornguides for the gearbox axle and wondered how other people that have used them fit them - presumably with the lip to the outside of the frames after filing off the inside of the horn guides? As marked in red below?

Image
User avatar
Robpulham
LNER A4 4-6-2 'Streak'
Posts: 1721
Joined: Thu Mar 27, 2008 9:54 pm
Location: Lower Wensleydale
Contact:

Re: 7mm Rising Star/Slaters LNER F8

Post by Robpulham »

I am still waiting patiently for the drawing to arrive from the NRM (now a week beyond the extra week that they said it would take). I decided to have a tidy up and re-arrange on the work bench. having spent a couple of hours doing that I thought that I would do something small to see how the new arrangement worked - I have swapped my cutting mat and glass sheet that I solder on around to give more room for cutting.

My little project was these.

Image

Image

I have some of the very nice CPL castings in stock but I wanted to try to make something that looked a little more North Eastern in origins.

They are made from brass 10ba nuts, brass washers and the pin shanks from the heads that I used for the rivets on the frames - hows that for recycling? You may wonder why brass? It was because I only had 10ba steel nuts, no washers so I thought that I would test my idea for making them in brass before buying in some steel washers.

Now that I have the route to making them - which is quite easy and doesn't involve precision drilling with small drill bits I will do a small photo sequence of how I made them.

They do look a little rough around them edges when magnified so much to to the naked eye they look fine - I could do a comparison of both these and the CPLS ones later too.
User avatar
Robpulham
LNER A4 4-6-2 'Streak'
Posts: 1721
Joined: Thu Mar 27, 2008 9:54 pm
Location: Lower Wensleydale
Contact:

Re: 7mm Rising Star/Slaters LNER F8

Post by Robpulham »

As promised in the last post, this is my method for making more realistic wheels nuts without having to drill nuts precisely with tiny drills.

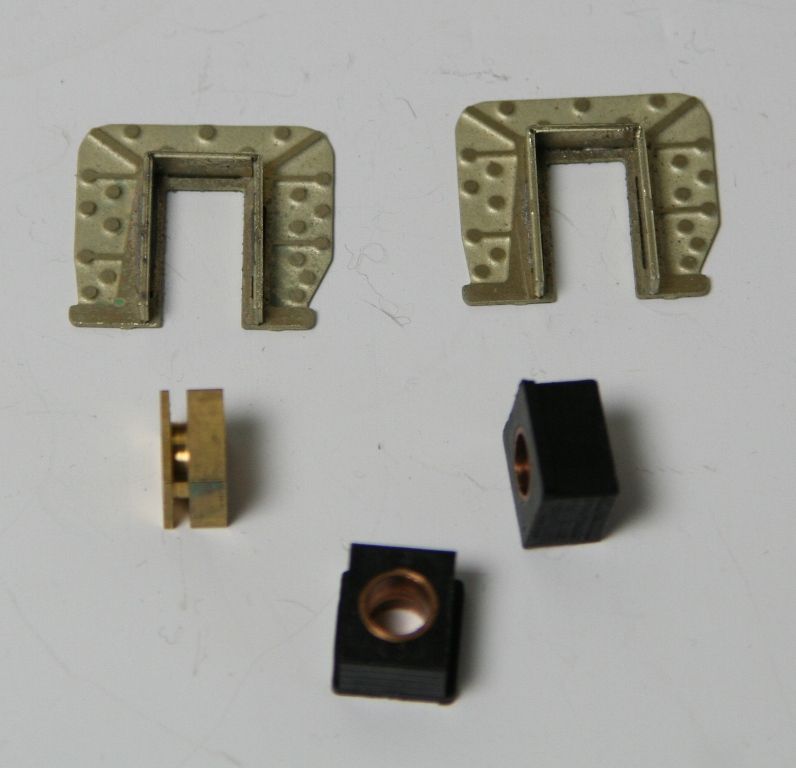
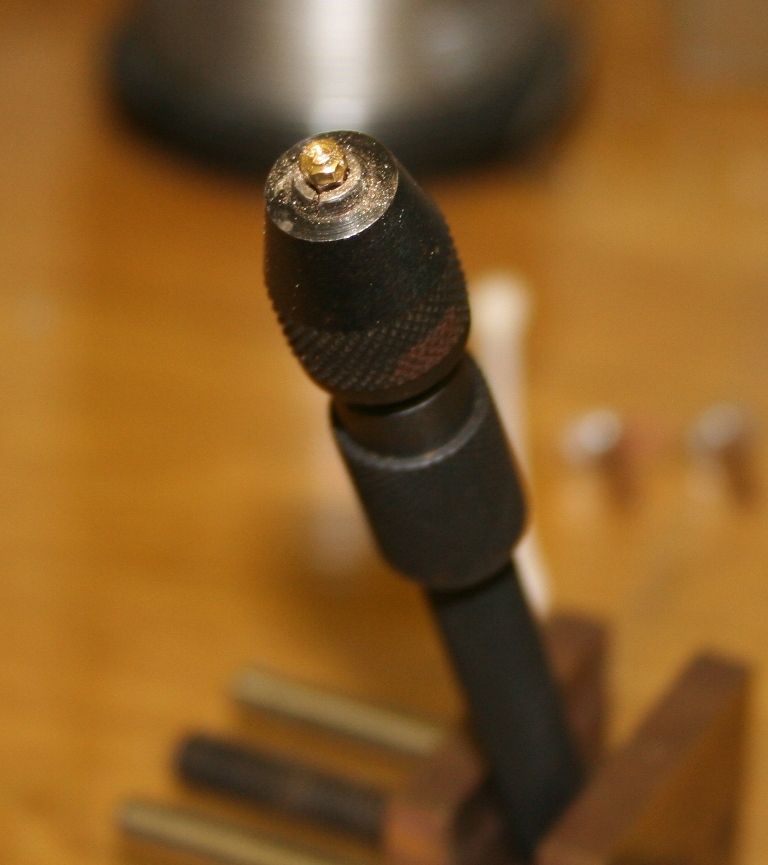
First I grip a 10ba nut on a piece of 10ba studding (lengths cut from using 10ba screws – I bought a 1000 11/2” at a good price so most need cutting down) in a pin vice. Then screw another nut part way on to the studding – enough to hold it tight but not have the thread coming all the way up the centre.

Image

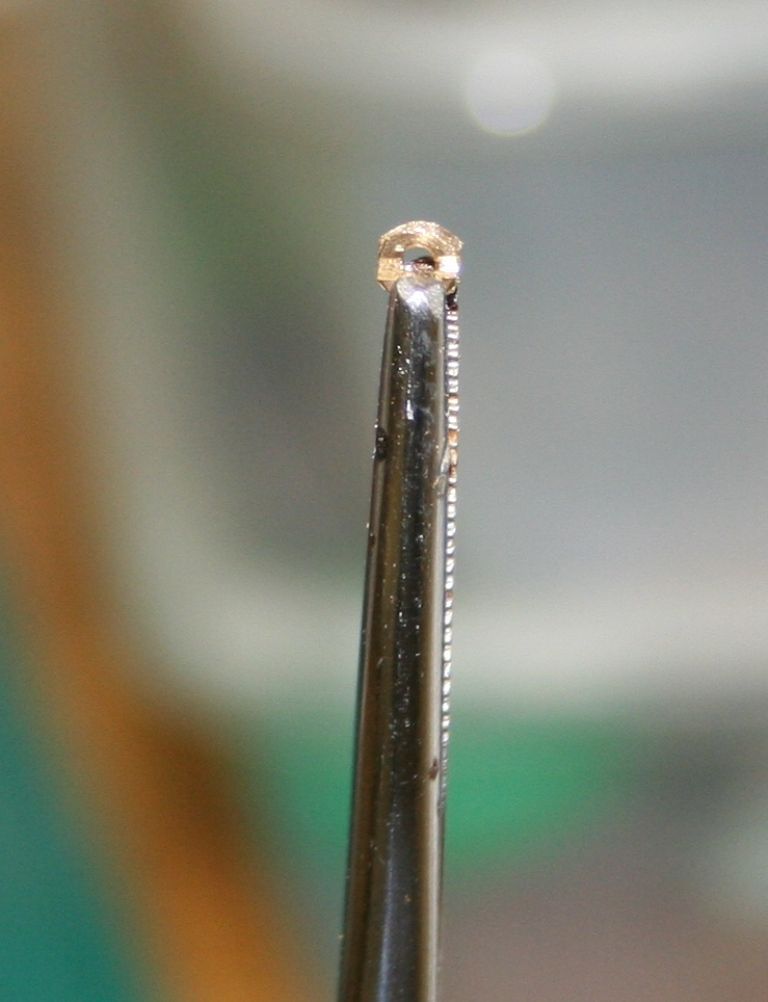
Next using a piercing saw make a cut across the flats.

Image

Image

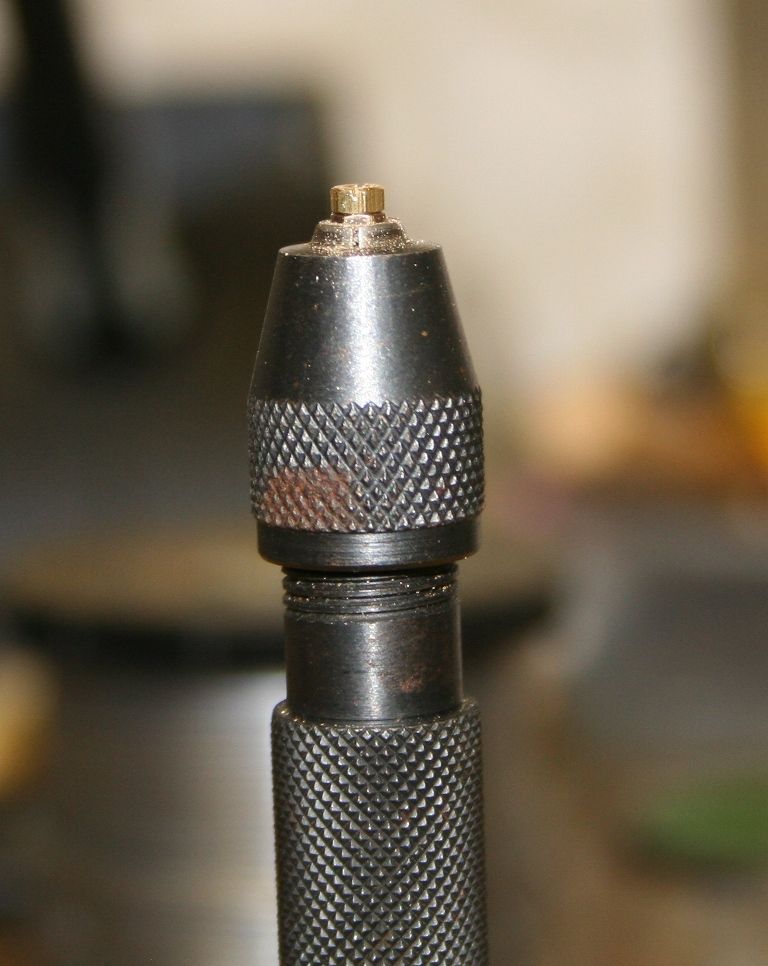
Follow up this cut by running a triangular file down the cut to deepen and widen it.

Image

Image

Image

Next grip the nut with the groove horizontal and file the ridge of each side of the nut rounding it (I did this after soldering to the washer on my first effort and this is definitely an improvement). I used a set of surgical clamps for this but pliers would do just as well.

Image

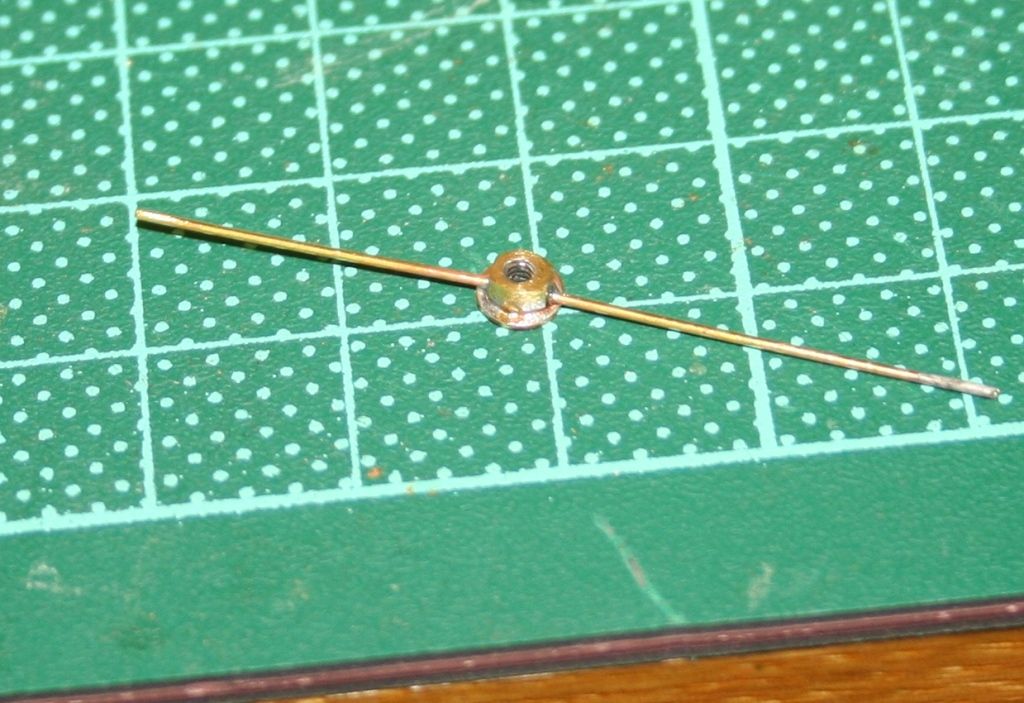
Next grip the rounded nut and the washer together with the groove to the washer and again with the groove horizontal.

Image

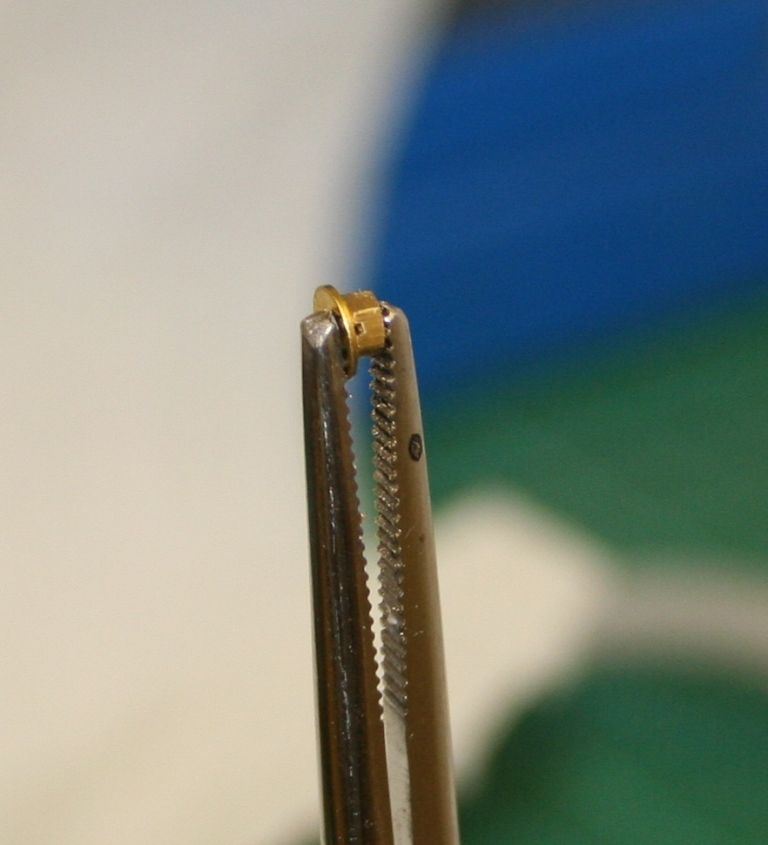
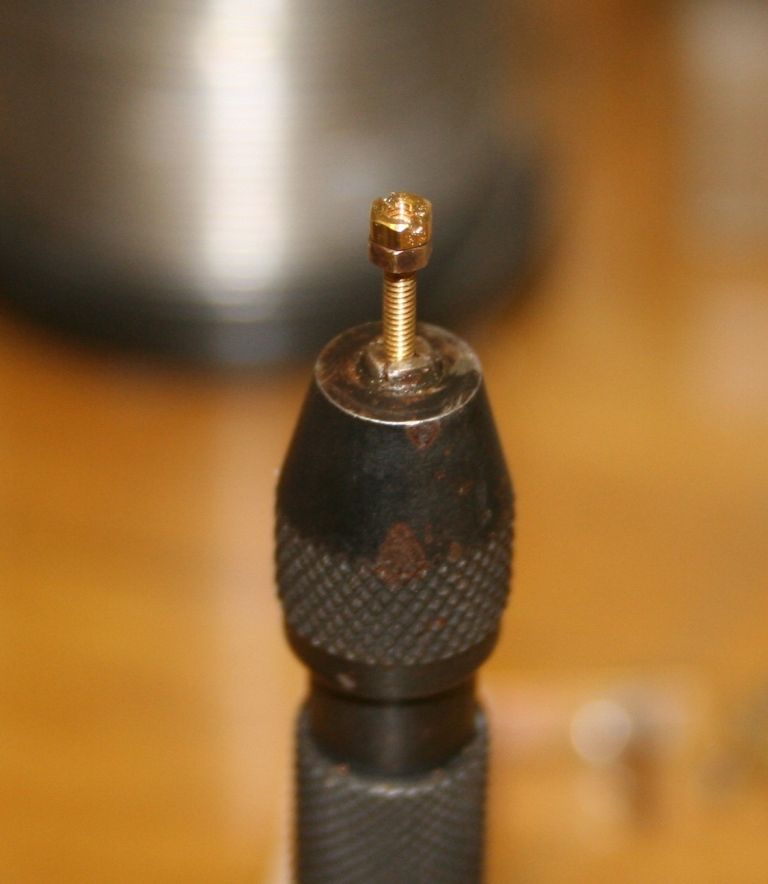
Next get some 0.5mm wire and insert a piece in the two holes – you may need to either file a point on them or be careful that you don’t push them too far in (if you have made the groove quite big). It’s not the end of the world if you do but just means an extra bit of work after soldering. I use the pointed ends/shafts of lace pins for this after using the heads for rivets.

Image

Image

The second shot is after a bit of work filing the ends to fit in the holes.

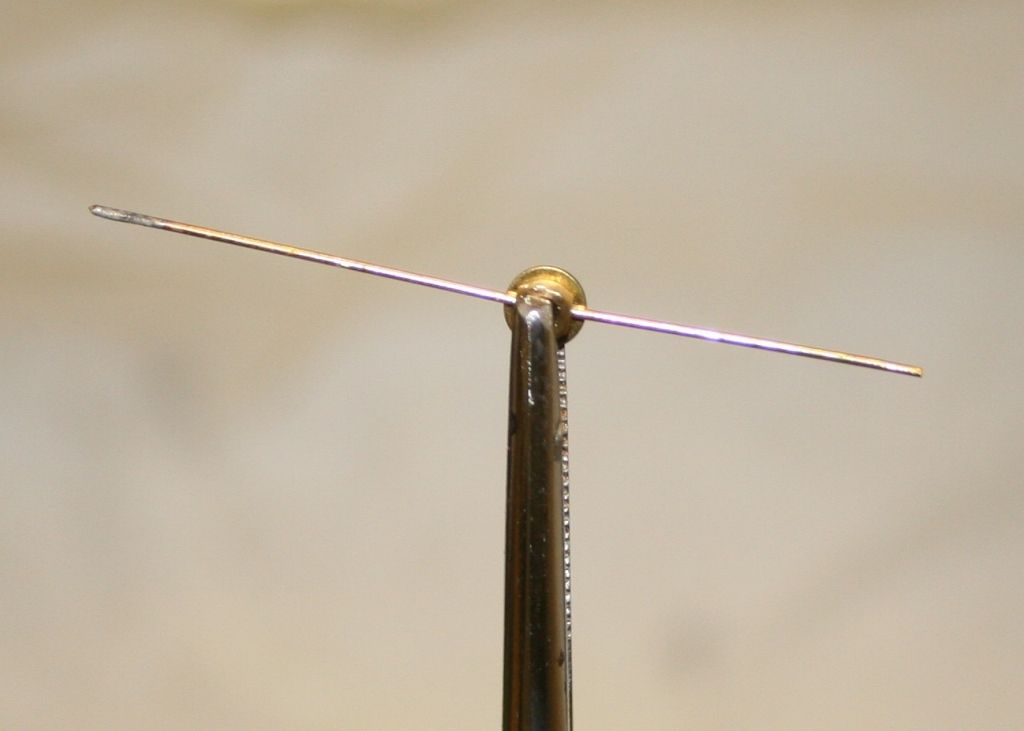
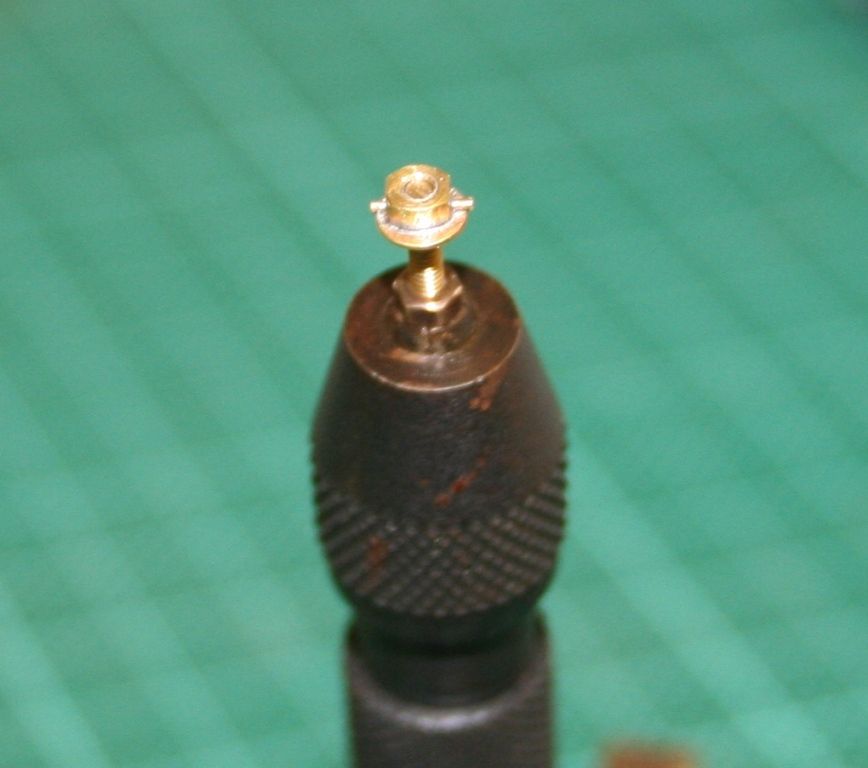
Next I put a drop of flux on and a small piece (about 3mmx1mm) of 188 degree solder and heat gently with my microflame until the solder runs (if you try to be too quick with the heat the solder bounces off as the flux boils).

Image

Next clip back the ends of the wire pins and file them back neatly.

Image

Image

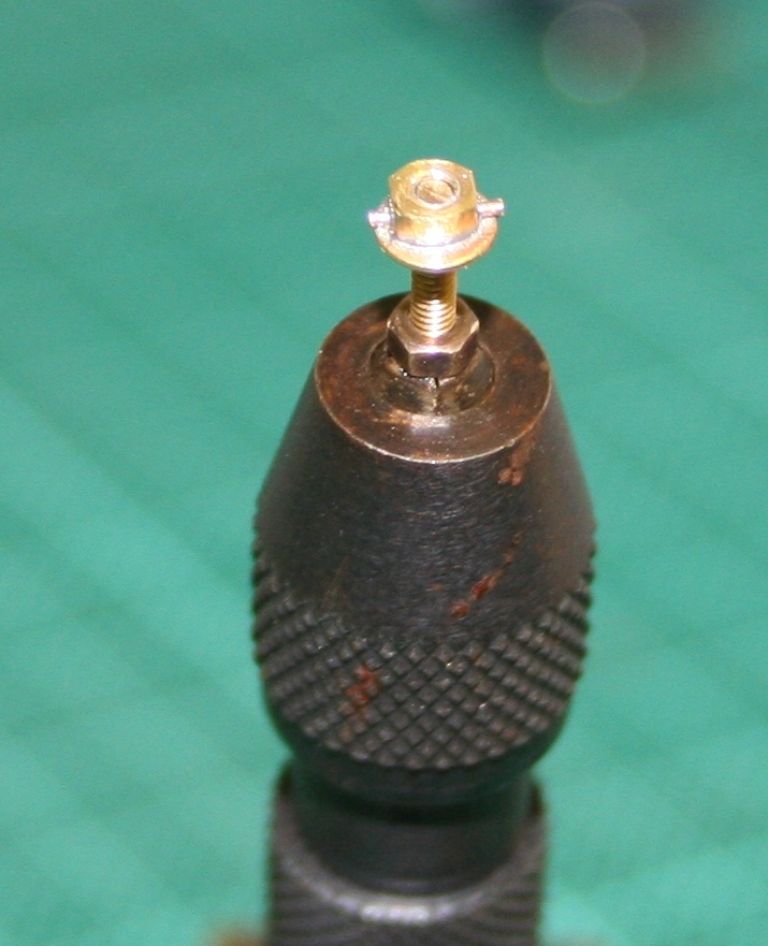
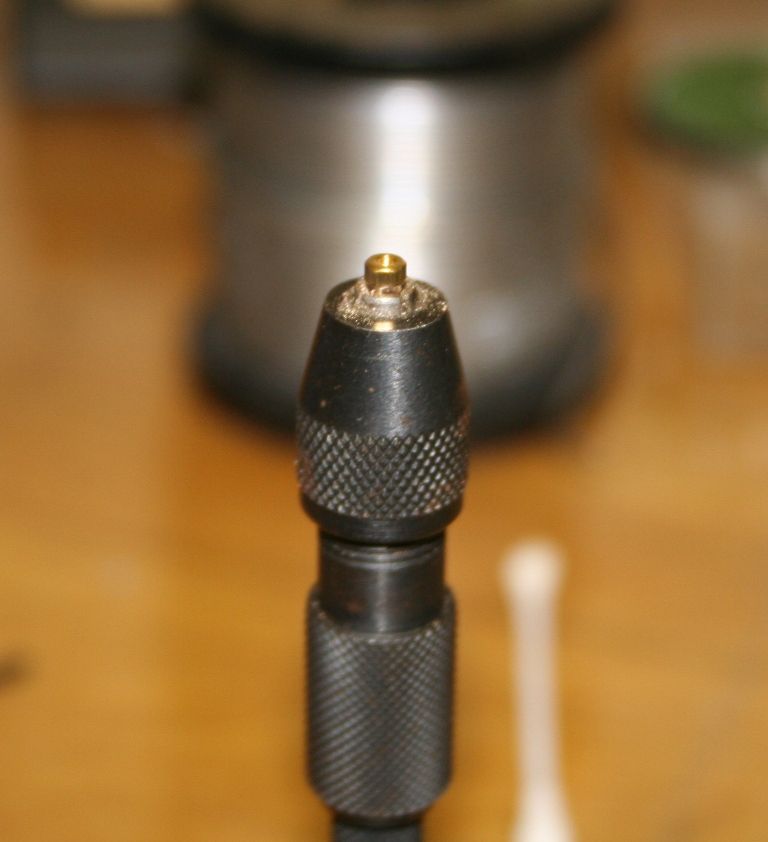
Then I made sure that they are tight on the end of the stud and use a wire brush in the mini drill to clean them up.

Image

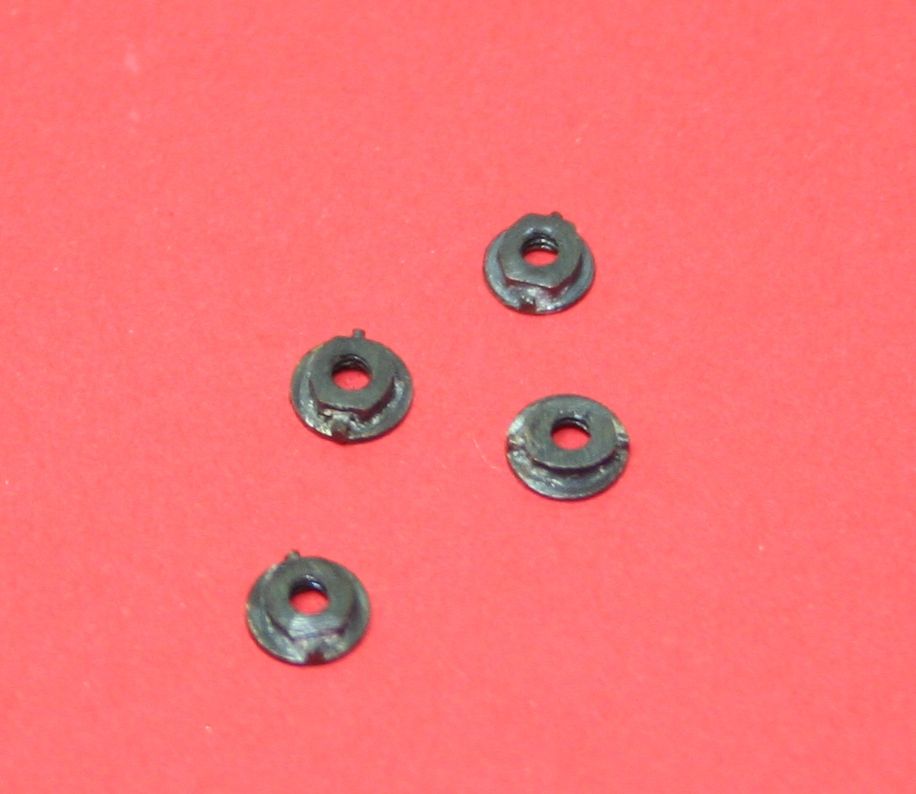
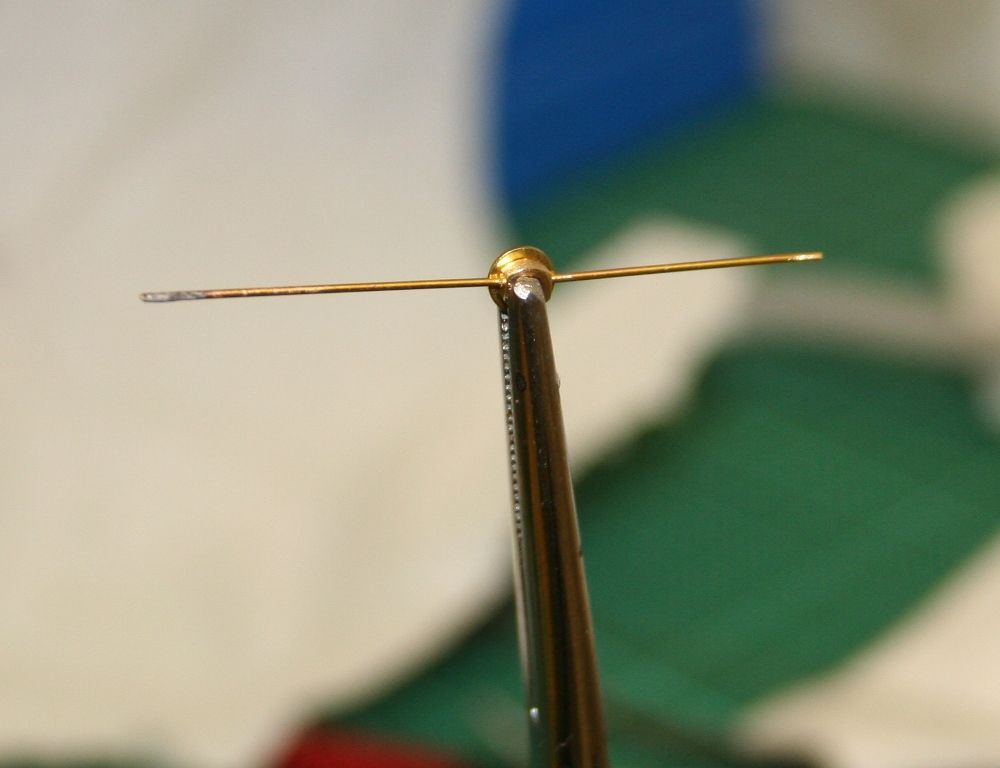
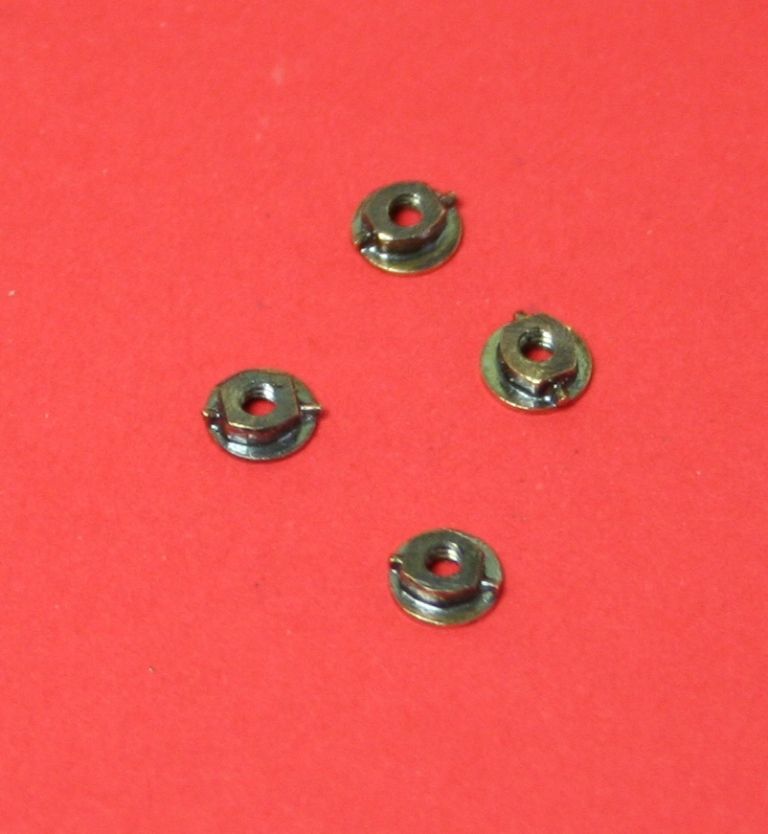
A dunk in the blackening fluid rinse and dry off and repeat the wire brush procedure leaves you with this

Image

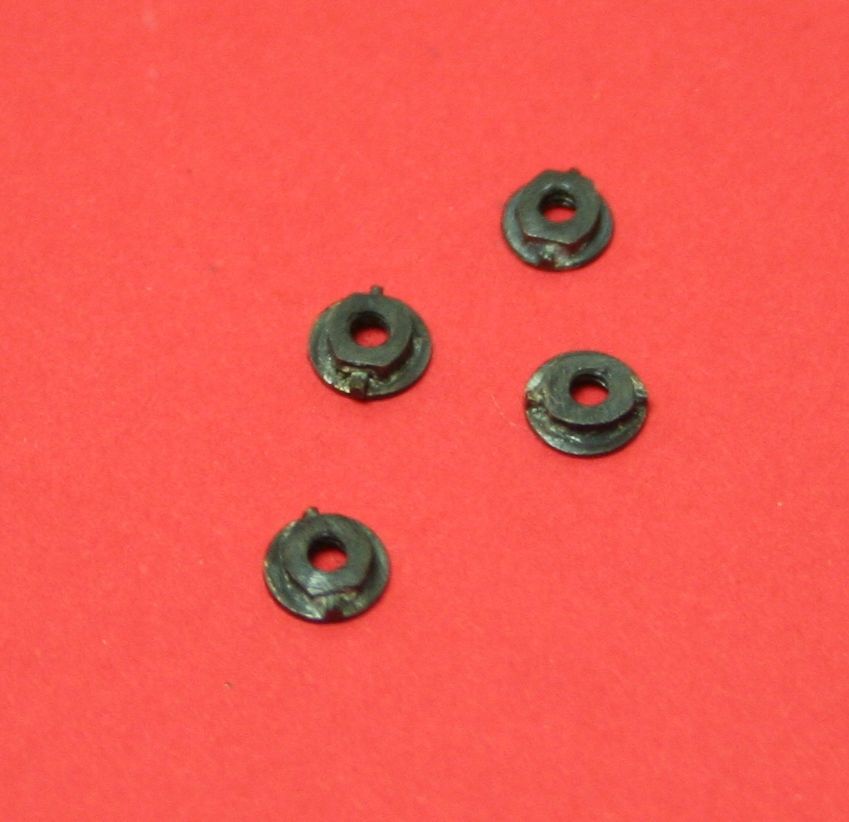
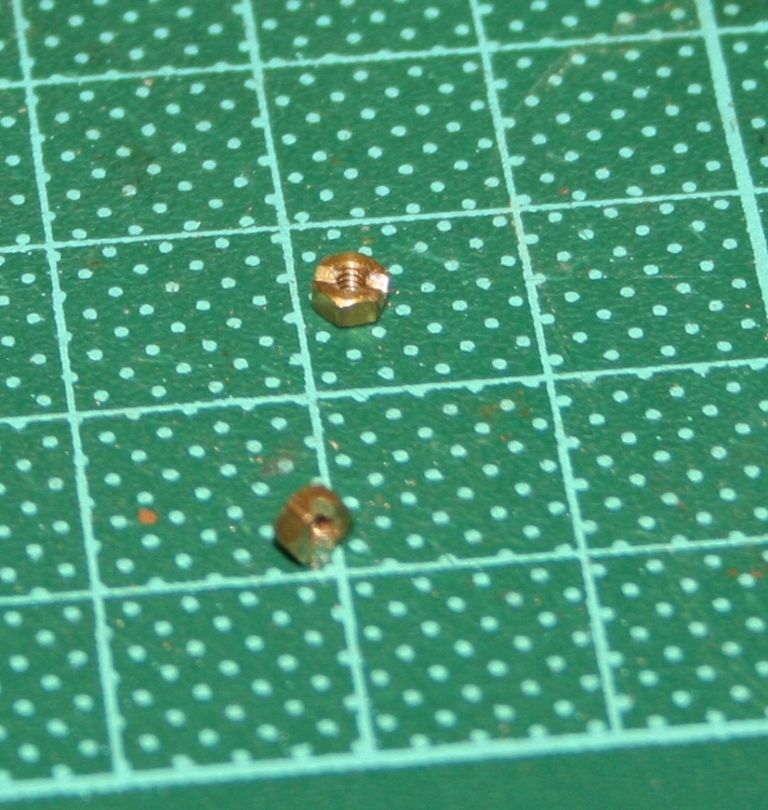
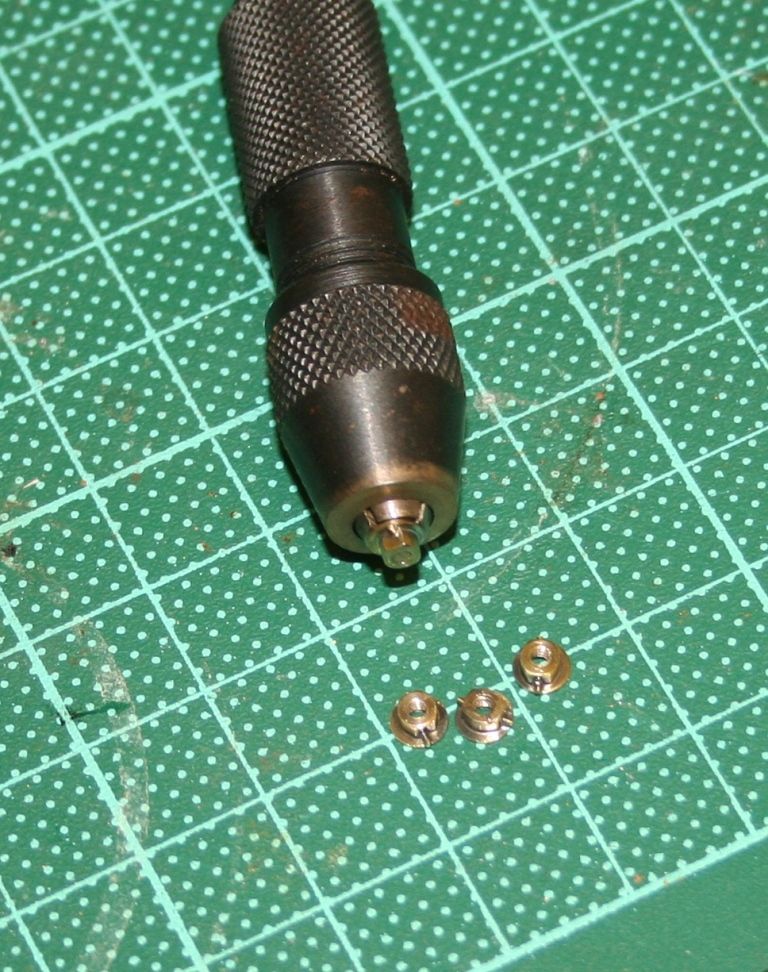
As promised a comparison to the rather nice CPL castings (I think that the original that I compared them to were DJH which are in the shape of a hexagon nut attached to a washer with a pin through).

Image

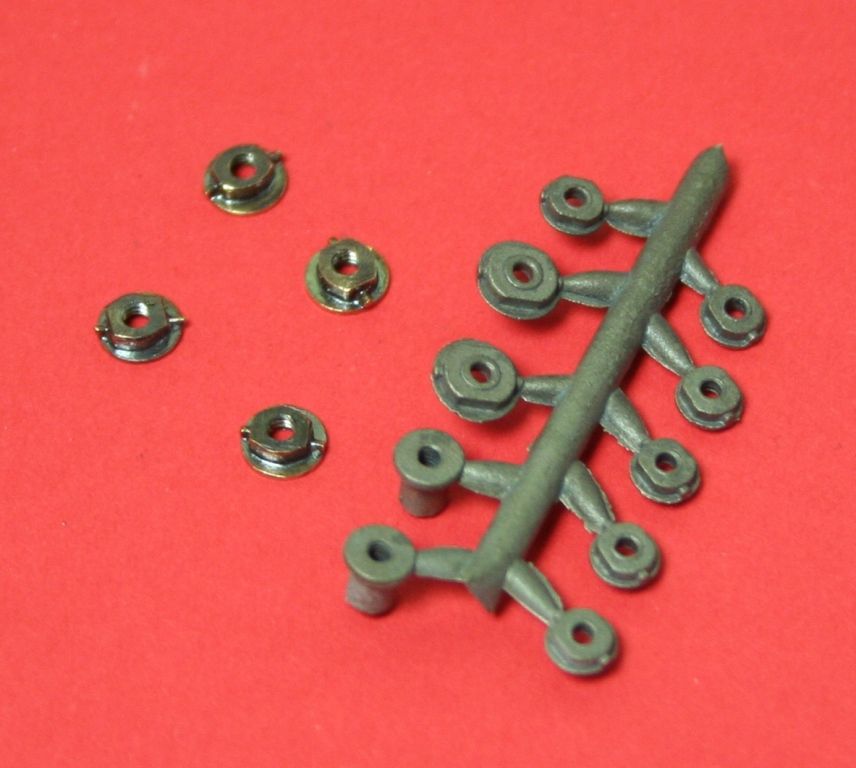
They are not perfect, but they look better than a plain nut and they are quite therapeutic to make with nothing special in the way of tools.
Post Reply