Gladiator B16/1 A North Eastern Workhorse

This forum is for the discussion of railway modelling of the LNER and its constituent companies.

Moderators: 52D, Tom F, Rlangham, Atlantic 3279, Blink Bonny, Saint Johnstoun, richard

User avatar
Robpulham
LNER A4 4-6-2 'Streak'
Posts: 1721
Joined: Thu Mar 27, 2008 9:54 pm
Location: Lower Wensleydale
Contact:

Re: Gladiator B16/1 A North Eastern Workhorse

Post by Robpulham »

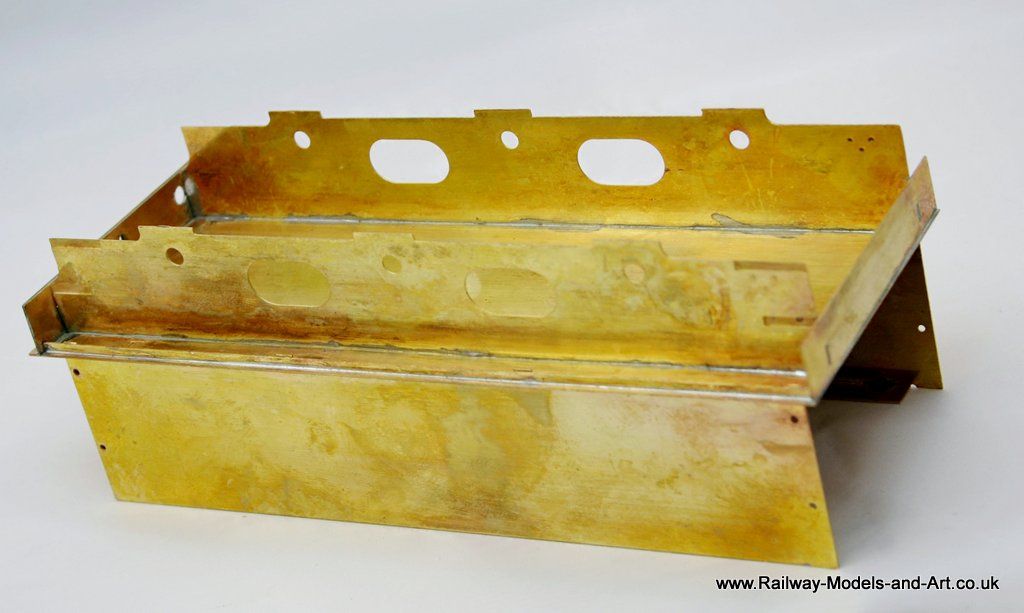
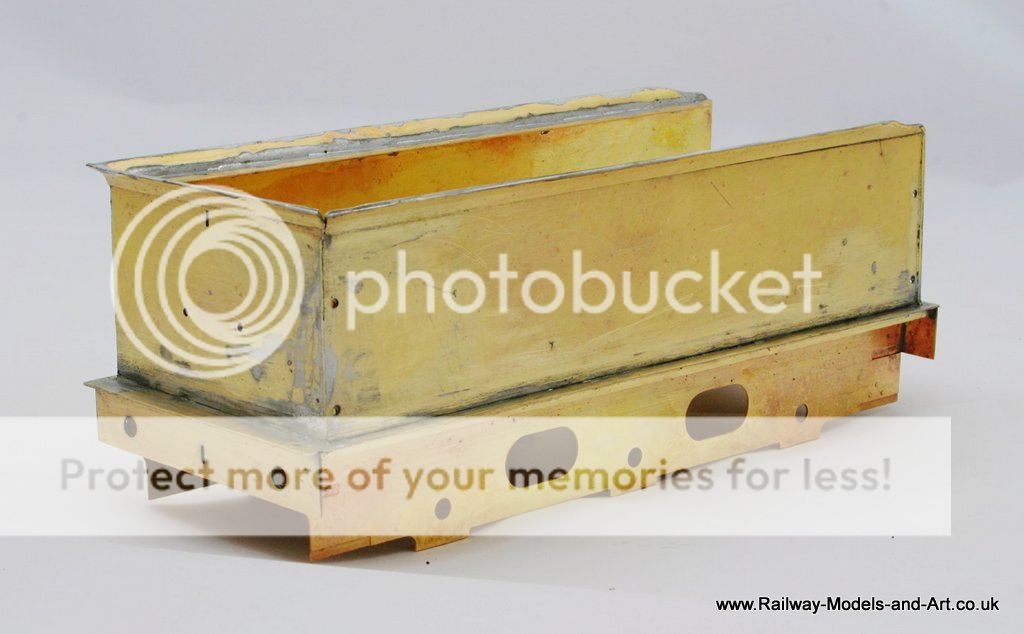
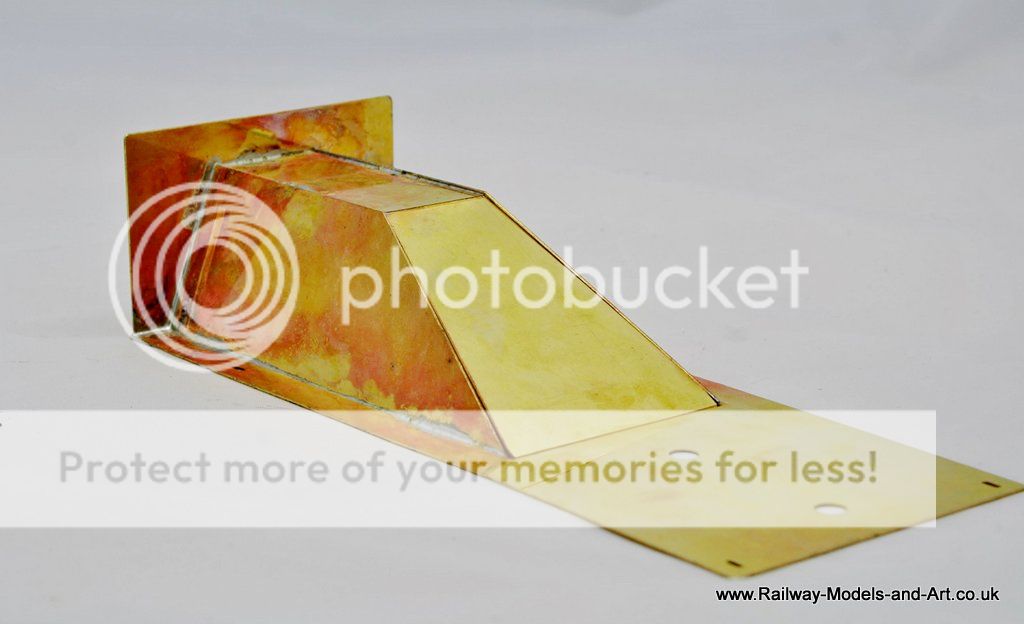
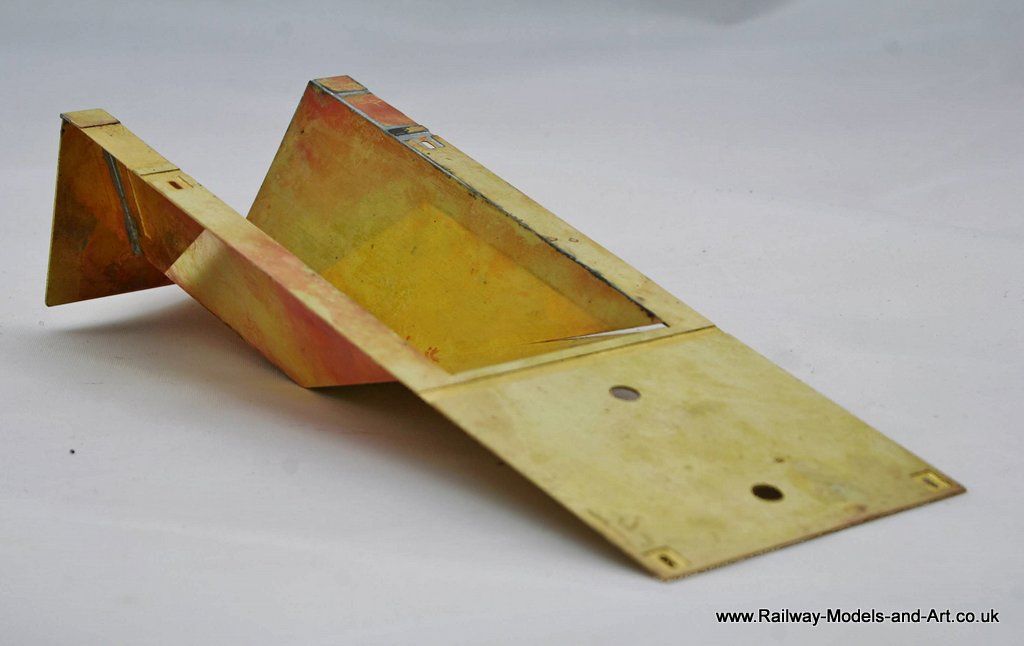
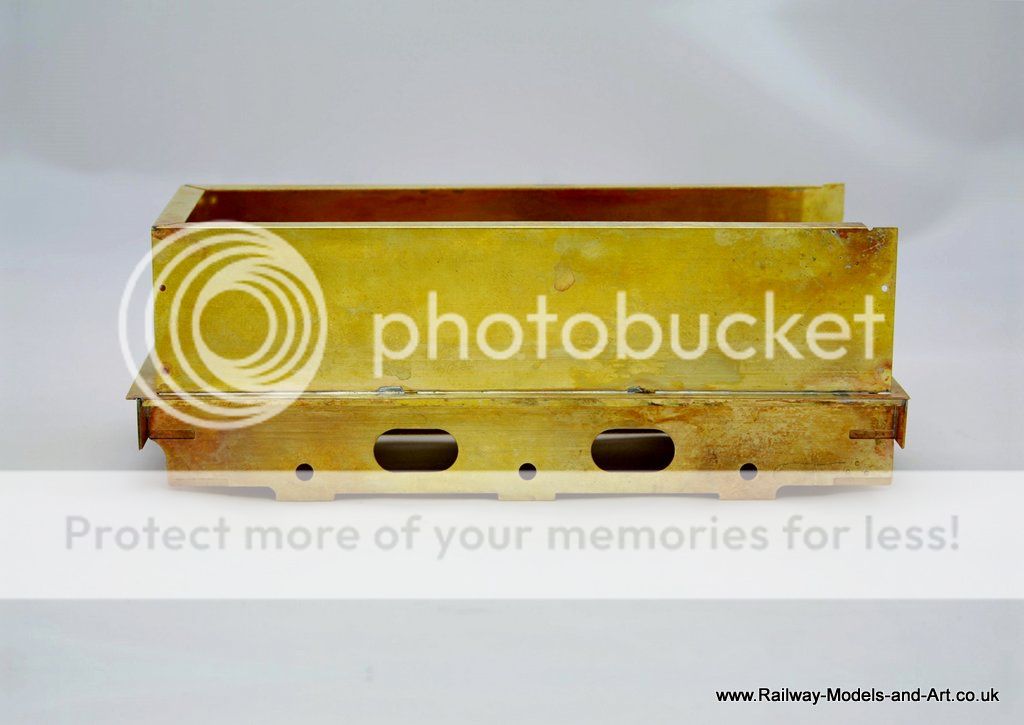
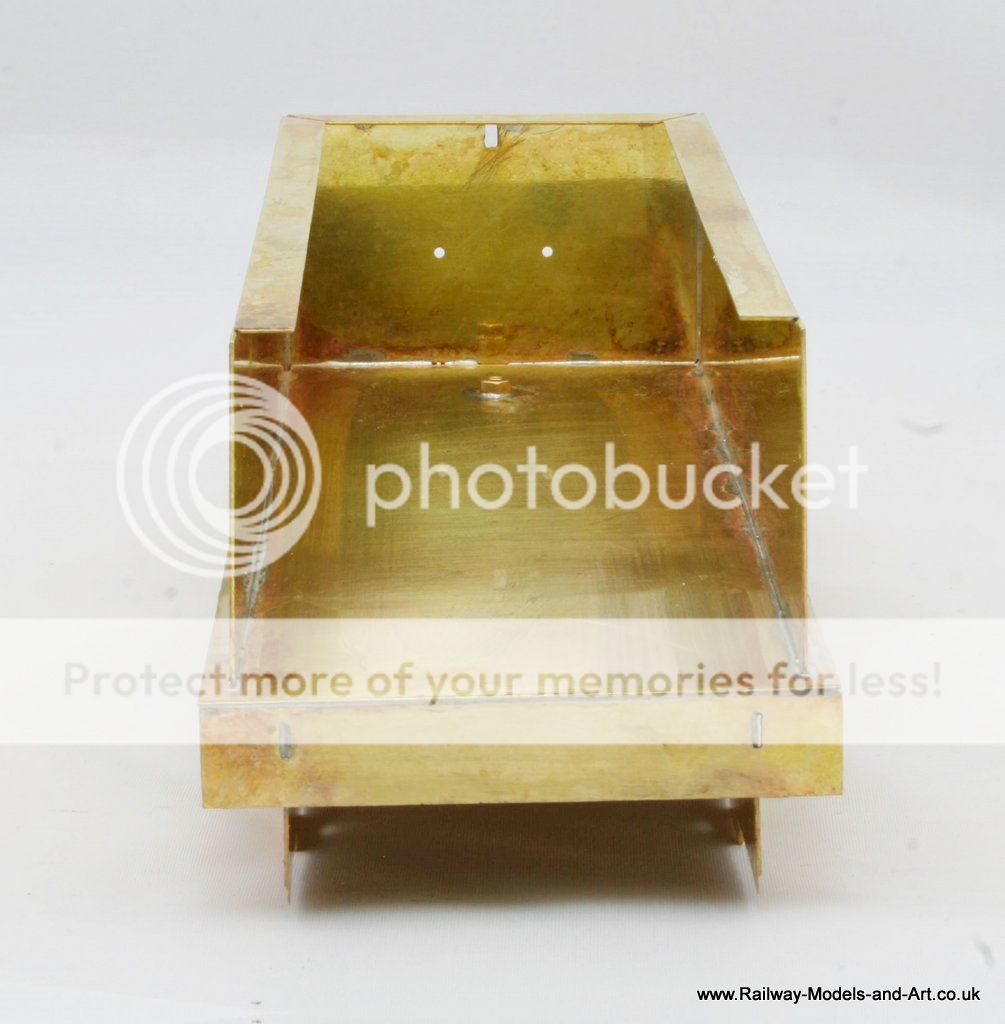
Today's efforts have seen the tender body make some progress.

So far everything has fit as it should and the only minor concern is that the handrail holes look as if they might be a bit on the large side but until I have the overlays soldered on I won't know for sure.
Image

Image

Image

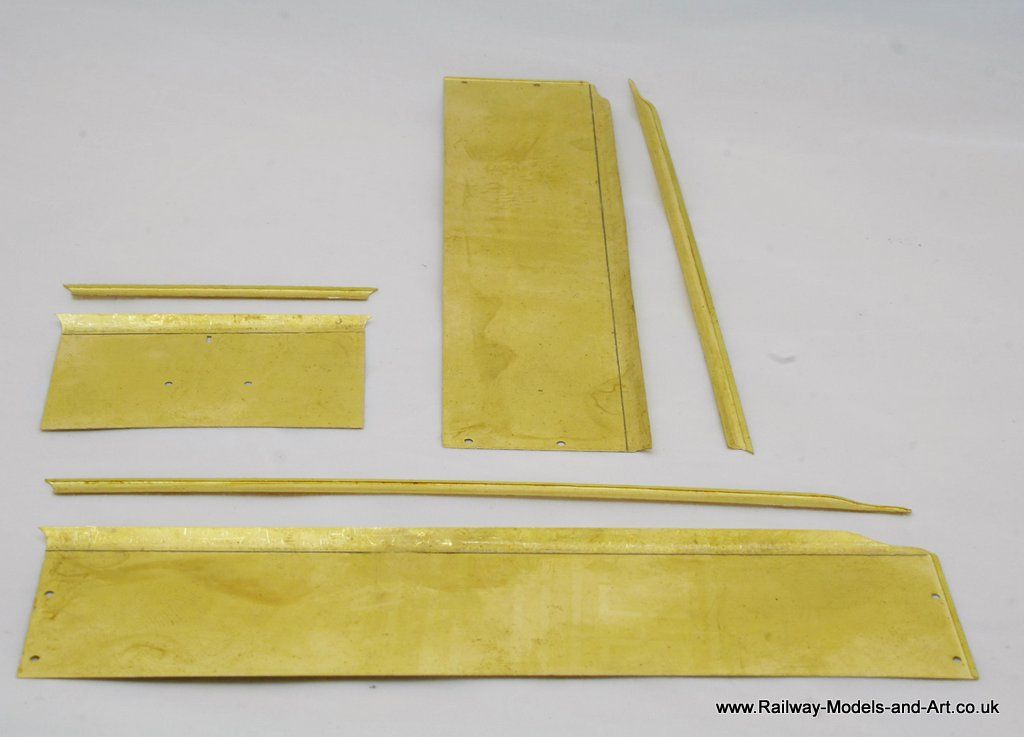
One of the cleverest bits of the kit so far is the tender flares. The tender sides have a half etched overlay that you have to create a flare on and then another half etched overlay to go over that for the just the flare. This means that although you have more flares to bend being half etched they are easier to form.

Although I initially wasn't looking forward to it, I recalled reading an article way back when I modelled 4mm, of someone who used a piece of rod in a vice and he squashed the flare against the thick rubber of a replacement shoe heel.

I didn't have a spare rubber show heel but I did have a set of rubber soft jaws for my proxxon vice (many thanks to Richard Lambert - Dikitriki for recommending the vice to me when I was having a look at his work in progress Duchess last year).

The instructions recommend using a 3/16th rod and I had some lengths that I bought for setting up chassis before I invested in my jig. I placed the overlay against the tender side and measured how much flare was above the side 4.5mm and drew a line at 4.5mm from the top across each side the the rear.

I placed the rod in the vice utilising the V groove for gripping round sections. I put a soft jaw on the other side placed the flare along aide the rod with the pencil line just visible and worked my way along using the vice to squash the flare against the rubber of the soft jaw. I had to go along each piece a couple of times until I was happy with the result and then I repeated the process for the small flare overlays.

I just need to solder them onto the tender sides now but that will be a job for tomorrow as an early night beckons before going to Leigh show tomorrow.
Image
Atso
LNER A3 4-6-2
Posts: 1383
Joined: Wed Dec 13, 2006 11:58 pm
Location: Hertfordshire

Re: Gladiator B16/1 A North Eastern Workhorse

Post by Atso »

Hi Rob,

I really need to be better at responding to the amazing level of workmanship you've been demonstrating! :oops:

The B16 is already starting to look the dog's proverbials, great work! 8)

I've got one on my to do list which is finally starting to get a fraction shorter again... :roll:

I've also been following your work with the cutter; great stuff. I might just have to dust off my old Craft Robo machine and see if I can knock up the GNR wooden platform shelters I've been meaning to build for what seems like forever!
Steve
User avatar
Robpulham
LNER A4 4-6-2 'Streak'
Posts: 1721
Joined: Thu Mar 27, 2008 9:54 pm
Location: Lower Wensleydale
Contact:

Re: Gladiator B16/1 A North Eastern Workhorse

Post by Robpulham »

Thanks Steve,

With your skills in using CAD making best use of the Robocutter should be a doddle. I had a look through your workbench and the tiny models are excellent - My eyes are way beyond that these days sadly.
User avatar
Robpulham
LNER A4 4-6-2 'Streak'
Posts: 1721
Joined: Thu Mar 27, 2008 9:54 pm
Location: Lower Wensleydale
Contact:

Re: Gladiator B16/1 A North Eastern Workhorse

Post by Robpulham »

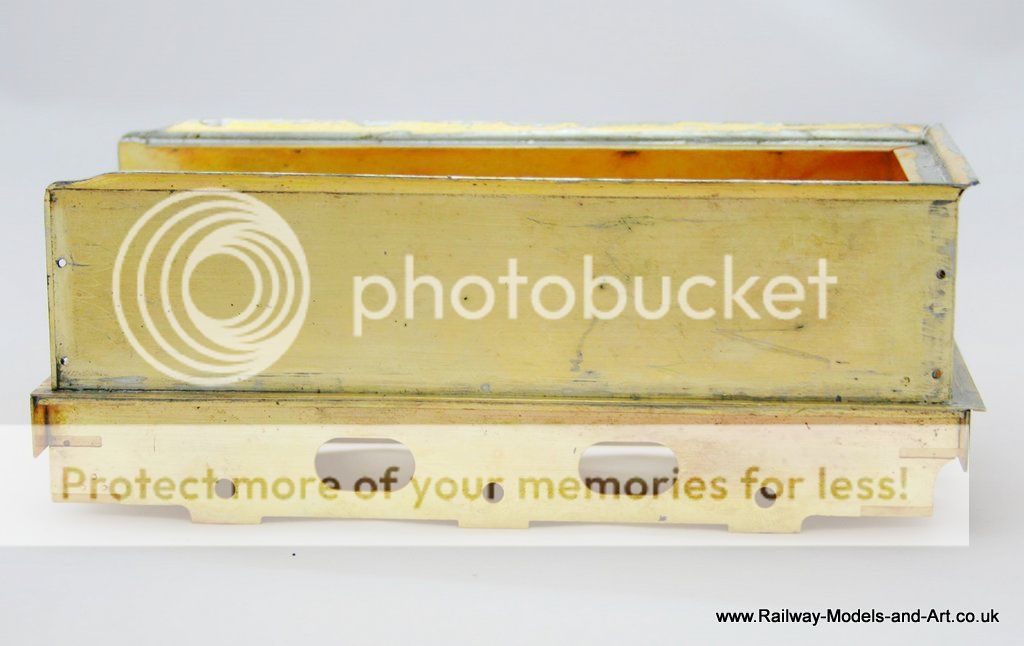
Sunday afternoon saw the tender overlays added to the sides and rear of the tender. This wasn't quite as smooth as I had hoped and I ended up having to run over it with the iron to get them to sit flat which meant quite a bit of cleaning up.

The original plan was to tin both sides and use the micro flame but I just couldn't get it to stick for some reason. The other issue was that despite my best efforts otherwise by bending them into all sorts of shapes the aluminium clips, bent the flares in places meaning some remedial work.

Image

Image

As you can see I still have some cleaning up to do, but I don't plan to clean up the inside of the flares until I have the tender top in place.

I am not sure whether it was me that got the overlay slightly out of line (it is wider than required so that you can file it back to get a crisp edge) or that the etched hole was slightly out of line but I will have to open the slot a bit to fit the rear lamp iron.

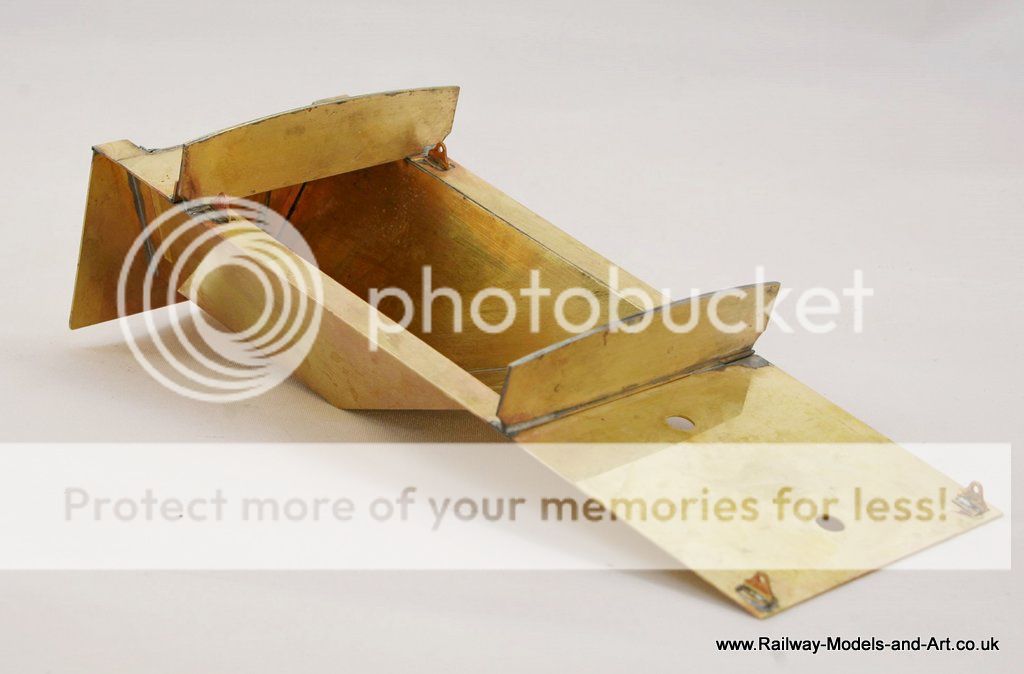
Next up I made a start on the tender top and coal chute. I want to get this fitted before attempting to make the corners of the tender flares from solder.

These all went pretty much as planned but there is a sight gap that I will need to fill. Again I am not sure whether it was my folding or the etch that's slightly out but it's an easy thing to sort.

Image

Image

Image

I haven't done any cleaning up on this as I did it last thing last night and I was back to work this morning so couldn't be too late to bed. - The redness is from using the microflame to solder the seams. It washes of easily enough with some bar keepers friend.
Atso
LNER A3 4-6-2
Posts: 1383
Joined: Wed Dec 13, 2006 11:58 pm
Location: Hertfordshire

Re: Gladiator B16/1 A North Eastern Workhorse

Post by Atso »

Thanks Rob, although I think I'm starting to go cross eyed!

That B16 tender is shaping up well... Really makes me want to start one, but best to clear the backlog first I think! :lol:
Steve
User avatar
Robpulham
LNER A4 4-6-2 'Streak'
Posts: 1721
Joined: Thu Mar 27, 2008 9:54 pm
Location: Lower Wensleydale
Contact:

Re: Gladiator B16/1 A North Eastern Workhorse

Post by Robpulham »

Ahhh the backlog, I know it well - they are called shelf queens at our house and I am that Royalty.......
User avatar
Robpulham
LNER A4 4-6-2 'Streak'
Posts: 1721
Joined: Thu Mar 27, 2008 9:54 pm
Location: Lower Wensleydale
Contact:

Re: Gladiator B16/1 A North Eastern Workhorse

Post by Robpulham »

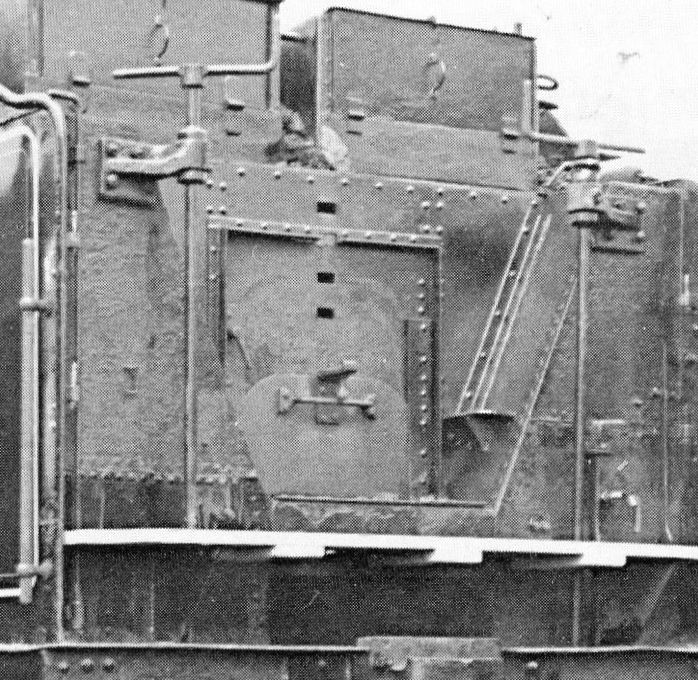
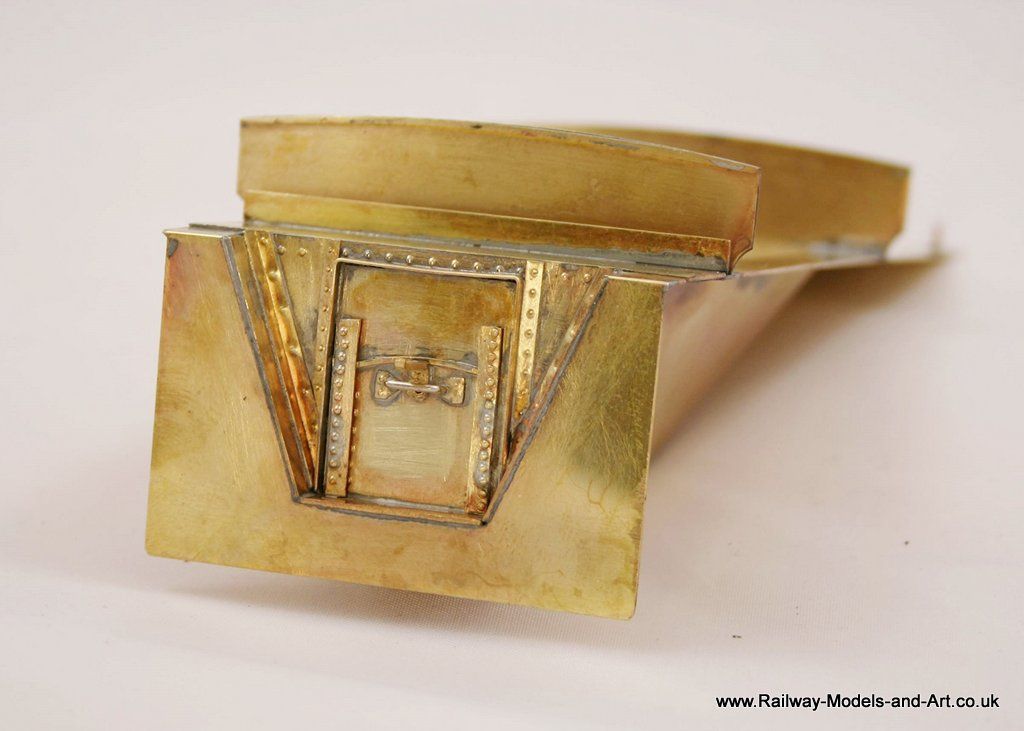
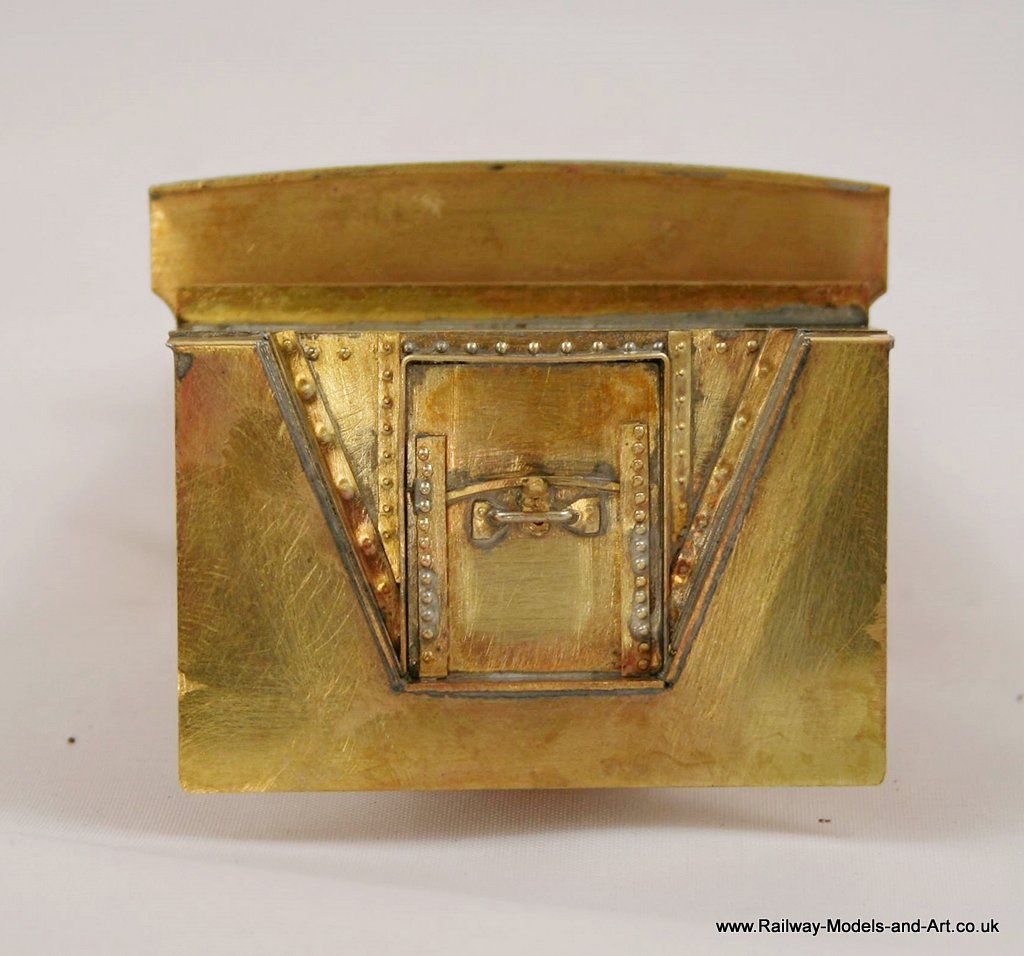
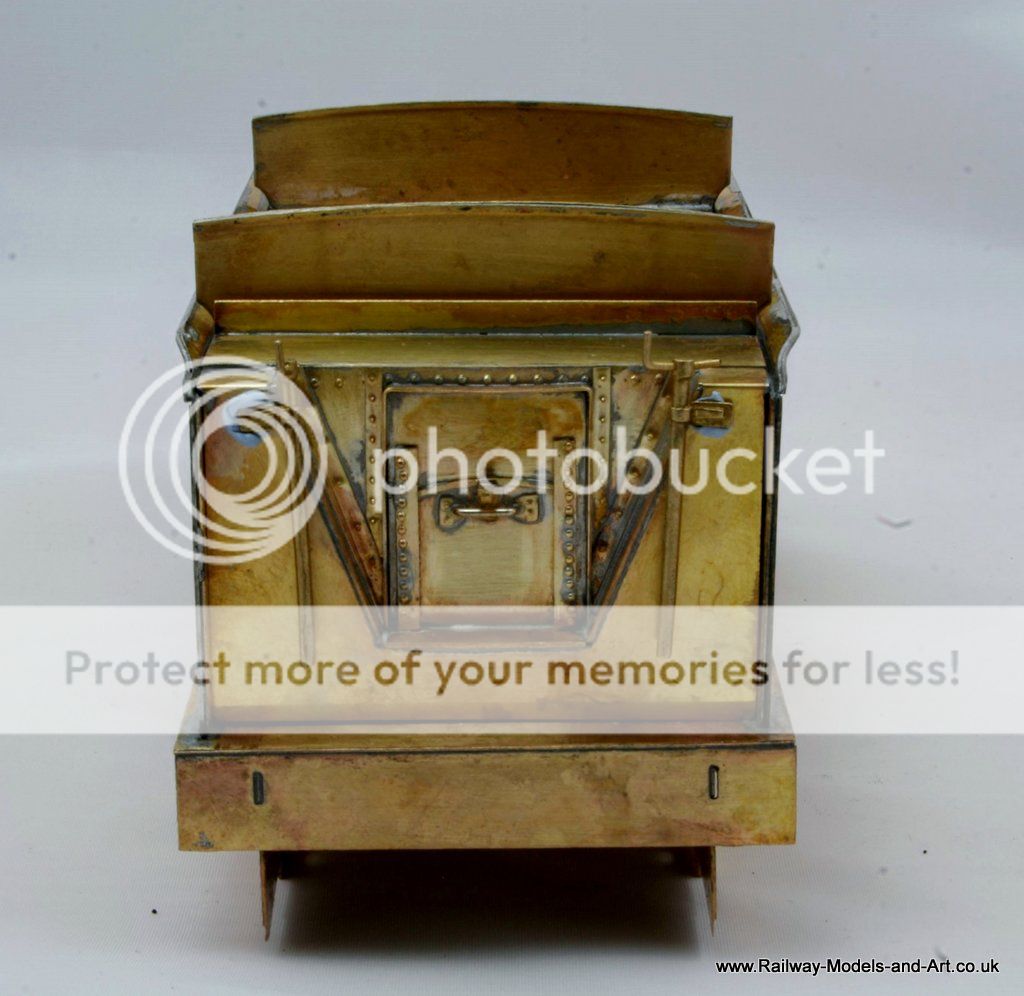
Following on from some dialogue with MikeMeg over on RMweb who had posted on his 4mm thread, a photo of the tender from the front (Mike has recently built the 4mm version of this kit which is currently held, but not released for sale yet by London Road Models). The photo is from Ken Hoole's NER Loco book which I have, but I hadn't realised that the photo was there until Mike mentioned it.

Image

This is a cropped view of the tender front from the photo which differs a little from that portrayed in the kit.
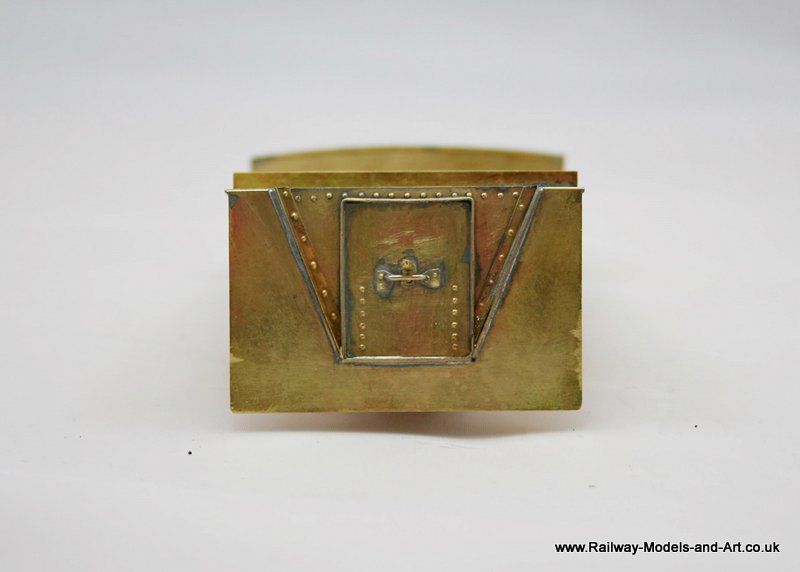
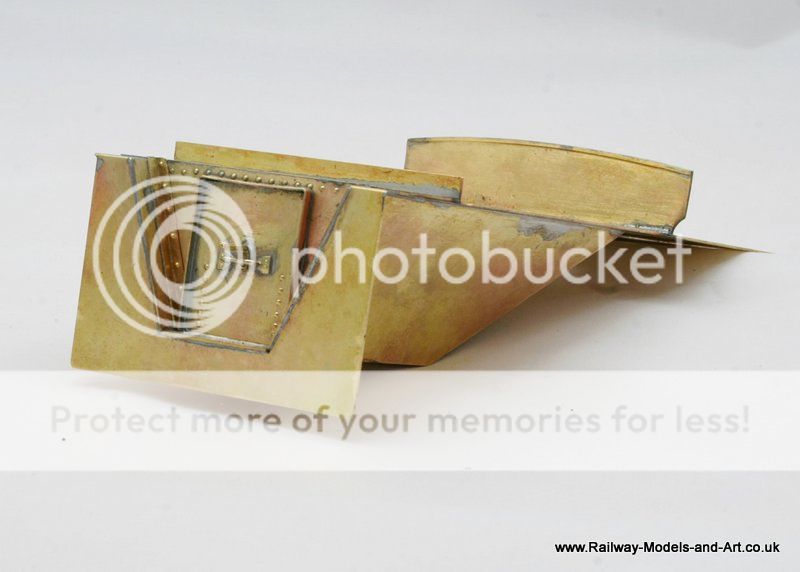
The kit provides a flattened V shaped plate with a rectangular cutout for the coal door and a coal door which is riveted and had two holes for a handle. The V shaped plate when fitted leaves long triangular gaps down either side of it.

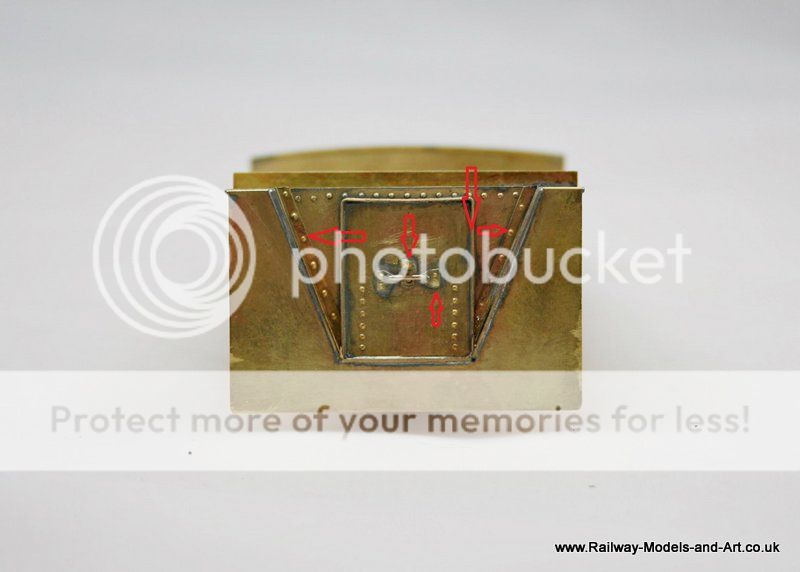
There are some etched rivet strips provided to cover these and to replicate the angle plates that you see in the photo. I didn't find these (my fault for not looking at either the instructions or the etches before proceeding) before I had made up a couple of angle plates out of some half etched scrap that I had to hand.

having discovered them I still elected to use the ones that I made, because the rivet spacing was quite close together on the supplied strips. And it would have meant soldering two strips on instead of four.

I am sure the riveted strips will not be surplus for long.

Image

Image

The arrows on this repeat photo, shows what I have added to it so far. I still have a few bits to do - this sort of thing brings out the detailing devil in me I just can't help it.

Image
Atso
LNER A3 4-6-2
Posts: 1383
Joined: Wed Dec 13, 2006 11:58 pm
Location: Hertfordshire

Re: Gladiator B16/1 A North Eastern Workhorse

Post by Atso »

Nice work Rob. That's really captured the look of the front of the tender as far as I can see.

How on earth do you keep your soldering so neat?!
Steve
User avatar
Robpulham
LNER A4 4-6-2 'Streak'
Posts: 1721
Joined: Thu Mar 27, 2008 9:54 pm
Location: Lower Wensleydale
Contact:

Re: Gladiator B16/1 A North Eastern Workhorse

Post by Robpulham »

Atso wrote: Thu Apr 27, 2017 5:03 pm
How on earth do you keep your soldering so neat?!
Thanks Steve,

I use a micro flame for soldering as much as possible, with it a tiny amount of solder goes a long way and there's less excess to clean up.
Atso
LNER A3 4-6-2
Posts: 1383
Joined: Wed Dec 13, 2006 11:58 pm
Location: Hertfordshire

Re: Gladiator B16/1 A North Eastern Workhorse

Post by Atso »

Robpulham wrote: Thu Apr 27, 2017 7:12 pmThanks Steve,

I use a micro flame for soldering as much as possible, with it a tiny amount of solder goes a long way and there's less excess to clean up.
Thanks Rob, unfortunately I'm not sure I can apply this technique to an N gauge model... However, the resulting chaos might be amusing to any spectators! :lol:
Steve
Nova
GER D14 4-4-0 'Claud Hamilton'
Posts: 371
Joined: Wed Jun 24, 2015 7:30 pm
Location: Scunthorpe, North Lincs

Re: Gladiator B16/1 A North Eastern Workhorse

Post by Nova »

Atso wrote: Fri Apr 28, 2017 8:31 am

Thanks Rob, unfortunately I'm not sure I can apply this technique to an N gauge model... However, the resulting chaos might be amusing to any spectators! :lol:
I imagine in N scale the brass sheets would shrivel up from the heat :lol:
Coalby and Marblethorpe, my vision of an un-nationalised Great Britain in the 50s and 60s: viewtopic.php?f=3&t=11905


36C Studeos, kits in 4MM scale: viewtopic.php?f=3&t=11947
Atso
LNER A3 4-6-2
Posts: 1383
Joined: Wed Dec 13, 2006 11:58 pm
Location: Hertfordshire

Re: Gladiator B16/1 A North Eastern Workhorse

Post by Atso »

Nova wrote: Fri Apr 28, 2017 1:01 pmI imagine in N scale the brass sheets would shrivel up from the heat :lol:
Indeed! It is hard enough trying not to let that happen with a small soldering iron!!! :lol:
Steve
User avatar
Robpulham
LNER A4 4-6-2 'Streak'
Posts: 1721
Joined: Thu Mar 27, 2008 9:54 pm
Location: Lower Wensleydale
Contact:

Re: Gladiator B16/1 A North Eastern Workhorse

Post by Robpulham »

I hear, you although I have heard of people soldering whitemetal castings on with a microflame so I suspect it may be possible by the not so faint hearted. - I am not one of those of course :D
User avatar
Robpulham
LNER A4 4-6-2 'Streak'
Posts: 1721
Joined: Thu Mar 27, 2008 9:54 pm
Location: Lower Wensleydale
Contact:

Re: Gladiator B16/1 A North Eastern Workhorse

Post by Robpulham »

Following a query from Graham (Western Star) and a comment about not being able get at the coal by Jim Snowden on the guild forum, further work was done last night to represent the sliding plate on the front of the coal chute.

Without taking the front back off and doing major surgery I had to employ a little subterfuge to give the impression of a sliding plate but I feel that once painted it will look the part.

Image

Image

I also managed to get the front upper coal plate fitted and the lifting rings.

Image

I still need to add the steps to the sides of the coal chute but that's about as far as I will go on this build (I keep forgetting "straight from the box"...) - I have lots of ideas for future builds of my own though.
User avatar
Robpulham
LNER A4 4-6-2 'Streak'
Posts: 1721
Joined: Thu Mar 27, 2008 9:54 pm
Location: Lower Wensleydale
Contact:

Re: Gladiator B16/1 A North Eastern Workhorse

Post by Robpulham »

Yesterday having cut short a long weekend up north by yours truly forgetting to take his medication along I looked more closely at the brake and water scoop standards. I had more dialogue on RMweb with MikeMeg on the subject last week and he had remade the 4mm versions. I thought initially that although slightly on the fine side that the castings looked usable. - By fine they are quite slender in appearance whereas the photo posted earlier show them to be quite chunky, especially where the mounting pieces.

These are the castings provided.

Image

The problem came when testing them against the tender front (stuck in place temporarily with bluetac).

Image

Despite my cutting them off the sprue with as much length as possible, they are short in the column length

I couldn't see any immediate way of extending the column* A better person than me might have been able cut it of and drill out the fixing brackets but they looked a bit on the fine side for me to be confident that I could achieve it so I decided to have a go at making some replacements.

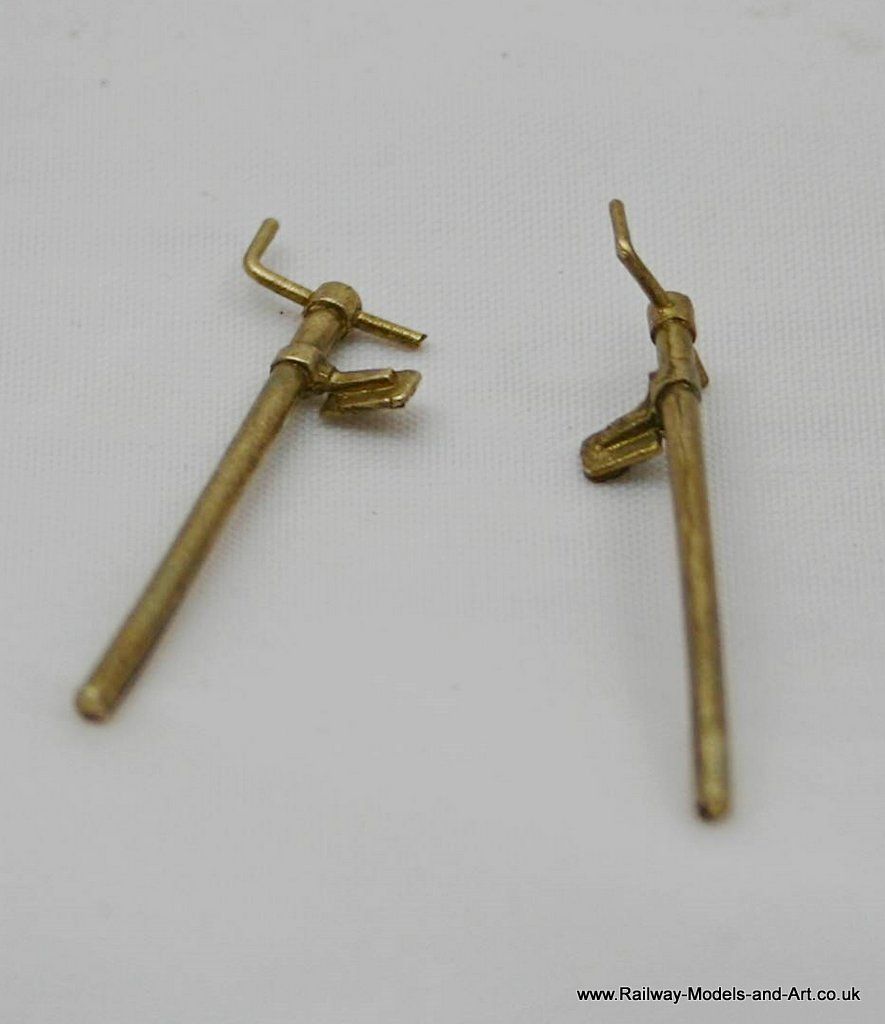
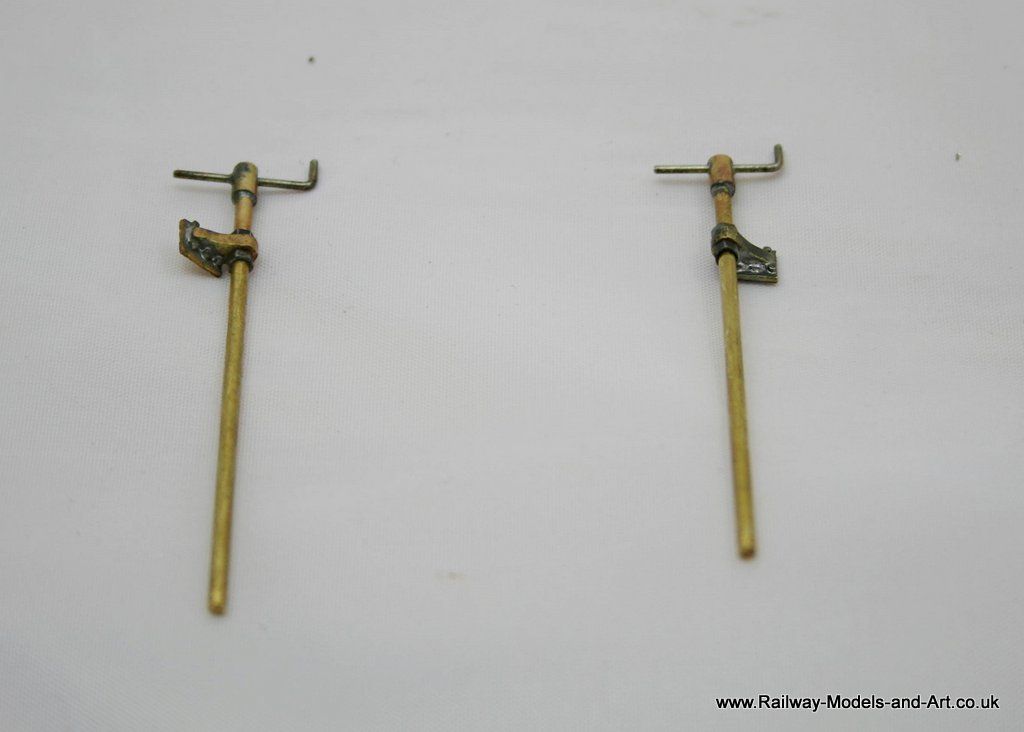
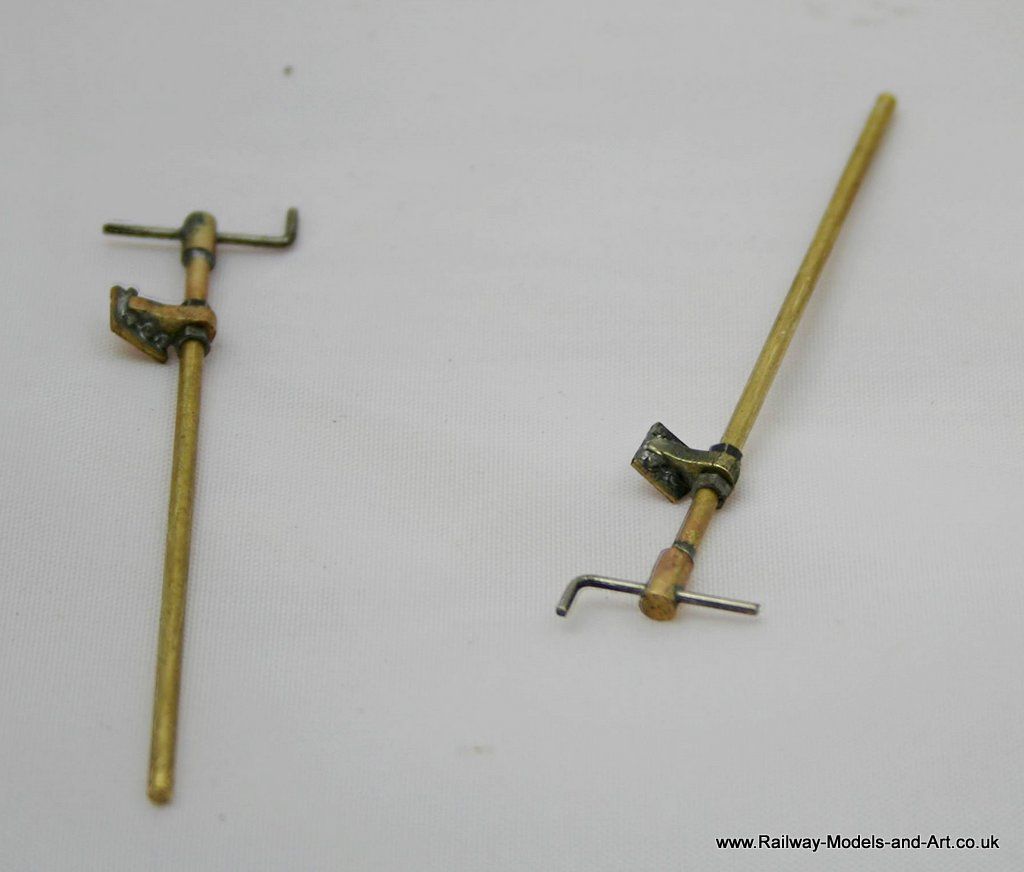
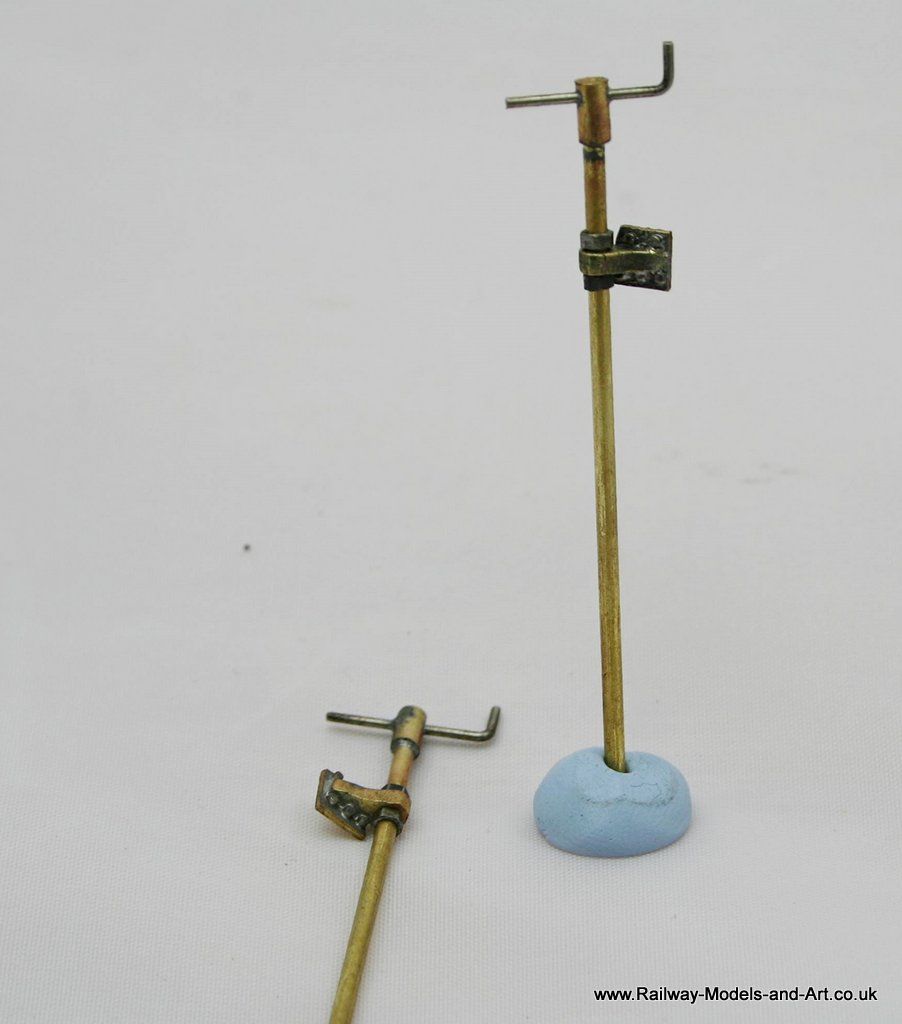
Now I have to be honest at this point and say that this really became a test exercise to see what I could achieve with my Proxxon mini pillar drill with the X-Y table attachment. I have been looking for something to try it out in anger, having only drilled out 4 buffer stocks since I got it at Christmas.

Image

Image

Image

They took me all day to make but I really enjoyed it and I have parts roughed out to make a couple more for a build for myself at some point. to give an idea of scale/chunkiness the new columns are made from 1.6mm rod.

*Thinking about it afterwards I could possibly have joined an extension piece onto the castings where they go through the wooden floor extension that's shown on the photo of the tender front.
Post Reply